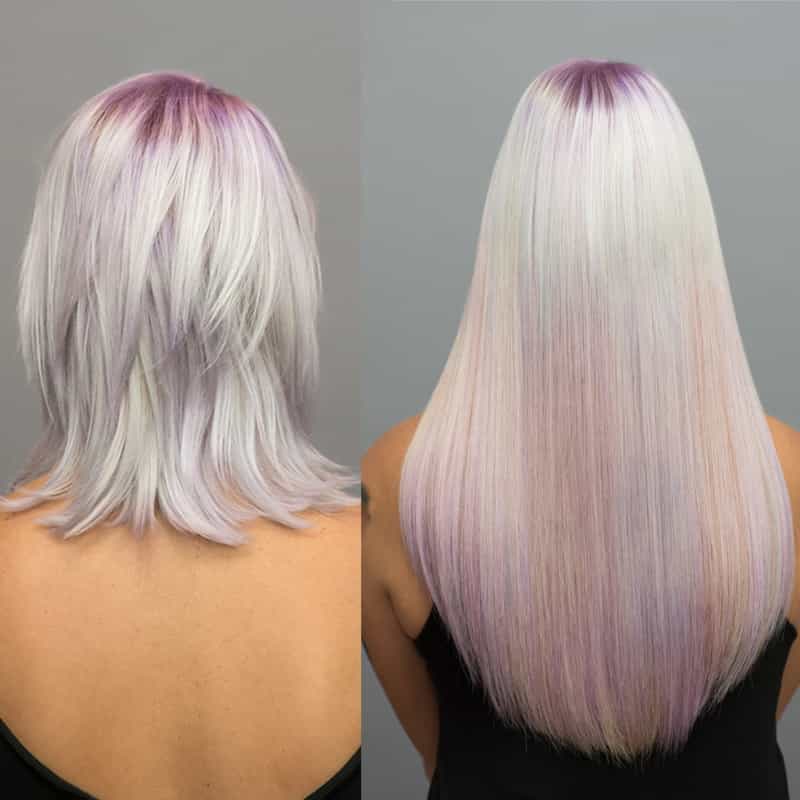
Get The Tape-In Color Steps & Watch The Full Video How-To Below
Are you using tape-in extensions to enhance and customize color services? You should be—extensions are an easy way to deliver dimensional results LIKE THAT, especially on fine-haired and color-damaged clients. That's why we're sharing this complete how-to for achieving an on-trend iridescent lavender look with a shadow root (plus added length and fullness, of course!). Get all the steps below from extensions expert and Hairtalk Artistic Director Vicki Casciola (@vickicasciola)!
How much do hair extensions cost? And how much should you charge? Click here!
STEPS
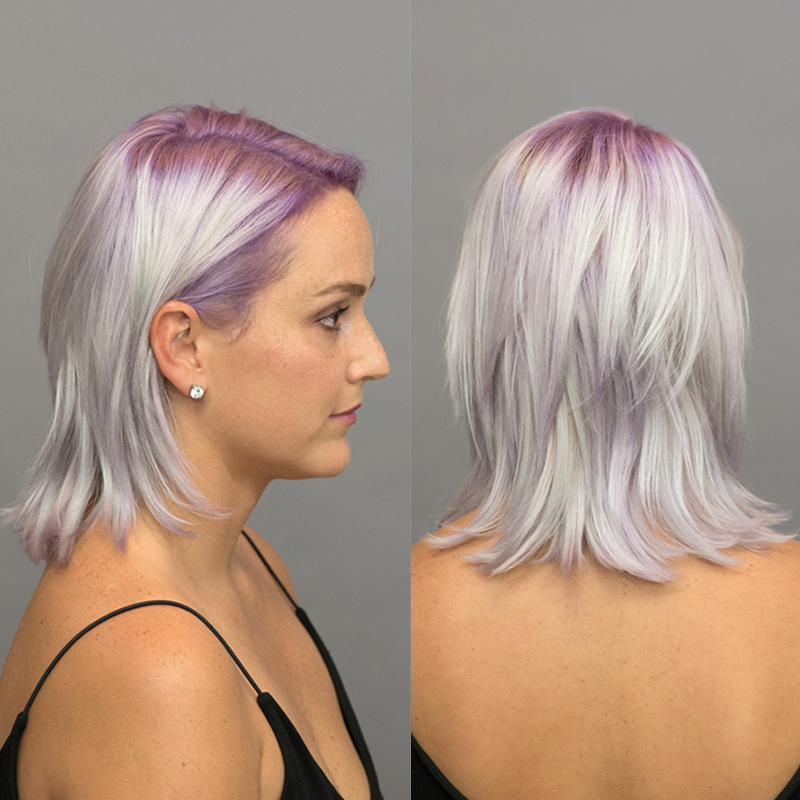
Before
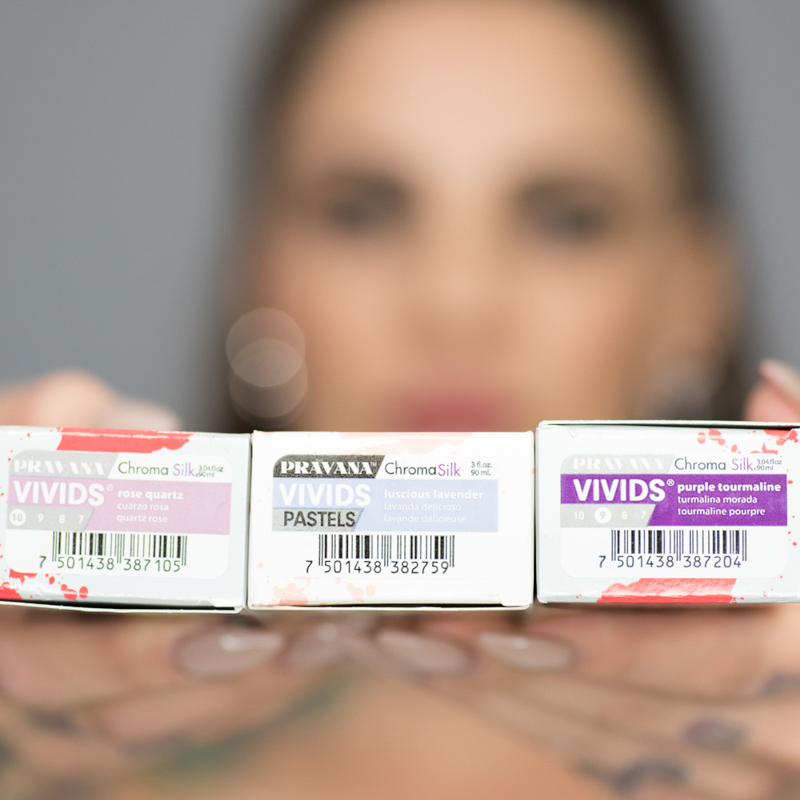
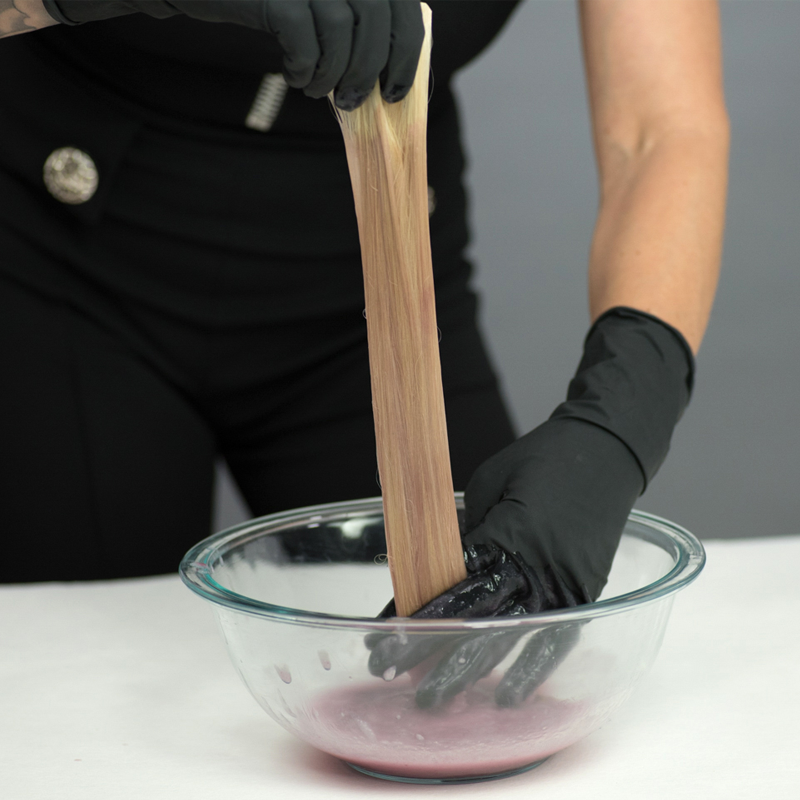
Start by applying and processing custom-colored extensions. Dip-dye 10 Hairtalk Original Tape-In Extensions in Color 613 into a bowl of Formula A to create a marbleized jewel effect. Then, squeeze to remove any excess color. Separate the extensions and lay them on a flat surface, then paint over every extension lightly with Formula B.
Pro Tip: When dip-dyeing extensions, don’t completely submerge them into the water to avoid compromising adhesive bands.
Repeat the same process on 12 Hairtalk Petite Tape-In Extensions in Color 613 by applying Formula C, squeezing any excess color and reapplying Formula C for an extra pop of purple.
Pro Tip: Remember that saturating different sections more than others will create dimension throughout the extensions.
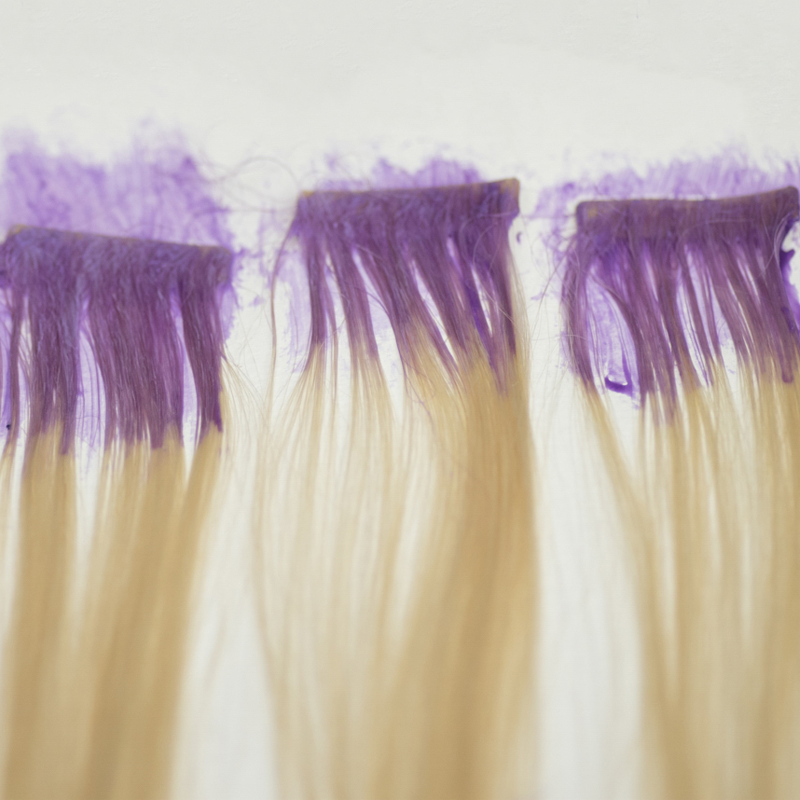
Then, create the custom-colored shadow root using Hairtalk Original Plus Tape-In Extensions in Color 613 by slightly brushing Formula C over the hand-sewn hair that falls over the adhesive tab.
Pro Tip: Avoid oversaturating the adhesive side and ensure the extensions are completley dry before applying, otherwise the adhesive will be compromised.
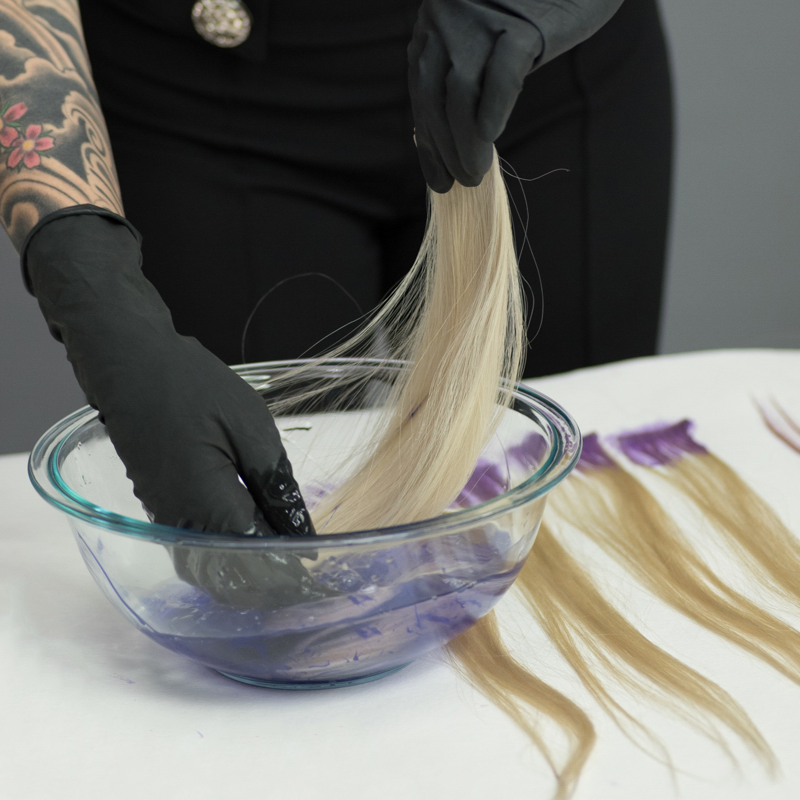
To create the icy pop of color, use Hairtalk Original Tape-In Extensions in Color 60A and submerge them into a bowl of purple shampoo and water. The longer the extensions process, the more silver they will become.
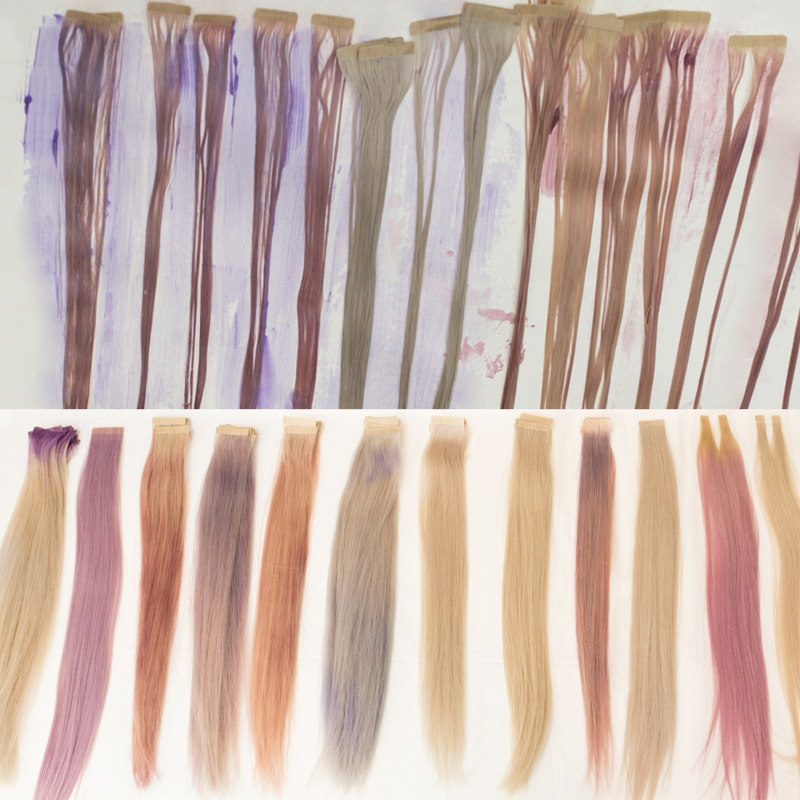
Process, then rinse all of the extensions in cold water. Skip the shampoo and only condition the ends of the hair. Prior to application, blow-dry completely to keep the adhesive intact.

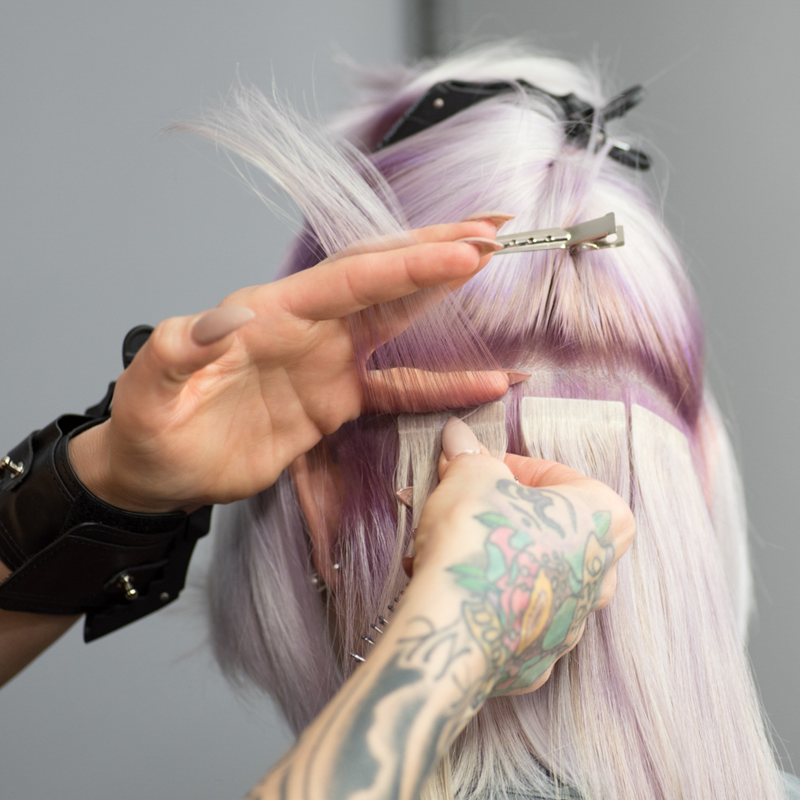
Then, start applying 3 rows of the Hairtalk Original Tape-In Extensions (a combination of Formula A & B). On clients with blunt haircuts, always soften the ends to create the perfect blend.
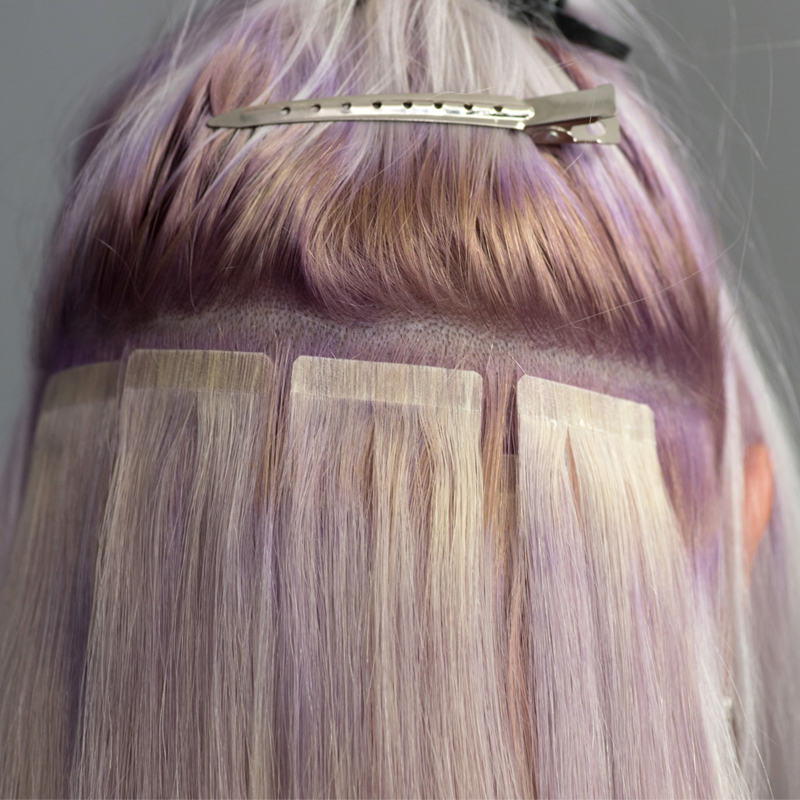
At row 4, starting above the ears, apply the pre-toned Original Tape-In Extensions in 60Apaired with custom-colored lavender (Formula A) to highlight around the face frame.
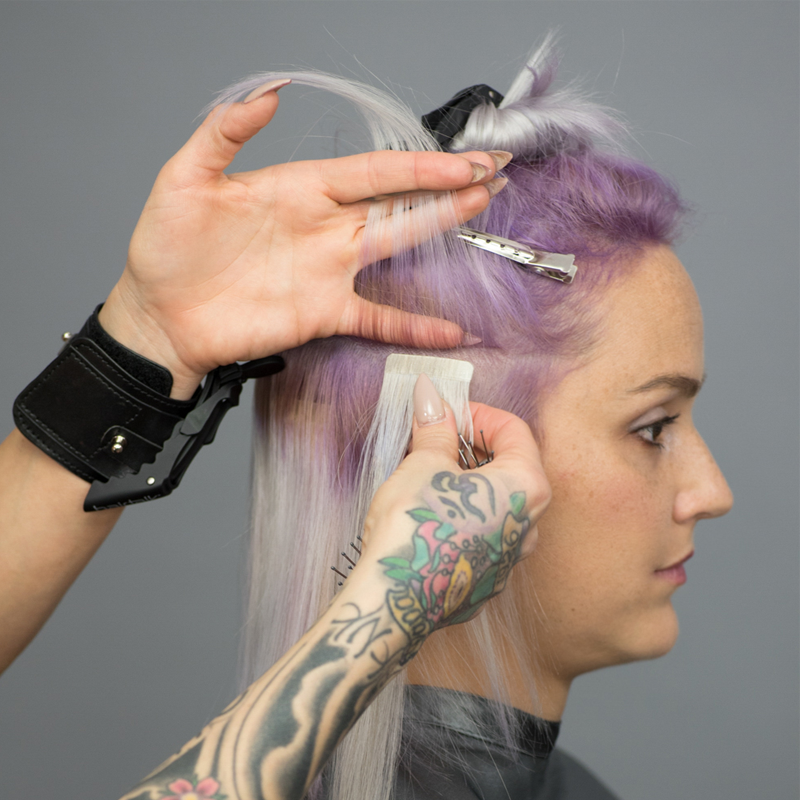
Then apply a combination of alternating extensions in row 5 to create an iridescent effect.
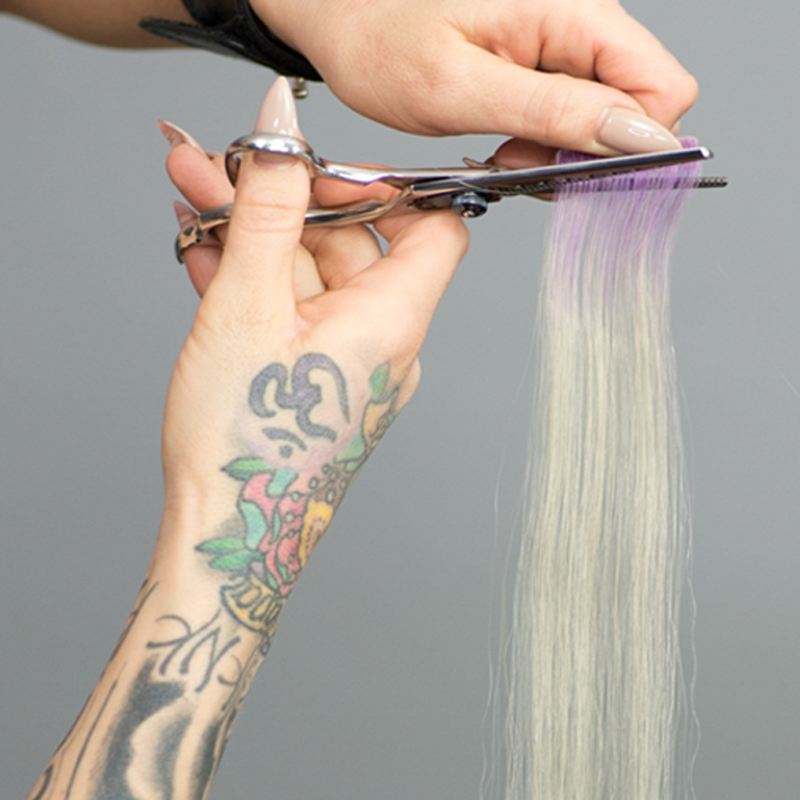
At row 6, apply the Original Plus Tape-In Extensions with shadow roots (Formula D) on top, with a variety of custom-colored extensions underneath. Use texturizing shears to diffuse the rooted extensions to allow the dimensional colors underneath to pop through.
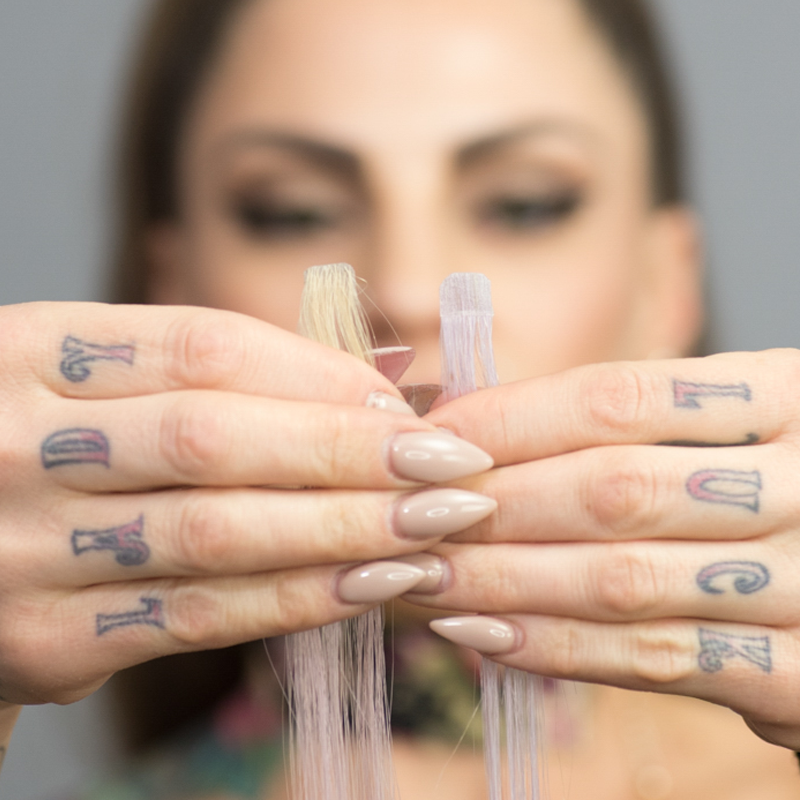
To blend and fill out the client’s from hairline, apply Hairtalk Mini Tape-In Extensions in Color LA/23R.
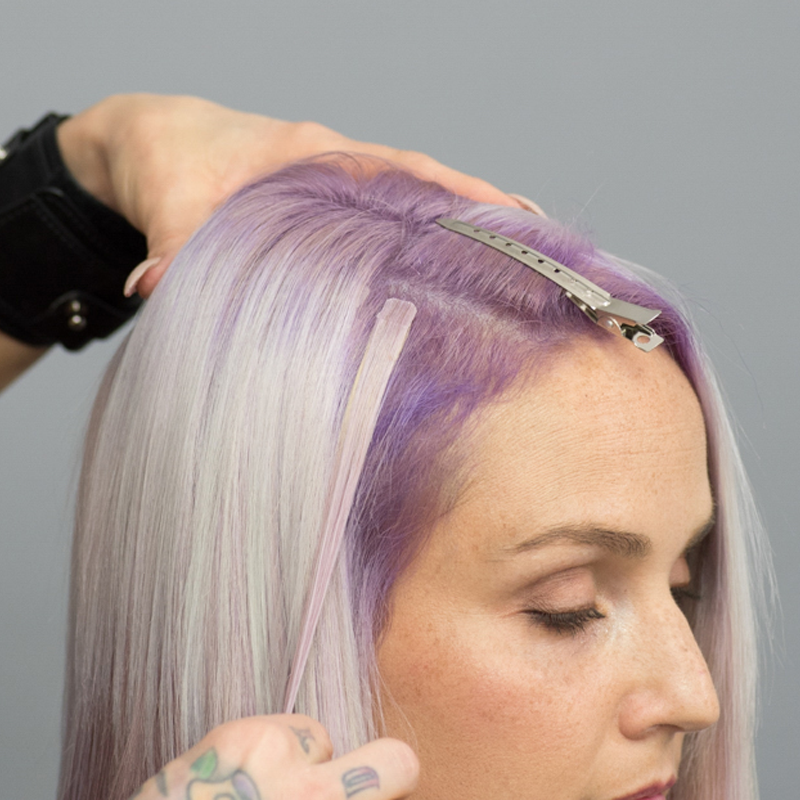
After the extension application process is complete, blend and style!
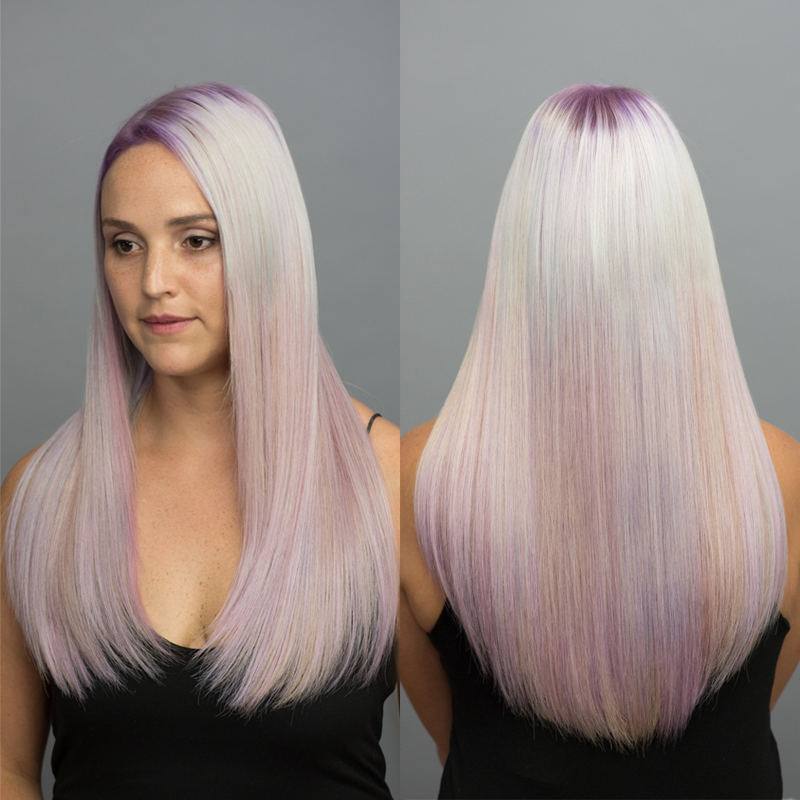
Finished Look
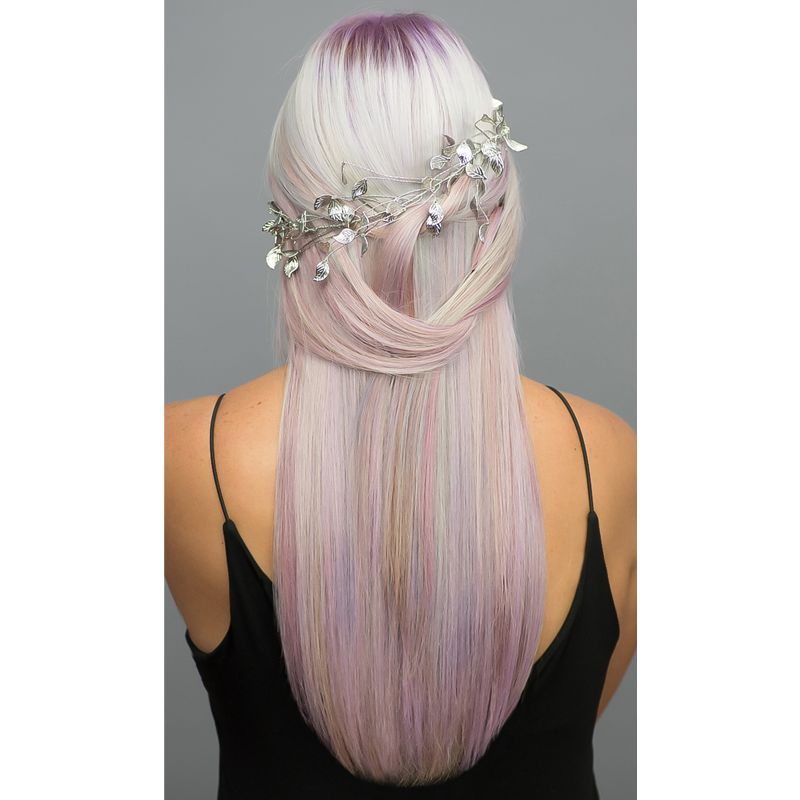
What's even better?! This styled and embellished finished look!