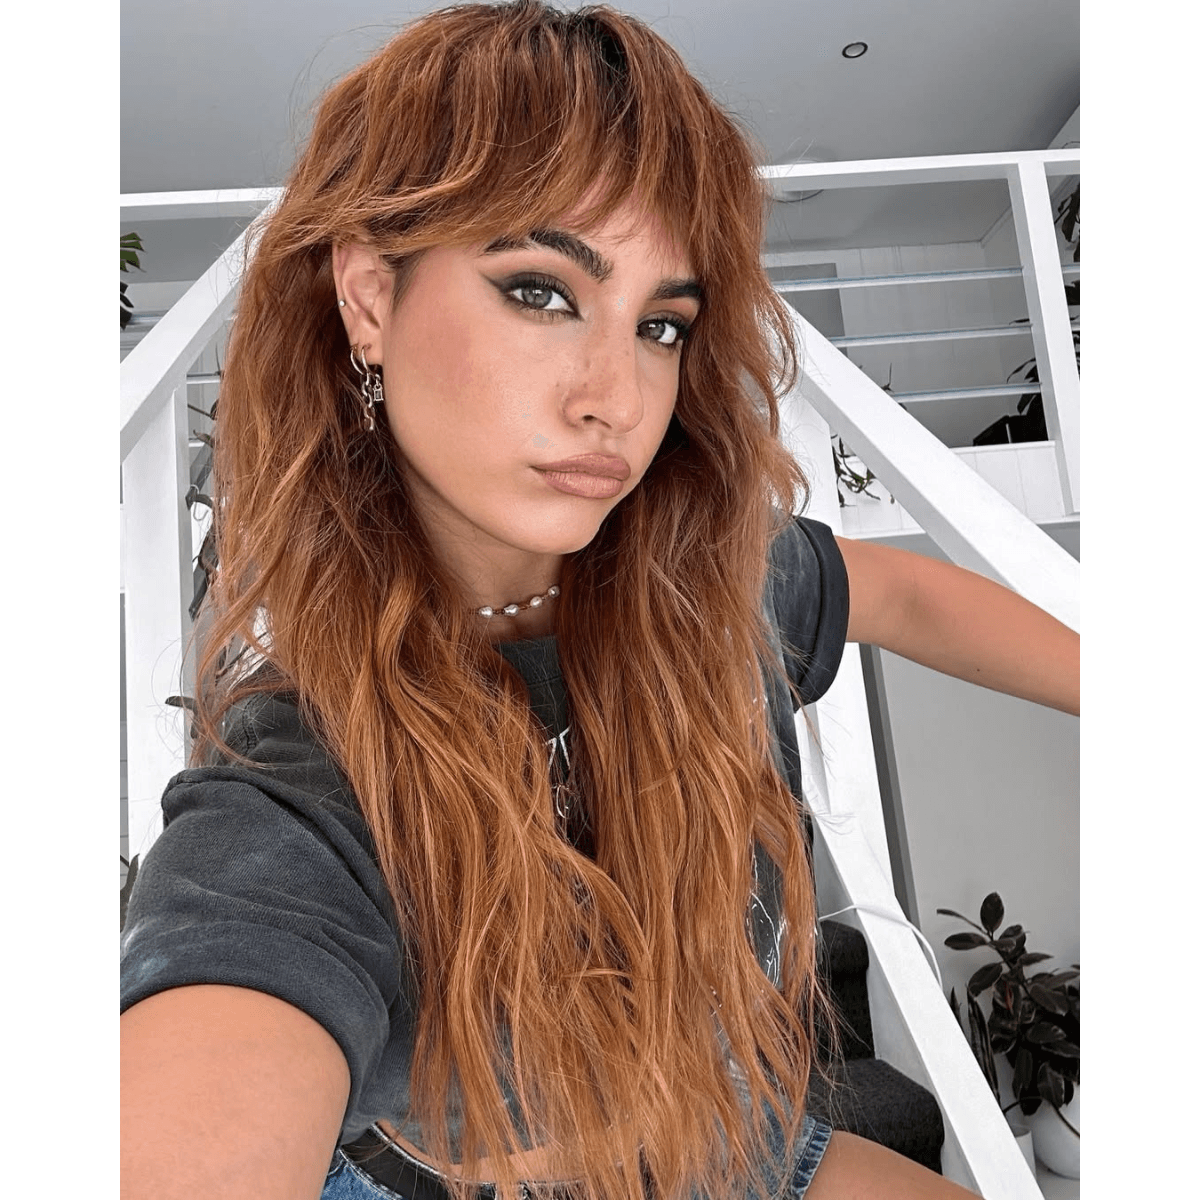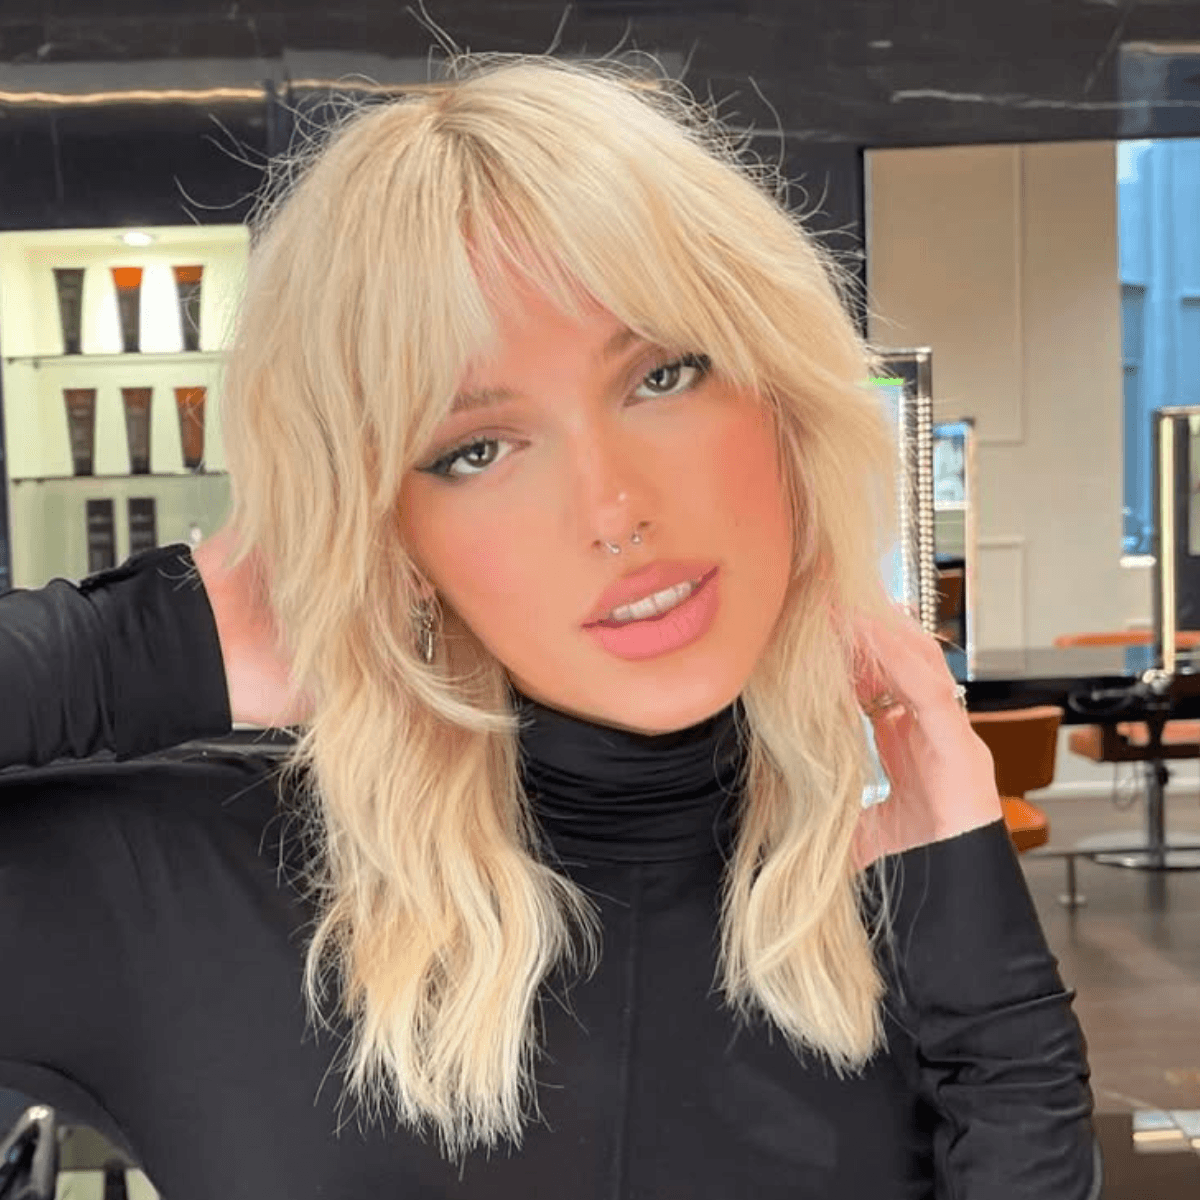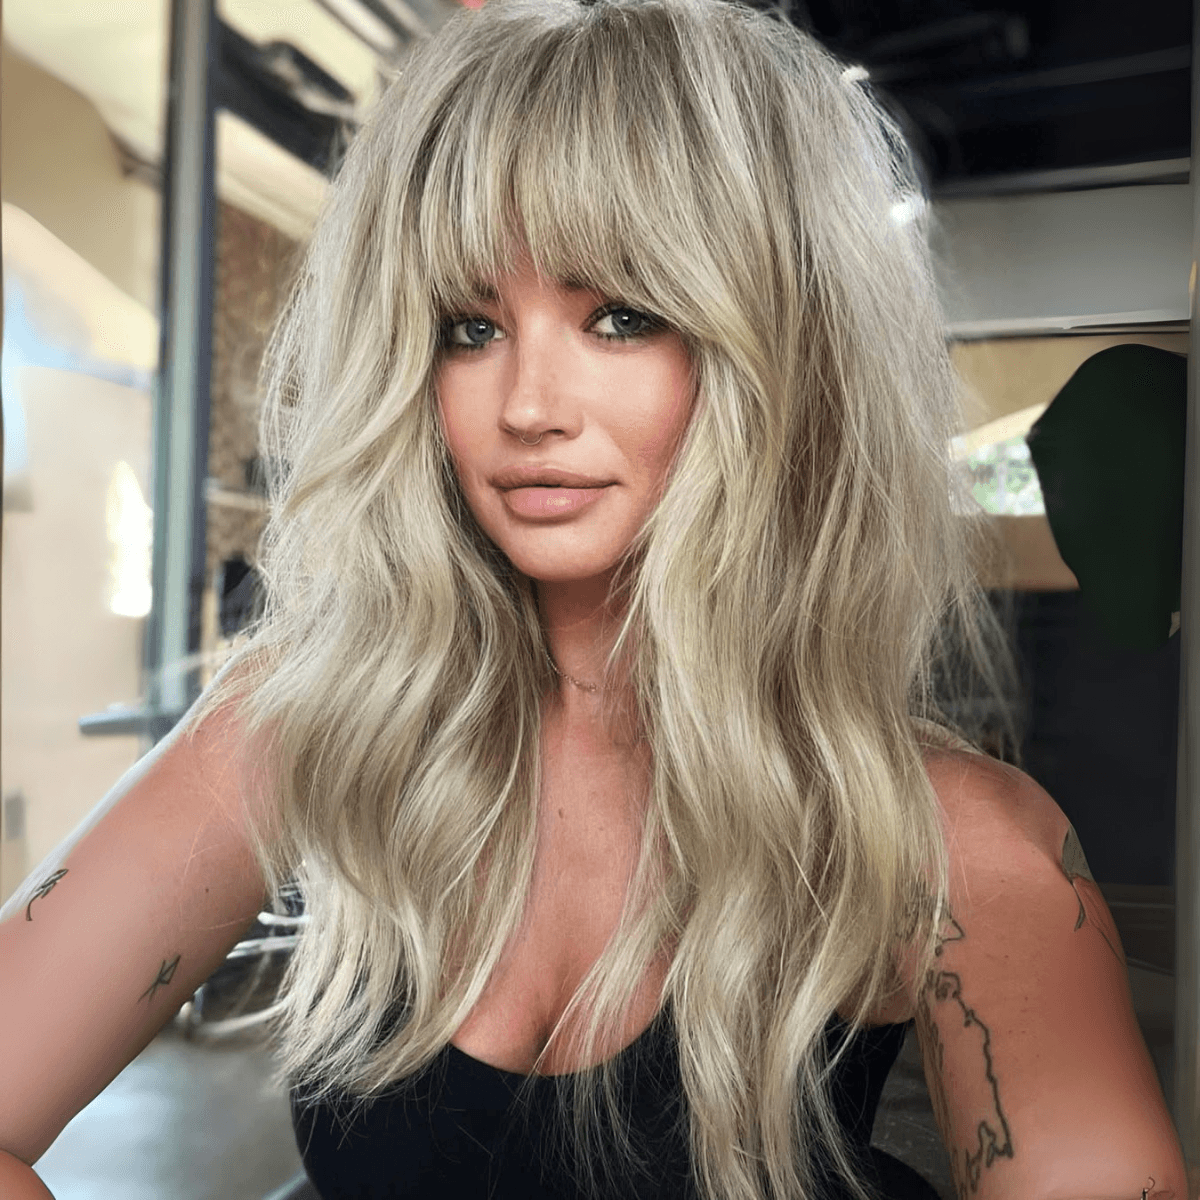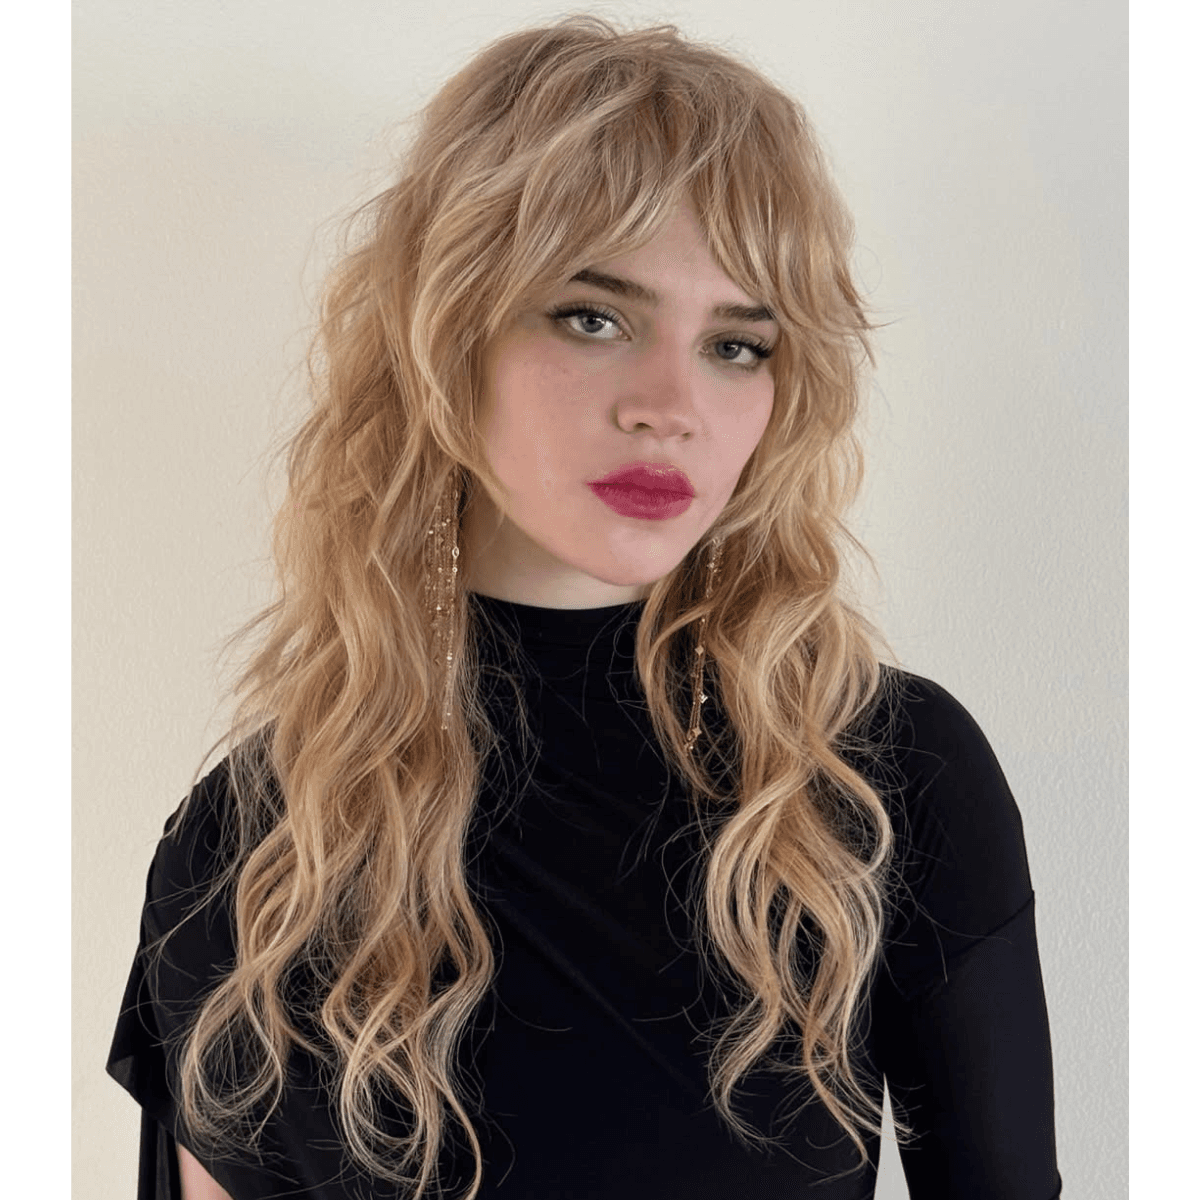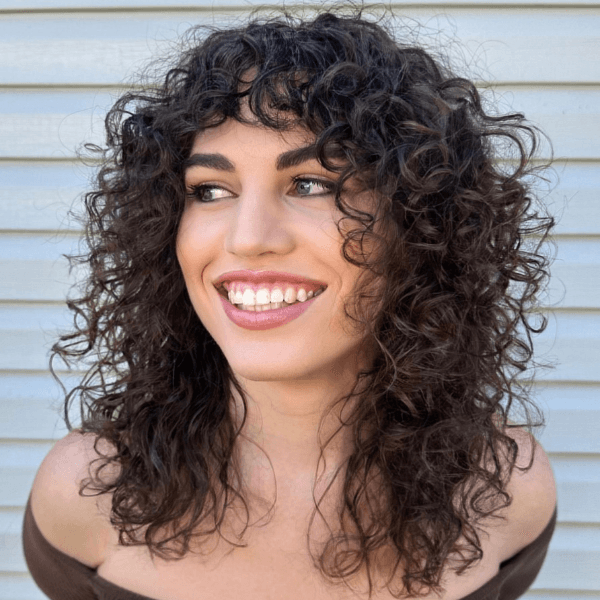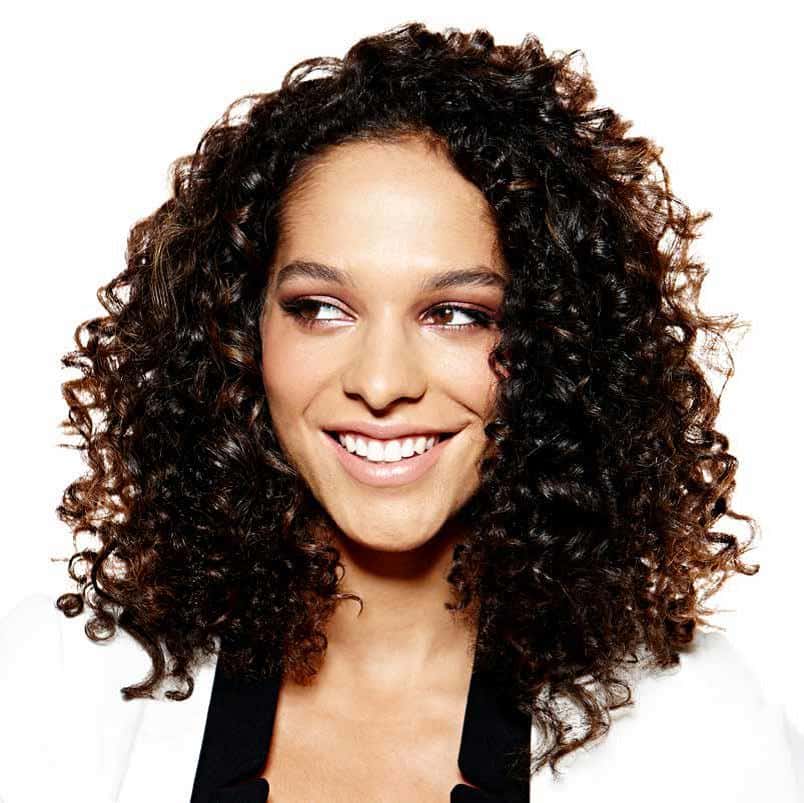
Learn how to perform the new and necessary techniques that the
highly textured hair of your multicultural and multi-ethnic clients require. It may involve
you stepping out of your comfort zone, but the end result will lead to an elevated client
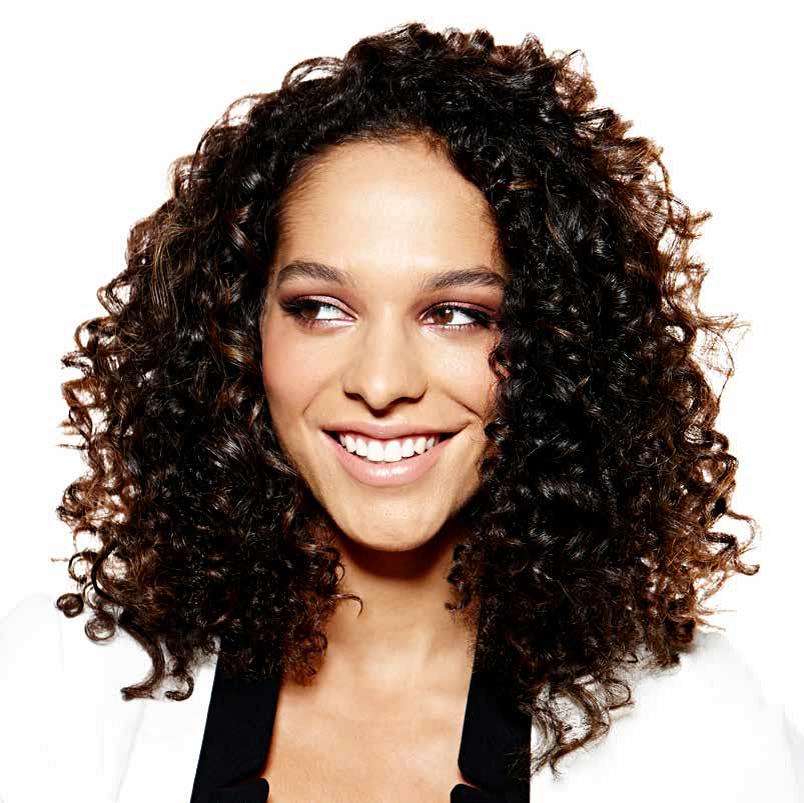
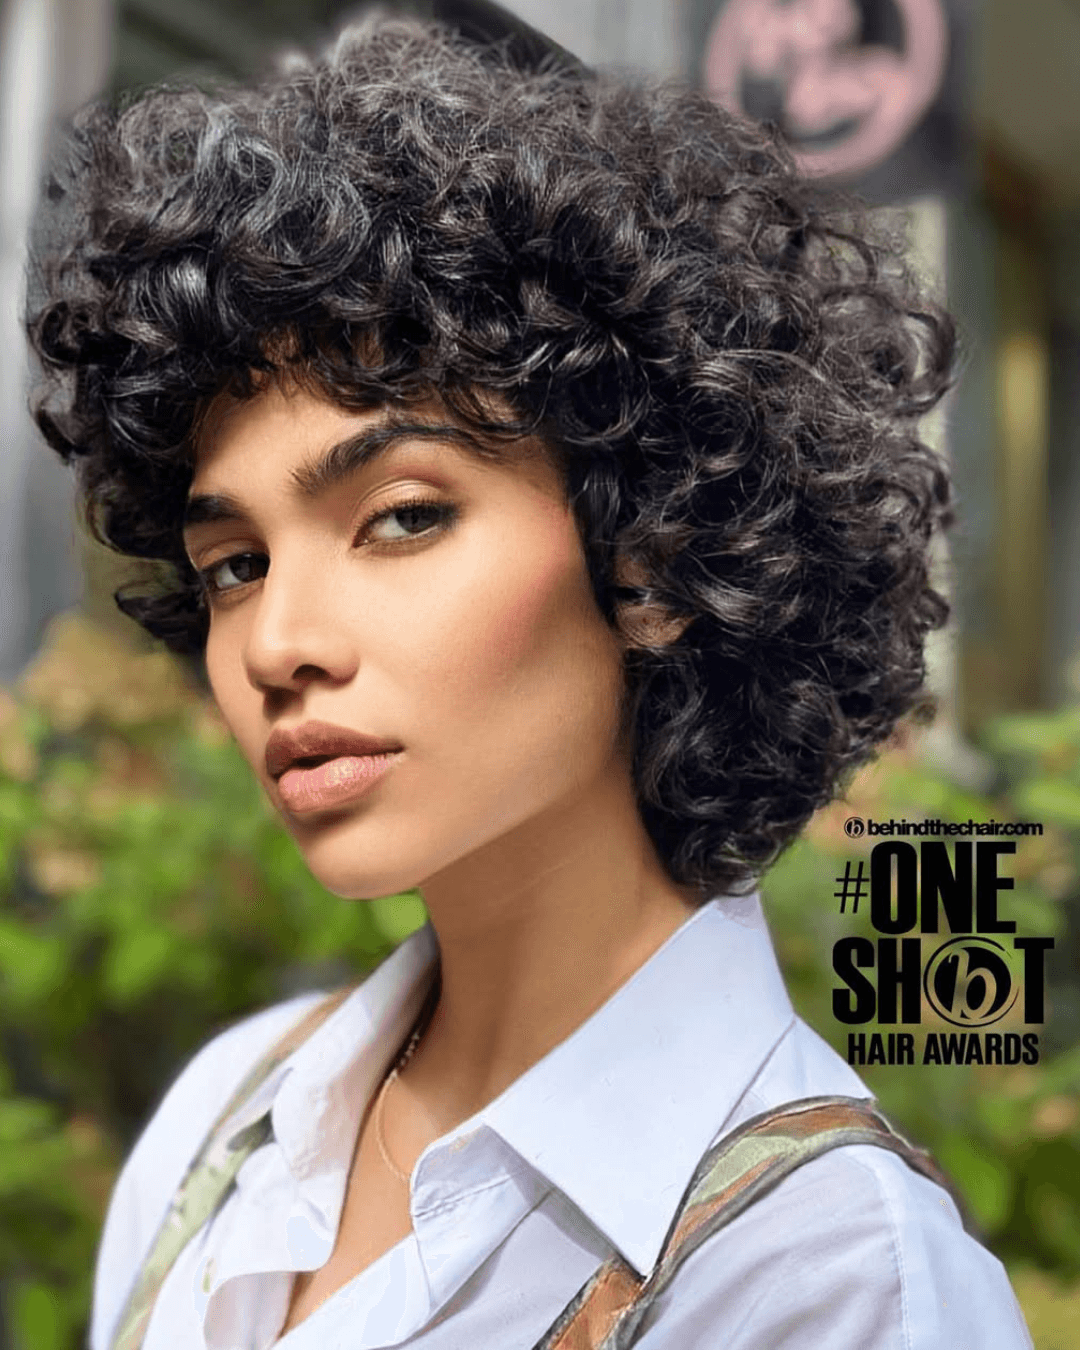
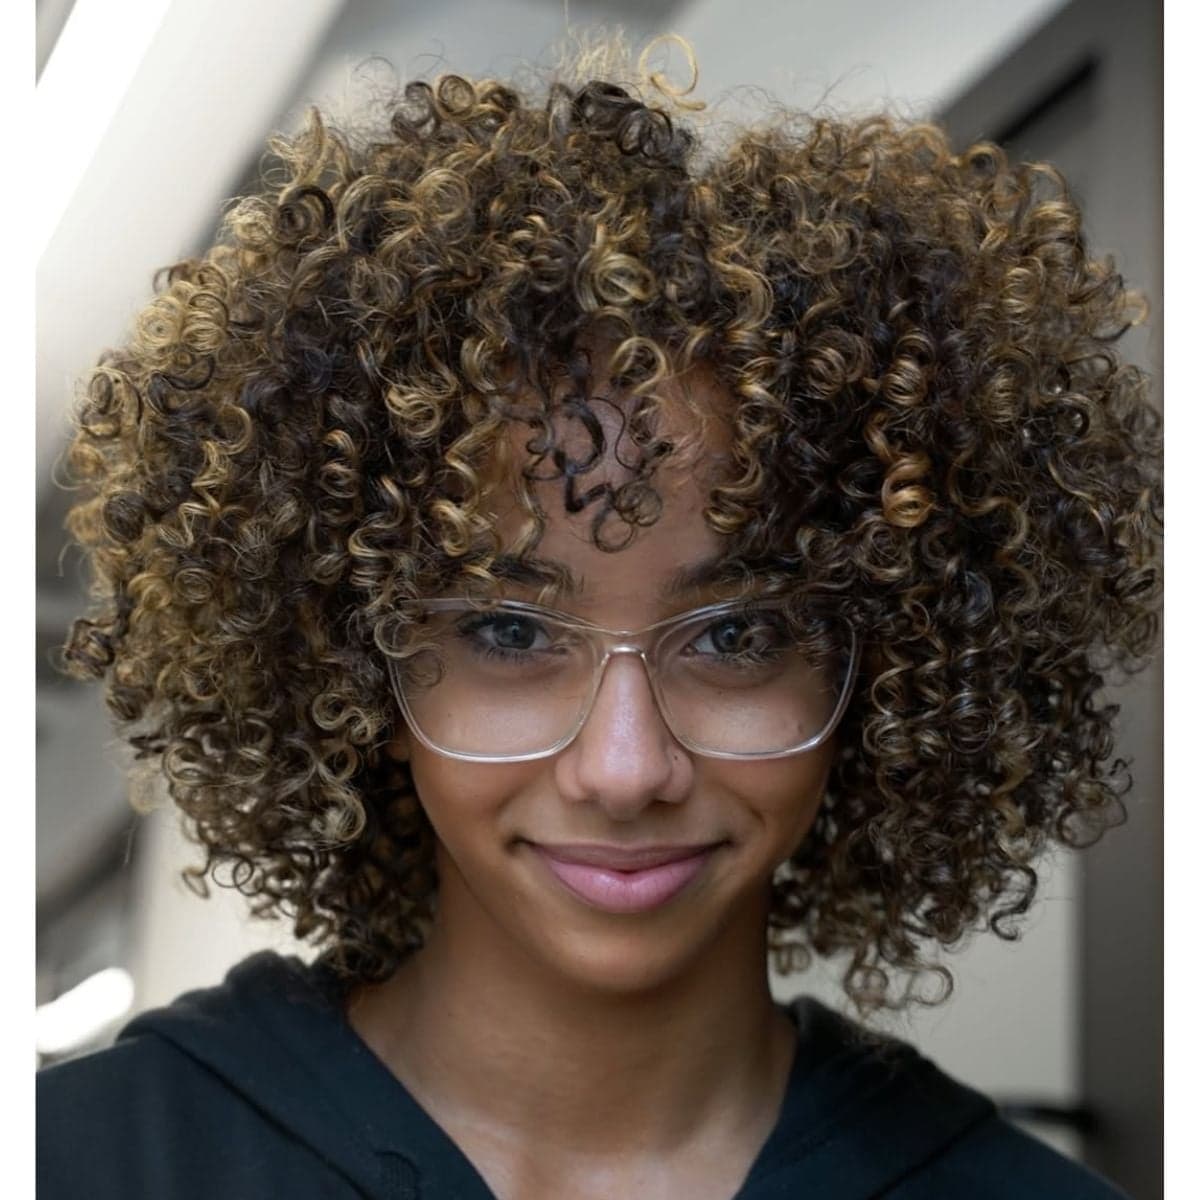
experience, which is always the ultimate goal. jcp salon shows you how, with this Curly Romantic: Textured How-To!
For more information, visit www.jcp.com
highly textured hair of your multicultural and multi-ethnic clients require. It may involve
you stepping out of your comfort zone, but the end result will lead to an elevated client
experience, which is always the ultimate goal. jcp salon shows you how, with this Curly Romantic: Textured How-To!
For more information, visit www.jcp.com
STEPS
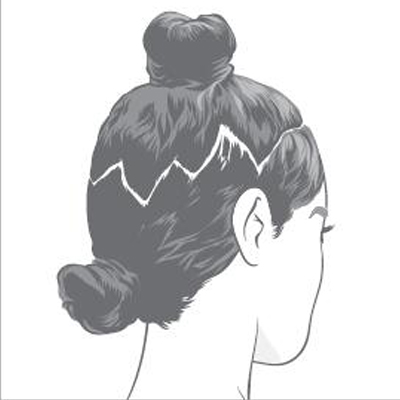 1. Create a chevron-patterned parting along the parietal ridge. Secure the top and bottom separately for control. The points within the parting should be pronounced.
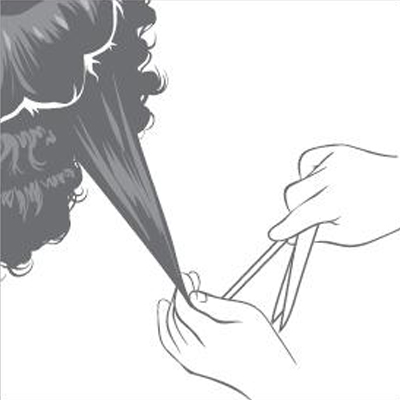 2. Begin cutting the perimeter shape by gathering the hair between the downward pointing triangles within the parting. Comb the section, pinch the ends together and seccure with light tension at zero elevation.
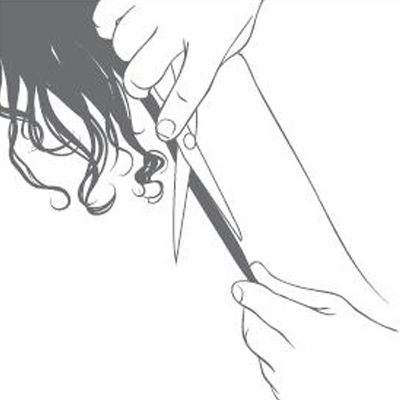 3. Surface plane through the ends to remove the desired length. Continue through the perimeter shape.
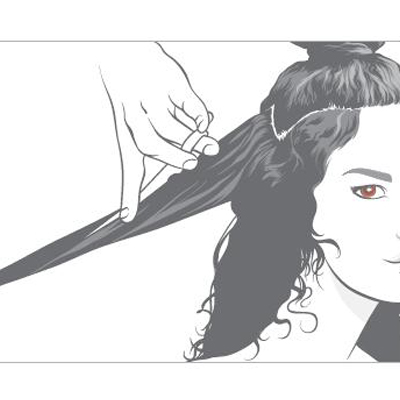 4. Work into the interior shape of the lower half. Elevate sections between the upward facing triangles within the parting to an approximately 45-degree elevation. Pinch the ends together with light tension and remove the desired bulk. Maintain length at ends.
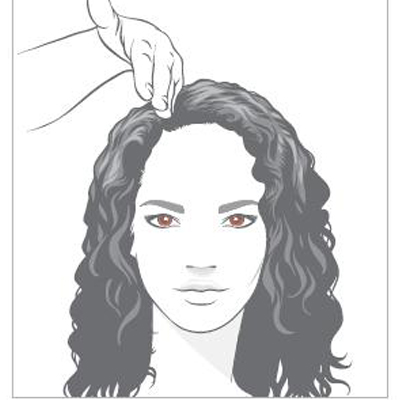 5. Secure the bottom half back into a j-knot for control. Release the top section and determine the natural part.
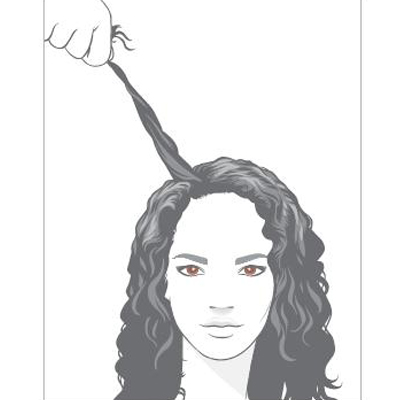 6. Secure a 1-inch subsection to one side of the natural part. Elevate the section straight up from the parting and determine the length of the layers. This becomes a stationary guideline for the top's front half. Point-cut to maintain the textural effect. Continue over-directing sections in front of the ear to this stationary guide.
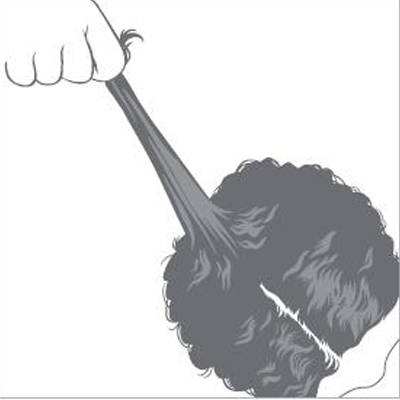 7. Continue the guideline to the back half of the top section and continue the process. Repeat on the opposite side.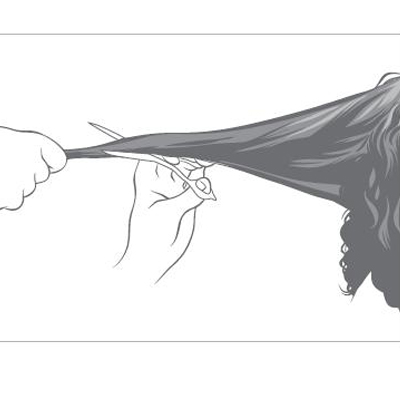
8. Release the bottom section and place the hair in its natural fall. On the back half of the head, elevate loose vertical subsections straight off the head at 90 degress. Secure the ends with moderate tension. Undercut the section to create random texture. Repeat as necessary.
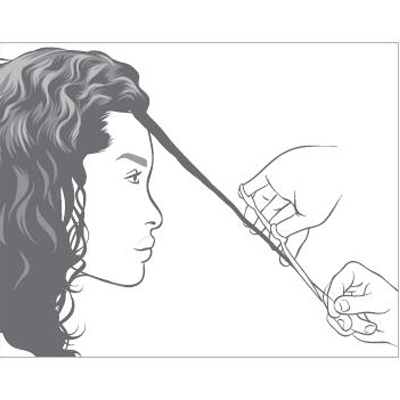 9. Move to the fringe section. With hair in its natural fall, determine the desired length. Elevate the sections to 45 degrees and remove length. Keep in mind that textured hair will spring up once it's cut. Continue to the corners of the fringe.
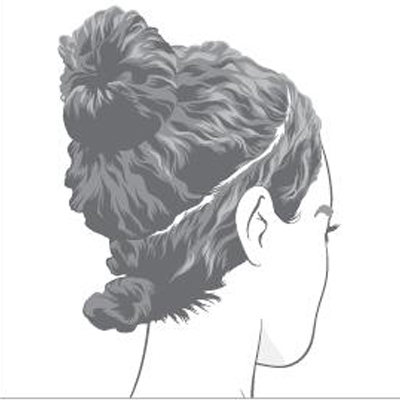 10. Secure a 2-3 inch radial section that follows the natural shape of the hairline, higher towards the front, lower at the nape. Secure both sections with j-knots for control.
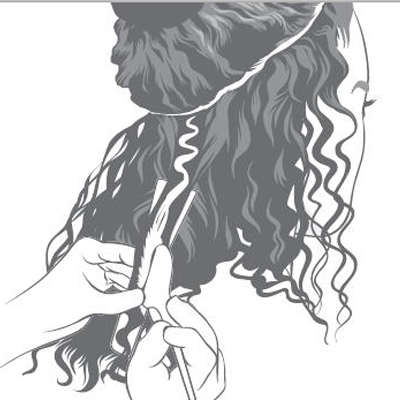 11. Release the bottom section. Allow the hair to fall into its natural fall position. Select random subsections and apply the selected color or lightener. Use a cutting comb to stabilize the subsection as you apply. Start the application 2-3 inches from the base through the midlengths and ends.