SHAGS 101: Everything You Need To Consult, Customize & Cut the Perfect Shag
The shag haircut is all about soft layers, lived-in texture, and effortless movement, but one wrong cut can tip the shape into mullet territory. We asked Rachel Williams (@rachelwstylist)—ARC™ Scissors Artistic Team Member and shag expert—for her go-to approach to consultations, customization and cutting this shape without losing balance.

What Is a Shag Haircut?
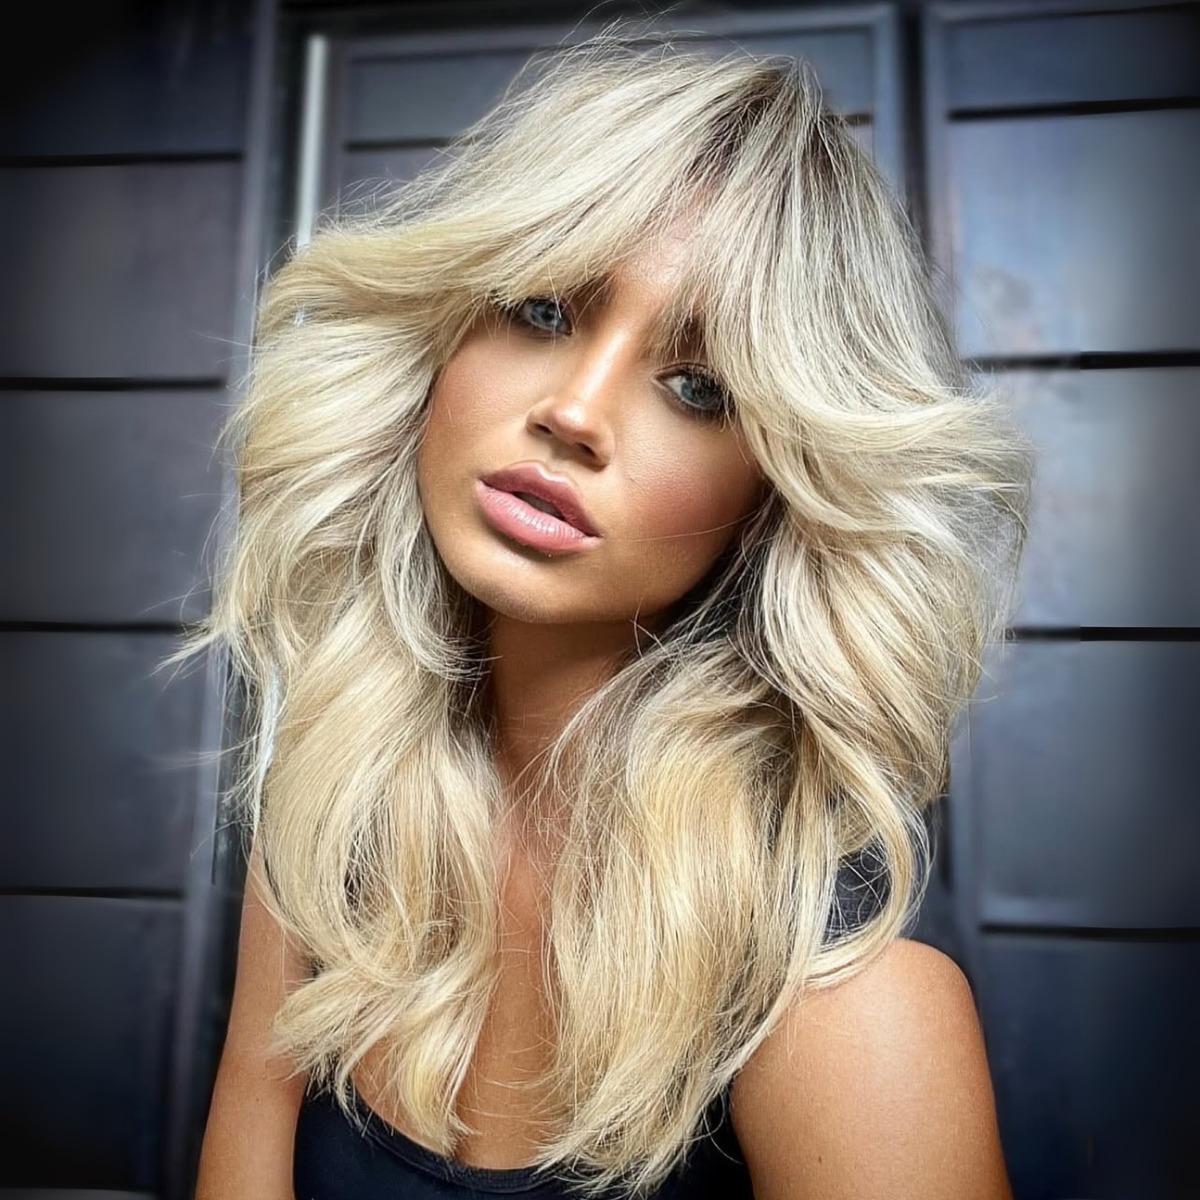
Originally created by barber Paul McGregor, the shag traditionally consists of layers that are feathered at the top and sides, making the hair full around the crown and thinner around the edges and throughout the ends.
“The shag is ideal for medium to thick hair types and straight, wavy or curly hair. It’s a cut for all lifestyles, but if you’re a tousle and go type, this cut is perfect for you,” explains Rachel. “It’s low-maintenance and really shows off the natural texture of the hair. It’s perfect to style with a little volume mousse, let air dry or diffuse with a blow dryer. Because of its face-framing layers, it really accentuates the woman’s face.”

What Are the Key Things To Consider When Cutting a Shag?
- Start with a thorough consultation.
Since the shag has so many layers, it removes a lot of weight from the hair and can catch a client off guard. “I feel that it is super important to always have a consultation first so the client fully understands the haircut and is not alarmed when they see so much hair being removed,” shares Rachel. “It can be shocking to women who are used to one length and long hair.”
- Customize based on texture.
Rachel approaches straight hair by cutting wet and detailing dry. For wavy or curly textures, she prefers to cut dry in its natural state to customize the shape and make it easier to style and maintain.

- Consider density carefully.
Rachel says the shag works for most hair densities—but not thin hair. “I will never recommend a shag for thin hair because it is such a layered cut that it will take out too much weight and look like a mullet,” she notes.
- Establish the perimeter early.
Rachel starts her cuts at the occipital bone, lifting the section to 90 degrees and cutting the desired length to set the perimeter. “This will be your guide for the rest of your cut,” she explains.
-
Use a cutting guide.
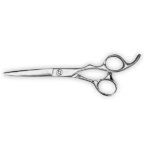
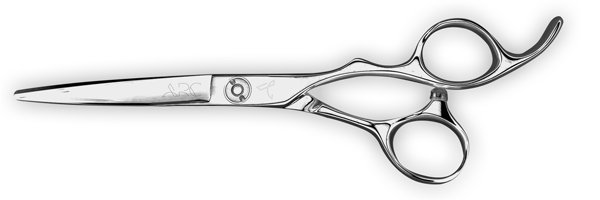
Once the perimeter is established, Rachel uses it to guide the rest of the shape. “That’s when you see midsections looking too thin and the top becoming too heavy. Without a guide, you will create uneven weight and ultimately, an unbalanced haircut with and a lot of weight lines,” she says. She builds her framework on wet hair using the ARC™ PHANTOM II.
-
Detail dry—always.
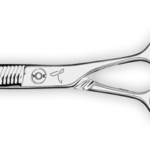
“Always detail a shag haircut when the hair is dry because the way the hair lays changes from wet to dry,” Rachel recommends. “It’s always important to detail hair when it’s in its natural state to truly take only the necessary weight out.” She uses the ARC™ 30/2 Reversible Blender to remove weight and refine fringe and face-framing layers.
-
Be precise with fringe.
Rachel says one of the biggest mistakes is taking the fringe section too far back. She recommends following the curvature of the head to find the right starting point. “I always start with the fringe and face frame first, no matter what the length is, so the top has a reference point to connect with the bangs.” For shoulder-length or shorter cuts, she suggests taking bangs slightly shorter to lean into the overall shag aesthetic.

What Are Some of the Biggest Mistakes You Can Make When Cutting a Shag?
- Removing too much weight.
“One of the biggest mistakes made when cutting a shag is taking too much weight out of the mid and bottom layers, which can create an outdated mullet. An easy way to prevent this from happening is to leave the section behind the ear out. The hair has less density in that area so it is best to detail that section when the hair is dry and in its natural state.
“This section can make or break the way your shag looks and take it from Marsha Brady to modern. We take haircuts and evolve them by detailing dry and catering to each client’s hair type,” explains Rachel.

2. Not using your guide.
After you have established your length, use that as your guide for the rest of the cut. Rachel loves to create her framework of the cut on wet hair using her 6″ ARC™ Scissors PHANTOM II. Why does this matter? “That’s when you see midsections looking too thin and the top becoming too heavy. Without a guide, you will create uneven weight and ultimately, an unbalanced haircut with and a lot of weight lines,” says Rachel.
Ready To Put Rachel’s Tips To The Test? Learn More About The PHANTOM II From ARC™ Scissors.
3. Detailing on wet hair.
“Always detail a shag haircut when the hair is dry because the way the hair lays changes from wet to dry,” recommends Rachel. Don’t remove weight on wet hair because it can be easy to take too much weight out. “It’s always important to detail hair when it’s in its natural state to truly take only the necessary weight out,” says Rachel. “I like to use my ARC™ Scissors 30/2 Reversible Blender on the hair when it is dry to remove weight and texturize the bangs and face-framing layers.”
Try Rachel’s go-to texturizer, ARC™ Scissors 30/2 Reversible Blender.
4. Bulky fringe.
One of the biggest mistakes when cutting fringe is taking your section too far back. Rachel recommends always following the curvature of the head and using a comb to determine where the head starts to round. Watch the video below to see how Rachel starts her cut:
Rachel recommends always starting with the fringe and face frame first, no matter what the length is, so the top has a reference point to connect with the bangs.
When it comes to establishing the length of your fringe, ask your client what they are most comfortable with in terms of where they want the bangs to lay. Rachel recommends taking bangs a little shorter if the overall length of the cut is shoulder-length (or shorter) to give more of an overall shag look.