Balayage Tips To Help You Paint Like a Pro
What would help you achieve better balayage results? We have a few ideas—like learning the single-point application technique, how to pre-section to save time and how to paint cowlicks properly—and we’re breaking it all down below thanks to L’Oréal Professionnel National Artist Sebastian Langman-Kirtley (@sebastiancolorist). Keep scrolling for the deets!


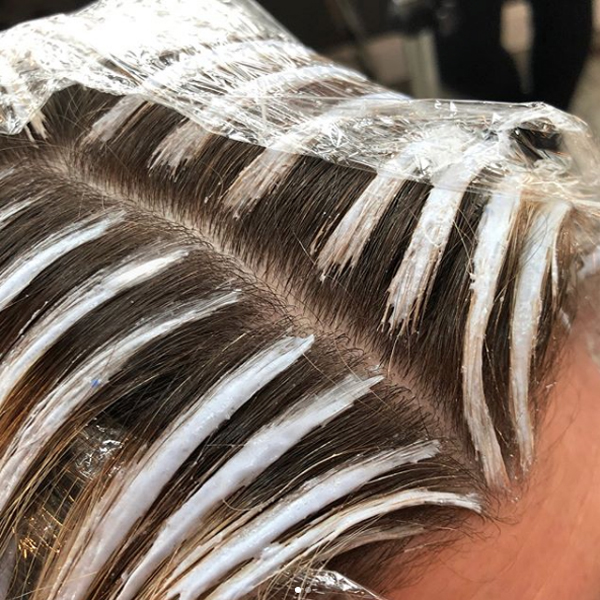
Pre-Section To Save Time
- If you are new to balayage, the application can be a messy process. Stay clean with your technique by pre-sectioning the hair—it creates a road map for you to follow, allows for more accurate placement and saves times in the end.
- It takes Sebastian about 5 minutes to clip everything away when pre-sectioning.
- Watch this quickie Insta video showing his pre-sectioning technique.
A post shared by Sebastian Langman-Kirtley (@sebastiancolorist) on May 4, 2018 at 8:00pm PDT
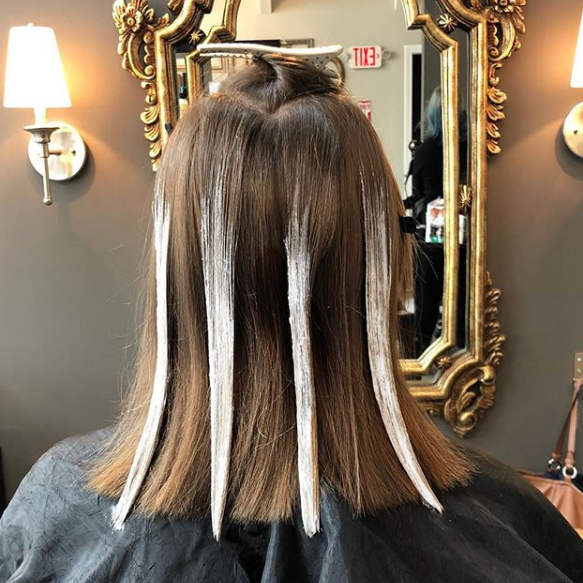
Single-Point Balayage: Create Highly-Effective Color Quickly
- If your client likes that highlight/lowlight look, use a single-point balayage application to achieve tonal variety quickly.
- This technique is great for adding pops of lightened strands without over-lightening the ends.
- See photo below!
- Read more about the balayage point application here!
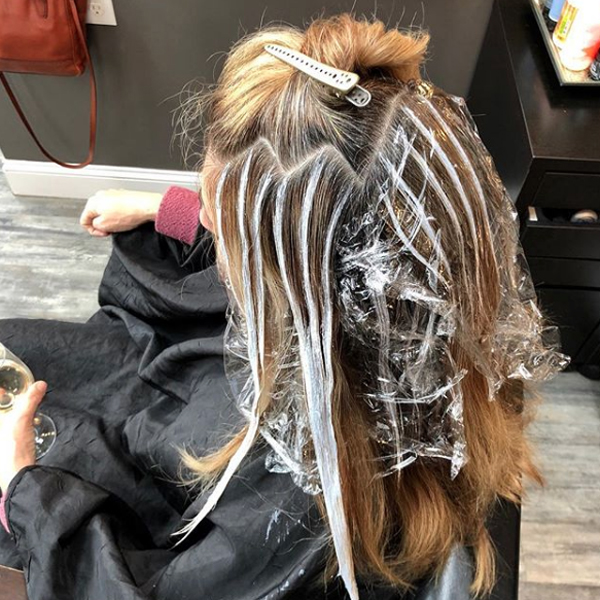
Take Cowlicks Into Account
- When dealing with a strong cowlick, elevate to 45 degrees and balayage in the direction of the growth pattern.
- Forcing the hair against its natural direction can cause buckling in the color and unwanted marbleizing.
- See photo below!
@sebastiancolorist’s Go-Tos:
- Lightener: L’Oréal Professionnel Multi-Techniques Powder mixed 1:2 with L’Oréal Professionnel Smartbond Step 1
- Incubation technique: Plastic wrap
- Sectioning method: Wherever the sun would naturally lighten the hair—surface layers, hairline and part line

Balayage versus hair painting—which technique are you REALLY using?


