3 Sun-Kissed Balayage Tips From @larisadoll
It doesn’t matter what color their hair is, your low-maintenance clients—who are known for keeping things natural and lived-in—are loving the look of a money piece. And Larisa Love (@larisadoll) has a simple technique that makes achieving that bright, sun-kissed dimension around the face frame even easier. Keep reading for three key tips to know when following her diamond balayage technique!
Want to see the full diamond balayage technique from start to finish?
Click here to purchase the video how-to and enjoy lifetime access!
Products Used
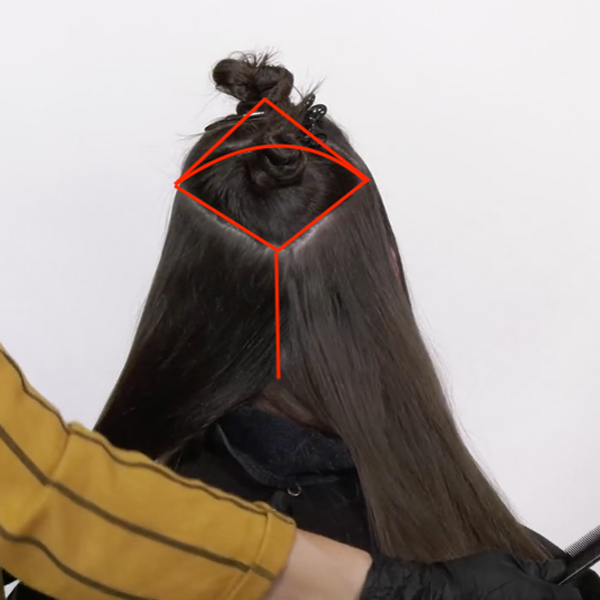
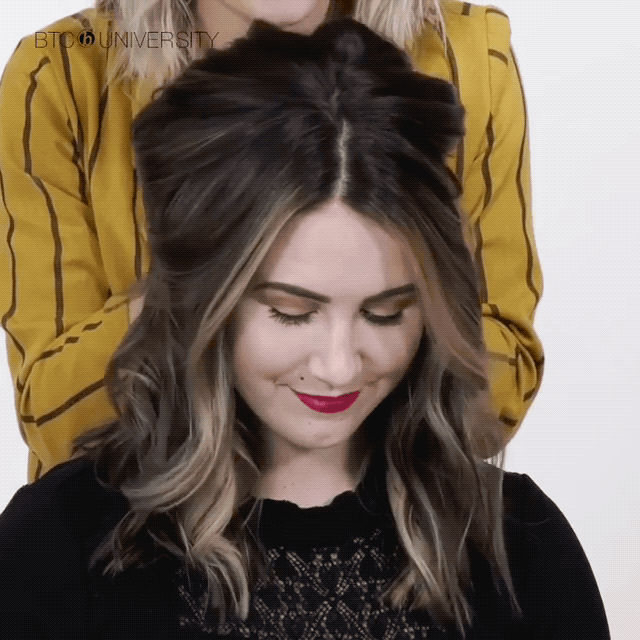
1. How To Section
The key to this technique is the sectioning. Begin with a center profile parting, then create a large diamond section on the crown of the head extending toward the apex and meeting at the parietal ridge on either side of the head down to the occipital bone. Check out the diagram below!
2. Paint Babylights Along The Hairline
For clients who want a subtle, sun-kissed finish around their hairline, Larisa likes to paint babylights on a diagonal back micro-weave in order to achieve that lived-in dimension. It’s an ideal technique for clients who don’t get their hair done very often because the grow out is super soft. It’s also great for clients who tend to wear their hair up because it still brings a lot of brightness to this area despite being softer.
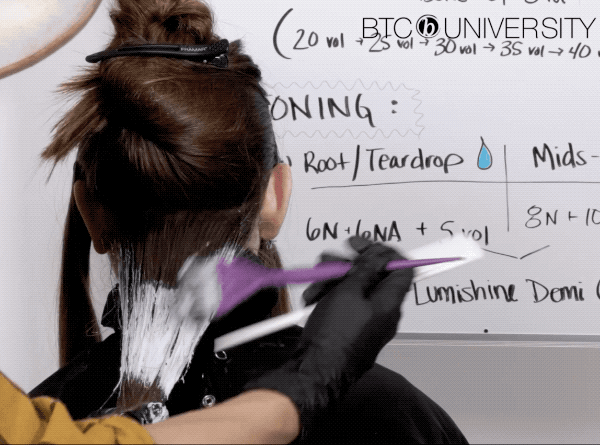
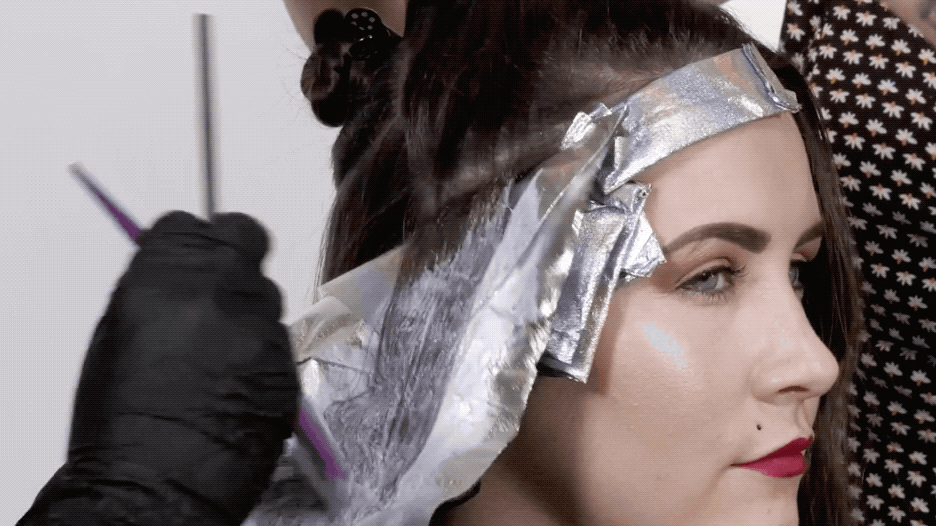
3. Don’t Forget The Second Section
Here’s what Larisa does when she reaches the second section along the hairline: Take another diagonal back subsection about ½ an inch deep and tease at the root. Then, apply the lightener from the midlengths to the ends and place in between foil to process.
Check out the finished look below—and click the beaker for the formula!

Now Peep The 360 Of This Finished Look
Want more tips from Larisa? Here are three surface painting techniques for blonde dimension!