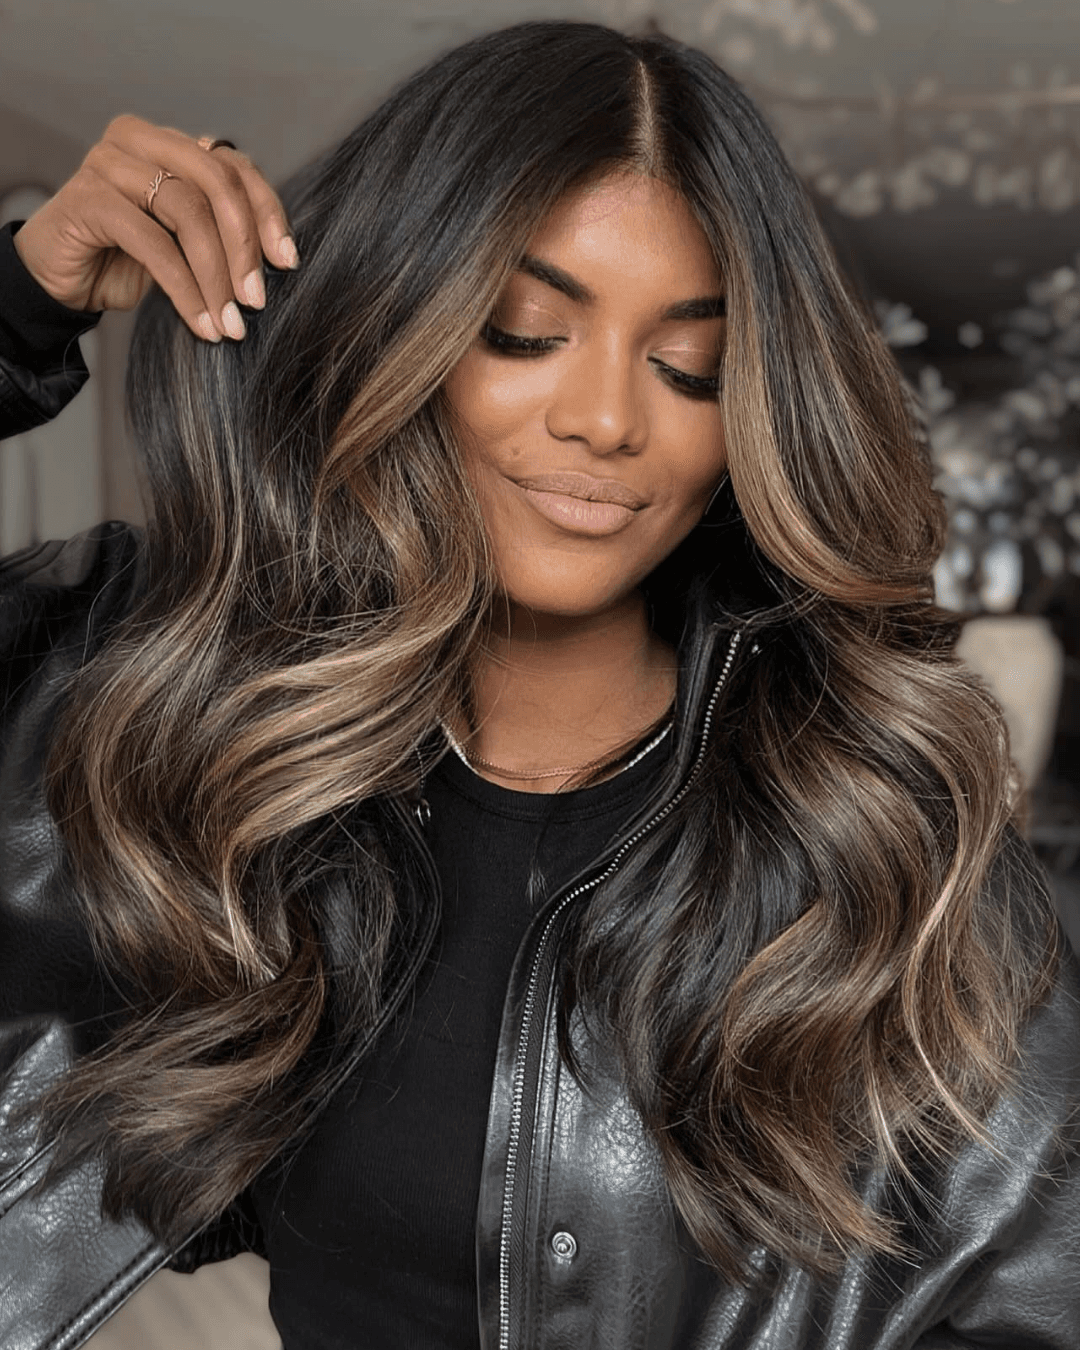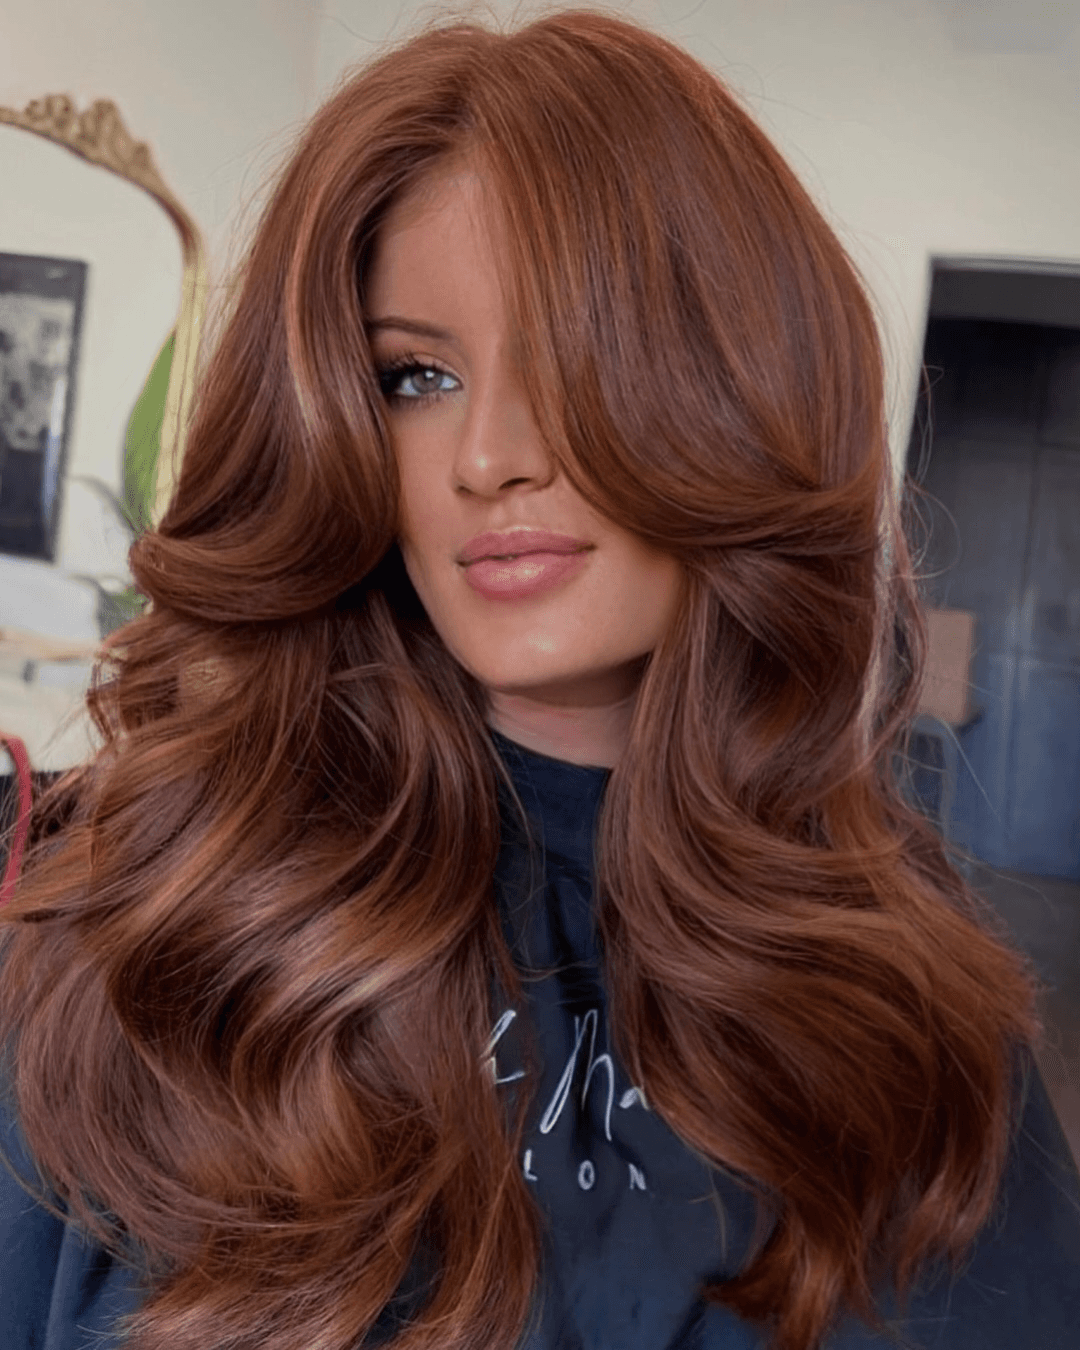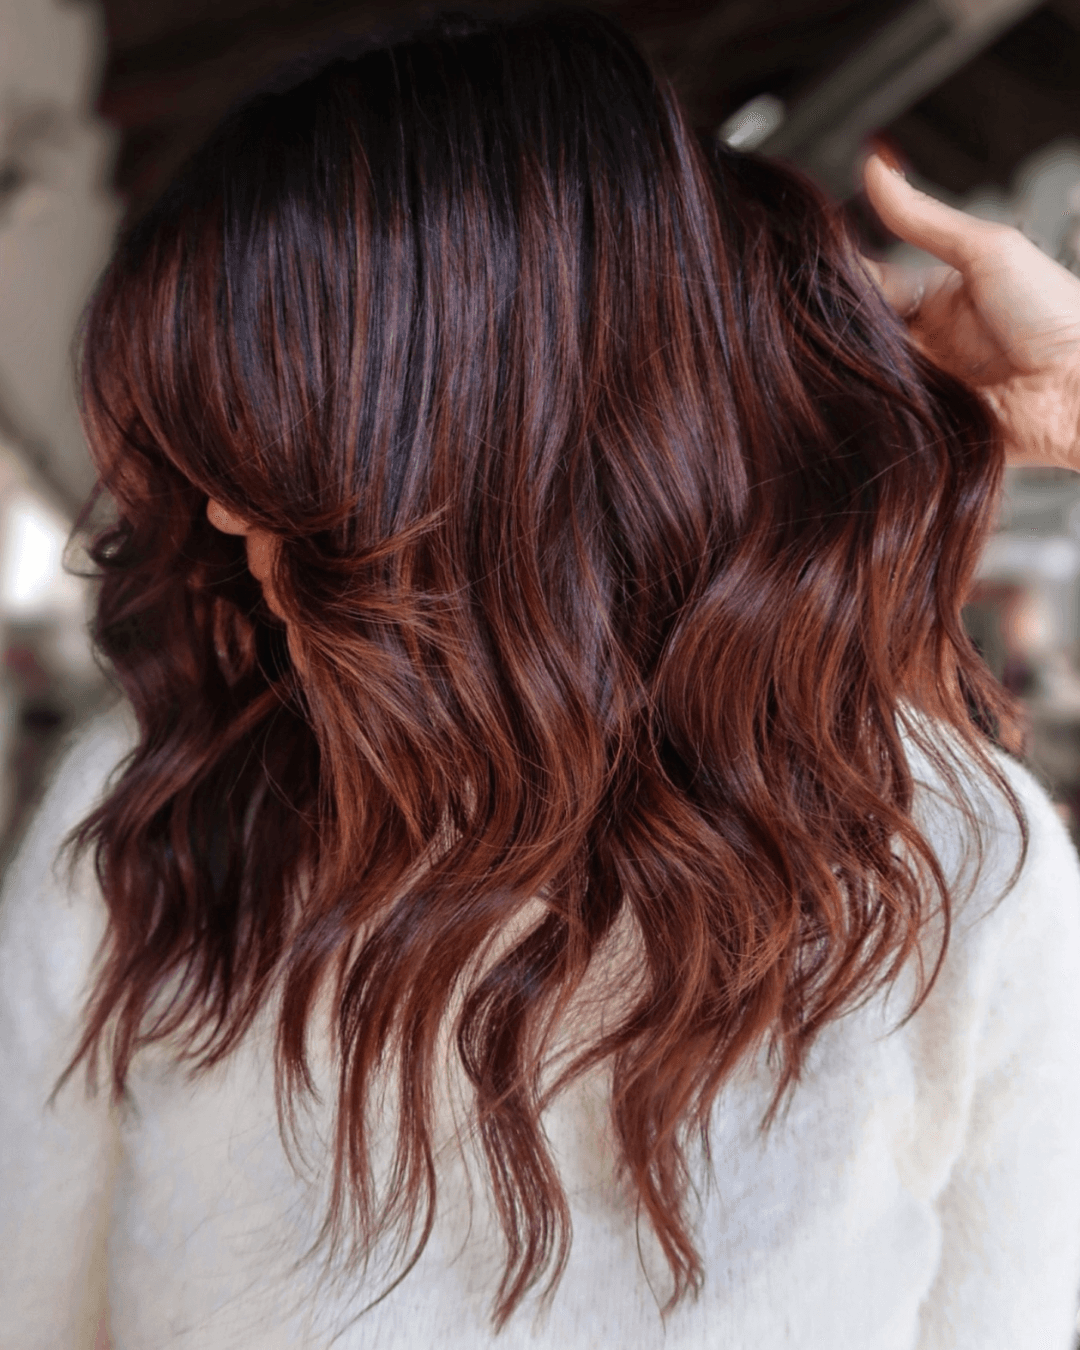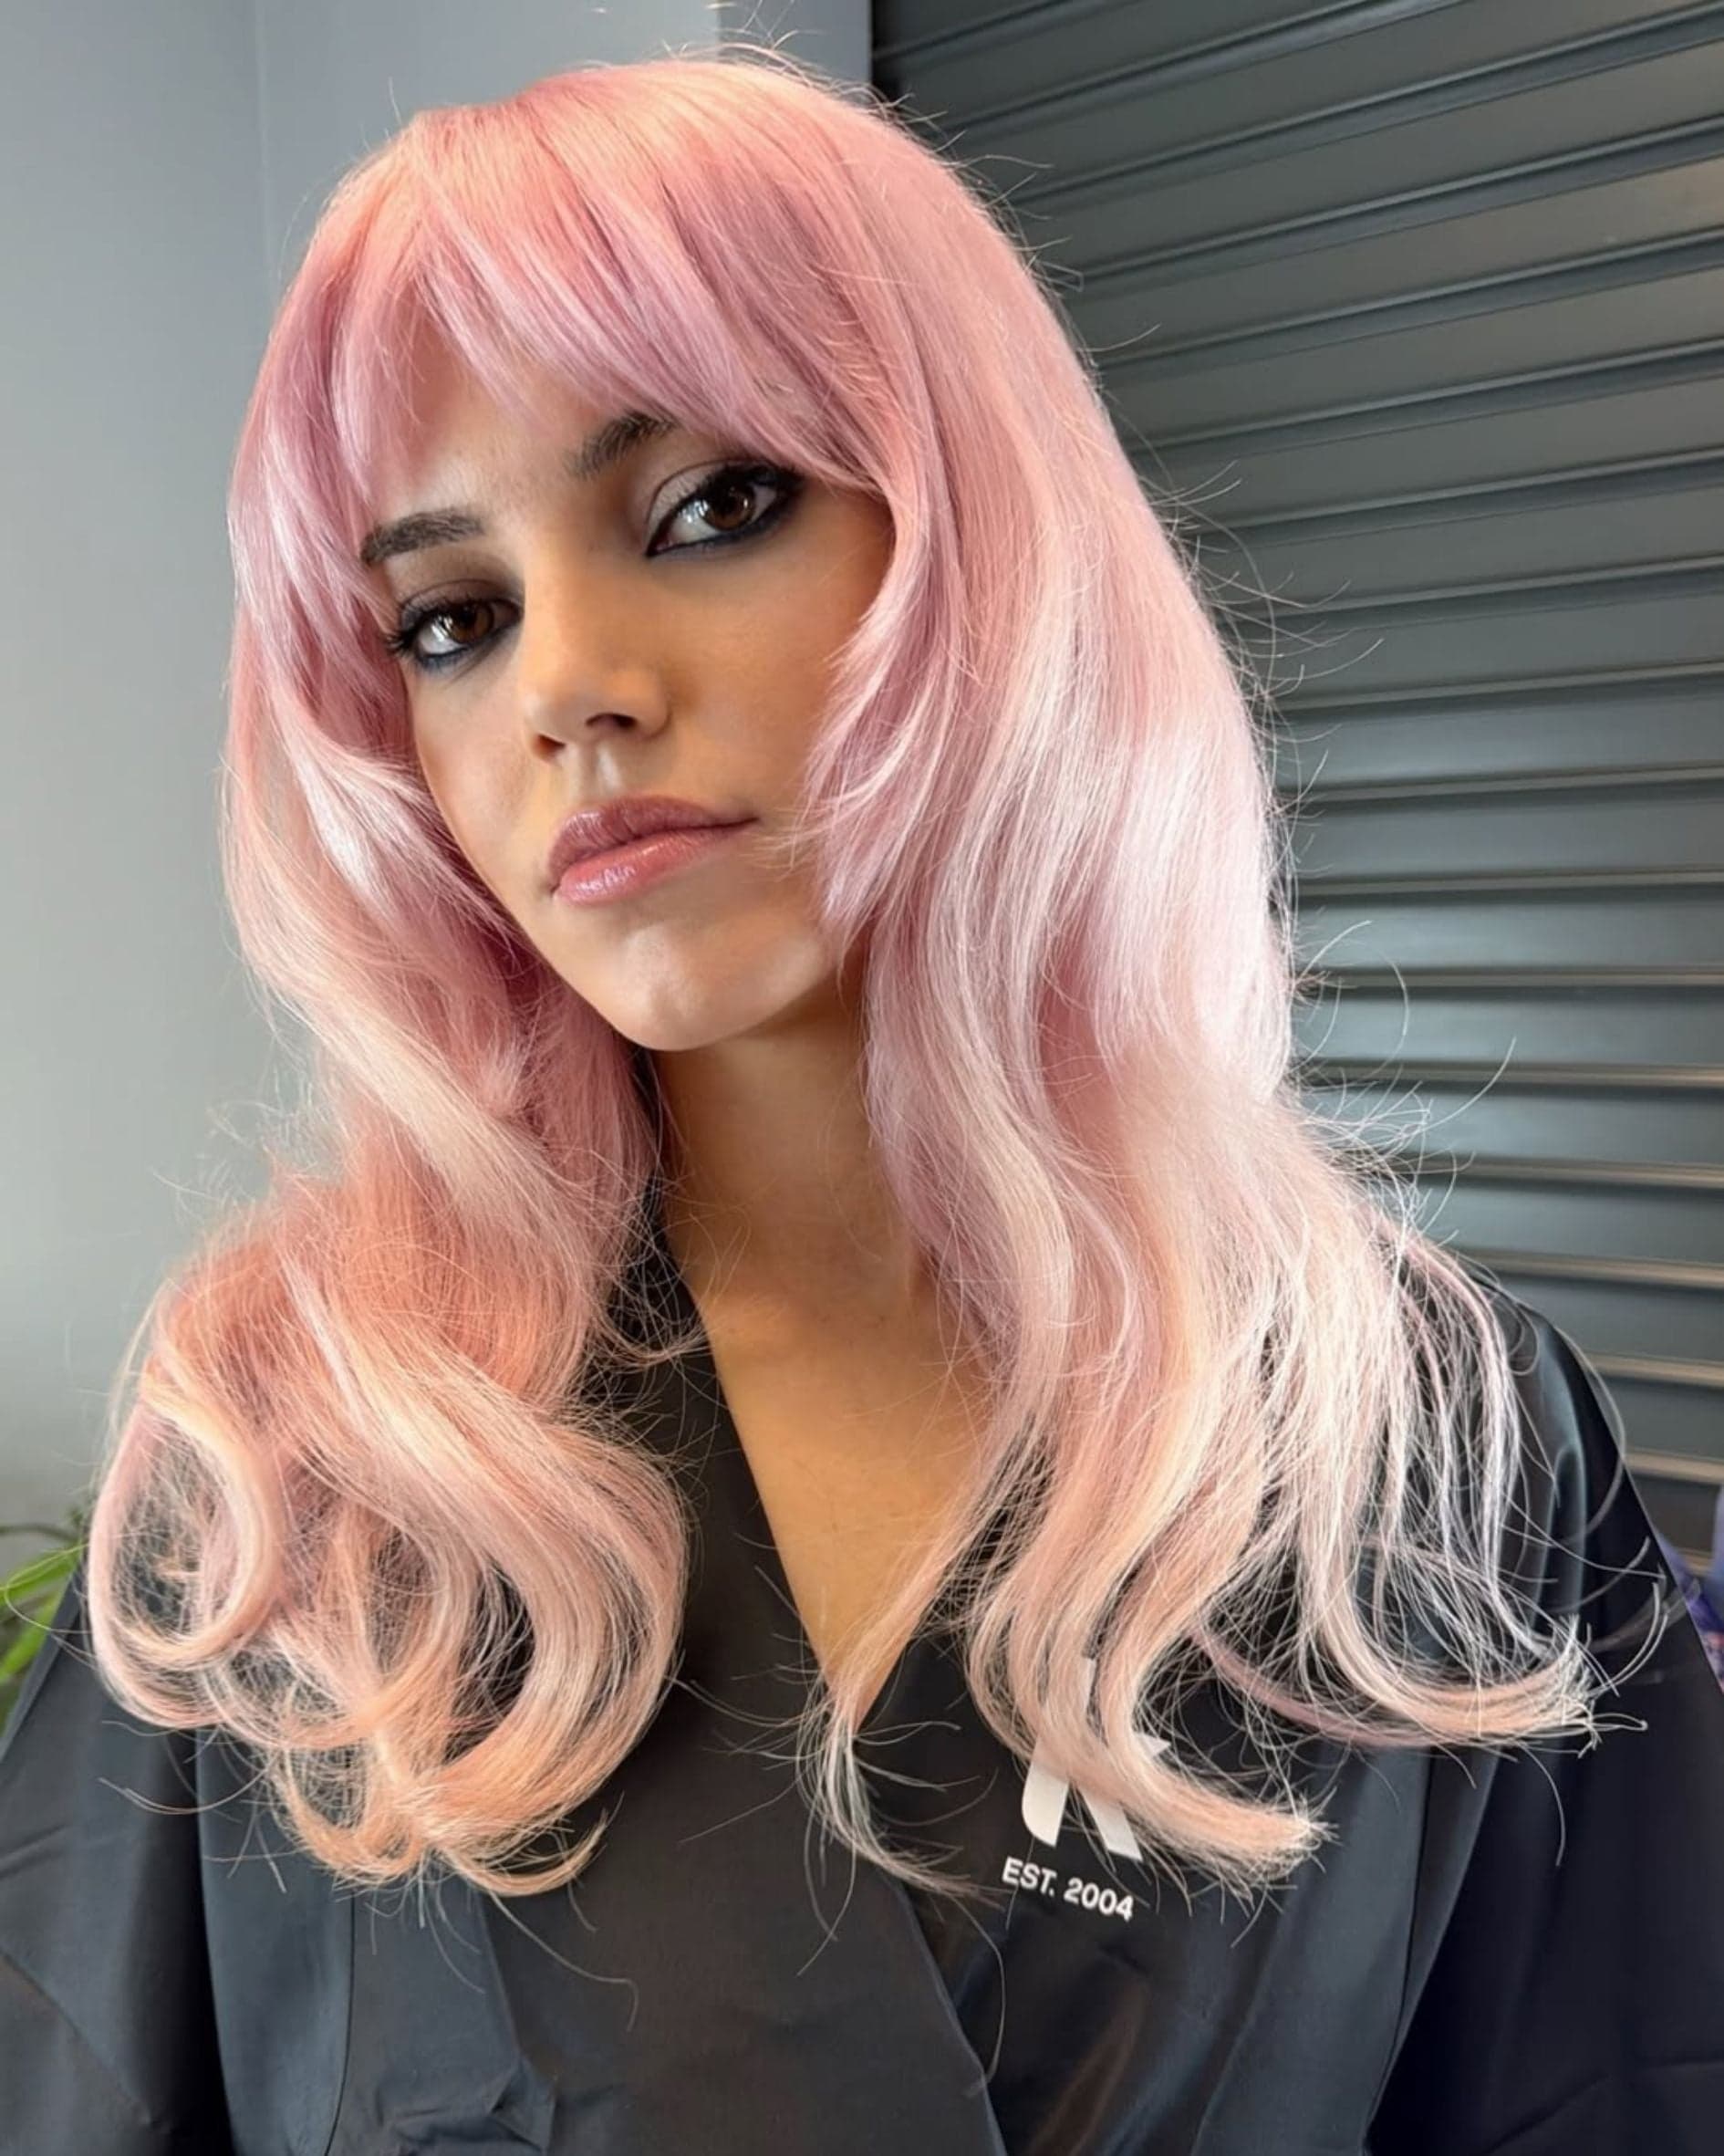
For those who have been itching to learn a more understated version of ombré—your wait is over! Schwarzkopf Professional and Kim Vo are calling their "Sombré" technique the next generation of ombre haircolor. "Sombré" combines the entire flavor of the ombré technique, without the strong contrasts. It is the perfect technique for your ombré hair clients who are looking for the next big trend and/or would like to evolve from the basic ombré to a new, inspired look!
STEPS
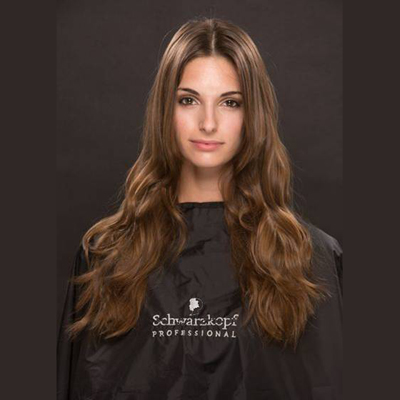
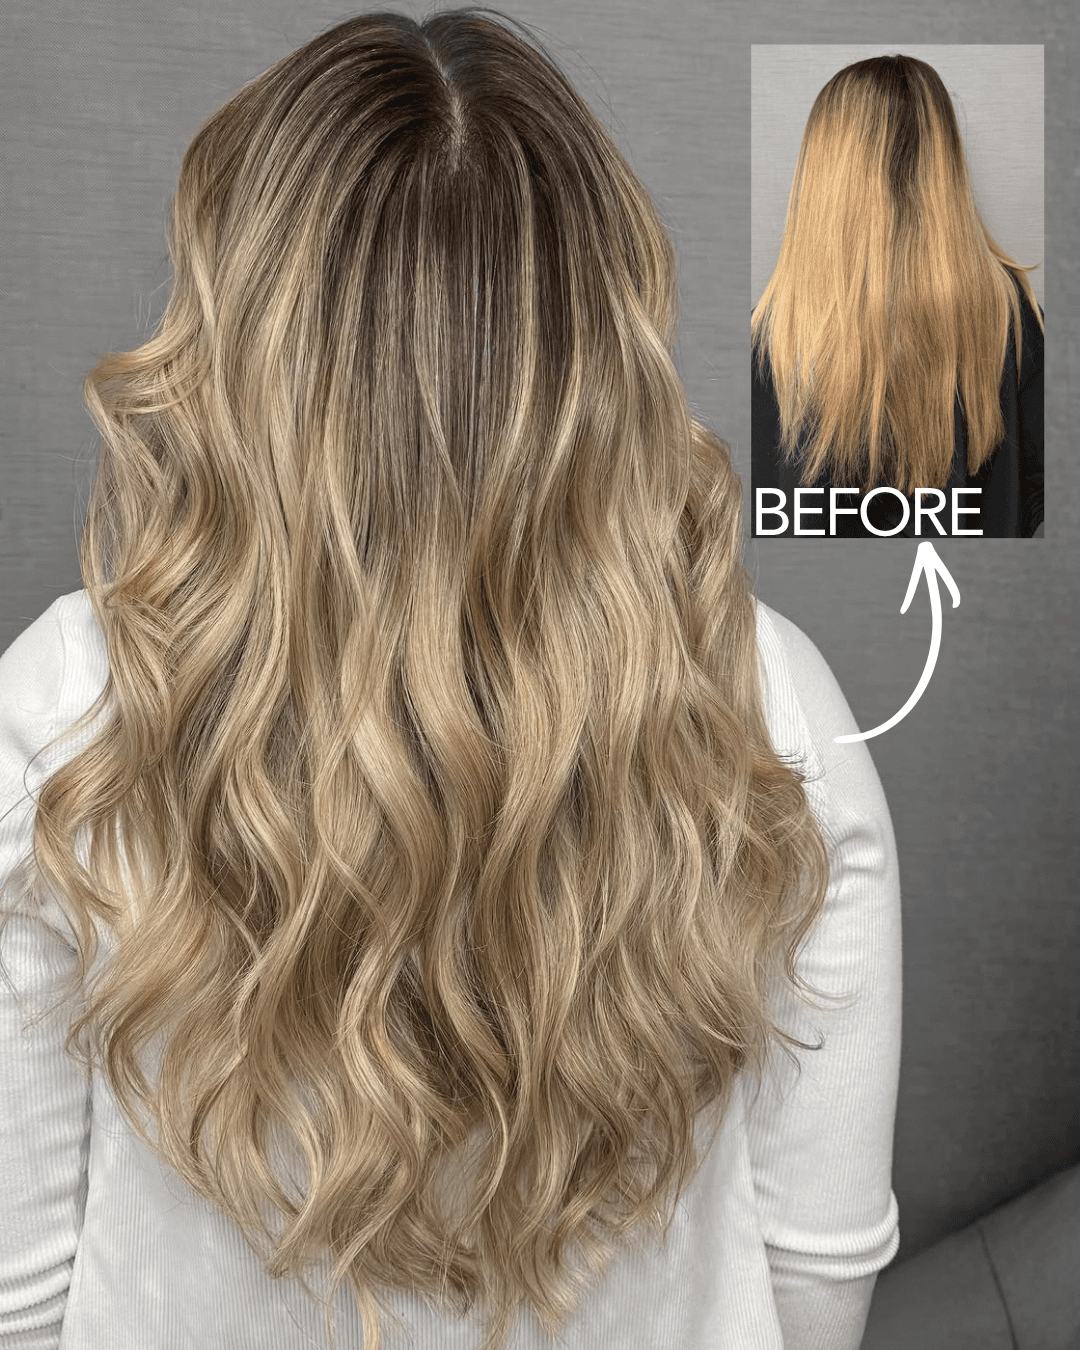
Before
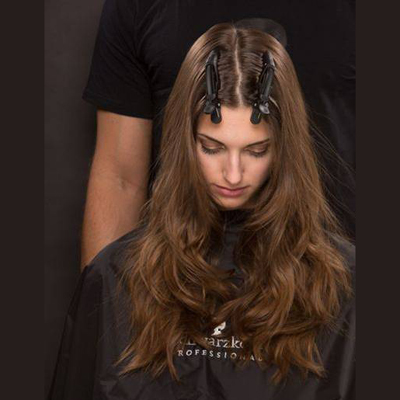
Sectioning is key for this technique!
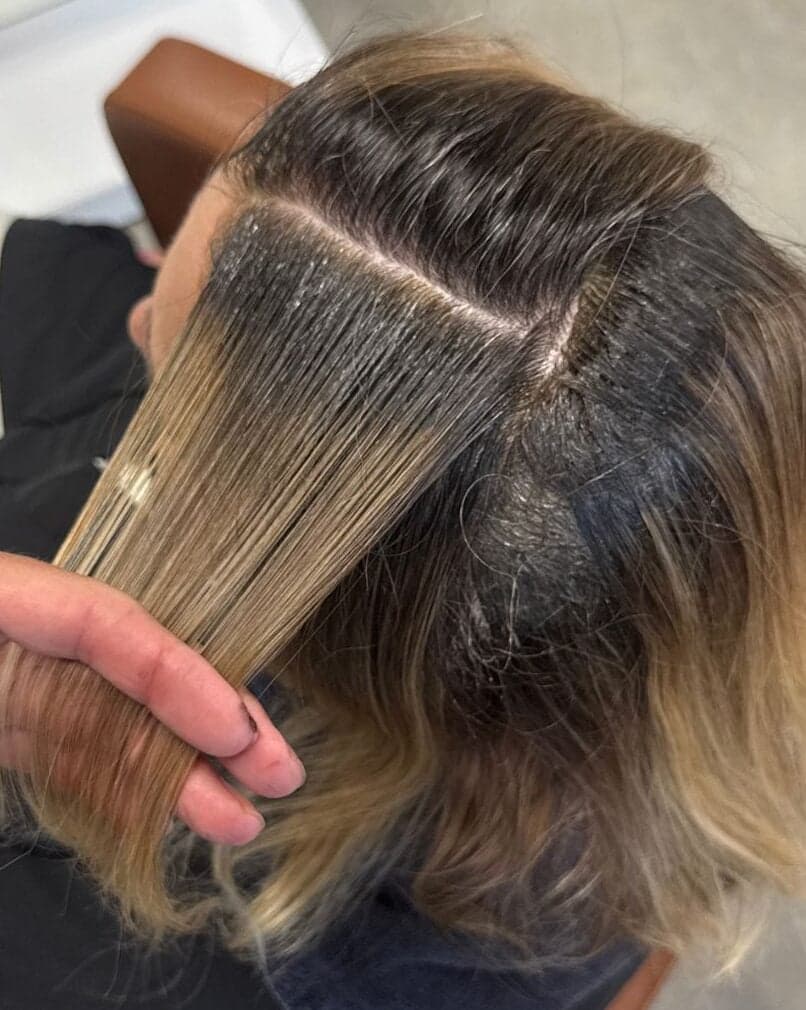
Section the hair in the middle, using 2 clips to keep the section clean.
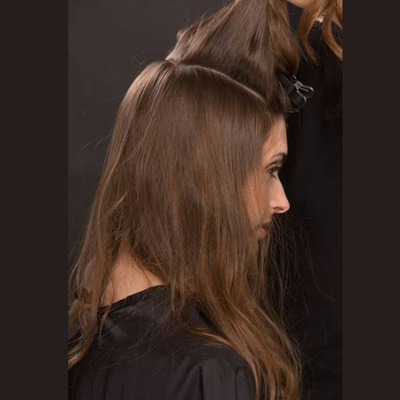
Section the hair line from the front hair line straight across the crown creating a rectangle.
Complete on both sides.
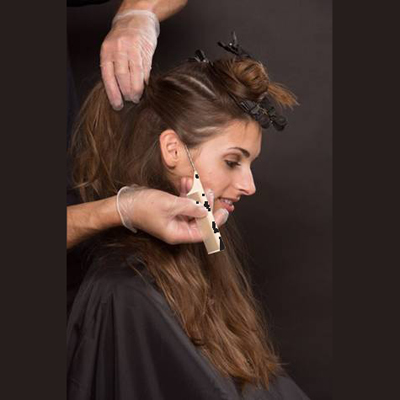
Start the next section next to the ear. Do the exact same thing on the other side, connecting them in the middle, creating a horseshoe.
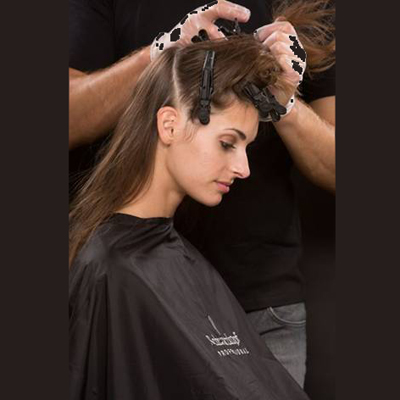
Start the next section next to the ear. Do the exact same thing on the other side, connecting them in the middle, creating a horseshoe.

Section the back in 2 sides (almost like ponytails). You should have 7 sections.
Sectioning completed! Now, get ready to start with the color!
Tip: Before you start, ensure you have enough plastic wrap.
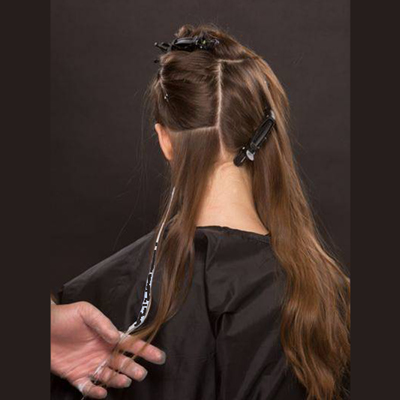
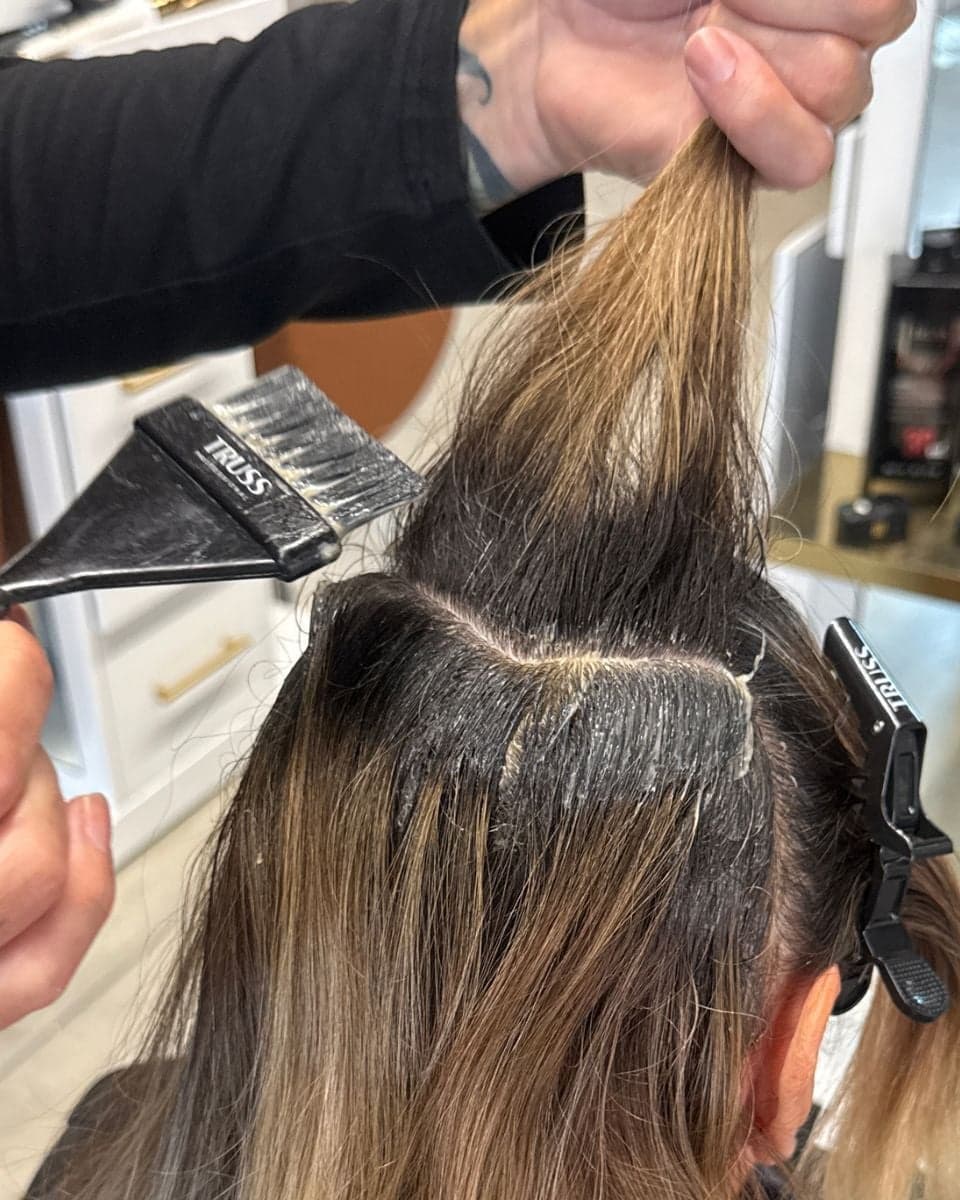
Starting at the nape, start to paint the first piece of hair. 3-4 inches from the first piece, paint a second piece of hair. Continue to paint random pieces until the first section is complete.
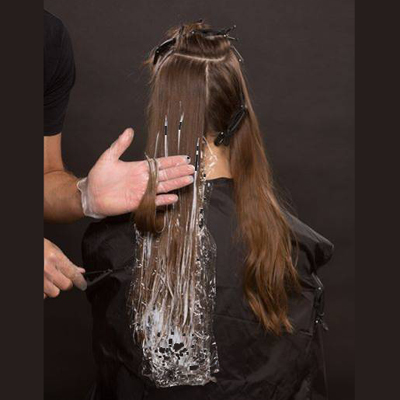
Tip: Keep in mind that this is a “Sombre Technique”, not “Ombre”: The color goes like a pyramid, no matter if it goes all over the hair strand or just lightens out.
Only paint one side, do not drench it - just cover the tips
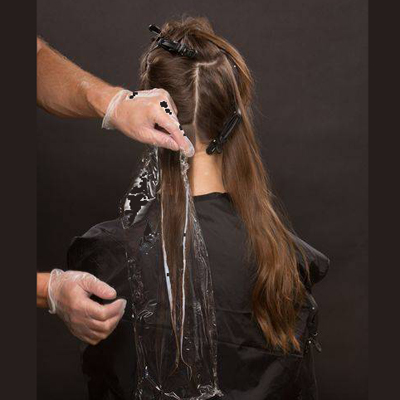
Take little strips of the plastic wrap and place it over the strands, to protect from future sections.
Continue to paint the next subsection of strands.
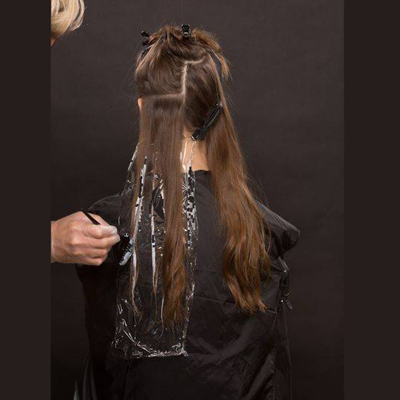
Continue coloring upward towards the crown, approximately 4 sections until reaching the horse shoe sectioning.
Tip: There is no need to get even strands. This is where you become artistic.
Once both sides have been completed, drop the top section. Shake the hair in order to catch the natural movement and determine which pieces will be lightened. Continue the painting process.

For side sections, your painting will become more condensed.
Decrease your placement from one another to 2 inch sections.
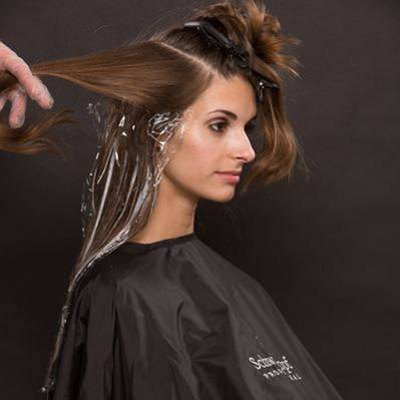
Taking the next section (rectangle), continue painting with 2 inch sections in between each strand.
Continue on other side.
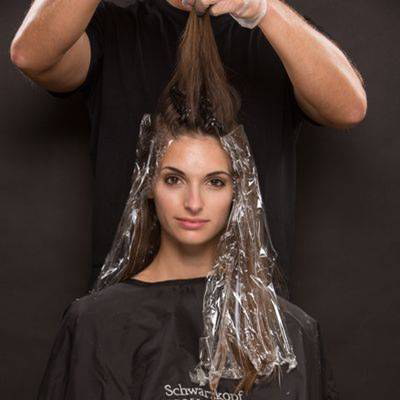
Now, take the top section of the hair.
Tip: Let the hair fall how it wants to fall. Do not allow the sections to control it.
Continue the painting process.
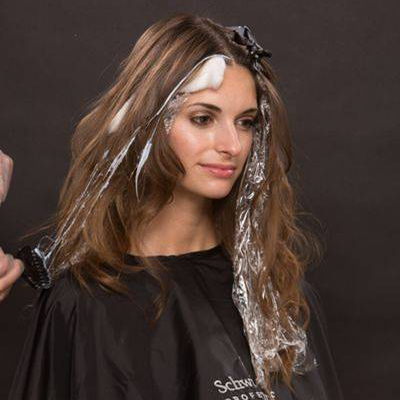
The only time to use cotton is to push the bang to protect the skin from the color cream. Just wrap the ends with plastic foil.
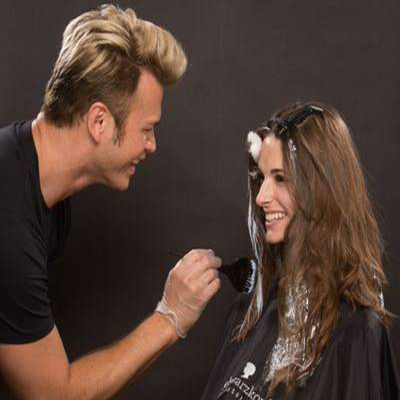
Once you have completed all sections, you come to a point where just a few little hair pieces stick out, where the sun would kiss the hair. Paint these to give the hair a sun-kissed touch.
Tip: When you paint these in the front, this is a great opportunity to look at your client.
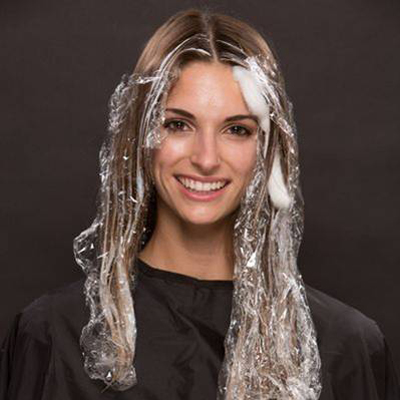
You have made it! First part completed!
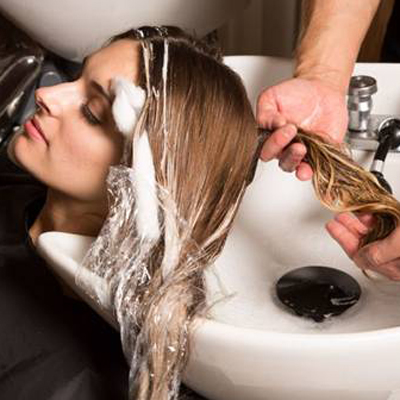
Working with a higher percentage of BLONDME Premium Care Developer, this technique develops quickly and is ready to be rinsed after the full application has been completed.
Begin rinsing the back sections, wait 3-4 minutes between each side section to rinse, to ensure even lifting and the perfect foundation for toning.
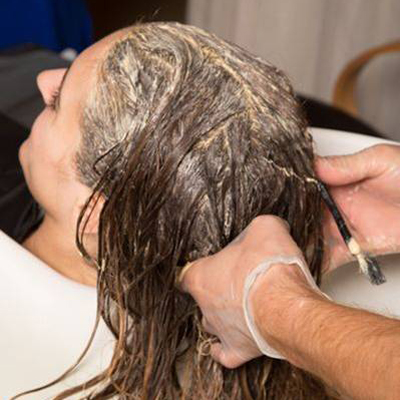
Apply from roots to ends.
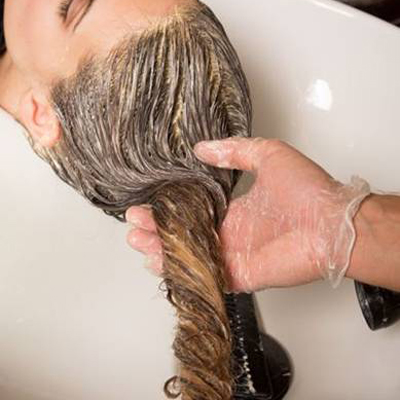
Comb the color through the hair to bring color to the ends.
DEVELOPMENT TIME: Leave in up to 30 minutes depending on desired tone. Rinse out.
TIP: The good thing about BLONDME Toners - You can control the depth and timing.
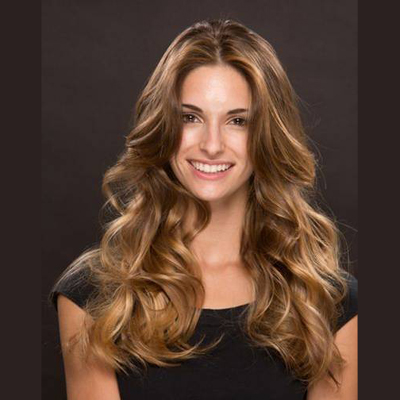
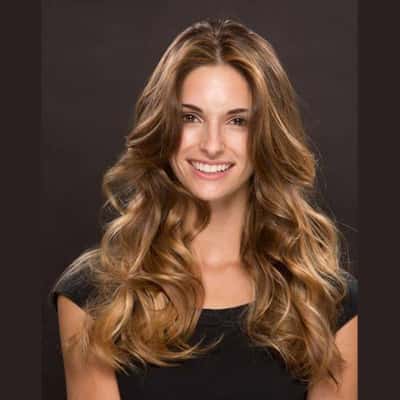
Finished Look