STEPS
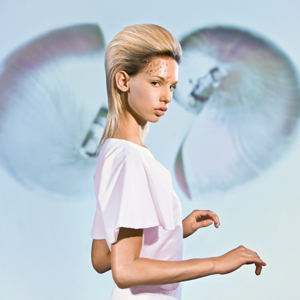
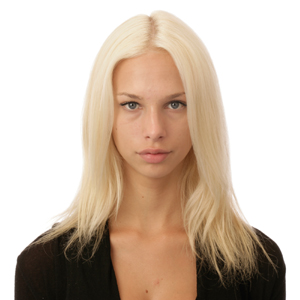 Cecina is looking for a new style that frames her face and offers new and different styling options.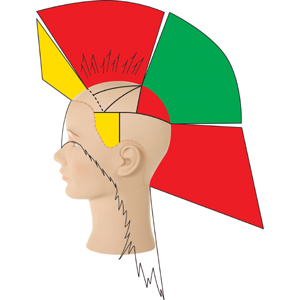
Increase layering is positioned in the exterior with graduated lengths at the sides. Uniform and increase layers in the crown connect to increase layers in the front interior. Graduated lengths are sculpted in the fringe.
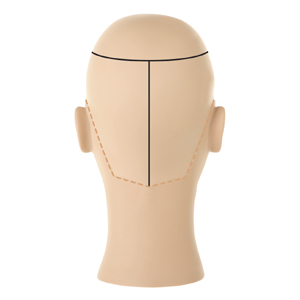 Section the interior from the exterior at the upper crest. Subsection the back vertically down the center.
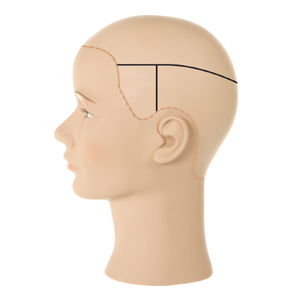 Section the interior from the exterior at the upper crest. Subsection the back vertically down the center.
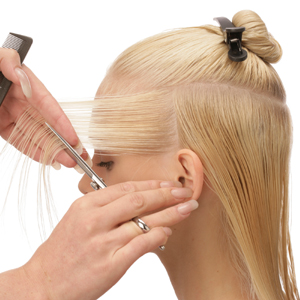 Take another parting from just behind the ear and repeat the same techniques using the previous parting as a stationary design line. Next, take another parting from just behind the ear and repeat the same techniques. Repeat on the opposite side.
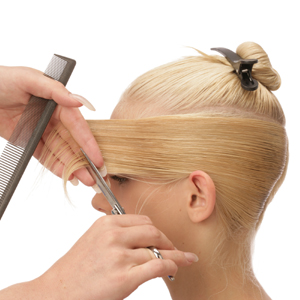 Work toward the center back in the same manner. Repeat on the opposite side.
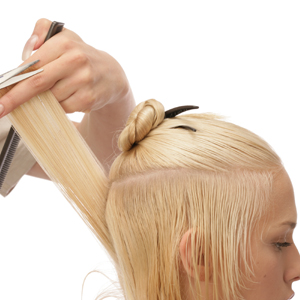 Next, take a vertical parting in the center back of the exterior and project at 45° above 90°. With your fingers positioned nonparallel to the parting, sculpt to create increase-layered lengths.
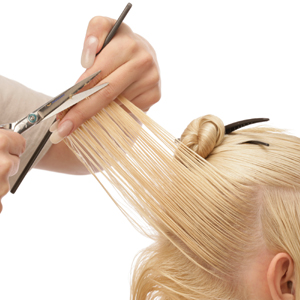 Use the center parting as a stationary design line and converge subsequent vertical partings while maintaining the same projection and finger position. Repeat on the opposite side.
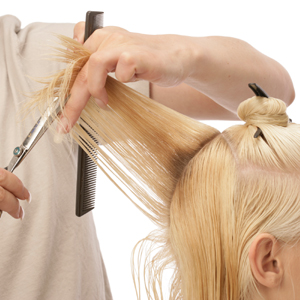 Next, subsection the front from the back interior. Take a vertical parting in the center of the crown and project at 90°. Position your fingers parallel to the curve of the head to sculpt uniform lengths using a length guide from the previously sculpted section. Repeat on the opposite side.
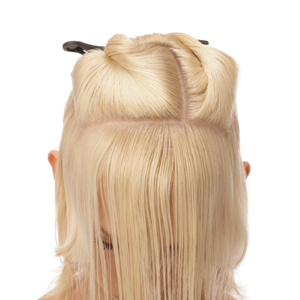 Next, subsection the interior with a side part extending from above the middle of the left eye to just behind the apex. Release a 1” (2.5 cm) wide horizontal parting around the fringe.
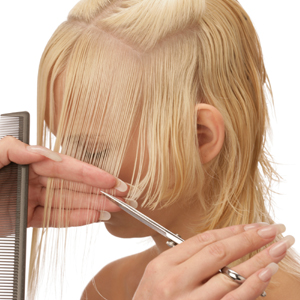 With the head slightly tilted forward and the hair in natural distribution, take a horizontal parting in the fringe. Use a nonparallel finger position for a diagonal-back line to connect with the shortest lengths on the left side. Sculpt parallel to your fingers. Then sculpt the other side of the fringe. Create a steeper diagonal-back line for a length increase toward the right side.
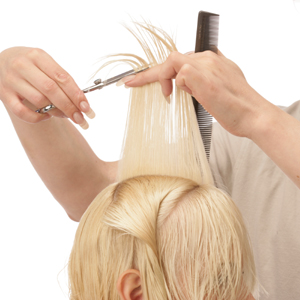 Take a pivotal parting along the lighter side of the part, project straight up, position your fingers for a slight length increase toward the front hairline and sculpt parallel. Repeat on the heavier side of the side part.
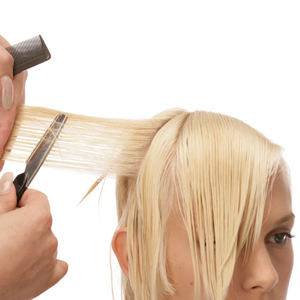 Take vertical partings and texturize with gentle razor strokes along the midstrand and ends of the hair.
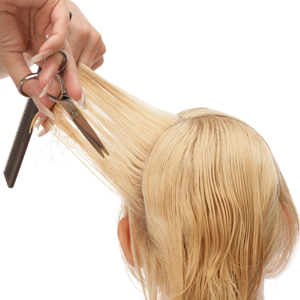 Use the shears with the channeling technique in the back interior to break up the texture.
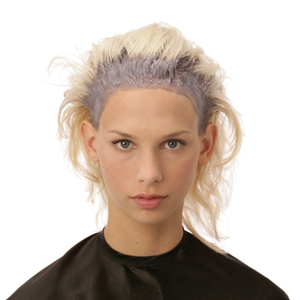 Apply a level-7 ash permanent color with 10 volume (3%) developer to the base throughout the entire head.
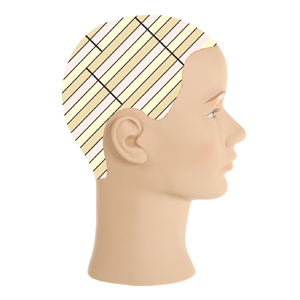 The art shows an alternation of slices following the hairline on the front and the sides. Begin at the right front hairline with an alternation of colors: level-9 ash demi-permanent color with developer; pastel beige demi-permanent color with developer; leave the next slice in its existing color.
 Continue the alternation throughout the design. Process, rinse, shampoo and condition prior to styling.
 Credits
DF 282 Artist: Joakim Roos, Sweden
Makeup: Dino
Fashion Stylist: Roel Schagen at Elenbaas Agency
Fashion Photography: Mike van den Toorn
Technical Photographer/Videographer: Tina Rayyan