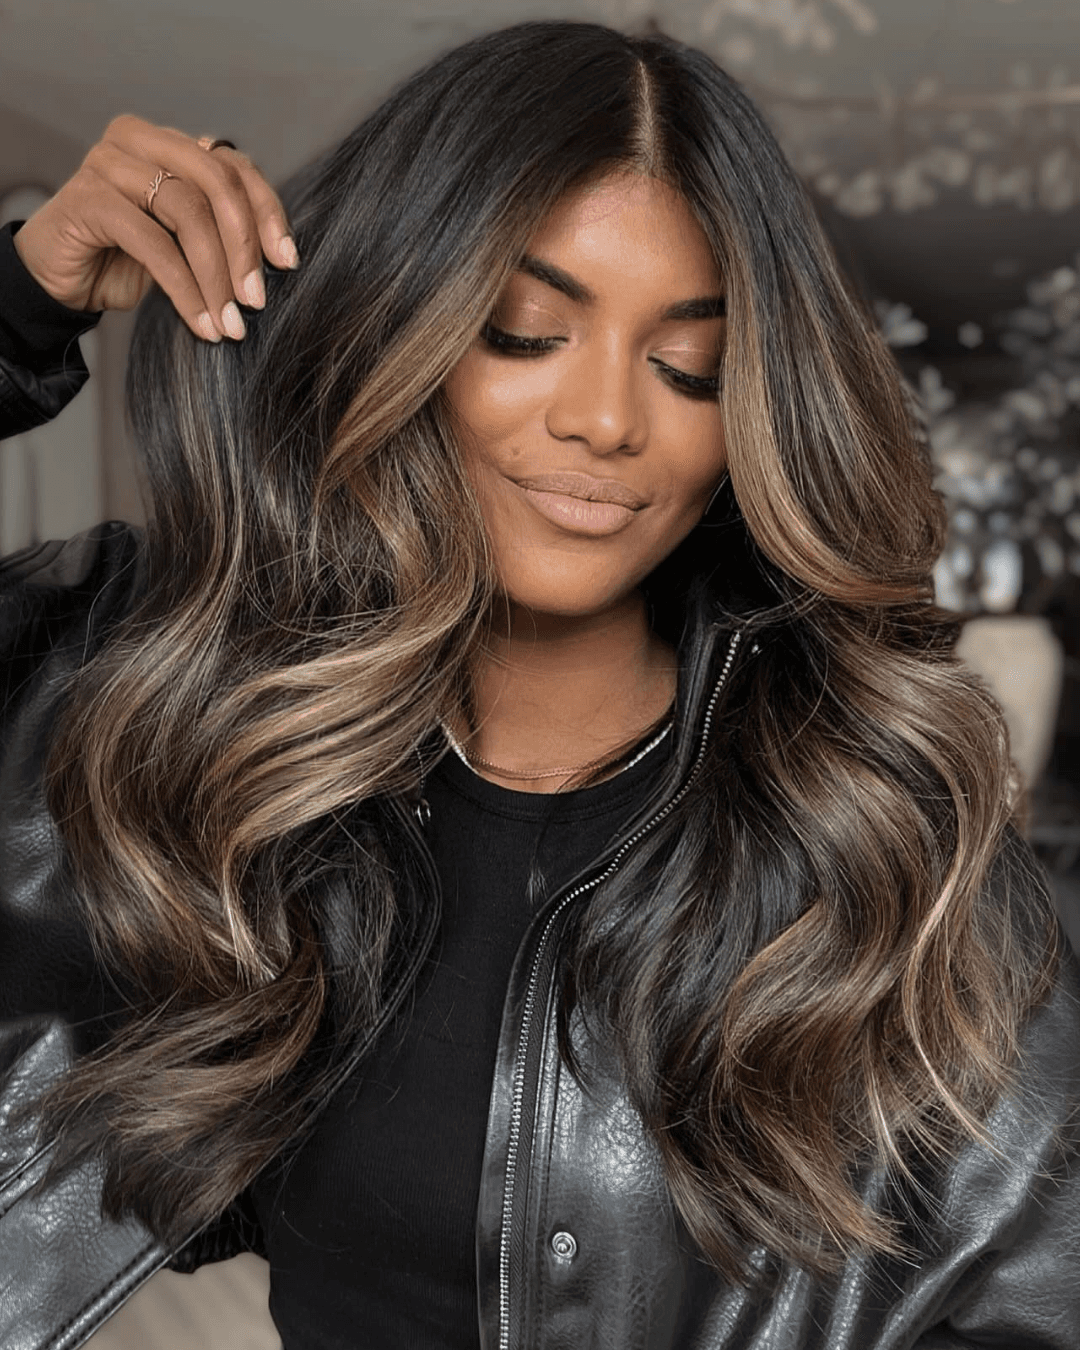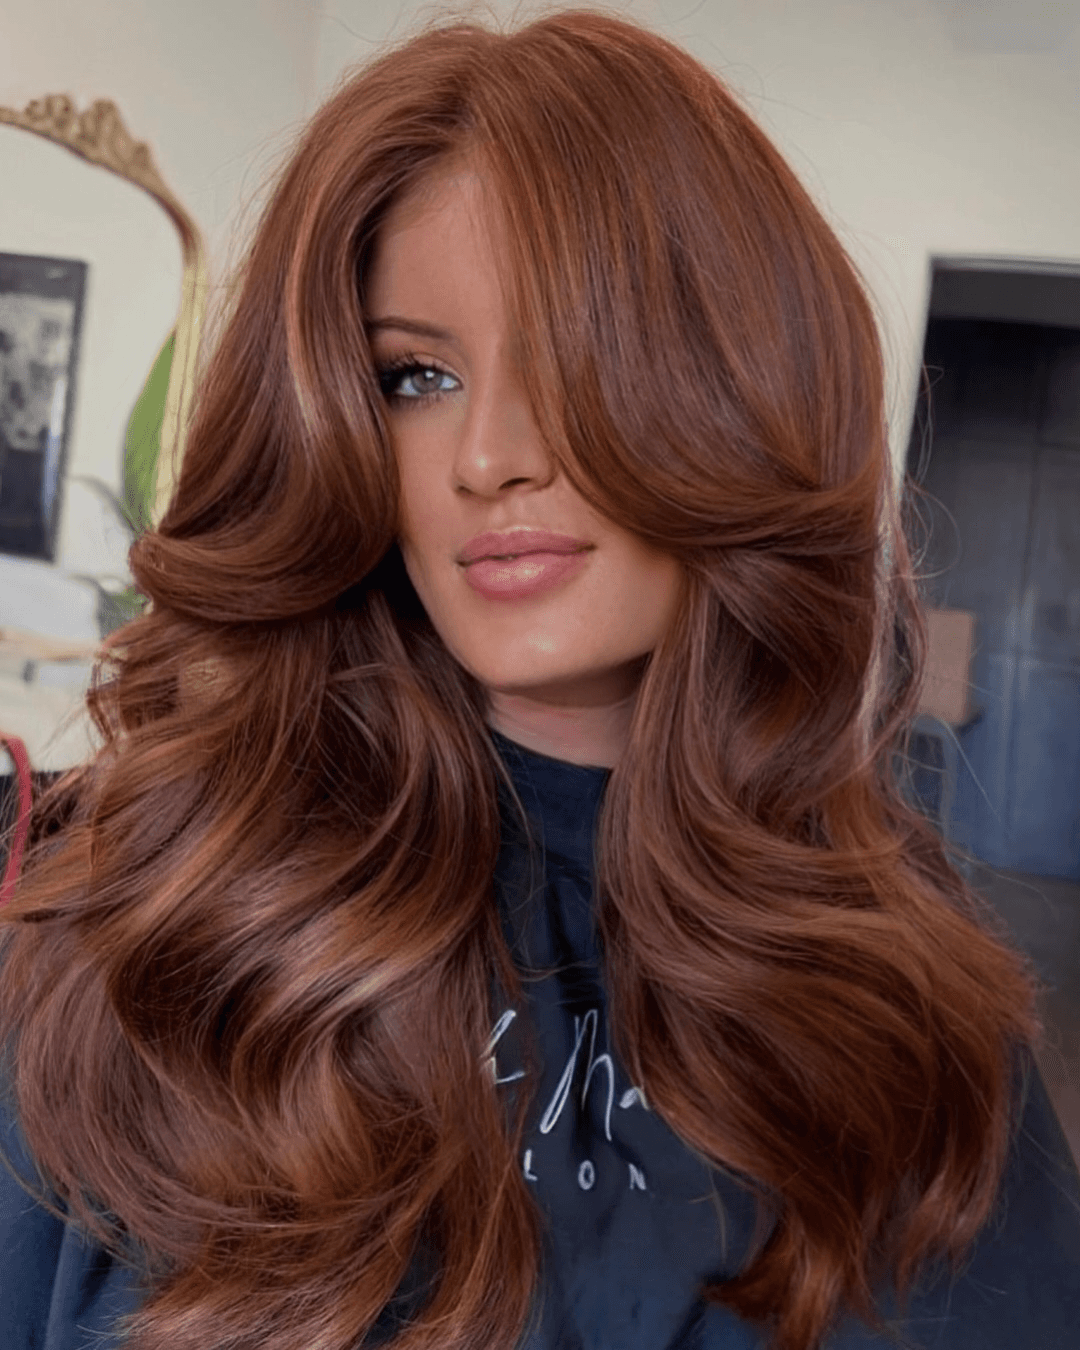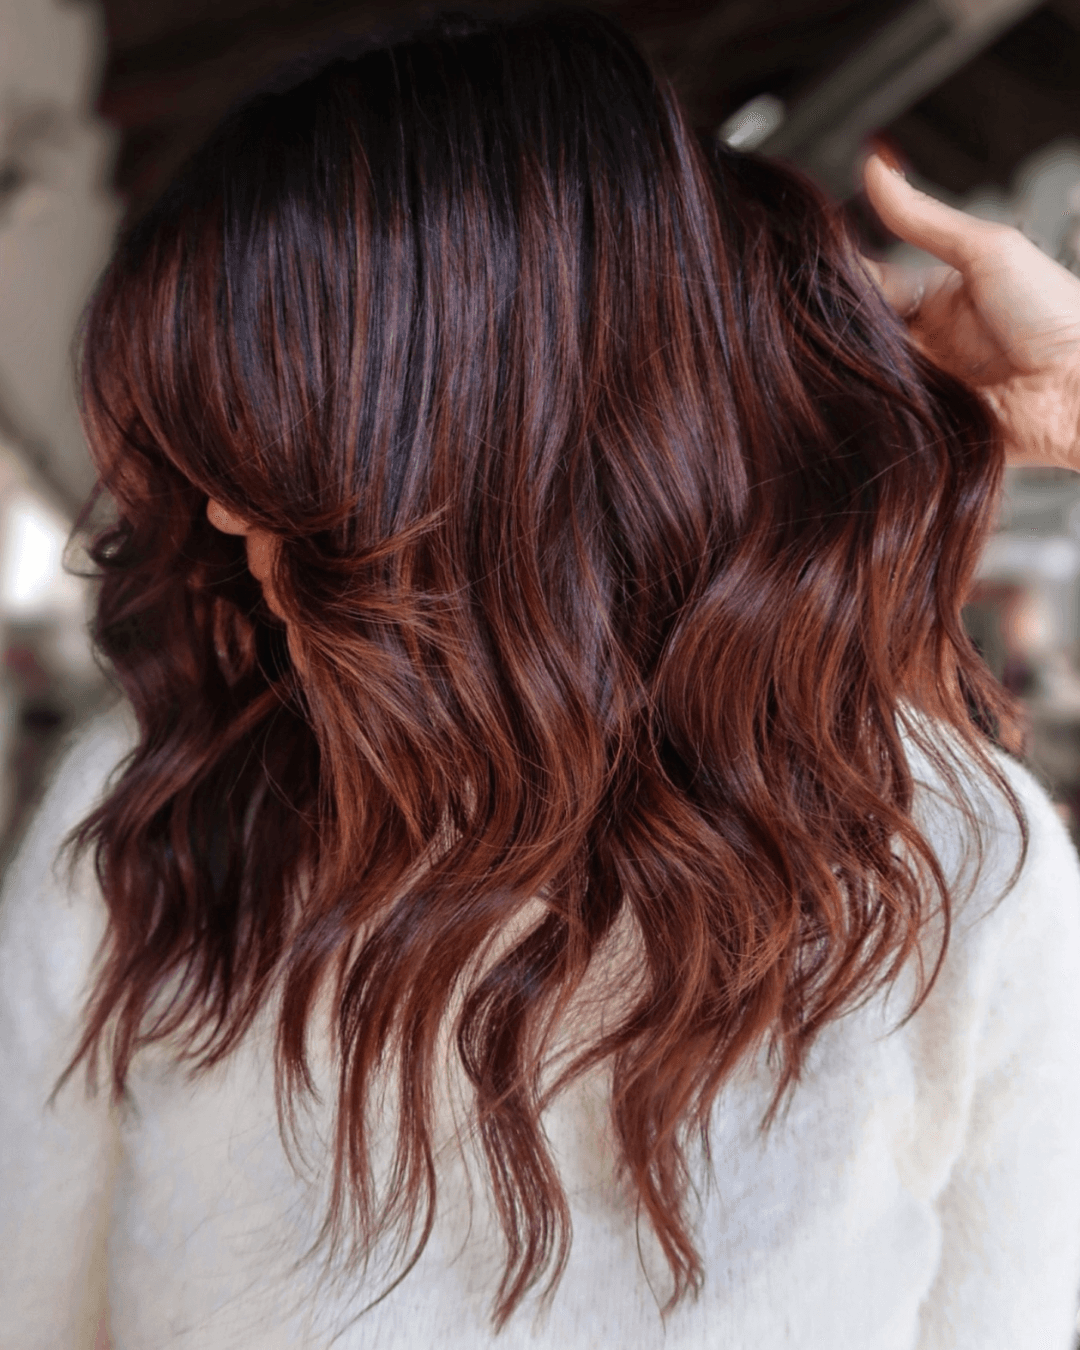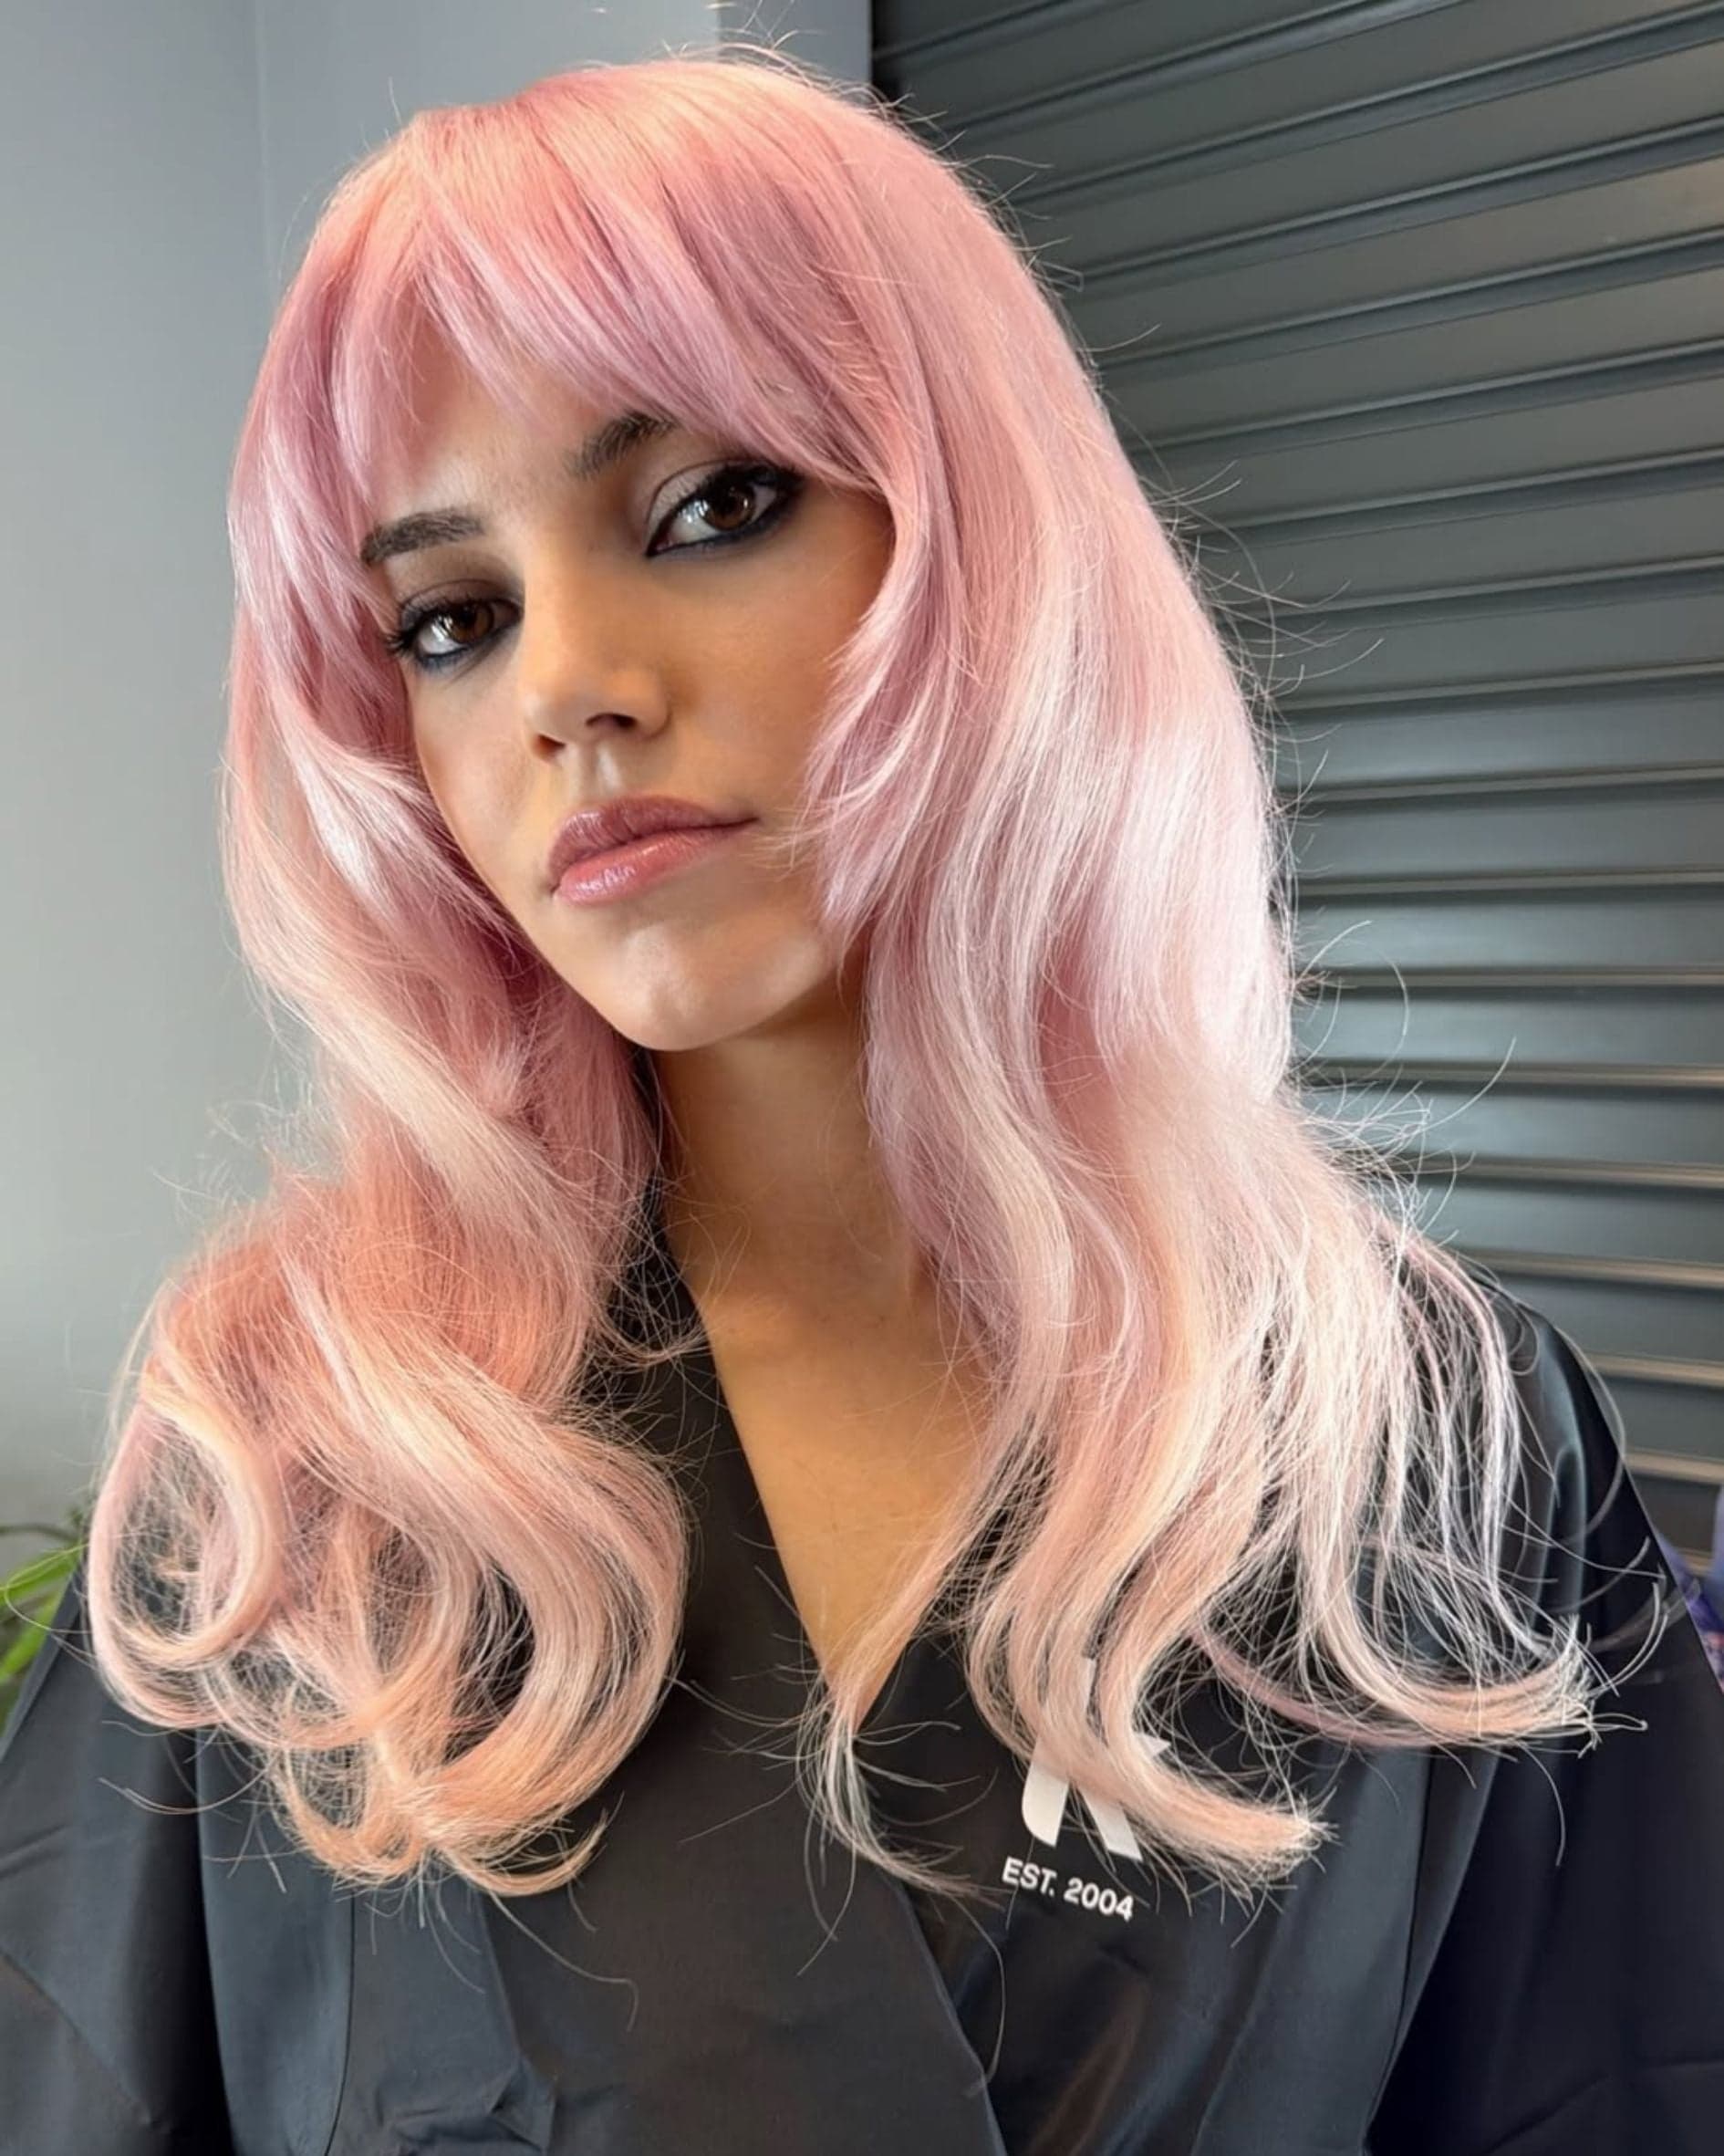
Bi-level cuts are perfect for your clients who seek cuts with versatility. In this step-by-step from Pivot Point International, you'll learn how to create this cut and color and see two ways to style it: as a piece-y, romantic look or sleek with edge factor.
STEPS
 Naomi, pictured, wants to keep the length on the sides but add interest on the top with shorter lengths and brighten her overall color.
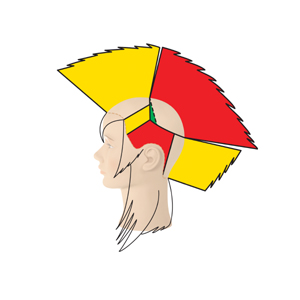 Increase layers are sculpted over graduated lengths in the back. Graduated lengths in the interior fall on top of longer increase layers on the side perimeters.
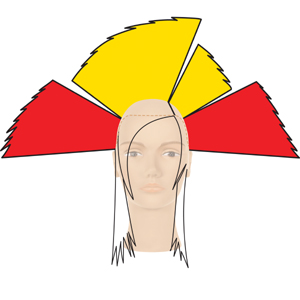 Increase layers are sculpted over graduated lengths in the back. Graduated lengths in the interior fall on top of longer increase layers on the side perimeters.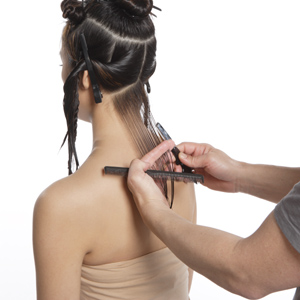
Take a diagonal-forward parting on either side of a center part in the nape. Use perpendicular distribution, low projection and a parallel finger position. Razor etch from the center toward the left side. Repeat on the right side using a length guide from the center.
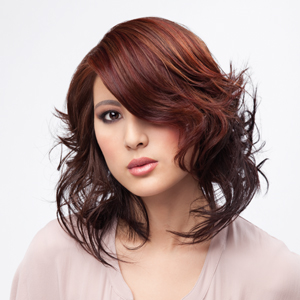
When texture is added, the outcome is a piece-y, romantic look with swing.
Credits
Artist: Vic Piccolotto, Pivot Point International
Make-Up: Sharon Casey
Fashion Stylists: Patric Chauvez, Sam Sok
Fashion Photography: Lisa Sciascia
Senior Photographer/Videographer: David Placek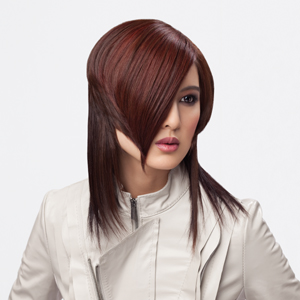
Yet when flat-ironed, the outcome is sleek and edgy, placing emphasis on the upper level of the bi-level cut.
Want more step-by-steps? Check out the Sculpted Bob Cut and Color How-To from Pivot Point!
Credits
Artist: Vic Piccolotto, Pivot Point International
Make-Up: Sharon Casey
Fashion Stylists: Patric Chauvez, Sam Sok
Fashion Photography: Lisa Sciascia
Senior Photographer/Videographer: David Placek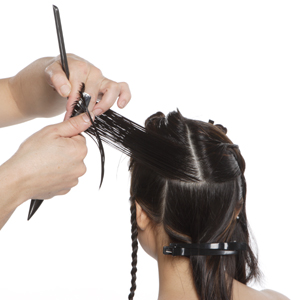 Take a pivotal parting on the left side of the crown section. Project at 90 degrees, use a parallel finger position and razor peel to sculpt a uniform stationary design line. Work to the center back directing pivotal partings to the stationary design line. Repeat on the other side.
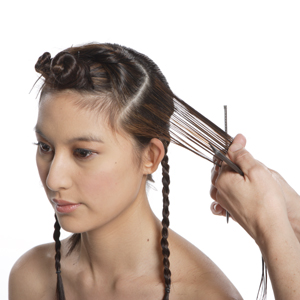 Release a parting parallel to the bottom sectioning line in the upper left side. Use perpendicular distribution, medium projection and a parallel finger position to razor etch a stationary design line.
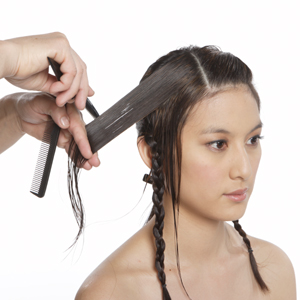 Take diagonal-forward partings on the right side in the top section. Use perpendicular distribution, a parallel finger position and razor etch directing lengths to a stationary design line.
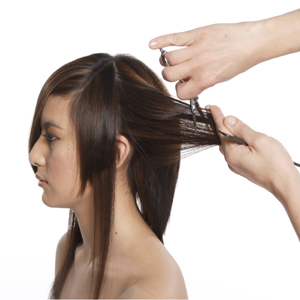 Air form the hair. In the unsculpted lengths behind each ear, use vertical partings, high projection and a length guide from the interior. Slide cut while retaining length. Project slightly higher at the ear.
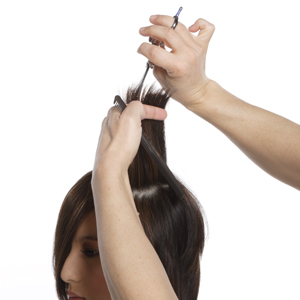 Direct interior lengths straight up and use a deep notching technique to blend the sides, crown and top lengths. Shift the right side back to retain length.
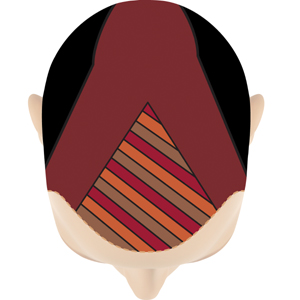 Use back-to-back, diagonal slices in a triangular fringe section. Alternate level 6, warm brown, level 6, copper and level 5, red permanent colors with 20 volume (6%) developer.
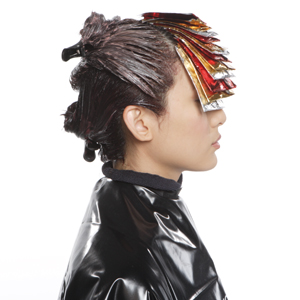 Apply demi-permanent level 4, red-violet in the exterior and demi-permanent level 5, chestnut brown in the interior. Process, rinse, shampoo and condition prior to styling.