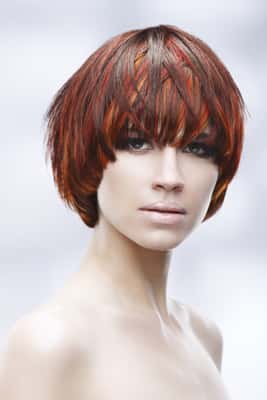
STEPS
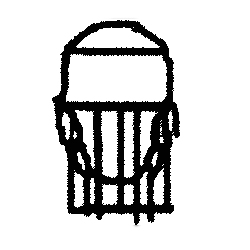
Step 1. Comb hair straight down around the head, allowing it to fall in it's natural position.
Step 2. Start at the back of the head and comb down without tension. Cut a straight perimeter. The length of the back perimeter can be at the hair line or longer, depending on the desired length or growth pattern.
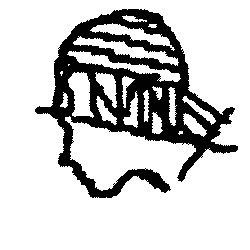
Step 3. Tilt head forward and comb hair down. The angle of the side perimeter will be determined by the line that connects the corner of the eye to the bottom of the ear.
Note: This length can be higher or lower if desired, but should follow the same lines.
Step 4. Create a diagonal parting from the recession to the back of the head, following the established line. Cut with a blunt line with no tension. Continue to drop diagonal sections and repeat cut.
Note: This will create a corner where the side cut meets the back. Do not remove back corner until hair is dry.
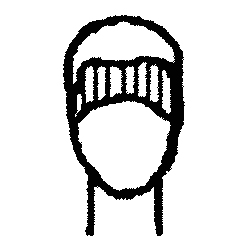
Step 5. Repeat on the other side.
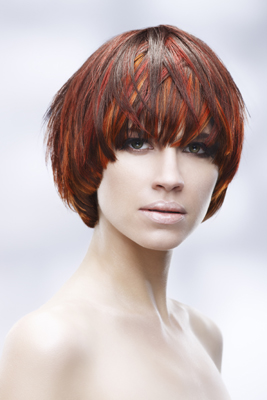
Step 6. Once both sides are cut, join the fringe in front with a rounded line.
Step 7. Dry hair using a paddle or Denman brush. Check hair and remove back corners if needed to create a smooth, continuous perimeter.
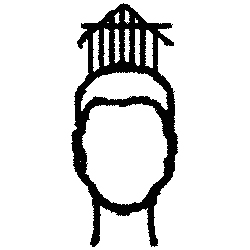 Step 8a. Working from the highest part of the head, lift hair straight up and remove the corner.
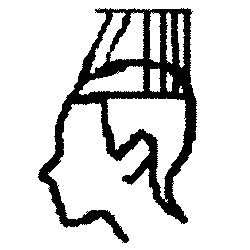 Step 8b. As you work forward, overdirect hair to the highest part of the head. Use a chipping technique to diffuse layers adn create swing within the style. Do no texturize the outer perimeter so as to maintain a blunt shape.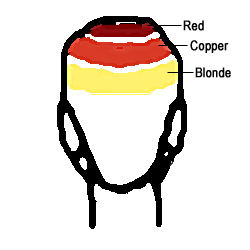
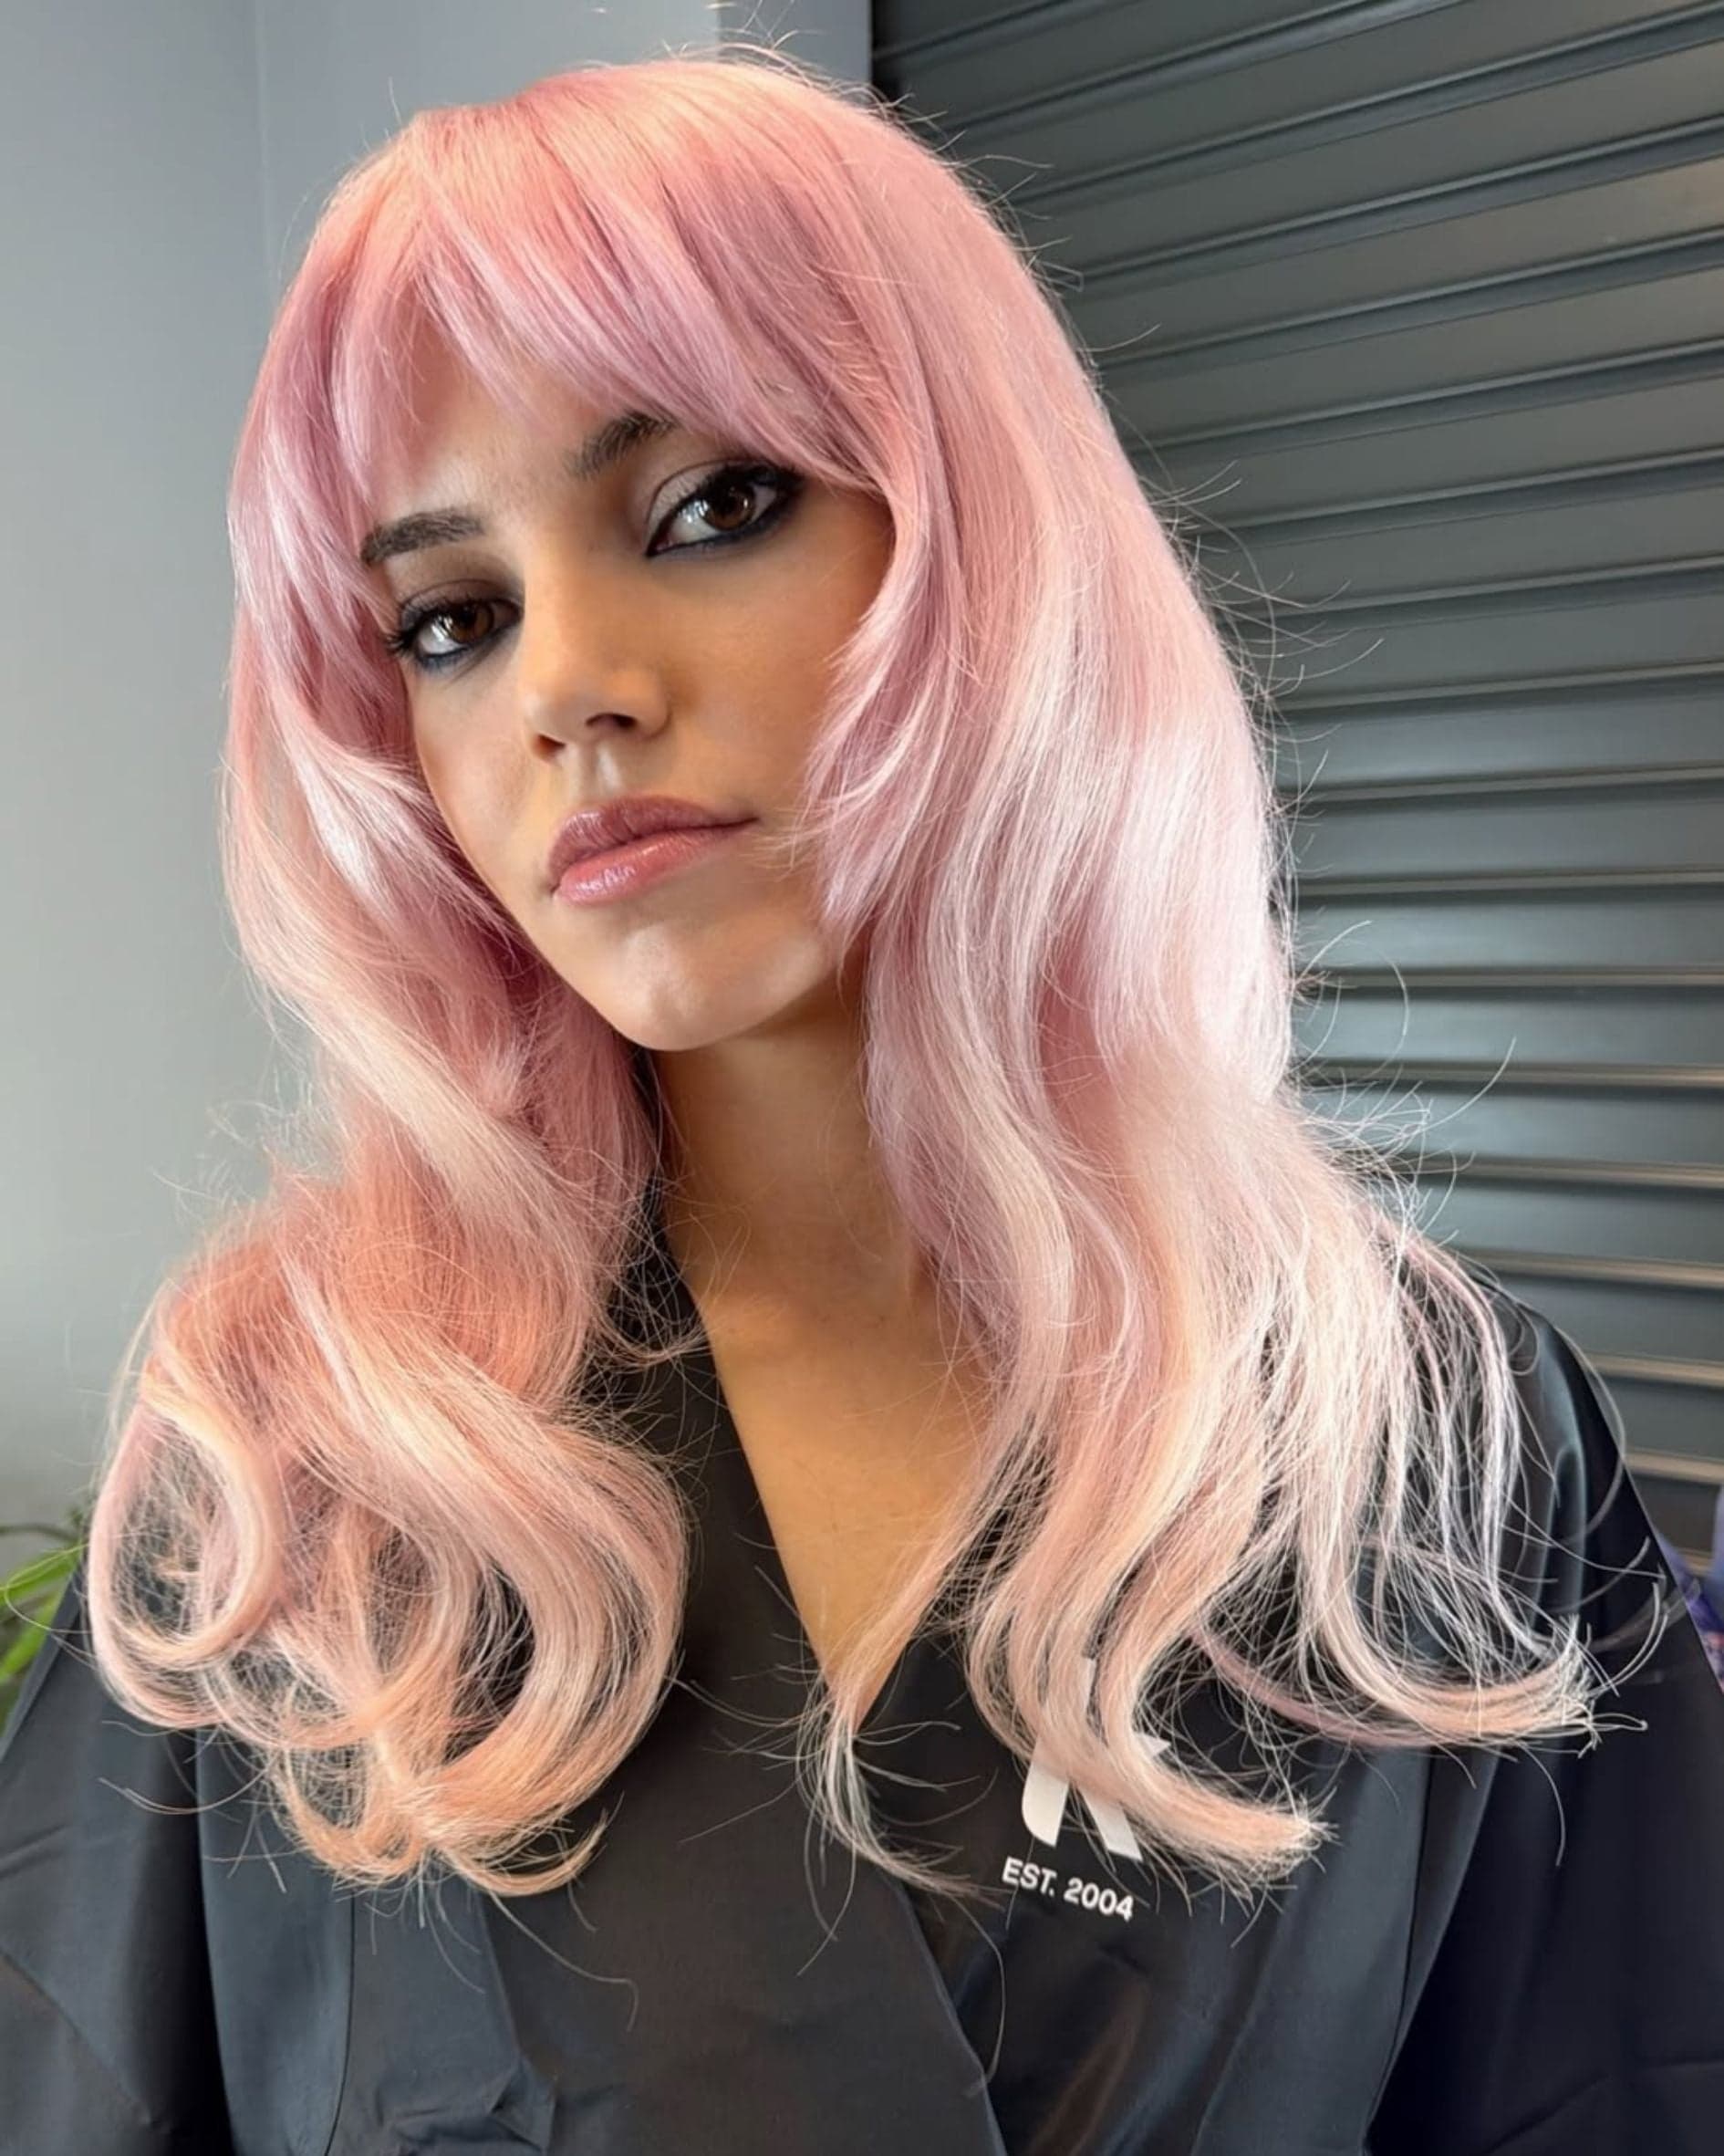
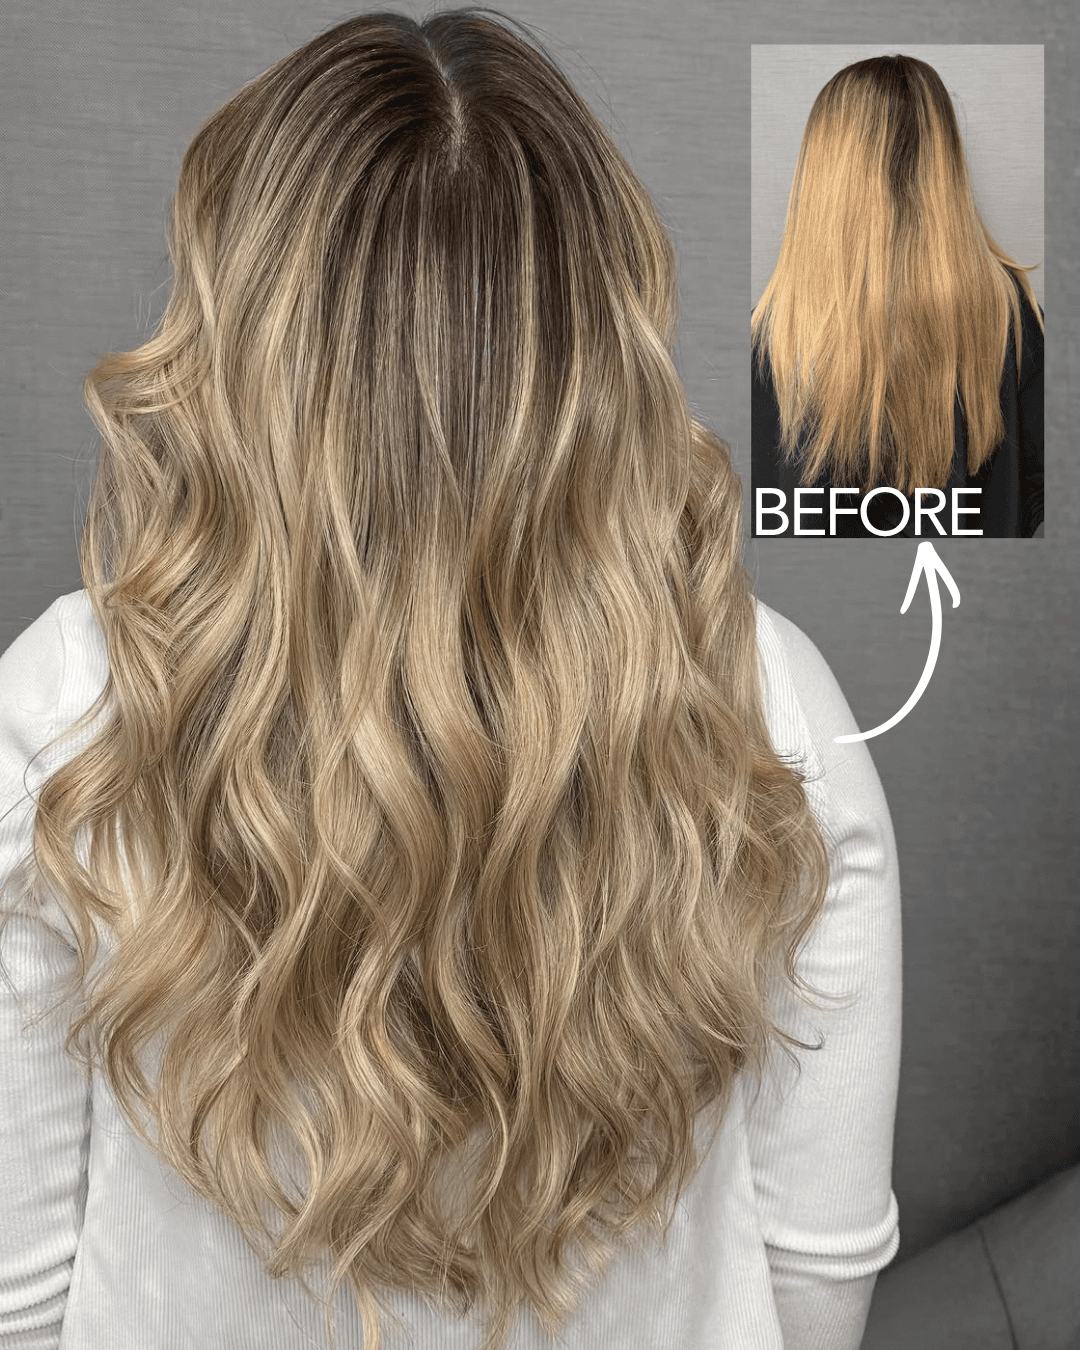
The technique alternates concentric halos of color with natural hair between each band. For the best results, choose three fashion shades, each two levels apart. The model started with a Level 4 Natural Brown. Highlights were achieved with a combination of warm blonde and copper and a cool red.
Formulas
Level 9 Golden Blonde: Decolorizer + 10 volume
Level 7 Copper: 3 parts 7CC + 1 part G mix + 30 volume
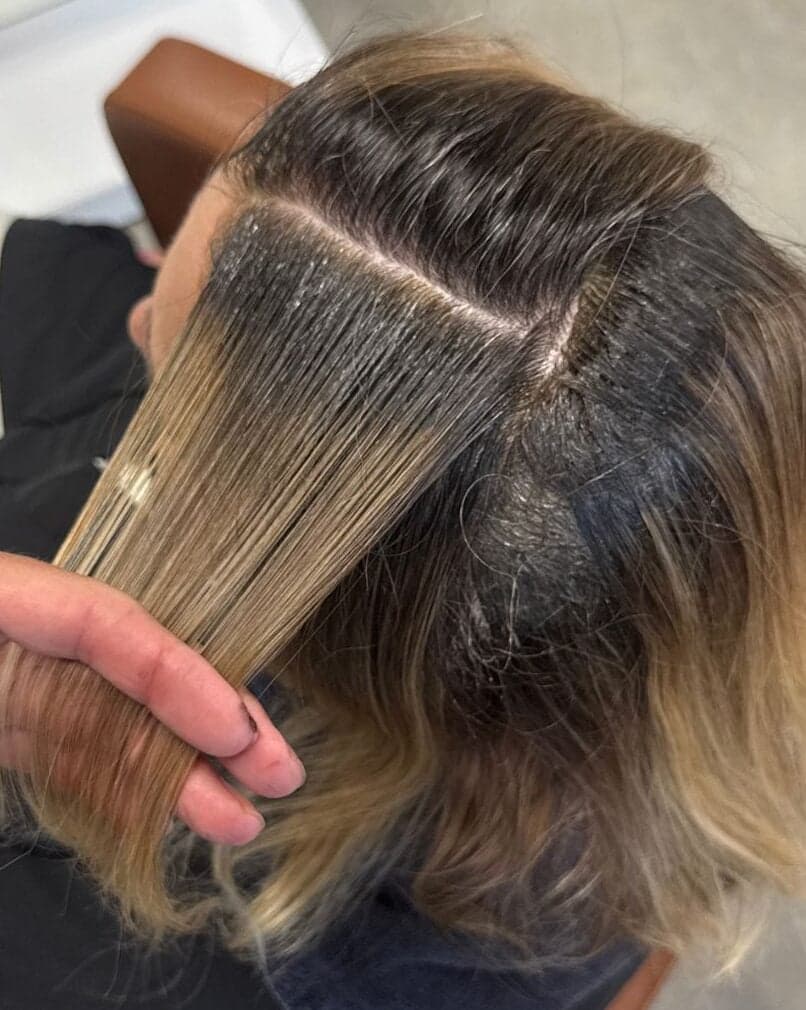
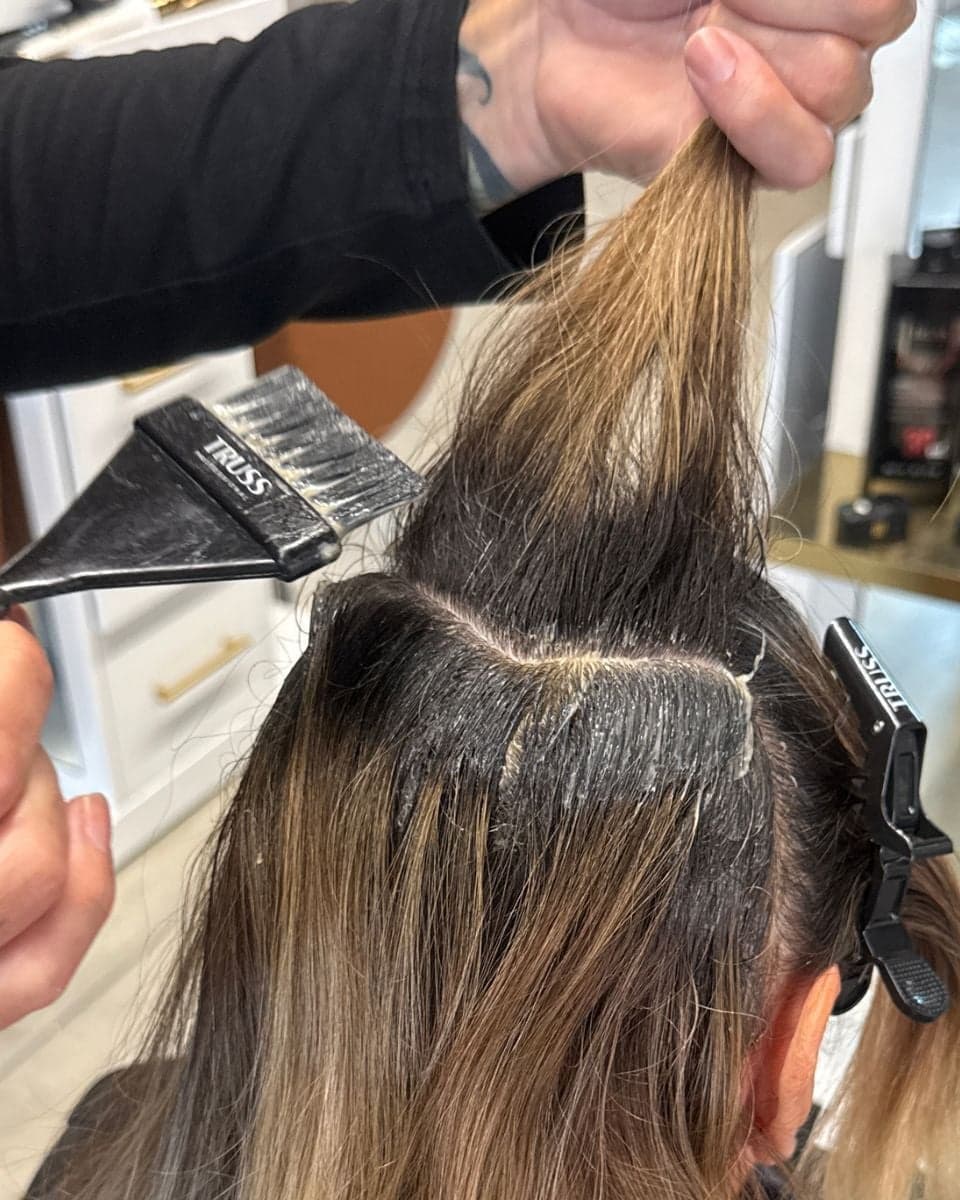
Level 5 Cool Red: 3 parts 5RR + 1 part V mix + 20 volumeStep 1. Starting at the front of the head, create a circular parting about 1-inch above the hairline. Taking thin slices, apply your lightest color in foil and place foils side by side. Repeat with at least two more rings of back-to-back foils abouve the first.
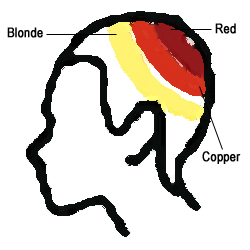
Step 2. Continue this circular layer around the entire head, creating a "halo."
Note: When you reach the back of the head, reduce layers of foils from 3 to 2 to narrow the band.
Step 3. Skip 1 to 1.5-inches of natural hair between sections, then create the next halor, applying the mid-tone color.
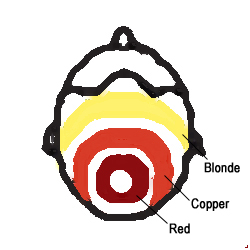
Step 4. Skip another section of natural hair and repeat Step 3 to create a third halo using the darkest color.
Note: Leave a small circle of hatural hair on top of the head to spill over the top.
Step 5. Process for the recommended time then rinse, shampoo and condition.