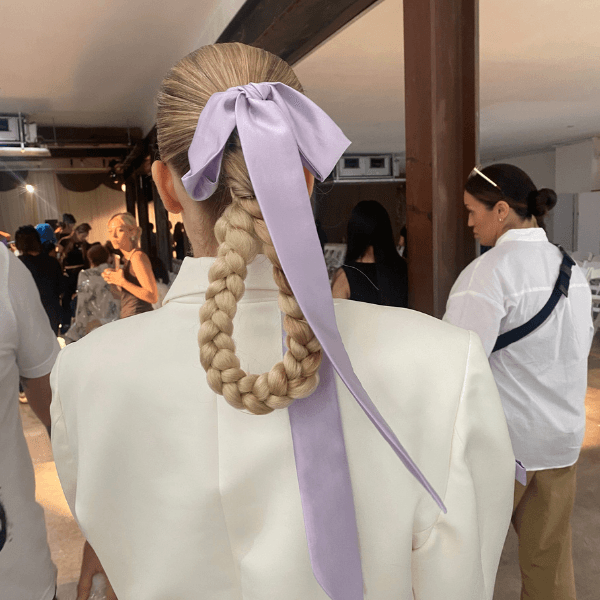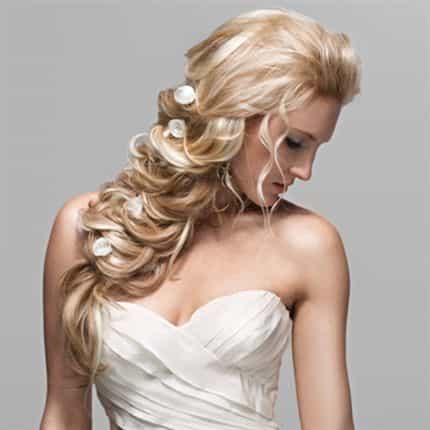
Dazzle your bridal client with this pull-out-all-the-stops braid, created with HUWPRO Clip-Ins in just eight, simple steps!
STEPS
Blow-dry and curl your client’s hair with a 1¼-inch curling iron.
Curl the HUW PRO Clip-ins with the same curling iron. This look is created with18-inch HAIRUWEAR PRO Human Hair Clip-ins stacked about a ½-inch apart.
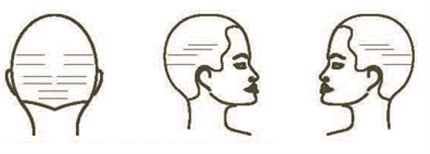
Place three rows of clip-ins below the occipital:
-
1st Row – starting in the lower nape, place one #84 HUW PRO Clip-in.
-
2nd Row – place one color #84 clip-in.
-
3rd Row – place two color #27 clip-ins, side by side.
-
4th Row – place two color #84 clip-ins, side by side.
-
Create a horizontal circular parting about 1½ inches above the ear around to the occipital ridge. Then proceed as follows:
-
5th Row – place four color #27 clip-ins side by side around the head.
-
6th Row – right above row 5, place four clip-ins side by side in the following pattern: color #27, color #84, color #84 and color #27. Make sure there is enough hair in the crown to conceal the clip-in bases. On both sides, place clip-ins, making sure there is enough hair to conceal the clip-in bases on the side and top perimeters.
-
7th Row- place one #84 clip-in on each side of head.
-
8th Row – place one #27 clip-in on each side of head.
-
Move to the crown and separate the middle of the crown into three small pieces.
Loosely braid each piece, right over left and left over right, stopping at each plait to pin each strand into the middle of the braid. As you proceed, take a strand from the outside perimeter of the hair, drape it to the middle, cross it in and pin.
Lock each bobby pin by hooking the hair upward with the pin, then down and inside the braid, criss-crossing each pin in an X pattern.
Follow this pattern until you run out of hair. Pin the ends or secure with a ponytail holder.