Watch: @lizhaven’s Strandlights Technique
If you’re one of BTC Team Member Liz Haven O’Neill’s (@lizhaven) 144k Instagram followers, chances are you’ve seen the quickie videos detailing her strandlights technique. But what are they really? We grabbed one of her videos—which received a casual 1.4 million views(!!!)—that demonstrate the highlighting technique plus five key takeaways to know about her go-to formulas, weaving pattern and more. Watch the quickie video below, then keep scrolling for the deets!
Watch The Strandlights Quickie Video Below
A post shared by L I Z H A V E N O’ N E I L L (@lizhaven) on May 23, 2018 at 9:14am PDT
Takeaway #1: Liz’s Go-To Formulas
- Hairline formula: ½ oz. Schwarzkopf Professional BLONDME Bond Enforcing Premium Lightener 9+ + 1 oz. 7-volume developer
- Interior formula: ½ oz. Schwarzkopf Professional BLONDME Bond Enforcing Premium Lightener 9+ + ½ oz. 7-volume developer + ½ oz. 20-volume developer
- Note: Strandlights have such a clean lift that a glaze is optional.
Takeaway #2: Sectioning
Play off the structure of each client’s head shape and work primarily with diagonal partings as opposed to horizontal or vertical partings. Why? It produces a more natural-looking result.
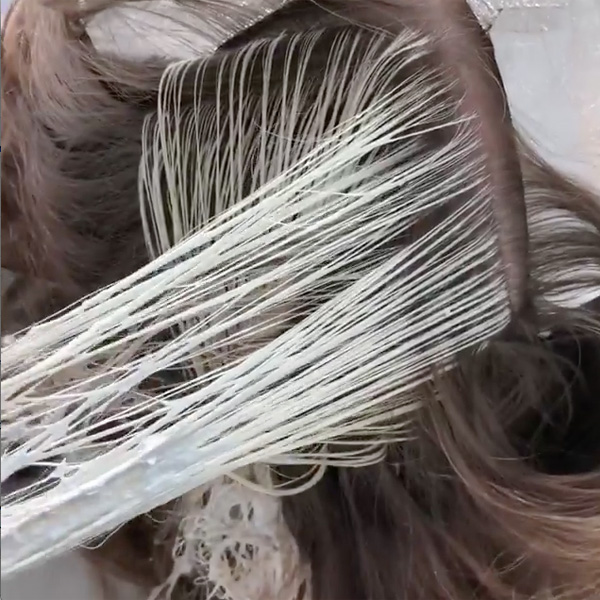
Takeaway #3: Weaving
Work with the surface of each section because that’s where the sun would naturally hit. The weaved section should be so fine that you could easily read a newspaper if placed underneath, shares Liz. Watch how Liz weaves in the gif below!
Takeaway #4: The Grow Out
When executed properly, strandlights should never see a horizontal grow out. The fade is so seamless that clients can go three or four months before their next appointment.
Takeaway #5: When To Use Strandlights
- To detail an ombré or balayage.
- For touching up highlights.
- To blend gray tones while utilizing their natural pigment.
Check out some stunning close-up finished looks below!
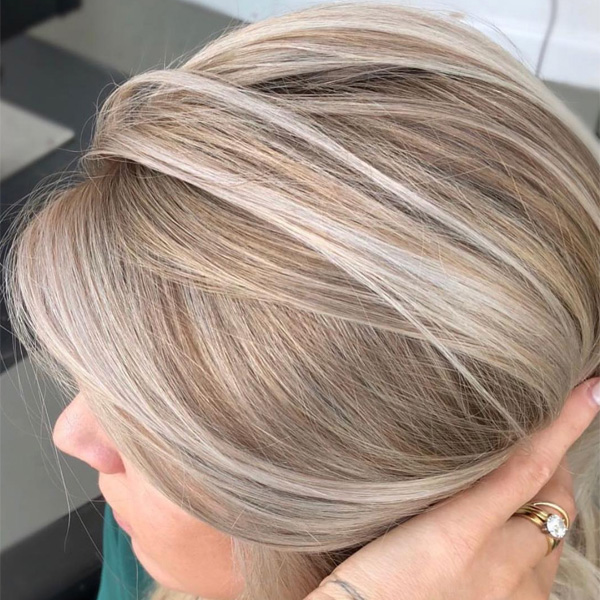
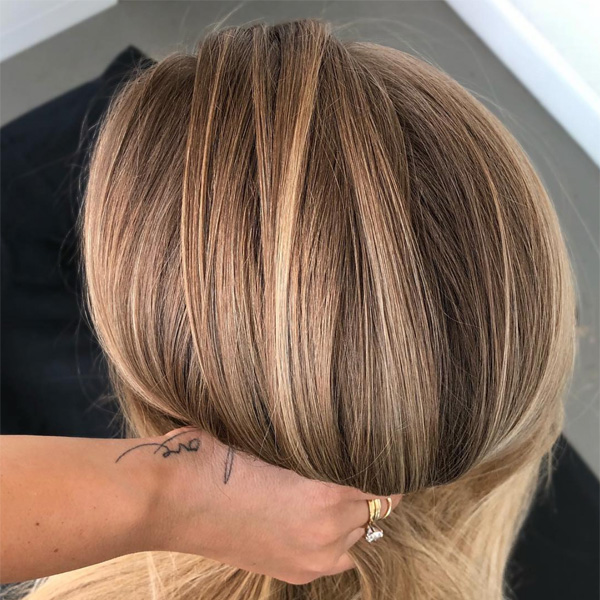
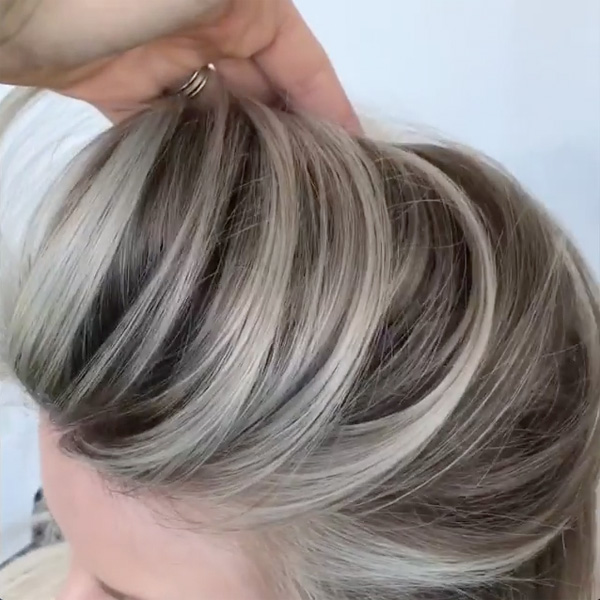
Strandlights: What To Know About This New Color Technique