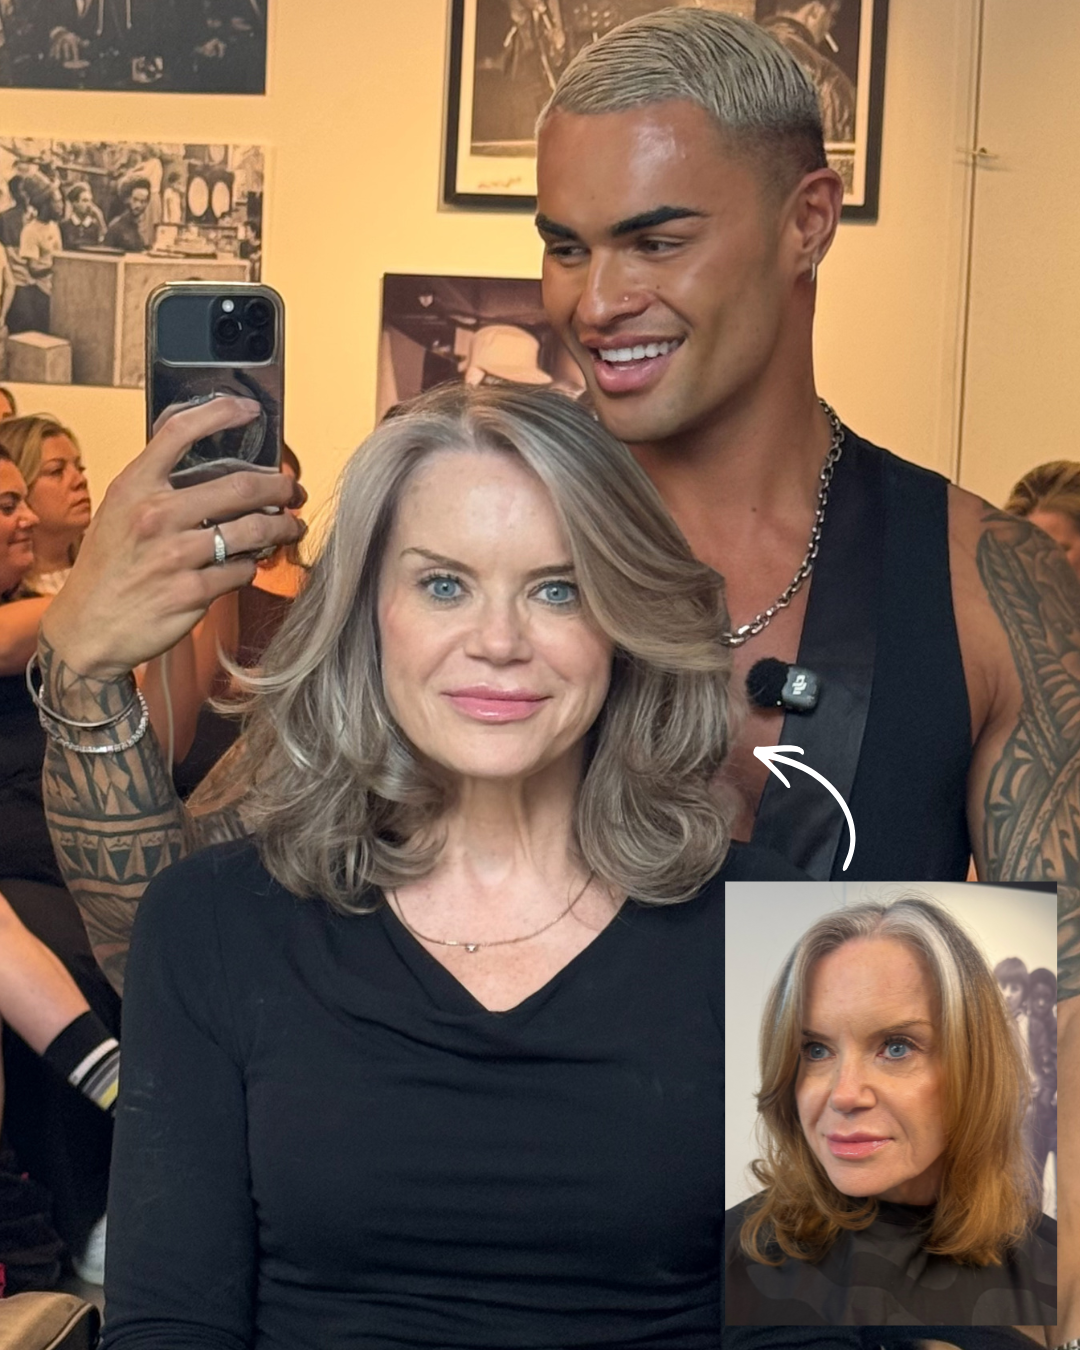
Banding, harsh grow-out and over-highlighting are some of the biggest challenges stylists face when transitioning guests away from traditional gray coverage. Redken Artist and global educator Kaine Vakai (@kainevakaihair) tackles all three through a gray blending correction designed to mimic natural gray growth.
“When I approach a service like this, I always look at it as a color correction first and a gray blend second. My goal is to mimic the natural gray pattern, not fight against it,” Kaine shares.
For this guest, strategic foil placement, controlled depth and targeted glossing helped create a softer transition without sacrificing natural-looking dimension.
As more women over 50 move away from traditional gray coverage and embrace softer grow-out, gray blending corrections like this have become an increasingly important service category.
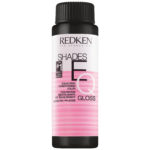
Want to see exactly how Kaine did it? Tap the beaker to see his full formula, then keep scrolling for his placement breakdown and gray blending tips:
More Gray = More Foils
Kaine’s placement strategy starts with assessing where the gray naturally lives throughout the hair. Rather than applying the same foil pattern across the entire head, he adjusts the density of his placement based on the amount of gray present in each area.
“My rule is simple: The more gray present, the more foils I place. The less gray present, the more natural depth and dimension I leave.”
For this correction, Kaine’s placement strategy included:
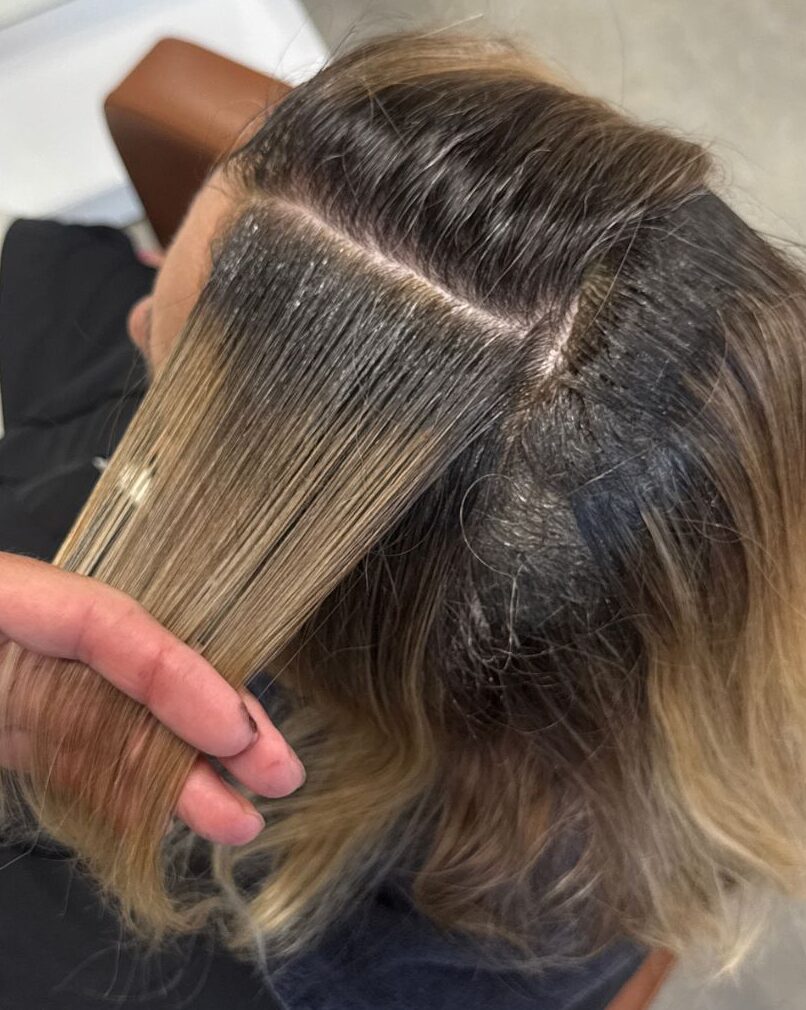
- Throughout the head: Very fine babylights, alternating between 0.5 cm, 1 cm and selected 2 cm sections depending on the concentration of gray
- Around the hairline: Back-to-back sliced foils and approximately 10 percent teasing to create a softer transition
“Every babylight was lightly teased to diffuse the transition and mimic how natural gray grows in. Gray hair grows out softly and shimmeringly, not with a harsh line, so my placement must reflect that,” Kaine explains. “This creates a result that feels natural, soft and sparkly rather than over-highlighted.”
How To Remove Banding Without Over-Lightening the Hair
For Kaine, the correction step was about creating a cleaner canvas without erasing the natural highs and lows needed for a believable gray blend.
“To break through previous color and existing banding, I used Redken Flash Lift with both 20-volume and 30-volume developer, depending on the area and level of resistance,” he explains.
The key: Adjust the developer to the section instead of treating the entire head the same. This allows you to target resistant areas while avoiding unnecessary lift where the hair is already lighter or more fragile.
“The foils were processed for approximately 45–60 minutes, ensuring enough lift to remove unwanted warmth and create a clean canvas for toning.”
Use Lowlights To Rebuild Dimension, Not Cover Gray
“To recreate natural dimension and avoid a flat blonde result, I used Shades EQ 04NA + 06T between the foils as a lowlight and depth builder.”
Rather than masking the gray, Kaine used lowlights to reintroduce depth and variation throughout the blend. “My intention was not to fully cover the hair but rather stain and soften it, creating natural-looking contrast that mimics the client’s existing gray pattern.”
The Root Shadow Mistake That Can Make Gray Grow-Out Look Harsh
“One of the biggest mistakes I see with gray blending is over-shadowing the root area. When we do this, we stop mimicking the natural gray pattern,” Kaine says.
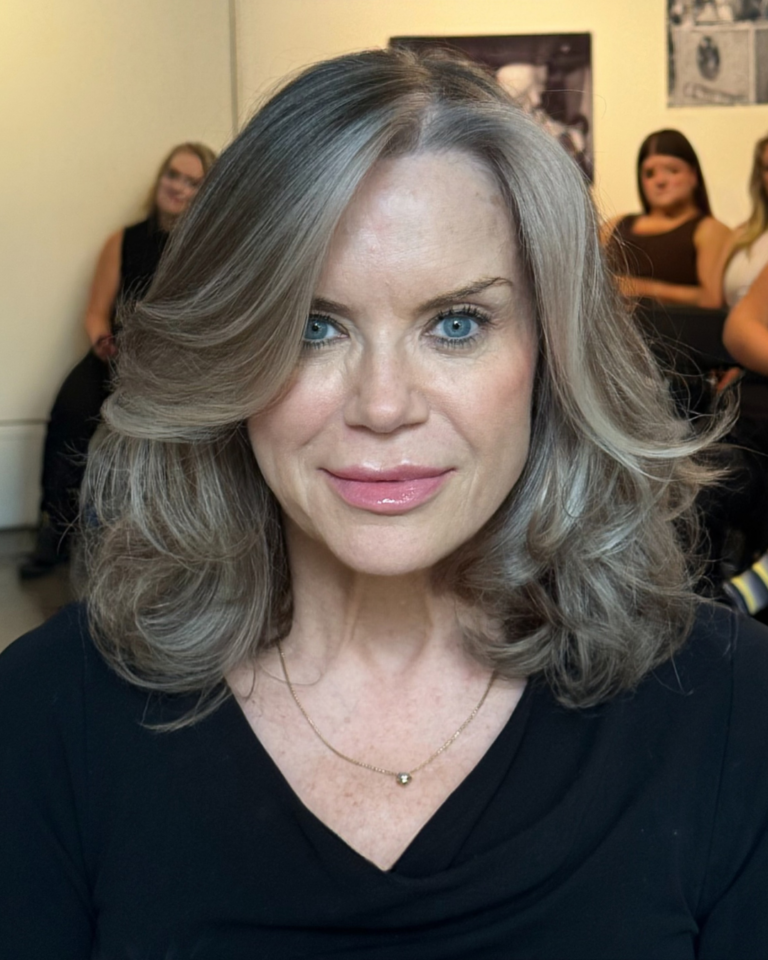
Instead of creating additional depth at the root, Kaine opted for a single global gloss using Shades EQ 09P and Shades EQ 010T. “This combination delivers a soft pearl and titanium reflect, creating a clean, expensive finish while maintaining natural softness at the root.”
“The gloss processed for approximately 45–60 minutes to achieve maximum refinement and longevity,” says Kaine. “The service was completed with a haircut focused on shaping around the face to enhance the final color result and create movement throughout the hair.”
Move the slider to see the before and after:
Press play to see the transformation:
View this post on Instagram