Blonde

Stubborn Hairline Grays: Try This Full Coverage Technique For Blondes!

How To Perfectly Cover & Blend Gray At The Hairline While Lightening A quick touch-up on dark tones is a breeze—but blending full gray coverage into a head of foils? We're still looking for tricks. Thankfully, BTC Team Member Rachel Williams (@rachelwstylist) found an easy technique to create a seamless blend and soft grow-out phase Continued

November 16, 2021·2 min read

gray-coverage-wella-rachelwstylist

How To Perfectly Cover & Blend Gray At The Hairline While Lightening

A quick touch-up on dark tones is a breeze—but blending full gray coverage into a head of foils? We’re still looking for tricks.
 
Thankfully, BTC Team Member Rachel Williams (@rachelwstylist) found an easy technique to create a seamless blend and soft grow-out phase for blondes with prominent gray at the hairline. This trick is designed to complement any lightening service to get your clients out the door fast! Keep reading for pricing advice, application tips and touch-up scheduling to turn this hair hack into your new go-to gray coverage technique. 
 

Who Is The Ideal Client?

Clients who receive lightening services with 75-100% gray around their hairline only are the perfect candidates for this technique. Whether you’re painting a balayage or foiling a full head, Rachel’s gray coverage hack can fit into any lightening service just before processing is complete. 
 

Full Gray Coverage In-Between Foils

Rachel demos her quick process for creating full coverage at the hairline without taking brightness away from fresh foils.


How To:

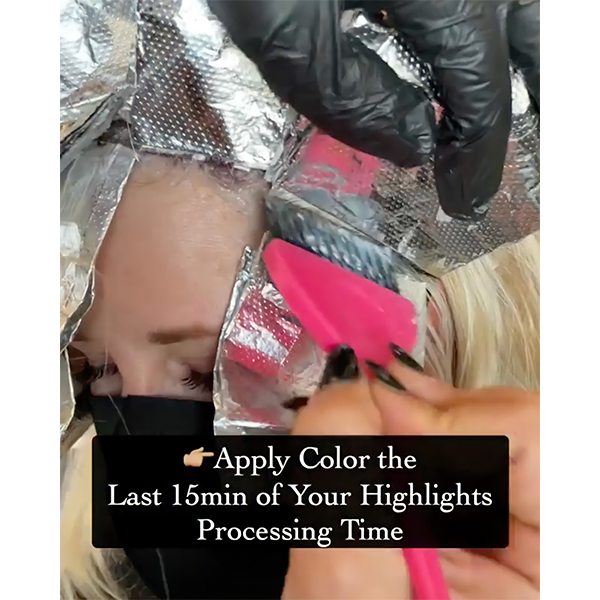
1. Apply color at the roots in between the first two rows of foils around the hairline
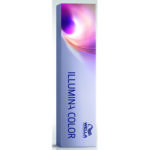
2. Let color process for 15 minutes—this should be the last 15 minutes of your foils processing

  • If foils are done processing, Rachel recommends using a blowdryer to carefully speed up color processing on the roots. 

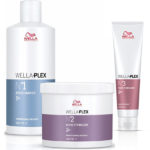
3. Rinse and apply Wellaplex No 2 Bond Stabilizer

  • “I use this after a chemical service to strengthen hair and rebalance pH,” says Rachel. 


Pro Tip: For a really soft blend, Rachel says, “Only use traditional highlight weaves or baby lights around the face before this gray coverage technique.” 


View this post on Instagram


A post shared by Rachel Williams (@rachelwstylist)


Looking for new blonding products? Check out Wella’s BLONDOR range!


What Level Should I Be Choosing To Cover Grays?

“To decide what the best starting level is to apply at the hairline, I typically go two to three levels up from the level of their natural base (depending on how much they lighten their hair),” says Rachel.
 
You can use anywhere on your client’s head that has little to no gray hair as a level indicator. Using Rachel’s method, If your client is sitting at a level 6, their gray coverage touch-up formula would be using a level 8. This ensures a really smooth regrowth process with blended results. 
 

How To Charge

Whether you charge hourly or by service, this technique can work for your books. Rachel recommends stylists who charge by the hour to charge for 20 extra minutes of their time. This technique only requires a couple of rows of painting, so take that into consideration thinking about your own time management. 


As for an add-on service, Rachel says, “It typically runs anywhere from $25-50 as an add-on service, depending on your pricing.” 


Scheduling Touch-ups

Lucky for you (and your clients) this gray coverage technique fits perfectly into lightening service touch-ups. “I touch-up my clients anywhere from 8-10weeks depending on when they book their lightening service,” says Rachel. No need to set aside a special appointment, throw Rachel’s technique into any appointment your client has coming up for easy upkeep! 


Quick Tips from Aquage