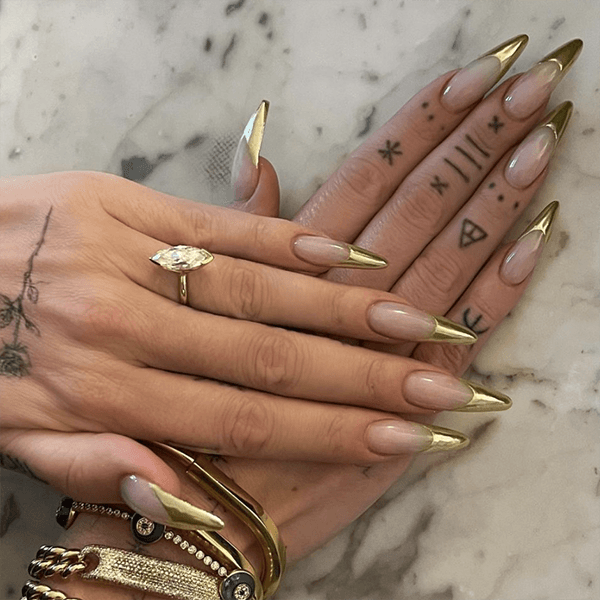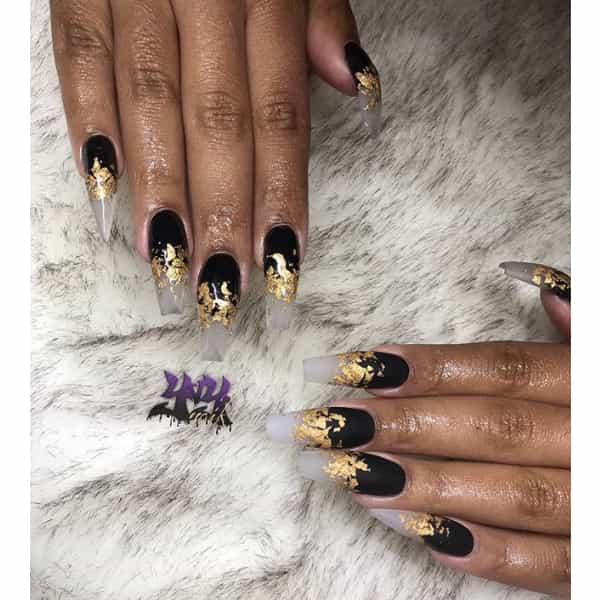
Your client is known for sticking to neutral and dark colors when it comes to her nails, but now she wants to add a little sparkle just in time for the holidays! Watch the video below to learn how Yvett Garcia (@yvynails) seamlessly ombréd a classic black into a bold gold leaf design, then keep scrolling for the how-to steps.
Watch The Video How-To Below
STEPS
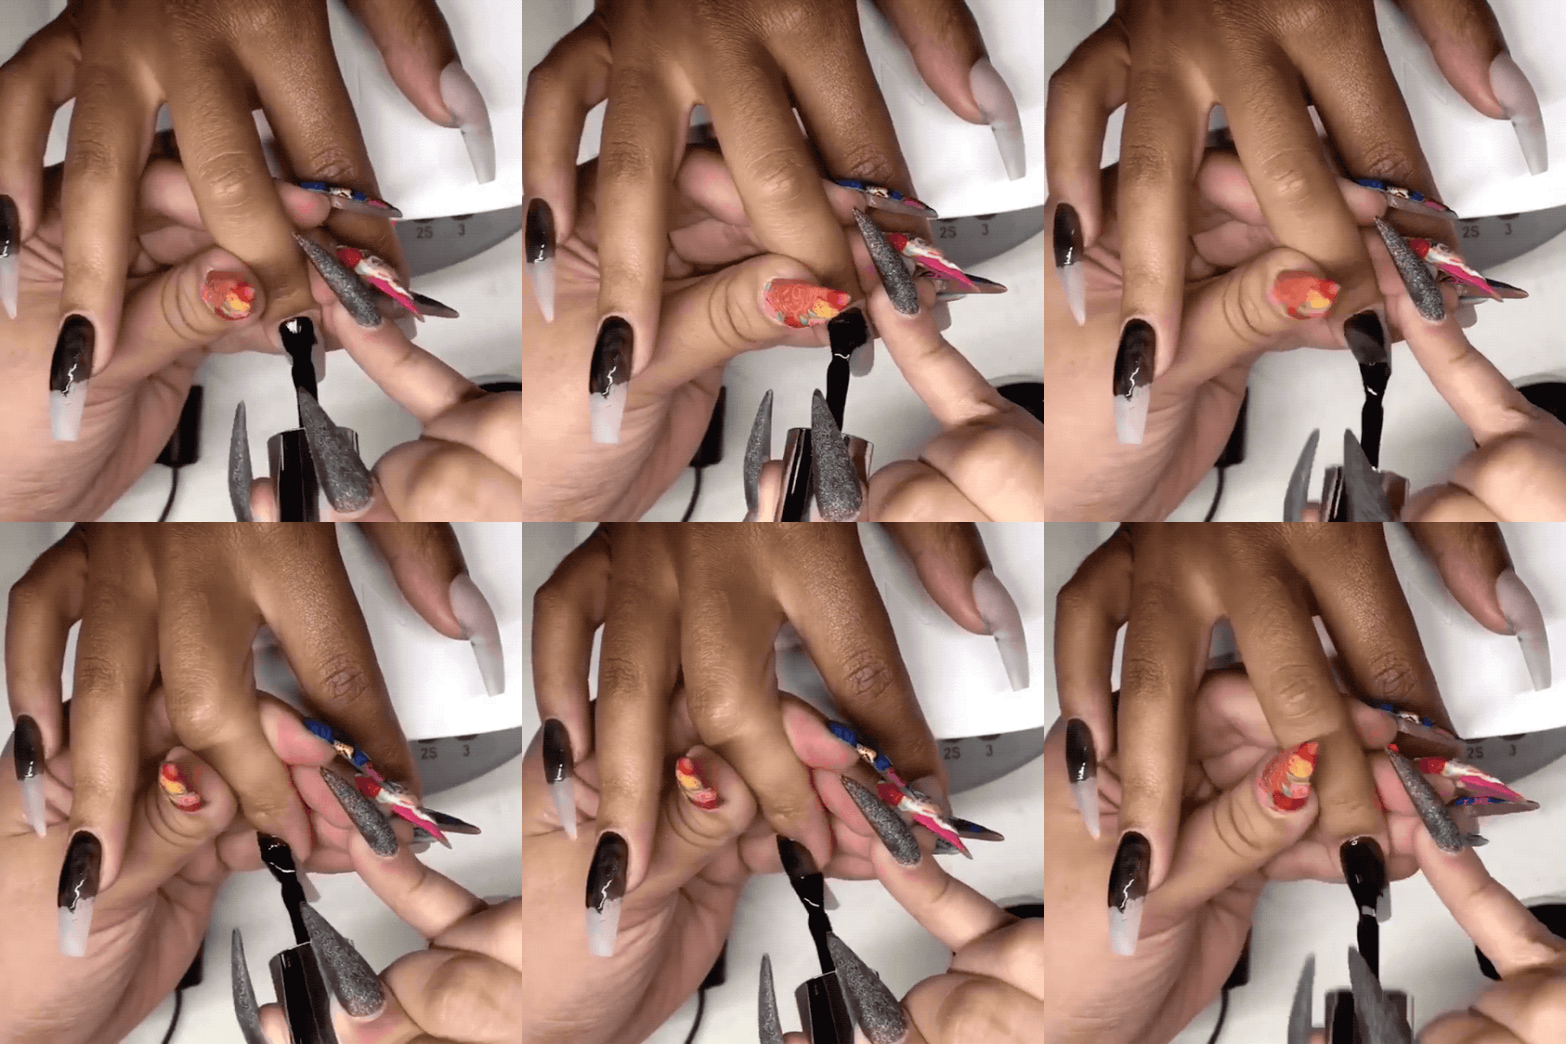
Prior to color application, cleanse nails with CND™ SCRUBFRESH™ and apply a thin layer of CND™ SHELLAC LUXE™ Black Pool to half of the nail.
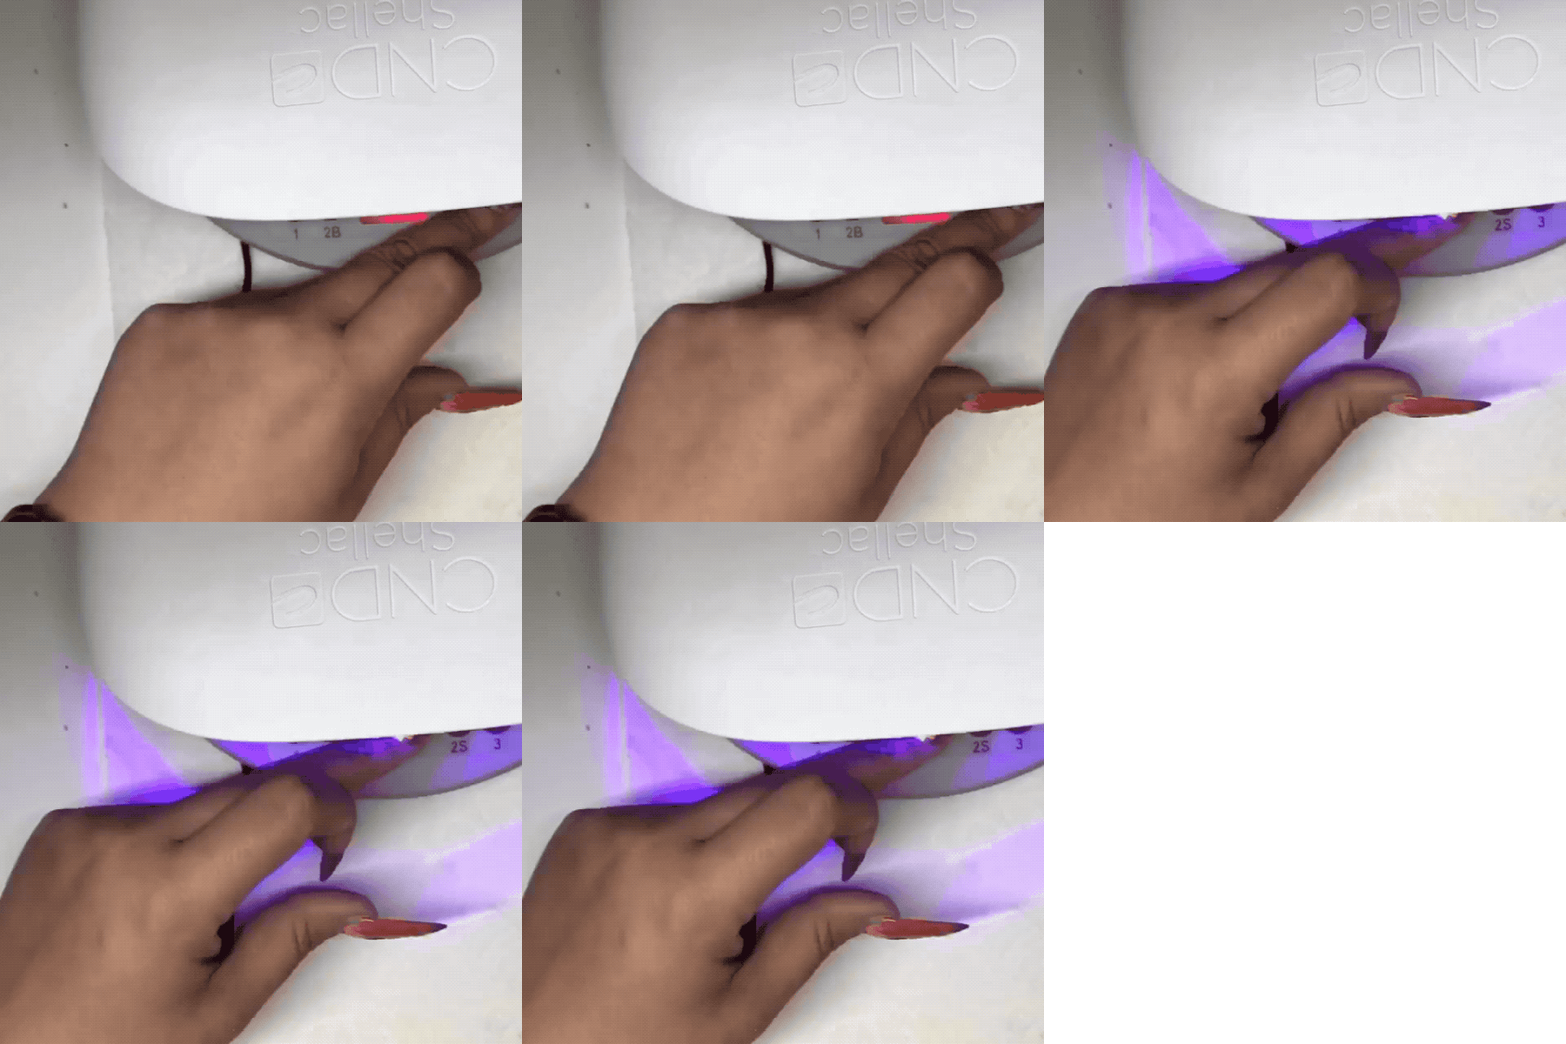
Cure for one minute (preset button 2S) in the CND™ LED Lamp.
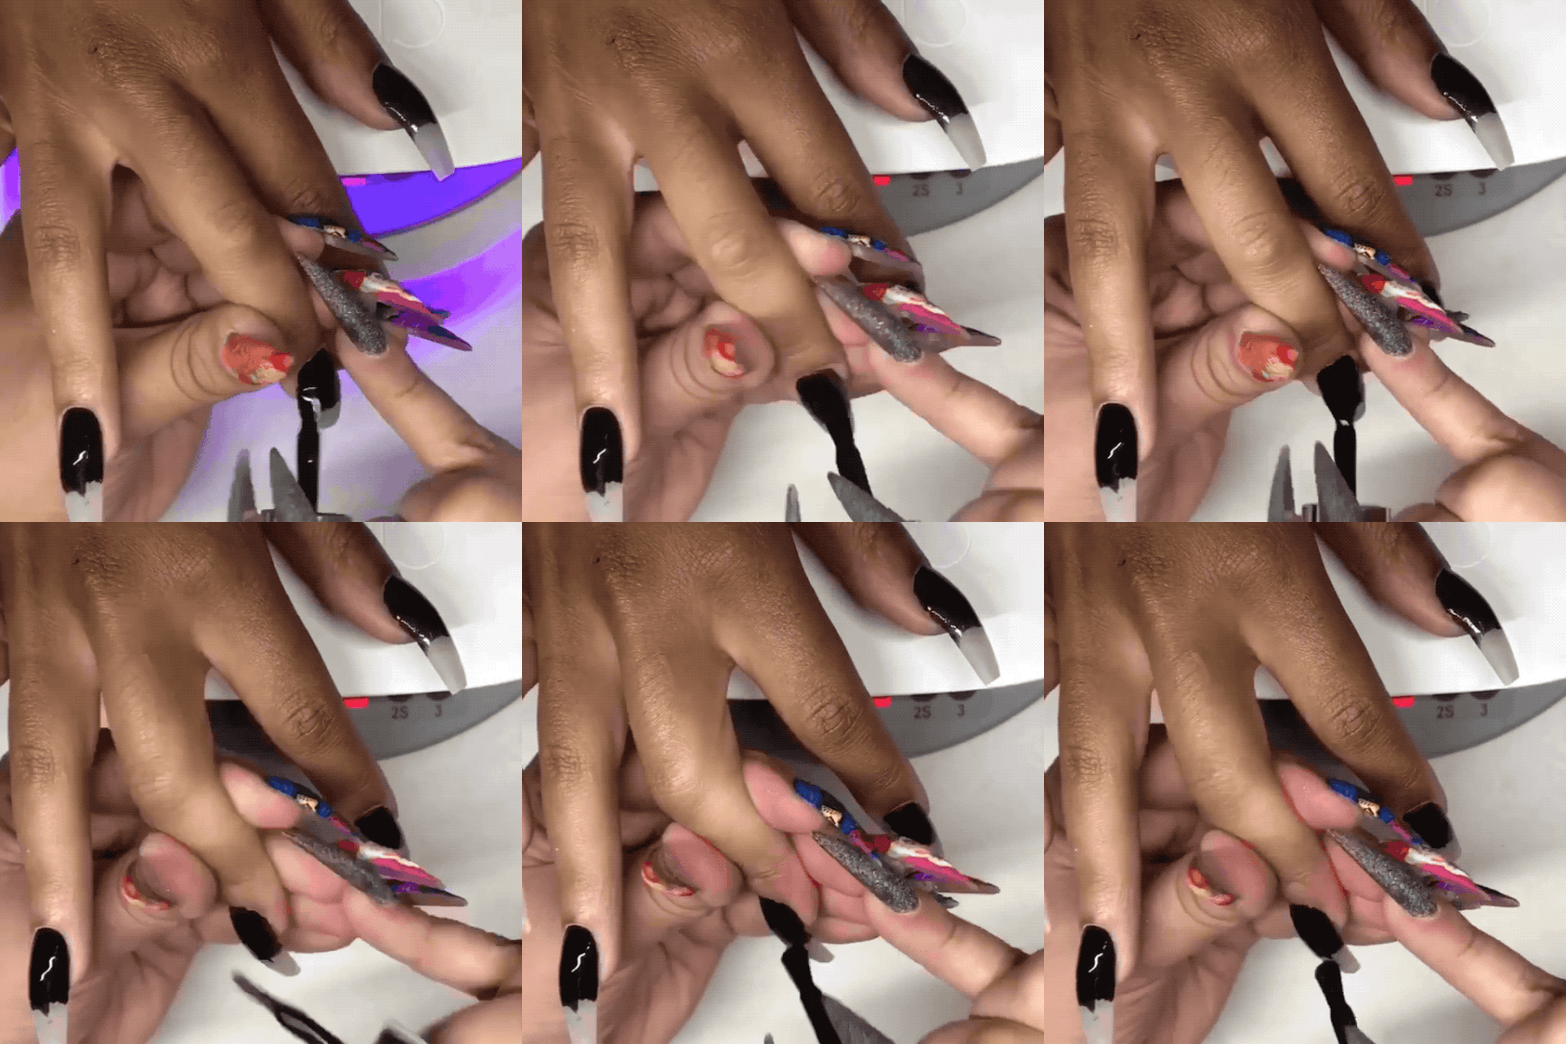
Apply a second layer of CND™ SHELLAC LUXE™ Black Pool, then cure for one minute (preset button 2S) in the CND™ LED Lamp.
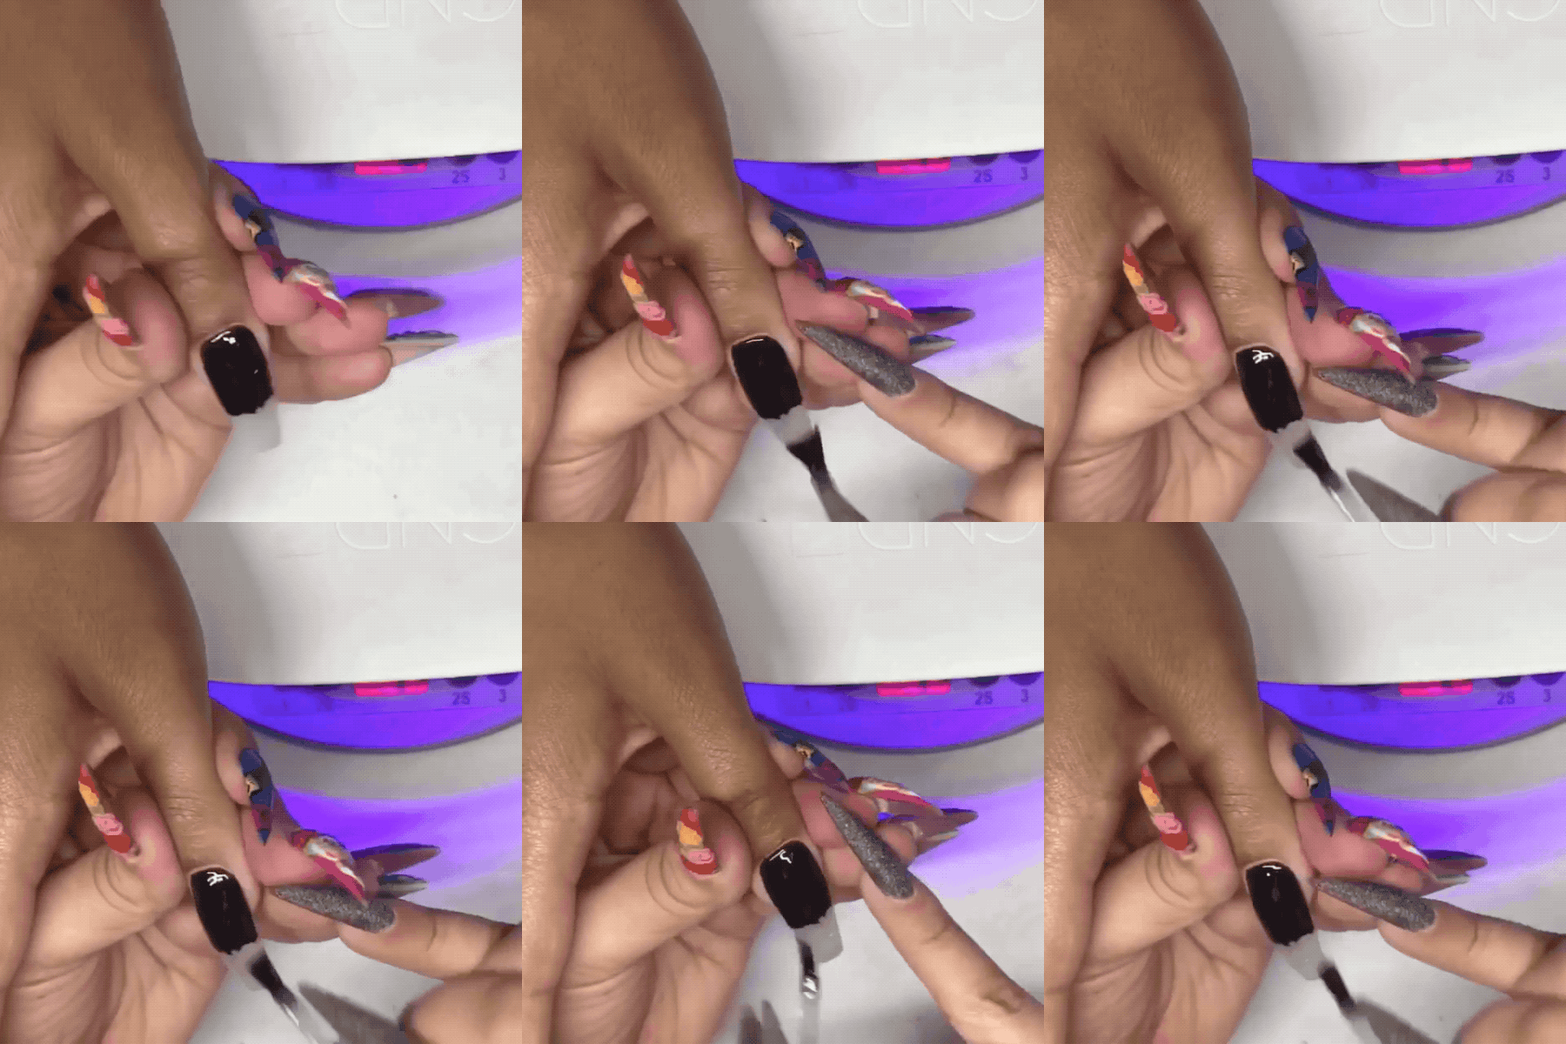
Apply CND™ SHELLAC LUXE™ Top Coat and cure for one minute (preset button 3) in the CND™ LED Lamp.
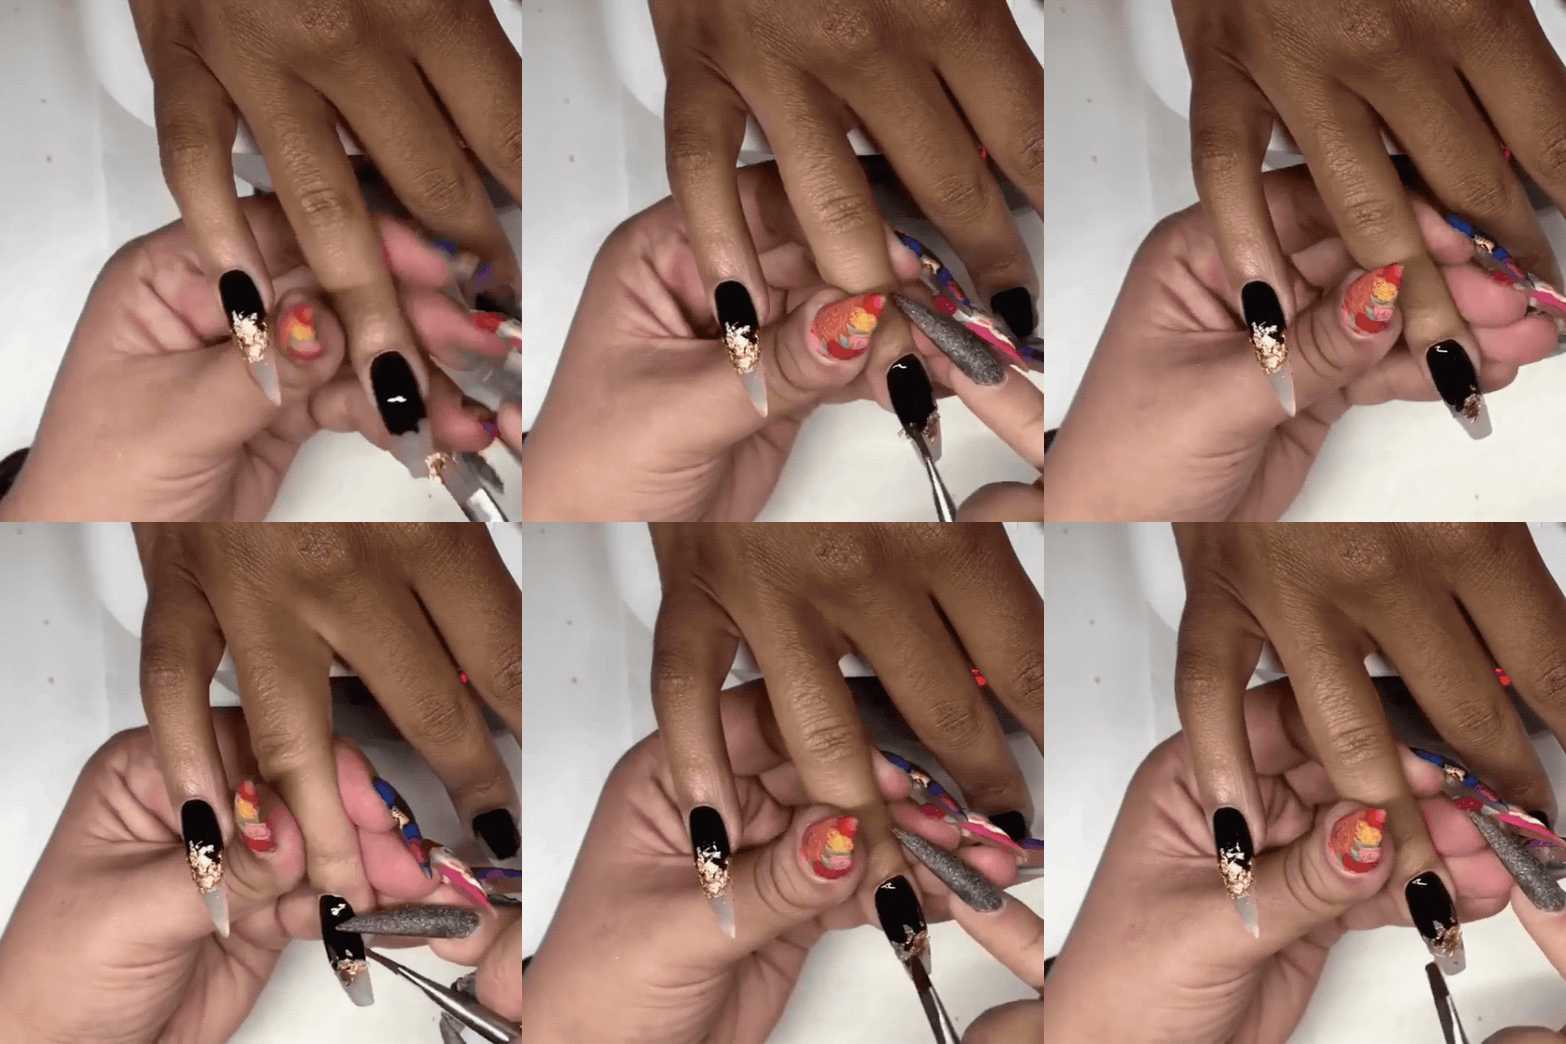
To create the design, use a dense gel brush to apply gold leaf foil to the center of the nail only, leaving the tips clear.
Pro Tip: The gold leaf foil will stick perfectly to the cured layer of Top Coat but to make the application quicker and easier Yvett says to use a dense gel brush instead of tweezers.
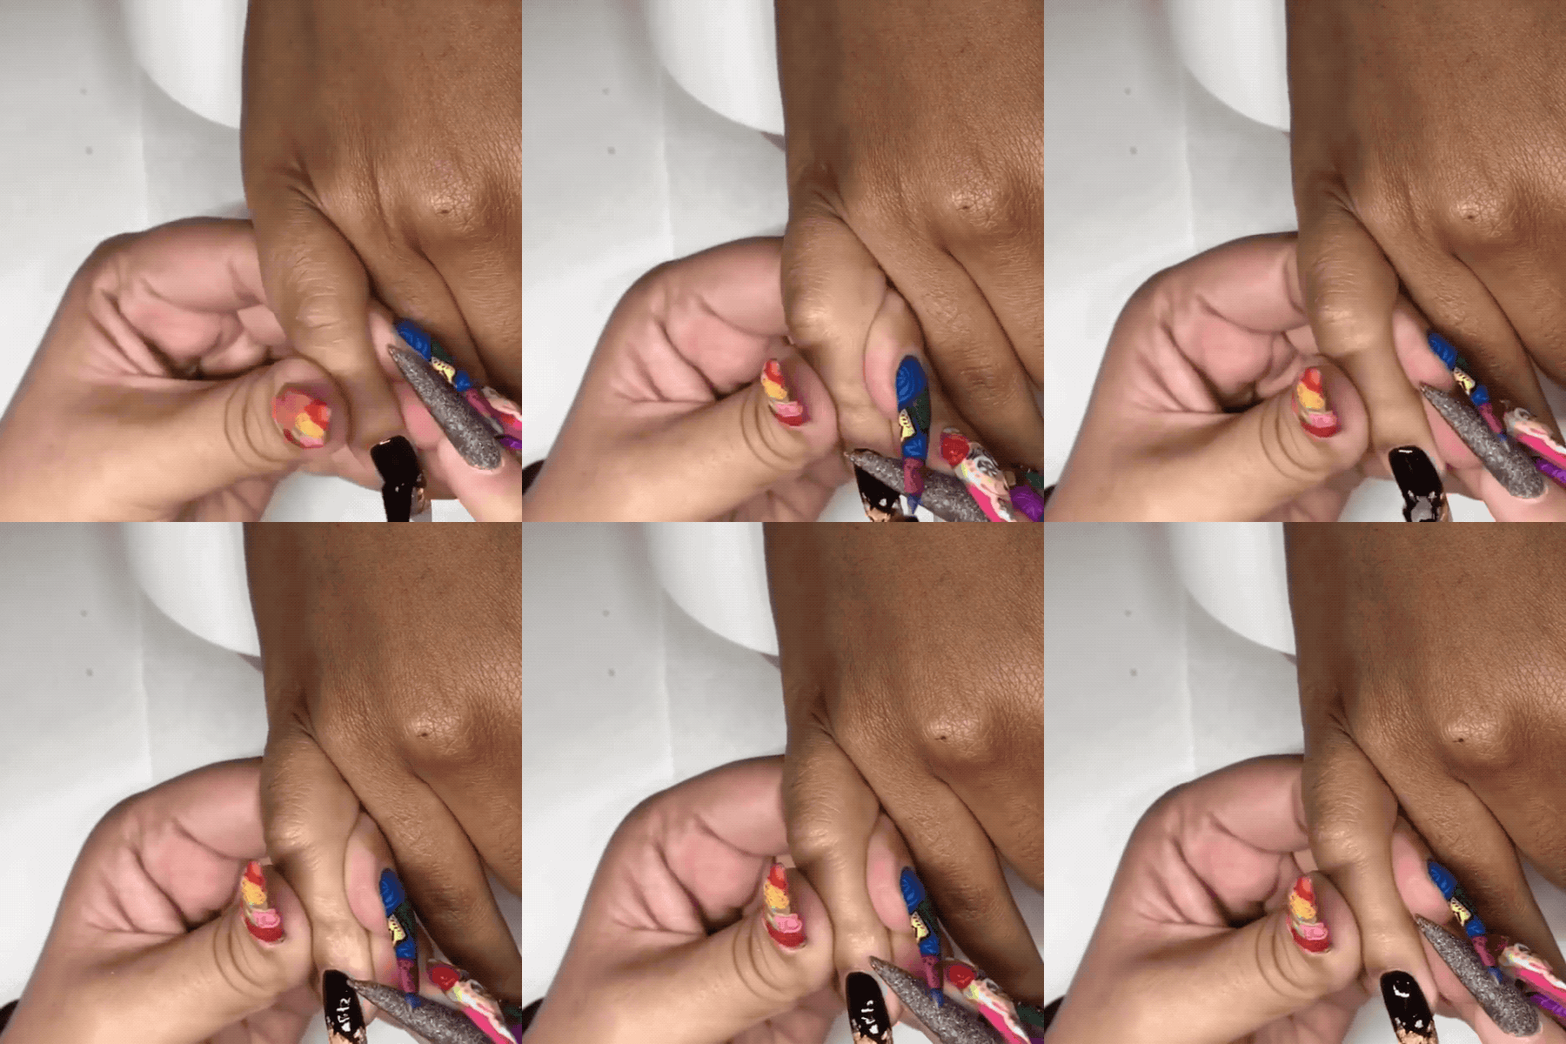
Apply a second layer of CND™ SHELLAC LUXE™ Top Coat to the gold leaf design only and then cure for one minute (preset button 3) in the CND™ LED Lamp.
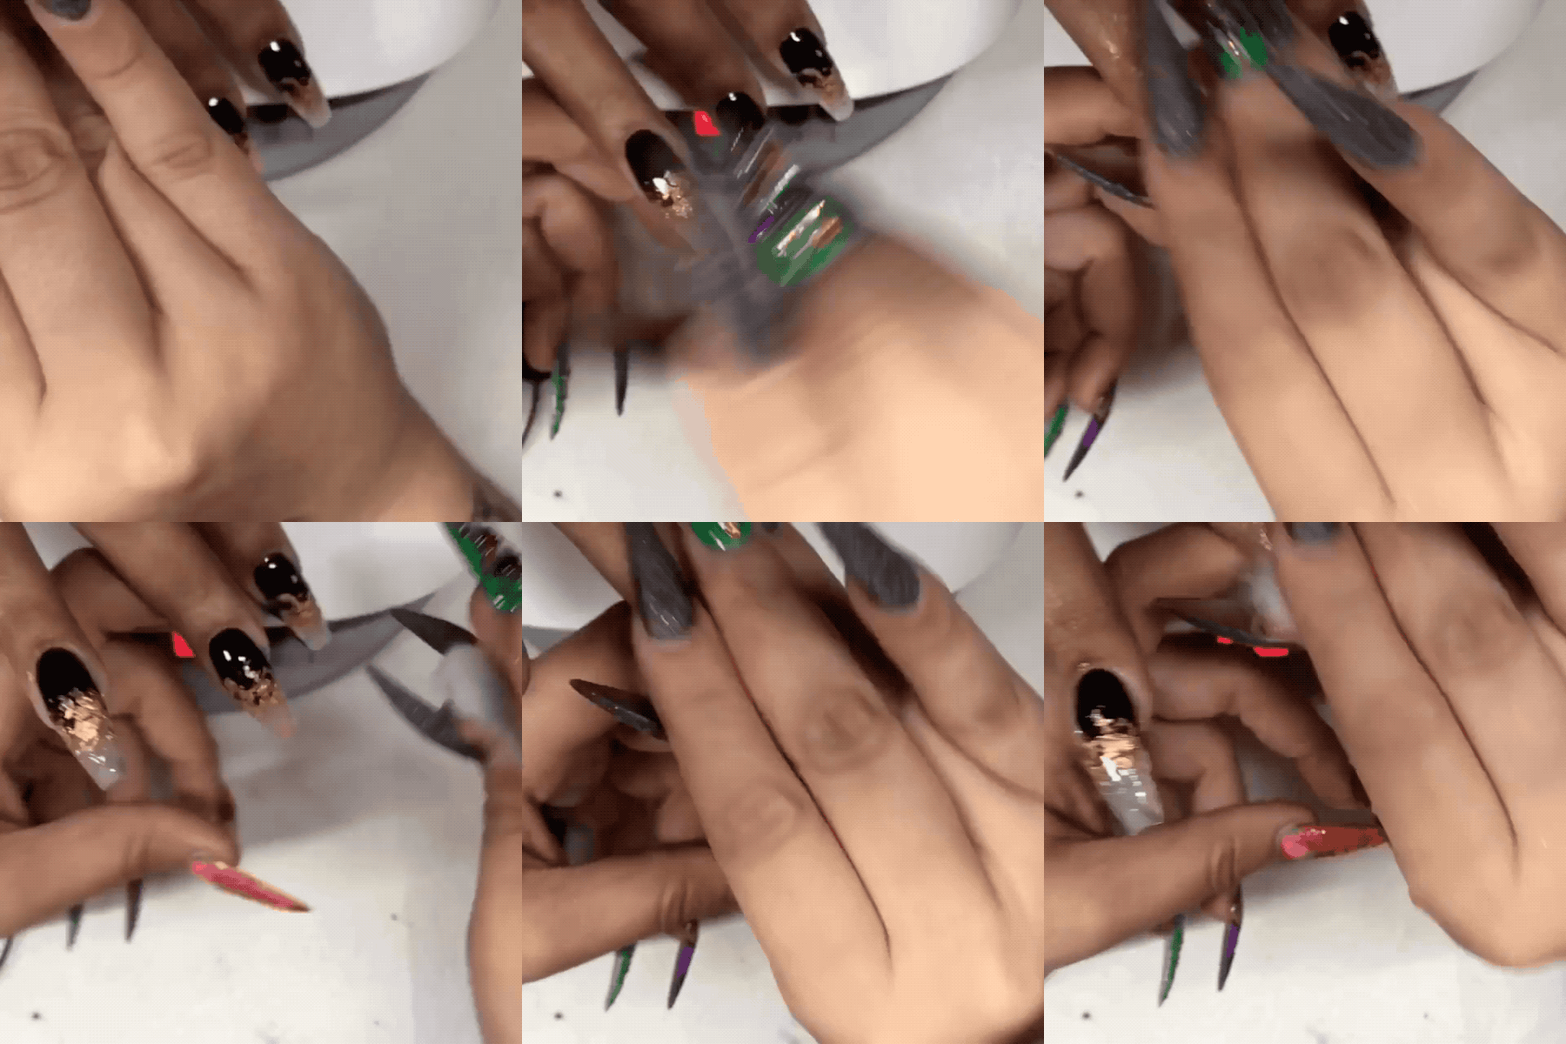
Gently wipe the top film with a lint-free pad saturated with 99% Isopropyl Alcohol.
Optional: If there are any bumps from the gold leaf foil, gently buff the nail using the green side of the CND™ Glossing Block to even out the surface.
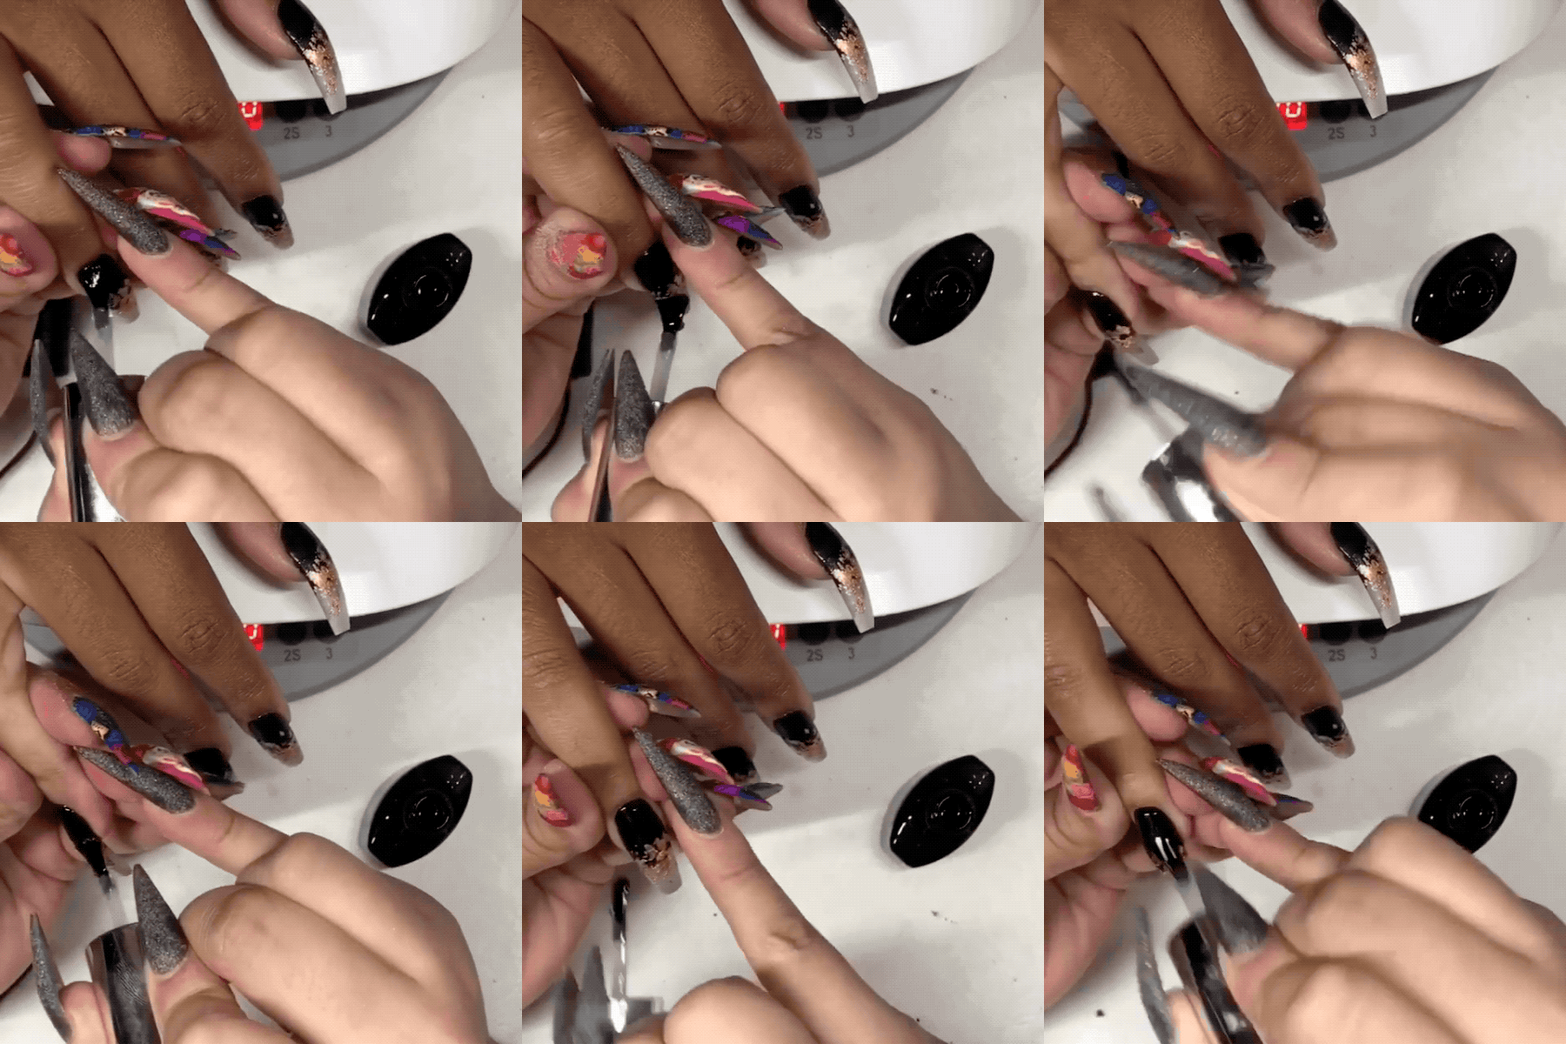
If you had to buff the nails, apply another layer of CND™ SHELLAC LUXE™ Top Coat over the entire nail and cure for one minute (preset button 3) in the CND™ LED Lamp. Gently wipe the top film with a lint-free pad saturated with 99% Isopropyl Alcohol.
Note: If you did not have to buff the nails in the previous step, this step isn't necessary.
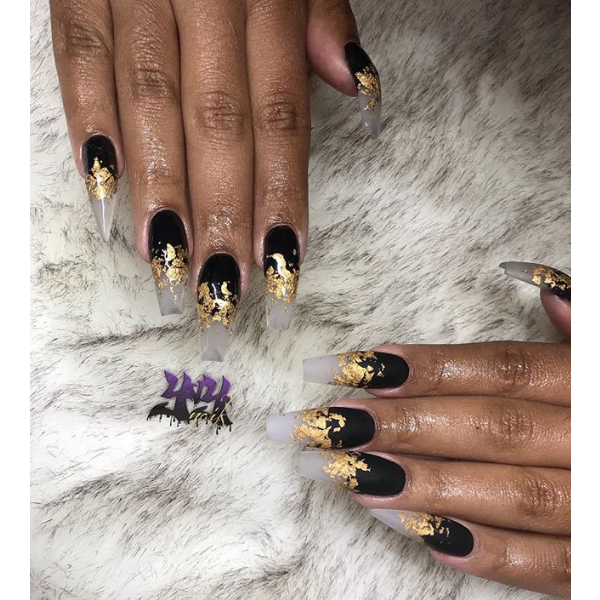
The finished design