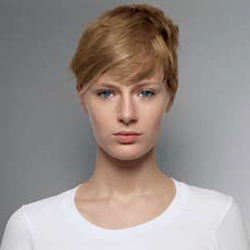
Josh Wood, Global Creative Color Director for Wella Professionals, has dedicated himself to creating a stunning blonde portfolio and Collection while embracing his devotion for Blondor. This service is great if your client is edgy, trendy and likes to stand out in a crowd. On Paper Keyword: artblondor, Wellasbs Subscribe to behindthechair.com “On Paper” Magazine–5 issues only $19.95! (more…)
- 1Step 1 of 15
Initial haircolor: 7/0
Texture: Fine
Porosity: MediumFormulas:
Blondor Extra Cool Blonde
Powder + Koleston Perfect
Crème Developer 6% (20 Vol.) - 2Step 2 of 15
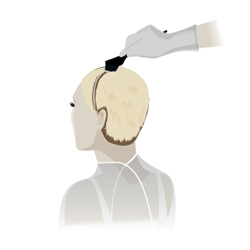
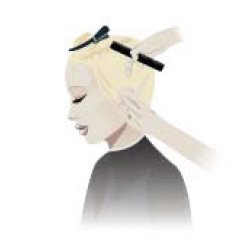
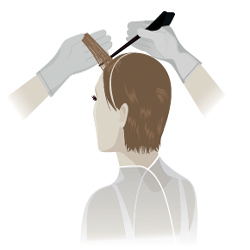 Section the hair from ear to ear, then start the application from the front of the head.
 - 3Step 3 of 15
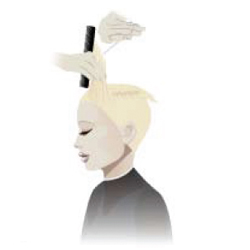
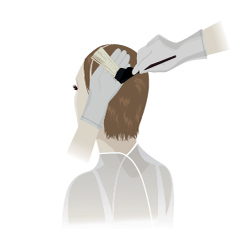 Apply Extra Cool Blonde Powder from the mid-lengths and ends.
 - 4Step 4 of 15
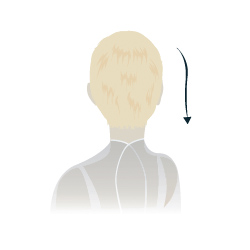
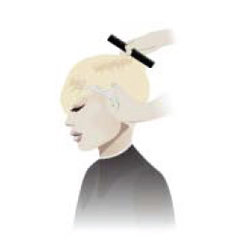
 Continue through the front, applying in a brickwork fashion (moving from side to side).
 - 5Step 5 of 15Then continue from the crown area through the back applying in the same way.
- 6Step 6 of 15
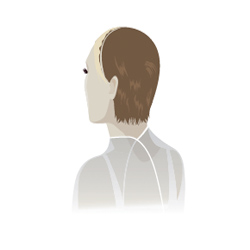
 Once mid-lengths and ends have reached the desired level, apply Extra Cool Blonde Powder to the root area following the same sectioning pattern.
 - 7Step 7 of 15
 Timing: Develop visually until desired result is achieved. Do not exceed 50 minutes. Gently rinse the lightener with lukewarm water, shampoo with Sebastian Drench. Apply Blonde Seal & Care to lock in the blonde pigments and add shine. Leave in 5 minutes and rinse out.
 - 8Step 8 of 15
 Take a large horseshoe section and clip.
 - 9Step 9 of 15
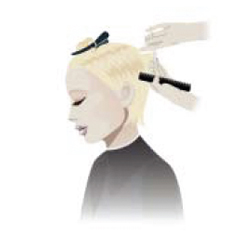 Begin the haircut center back, elevate the hair 90 degrees and cut following the head shape.
 - 10Step 10 of 15
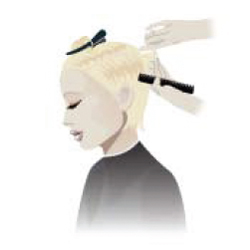 Continue by pivoting around the head to behind the ear, repeat on the opposite side.
 - 11Step 11 of 15
 In front of the ear take diagonal sections again following the head shape.
 - 12Step 12 of 15
 Release the top section, elevate vertically and point cut to desired length.
 - 13Step 13 of 15
 Personalize the shape with a combination of slicing and channel cutting.
 - 14Step 14 of 15
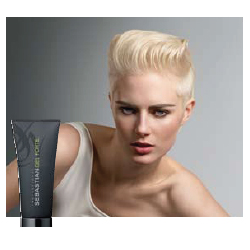
 Blow dry hair using a paddle brush, then spritz with Sebastian Re-Shaper and shape with your fingers to achieve this sculpted hairstyle.
 - 15Step 15 of 15
 Apply Sebastian Gel Forte to damp hair and blow dry away from the face giving some root lift. Place with a wide tooth comb for definition.


