- 1Step 1 of 16
Starting in the crown and using a global application technique working outward and down, apply Formula A to new growth, starting ½-inch from the scalp and working to the prelightened area. Be careful to avoid overlapping. Process for 45 minutes with a cap to generate a slight amount of heat.
- 2Step 2 of 16
Rinse, and treat with Olaplex No.2 for 10 minutes, then shampoo and condition with Bumble and bumble Hairdresser's Invisible Oil Shampoo and Conditioner. Blow-dry.
- 3Step 3 of 16
Apply Formula B to the same area of new growth as Step 1, starting in the nape and working up. Immediately apply Formula B to the ½-inch section of new growth at the scalp.
- 4Step 4 of 16
Process for 1 hour, then pull through the remaining length, leaving out 1 inch at the ends. Process for 15 more minutes.
- 5Step 5 of 16
Rinse, treat with Olaplex No.2 for 10 minutes, then shampoo only with Bumble and bumble Hairdresser's Invisible Oil Shampoo. Air-dry and blast cool to relax the cuticle.
- 6Step 6 of 16
Starting in the nape and using vertical sections of varying widths, apply Formula C colors. Apply two or more colors to each section with a brush, and blur and melt using your hands. For the green money piece, Jamie used Pulp Riot Absinthe at the roots, extending out about 2 inches. She then applied Seaglass to the midlengths and ends, blending the two together. She finished by massaging Lemon over the entire section.
- 7Step 7 of 16
Jamie created a hidden shine line at the occipital from ear to ear by melting in Formula D. Process for 20 minutes, then rinse with cold water. Do not shampoo or condition.
- 8Step 8 of 16
For the cut, Jamie prepped damp hair with Bumble and bumble Hairdresser's Invisible Oil. Using Hattori Hanzo Shears, she started in the nape and worked up, using ¼-inch slightly diagonal forward sections, creating a soft, square line by point-cutting with slight elevation.
- 9Step 9 of 16
For the fringe, she created a triangle section starting at the apex and working out toward the corners. Again using ¼-inch slightly diagonal sections, she point-cut a soft line with slight elevation.
- 10Step 10 of 16
Starting at the occipital using 1-inch vertical sections and elevating straight up with tension and then lowering the section, she point-cut the layers, leaving a slight bend in the hair.
- 11Step 11 of 16
Using a Denman Brush, she blow-dried to 80 percent dry, then finished drying with the Cricket Technique 370 Round Hair Brush.
- 12Step 12 of 16
She finished the cut using Hattori Hanzo Texturizing Shears to blend all the hair and create texture in the fringe.
- 13Step 13 of 16
To style, Jamie smoothed the hair with the ghd Platinum Styler. She then applied ColorProof PowderFix Texture Powder at the base in sections from parietal to parietal and low crown to apex, massaging into the hair. She also applied a generous amount to her hands and worked into the ends and fringe.
- 14Step 14 of 16
- 15Step 15 of 16
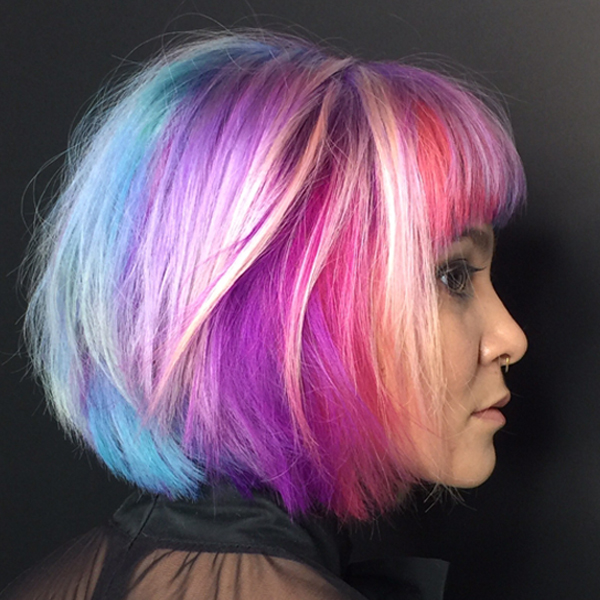
Finished look.
- 16Step 16 of 16
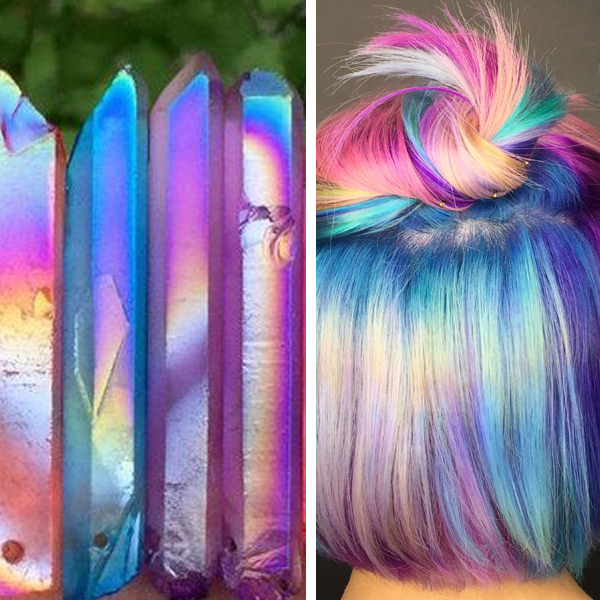
Jamie's inspiration.
Color Melt
Transformation: Vibrant Vibes
September 22, 2017·1 min read
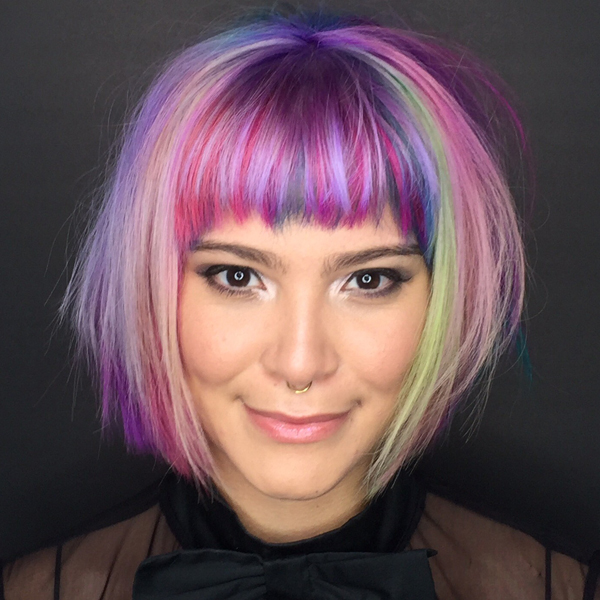
What do Mary and Kevin look for when selecting nominees for the #ONESHOT Transformation Shot of the Year? “When you can see the change that was made in the person’s life, both inside and out, that’s when you know,” they say. Here’s a prime example from Jamie Ashton (@jamieashtonjreamsinhaircolor). “You can see she’s smiling through her eyes,” said Mary while announcing her nomination. Absolutely stunning. Here’s how Jamie did it. Total chair time: 10 hours Pricing: $475 (more…)
More to Read


