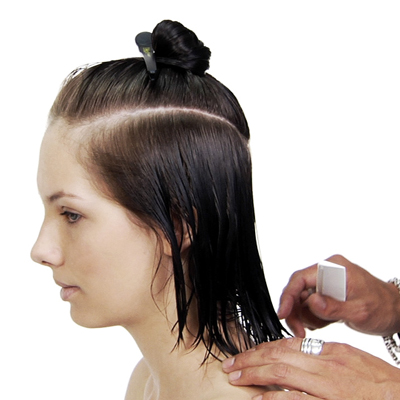
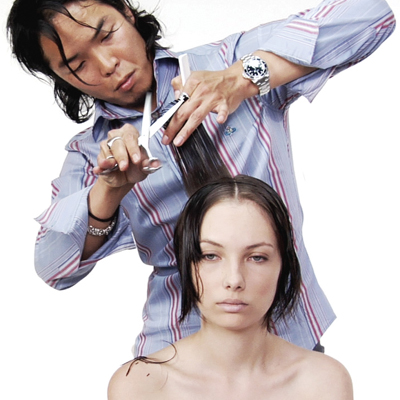
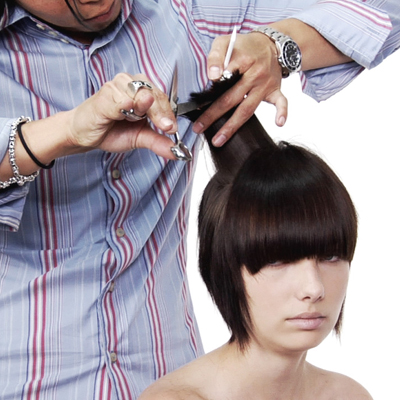
- 1Step 1 of 21

After cleansing with S-factor Smoothing Shampoo and Conditioner, apply S-factor Smoothing Lusterizer as a cutting lotion.
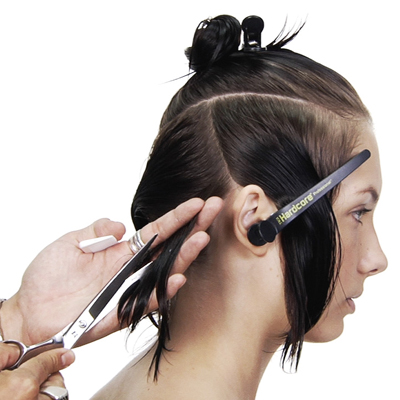
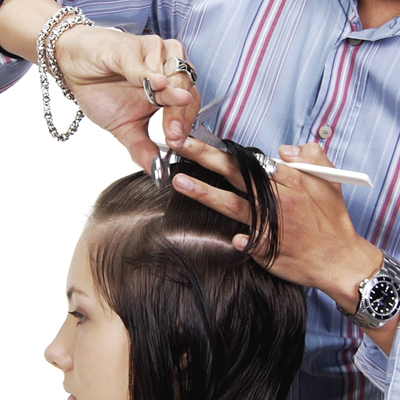
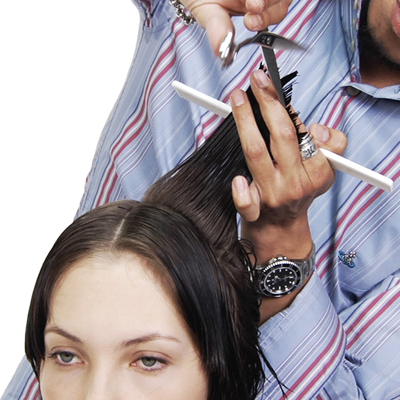
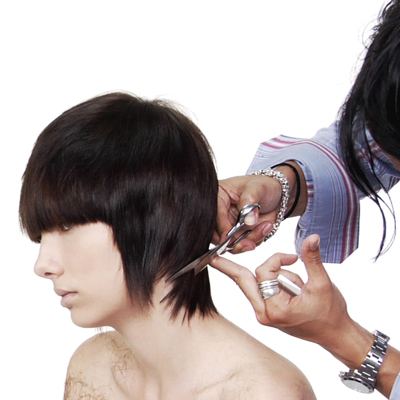
- 2Step 2 of 21
Take a curved diagonal section from the high recession to the top of the occipital bone on both sides of the head.
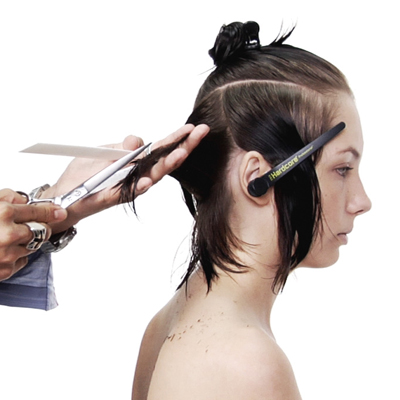
- 3Step 3 of 21
At the underneath, divide the front from the back with a diagonal forward section to the back of the ear. Starting at the back, work with diagonal back sections elevating to a layering level and working from short to long towards the back perimeter.
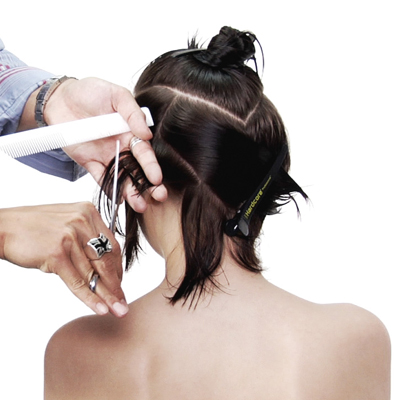
- 4Step 4 of 21
Continue working consistently until the curved diagonal section is reached.
- 5Step 5 of 21

- 6Step 6 of 21
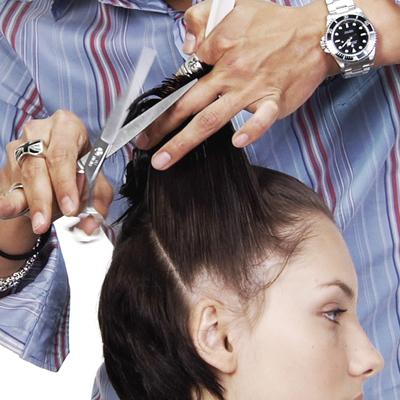
Repeat the same technique on the opposite side.
- 7Step 7 of 21
In the front of the ear take a horizontal section. Working with a high elevation and using the guide from the back, continue with block layering, working from short to long towards the front perimeter. Over-direct the remaining sections from below to the stationary guide.
- 8Step 8 of 21

- 9Step 9 of 21
Repeat the same technique on the opposite side.
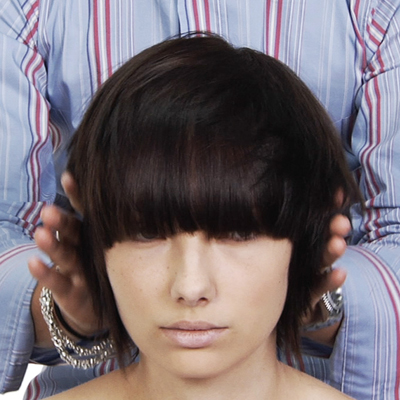
- 10Step 10 of 21
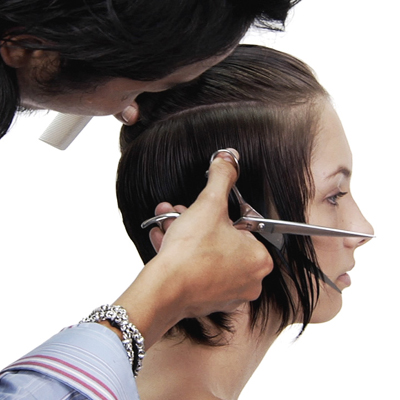
Shape and detail the perimeter by freehand channel cutting.
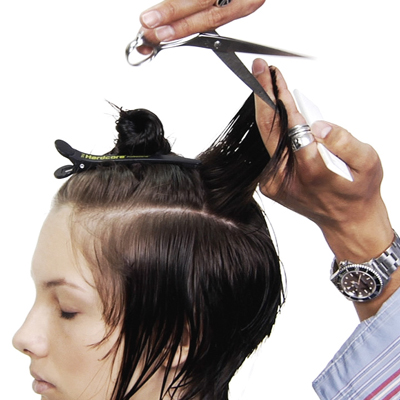
- 11Step 11 of 21

Working with pivoting sections, create a 2 inch disconnection between the crown and the nape area, by distributing the hair at 90 degrees and point-cutting, increasing the length towards the crown.
- 12Step 12 of 21
- 13Step 13 of 21
Continue removing weight in front of the ear, working with horizontal sections and leaving the top layers disconnected.
- 14Step 14 of 21

Over-direct the front hairline back in order to maintain weight in the fringe.
- 15Step 15 of 21
Repeat the same technique on the opposite side.
- 16Step 16 of 21
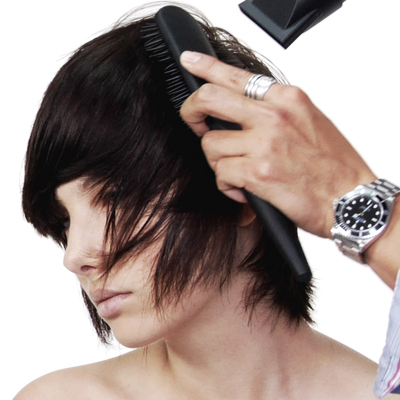
Blow-dry hair flat to the head with a Hardcore Paddle Brush.
- 17Step 17 of 21
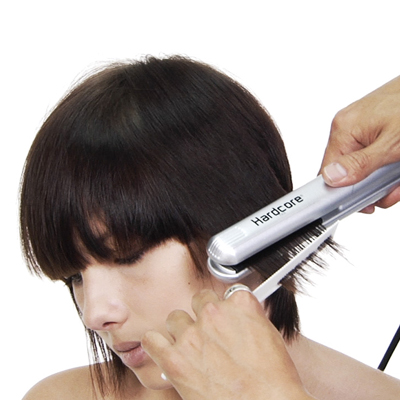
Straighten hair with the Hardcore Flat Iron to smooth out the cuticle.
- 18Step 18 of 21
Personalize the entire cut with deep point-cutting and channeling.
- 19Step 19 of 21
- 20Step 20 of 21
Add movement and separation using the S-factor Creamy Molding Wax. Finish by using S-factor Vivacious Hairspray to give hold and separation.
- 21Step 21 of 21

Editorial
TIGI Remix Collection Cut Step-By-Step
November 18, 2008·1 min read
Try this new cutting technique from TIGI International Creative Team’s New Remix Collection! By point cutting and creating disconnection, the look results in an edgy take on a classic cut. Purchase the DVD: NEW! TIGI Remix- The Complete Collection View the Remix Collection then Try Another How-To: Remix Colour Technical Create these looks on your clients with TIGI PRO Tools: TIGI Pro Neck Shield TIGI Pro Sectioning Clips TIGI Pro Trimmer Subscribe to behindthechair.com “On Paper” Magazine! (more…)
More to Read


