Aveda Artist Dylan Sit demonstrates “Aine” – a cut from the Transparency collection. With this look, there’s more than meets the eye; it can be styled forward, pulled back, be with or without a fringe, straight or textured. It’s a versatile cut your clients are sure to love. View the Collection: Aveda Transparency To learn more, go to www.aveda.com Subscribe to behindthechair.com “On Paper” Magazine–4 Issues Only $19.95! On Paper Keyword: celebrityaveda coloraveda (more…)
- 1Step 1 of 16
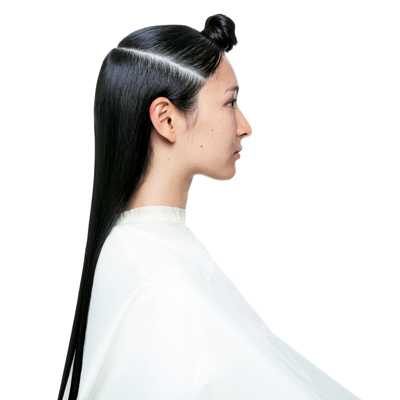
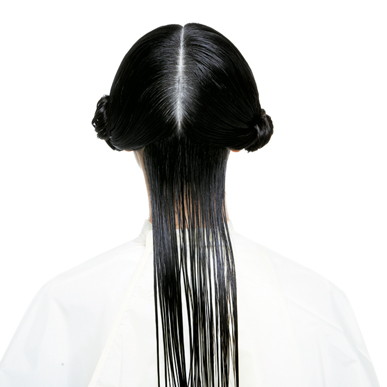
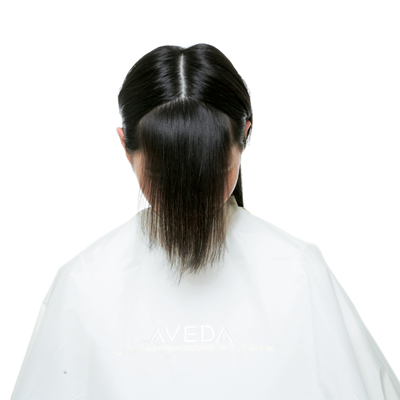
 Before
 - 2Step 2 of 16
 Create two sections, separating hair at the tample and moving upward.
 - 3Step 3 of 16
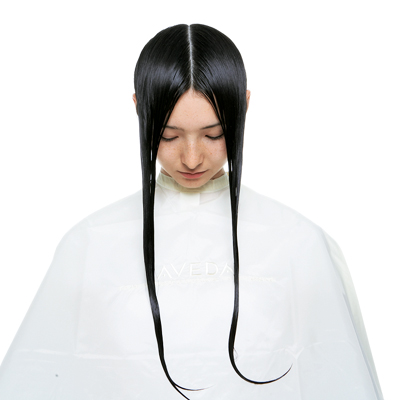 Place bottom section into a loose ponytail. Then comb top section into a middle part, dividing it into equal portions on both sides.
 - 4Step 4 of 16
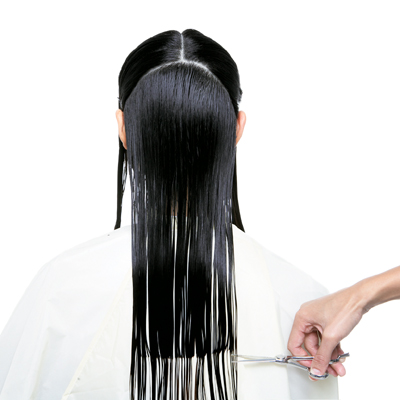
 Starting at the center back, take a vertical section, cut to the desired length. Continue with taking pie sections moving toward the front hairline.
 - 5Step 5 of 16
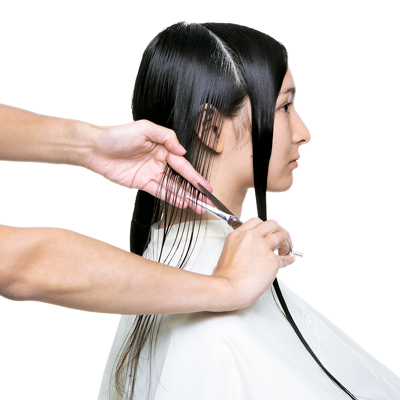 Continue pulling the hair toward you cutting straight down at an angle to establish length.
 - 6Step 6 of 16
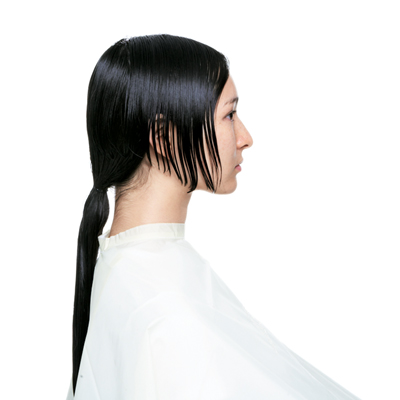 Finished angle.
 - 7Step 7 of 16
 Remove the ponytail. Part hair down the center. Take a one-inch horizontal section, working up the head.
 - 8Step 8 of 16
 Continue taking one-inch sections until you reach the crown (ear to ear).
 - 9Step 9 of 16
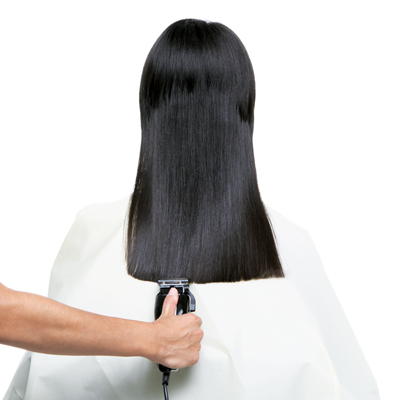 Use electric clippers to sharpen up the edge.
 - 10Step 10 of 16
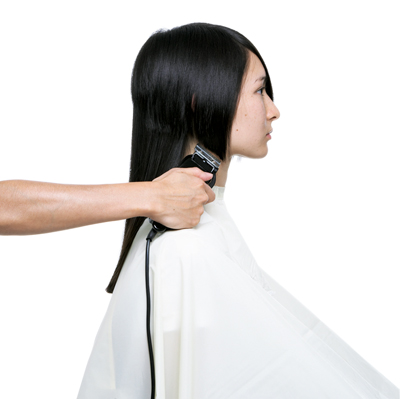 Continue using the clippers around the sides to sharpen up the angle.
 - 11Step 11 of 16
 Create a curve section for the fringe.
 - 12Step 12 of 16
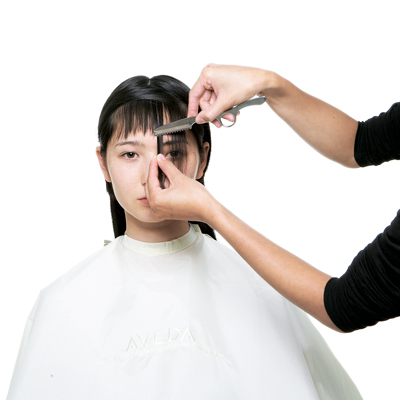 Take individual pieces and carve the fringe, mirroring the curve section with the razor.
 - 13Step 13 of 16
 Completed look.
 - 14Step 14 of 16

- 15Step 15 of 16

- 16Step 16 of 16