- 1Step 1 of 13

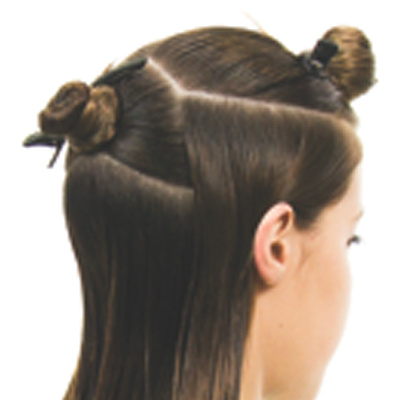
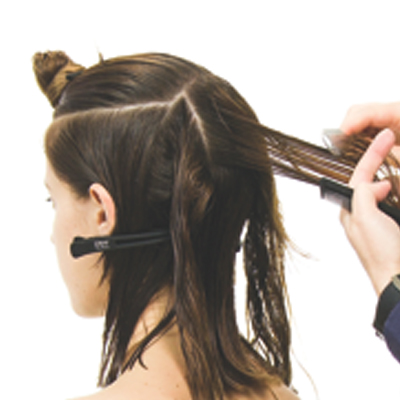
Apply Bed Head® Motor Mouth™ to damp hair. Section from the forehead to the nape, then create a radial parting from ear to ear, across the crown. Next, create a diagonal forward section from above the occipital bone to the top of the ear.
- 2Step 2 of 13
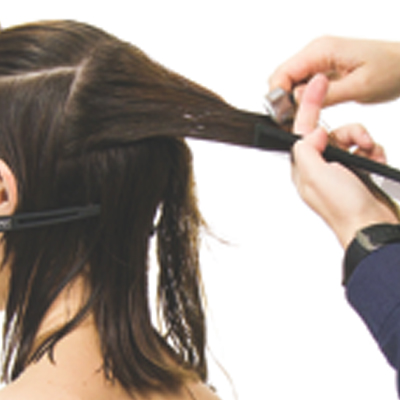
Create a horizontal section at the high recession point to separate the top from the sides.
- 3Step 3 of 13
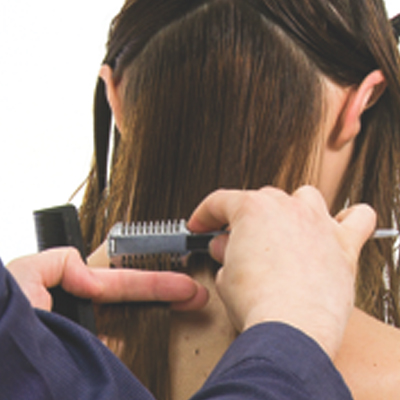
Take two, diagonal forward sections from the base of the occipital bone to the middle of the ears. Comb the hair to natural fall and establish the length using a razor. Work parallel to the part, at one finger elevation.
- 4Step 4 of 13
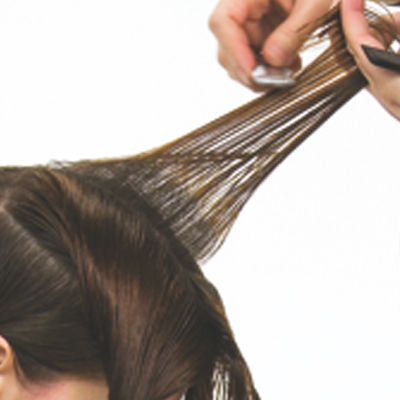
Work up to the crown section in this manner, establishing the baseline.
- 5Step 5 of 13
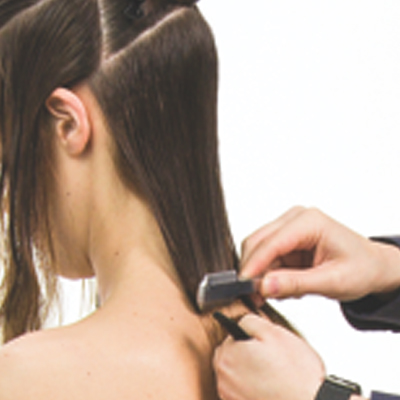
Create a vertical section at the ear. Comb the hair to 90 degrees, elevate to 45 degrees and cut squarely to the head shape, establishing the side perimeter lengths.
- 6Step 6 of 13

Working with diagonal sections on either side of this guide, overdirect all sections to the ear level and follow the stationary guide. Repeat on the opposite side.
- 7Step 7 of 13
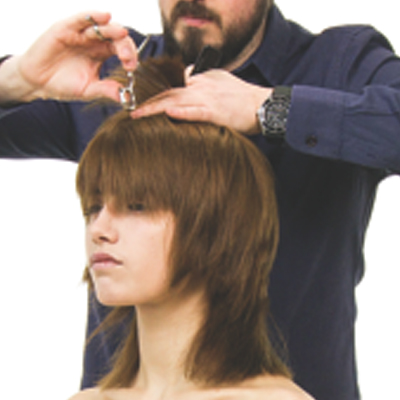
Release the crown area, and create a central, vertical section. Comb the hair to 90 degrees,
elevate to 45 degrees and cut slightly from shorter to longer, creating a loose, disconnected overcut to the baseline. - 8Step 8 of 13
On both sides, overdirect the remaining hair back toward the center in order to maintain length
around the ears. - 9Step 9 of 13
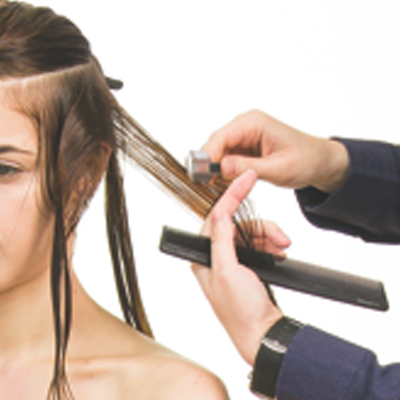
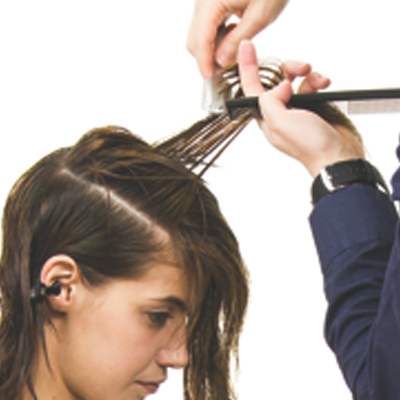
Create a vertical section from the crown to the front hairline. Comb and elevate the hair to 90
degrees to the top of the head. Using the guide from the crown, remove weight and length, following the head shape. - 10Step 10 of 13
Continue working with vertical sections on each side. Overdirect each section slightly backward to
each previous section and follow the guide from the center. Repeat on the opposite side. - 11Step 11 of 13
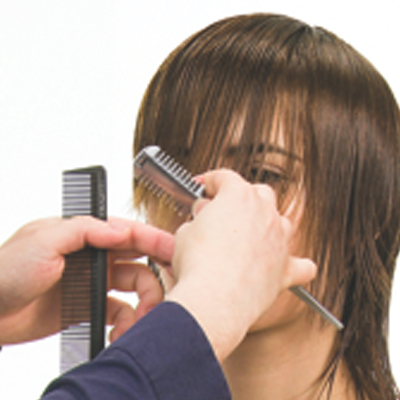
Shape the fringe visually, using low elevation. Then dry the hair with a TIGI® Large Cushion brush.
- 12Step 12 of 13
Point-cut the entire shape to personalize and remove weight. Apply Bed Head® Blow Out™ for shine and separation.
- 13Step 13 of 13

Finished Look
Haircuts
The After-Party Chop
April 19, 2015·1 min read
Designed to be styled, this razor cut maximizes the natural texture of the hair to create a shape that enhances and emphasizes the client’s unique TIGI® copyright©olour look. This cut is perfect for a client who has a bright, bold and confident personality, and likes to wear outfits styled with a touch of leather! Here are TIGI® Italian Creative Director Marco Iafrate’s 12 steps to #mulletforever textured locks. (more…)
More to Read


