- 1Step 1 of 20
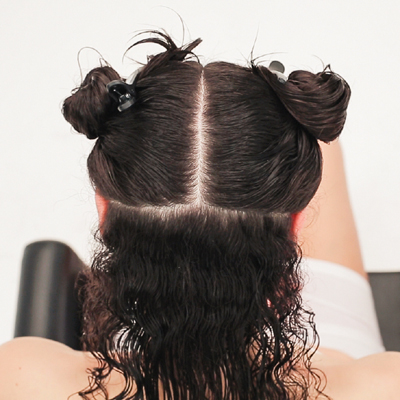
Establish a profile parting from the forehead to the nape. From the profile, take horizontal partings to the ear.
- 2Step 2 of 20

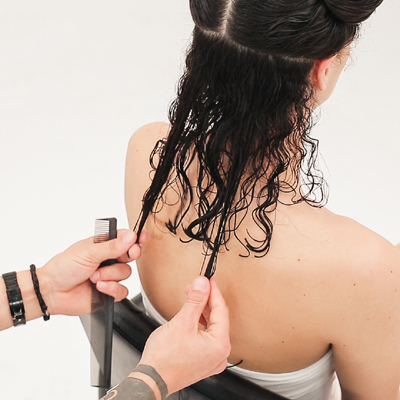
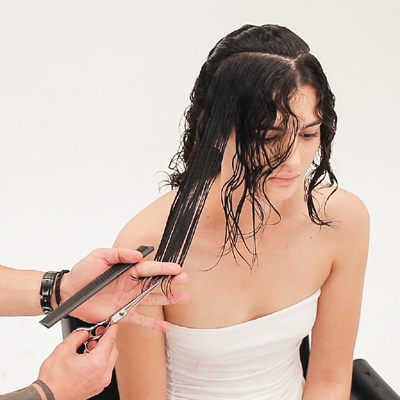
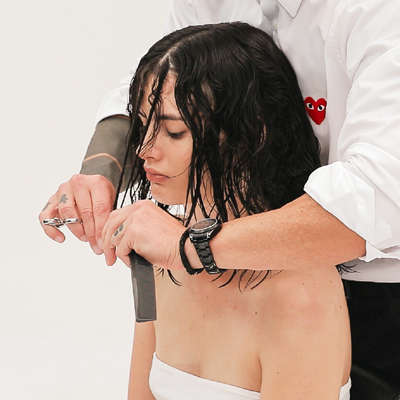
With the head position slightly forward, keep the profile in place. Comb the hair to natural fall, hold at one finger’s depth, and with minimal tension, cut the line square.
- 3Step 3 of 20

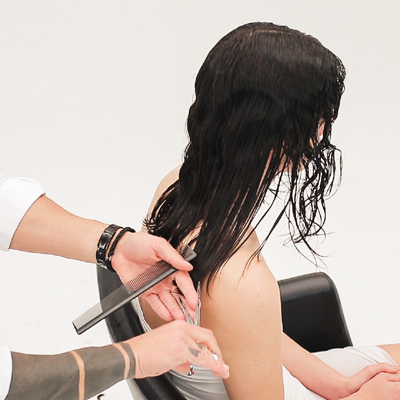
On the opposite side, start from the center, and work outwards in small increments to cut the line square to the guide.
- 4Step 4 of 20
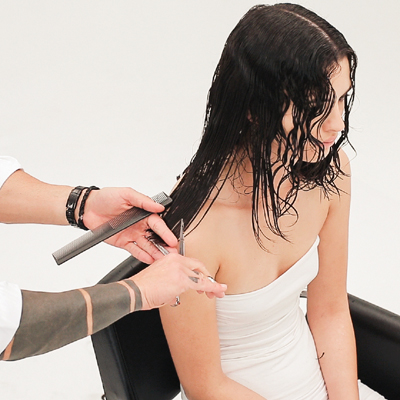
Cross-check by pulling equal amounts of hair from the same reference point and measure to see if the lengths are balanced.
- 5Step 5 of 20
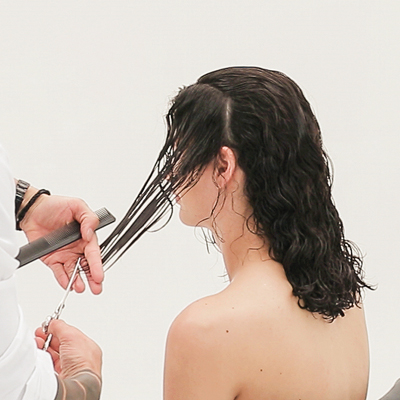
Release the remaining hair, comb the sides at natural fall, place it behind the shoulders and cut to follow the guideline.
- 6Step 6 of 20
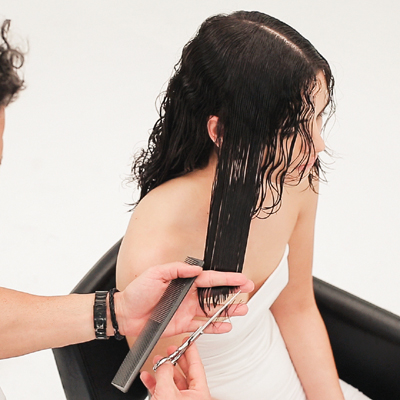
To complete the line through the sides, comb the hair to natural fall, hold at one finger’s depth and cut square.
- 7Step 7 of 20
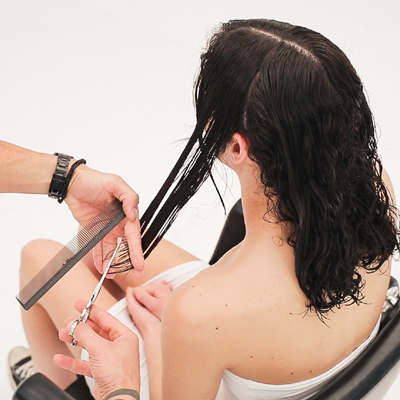
Take diagonal back sections from the profile to just behind the ear. Make a vertical division from the high point of the ear. Overdirect forward, elevate to 45 degrees and cut from the corner up toward the chin.
- 8Step 8 of 20
Repeat the technique on the opposite side. Notice the change in hand position.
- 9Step 9 of 20
Release the remaining hair and cut on the guide with the same distribution and elevate to a stationary 45 degrees.
- 10Step 10 of 20
Repeat the same technique on the opposite side. Notice the change in hand position, the hair is held from top and the fingers are pointed down.
- 11Step 11 of 20
Cross-check by pulling equal amounts of hair from the same reference point and measure to see if the lengths are balanced.
- 12Step 12 of 20
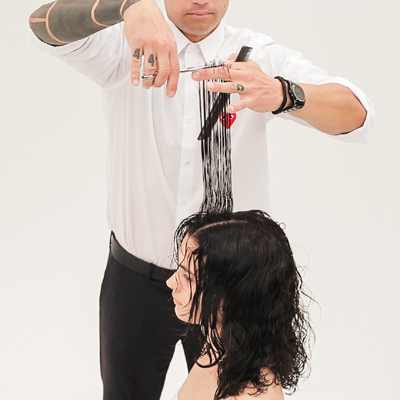
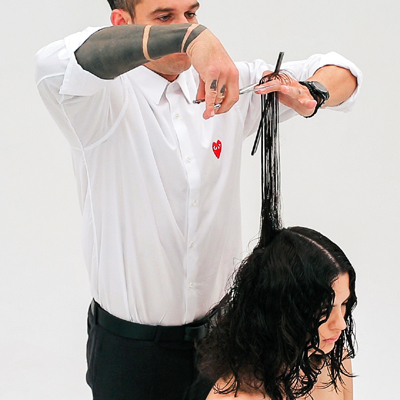
Take a profile section from the front hairline to the top of the occipital. Start 2 inches behind the front hairline and use this as a guide to length. Comb perpendicular, elevate to 90 degrees and cut square.
- 13Step 13 of 20
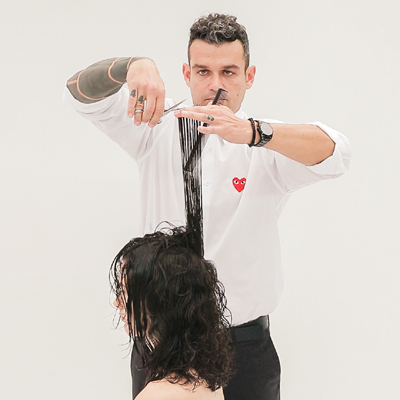
Continue your profile section past the crown, comb perpendicular, elevate to 90 degrees and cut the line square.
- 14Step 14 of 20
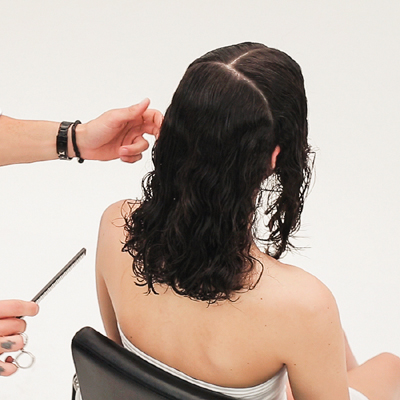
Take a radial parting from the crown through to the top of the ear on both sides.
- 15Step 15 of 20
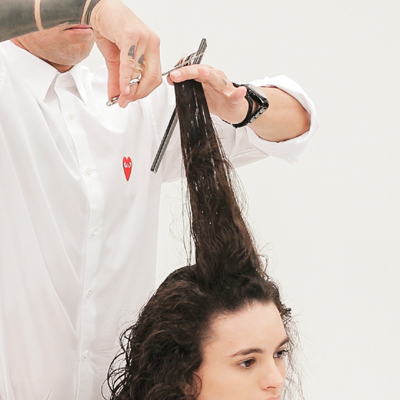
Take pivoting sections, comb perpendicular, elevate to 90 degrees and cut square until you reach the radial on both sides.
- 16Step 16 of 20
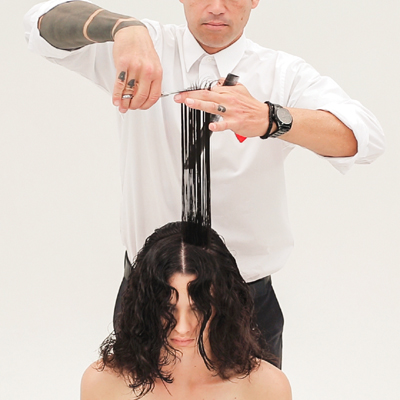
Across the top take horizontal sections, comb perpendicular, elevate to 90 degrees and cut square from the profile guideline.
- 17Step 17 of 20
Across the top take horizontal sections, comb perpendicular, elevate to 90 degrees and cut square from the profile guideline.
- 18Step 18 of 20
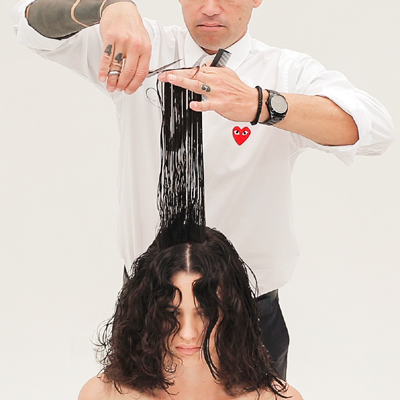
Finish by over-directing the last horizontal sections back to the previous guide and cut square.
- 19Step 19 of 20
Finish by over-directing the last horizontal sections back to the previous guide and cut square.
- 20Step 20 of 20
Cutting Curls/Texture
Square Layers From TONI&GUY
August 18, 2015·1 min read
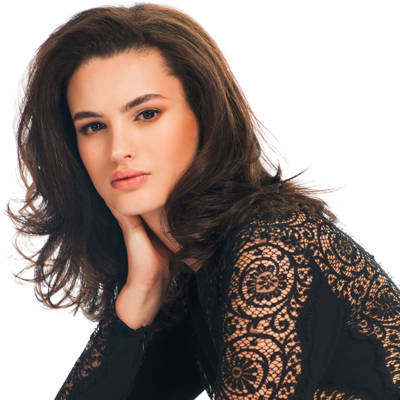
Calling all naturally curly girls. This cut from the TONI&GUY Classics Collection features square layers that offer a soft transition from short to long without the look of choppy, overly-kinked curls. Mastering this cut is a “must” for every stylist who works with natural texture—it offers a modern shape and lots of lively movement while maintaining a style clients love. (more…)
More to Read


