- 1Step 1 of 11
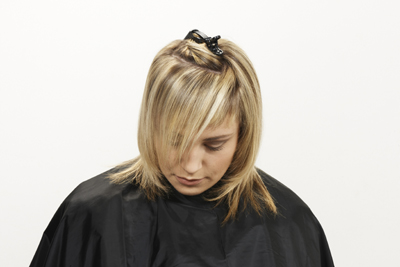
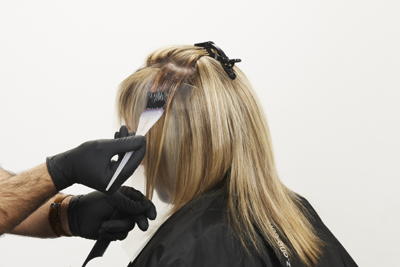
Pre-lighten and tone all strands. Apply milk_shake Light (10) Total Roots Powder Bleach from roots to midshafts and Light (10) Blue Tonalizing Bleach from midshafts to ends. Tone with milk_shake Light (10) Tone Controller White.
- 2Step 2 of 11
Note: The images used in this step-by-step are meant to show the placement/technique only and do not represent these formulas.
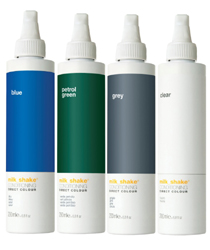
Formula A (Grey/Blue): 1 part milk_shake Direct Color Grey + 1 part milk_shake Direct Color Blue
Formula B (Grey/Green): 2 parts milk_shake Direct Color Grey + 1 part milk_shake Direct Color Petrol Green
Formula C (Grey/Green/Blue): 1 part milk_shake Direct Color Grey + 1 part milk_shake Direct Color Green + 1 part milk_shake Direct Color BlueMix three dilutions of each formula:
Dilution Formula 1: 1 part Formula to 1 part Clear
Dilution Formula 2: 1 part Dilution Formula 1 to 1 part Clear
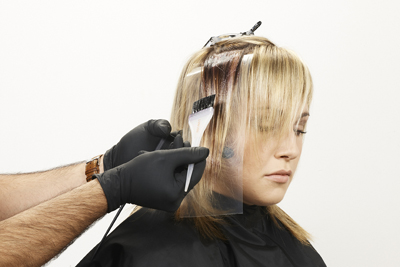
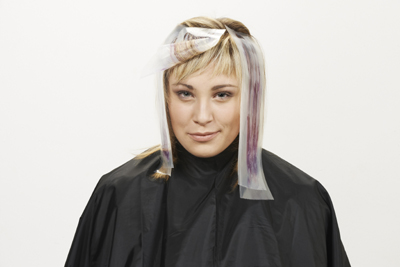
Dilution Formula 3: 1 part Dilution Formula 2 to 2 parts Clear - 3Step 3 of 11
Create a section in the crown area that begins from the middle of the eyebrows to the top of the ear on the other side of the head, beginning about 1 ½ inches from the front hairline.
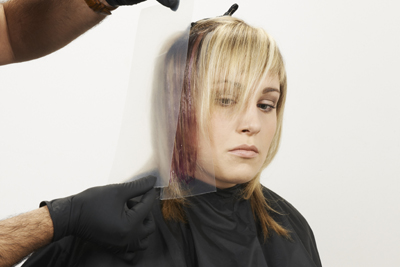
- 4Step 4 of 11
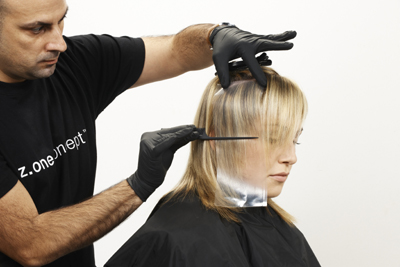
Place wax paper or foil over the strand adjacent to this parting, positioning the paper downward, to isolate this uncolored sections and support the colored sections.
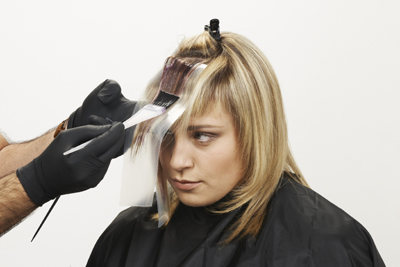
- 5Step 5 of 11
Create a ½- to ¾-inch subsection within the original crown section and place it over the wax paper or foil. Apply Formula A/ Dilution Formula 3 over the entire length, without coloring too close to the perimeter.
- 6Step 6 of 11
On top of the already-colored section, apply the other dilution formulas of the same color in the following sequence: Dilution Formula 2 length to ends; Dilution Formula 1 on the ends. For even more gradation, apply the full-strength formula at the very ends of the hair.
- 7Step 7 of 11
Once all of the color dilutions have been applied, comb the strand to create a graded color effect between the various intensities of color.
- 8Step 8 of 11
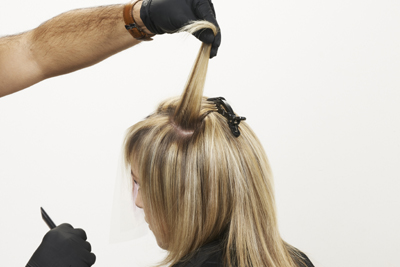
Isolate the colored strand with wax paper or foil.
- 9Step 9 of 11
Repeat the sequence throughout the crown section, alternating Formulas A, B and C and the dilutions on each subsection.
- 10Step 10 of 11
For a symmetrical effect, repeat all of the steps on the opposite side of the head.
- 11Step 11 of 11
Hair Color
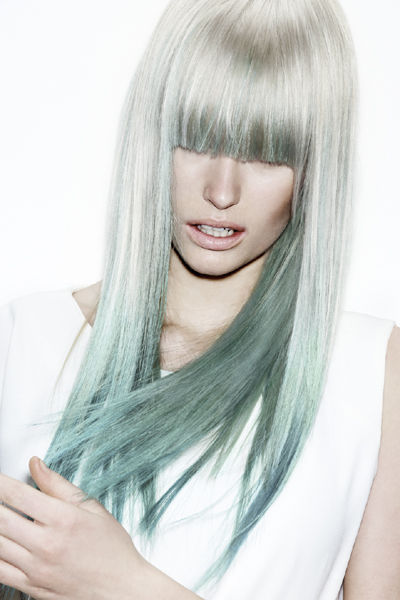
Smoky, Mermaid-Inspired Ombre From Milk_shake
May 2, 2013·1 min read
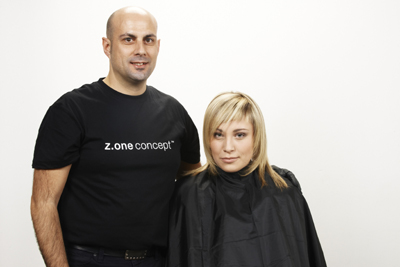
This mermaid is not the kind of mermaid who bursts into song, makes friends with perpetually terrified fish, or combs her hair with a fork. This mermaid from milk_shake is equal parts sultry and mysterious, with an icy tinge. The tones used to create her look call to mind the deepest, darkest depths, yet to be explored by man. Have a client who’s feeling adventurous? Dive into this step-by-step to recreate the look. Visit milk_shake on facebook! On Paper Keyword: milk_shake Credits Haircolor: Franz Di Riso for Z.One Concept Hair styling: Gabriele Trezzi Photographer: Kamil Strudzinski Makeup: Barbara Bertuzzi Color products used: (more…)
More to Read


