- 1Step 1 of 9
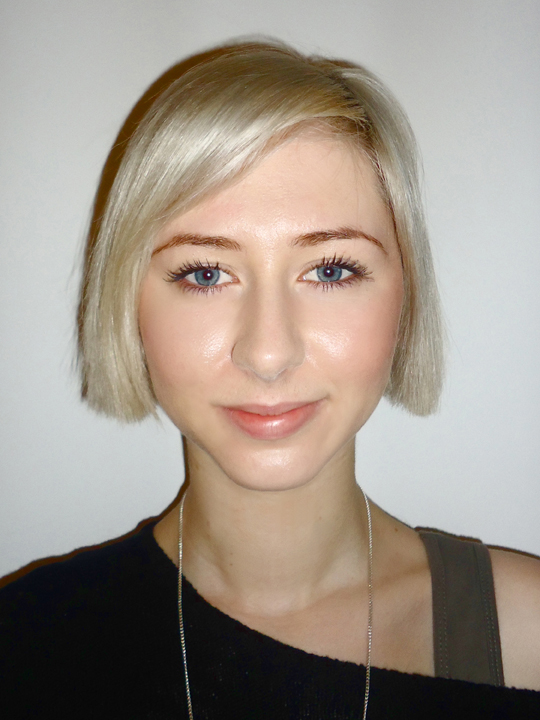
The before look with a grown out bob shape.
The base shade is a level 7 and the hair has been pre-lightened first all over to a clean level 10 blonde.
- 2Step 2 of 9
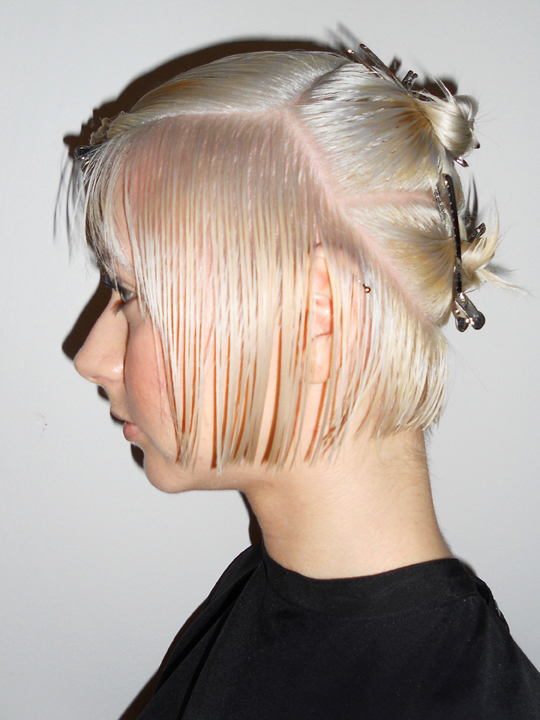
On one side only, section from the temple area horizontally through to the turning point on the head above the top of the ear. Take a diagonal back section through to the nape area below the occipital bone. The back is sectioned into 2 areas horizontally, the first above the occipital bone and the second at the top of the head above the crown.
- 3Step 3 of 9
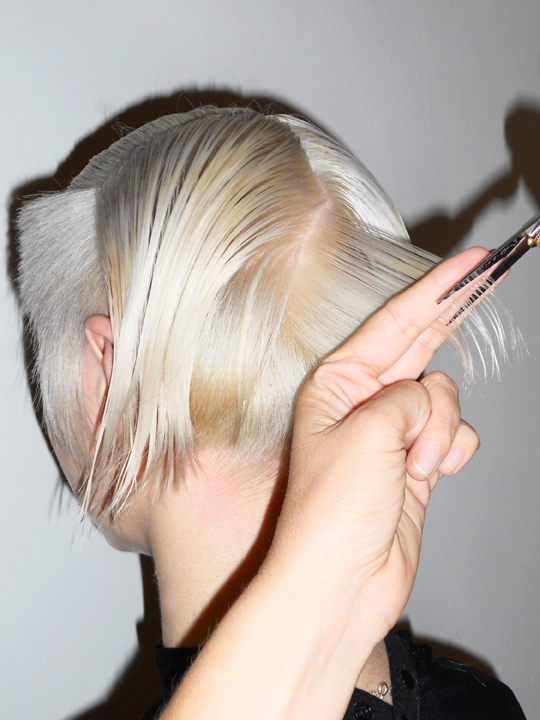
Begin on the first side at the front hairline. Take small clean vertical partings and project the hair to a 90-degree elevation. Hold your fingers parallel to the parting at a 90-degree angle to cut a flat layer. Continue with the same method through this section using a moving guideline.
- 4Step 4 of 9
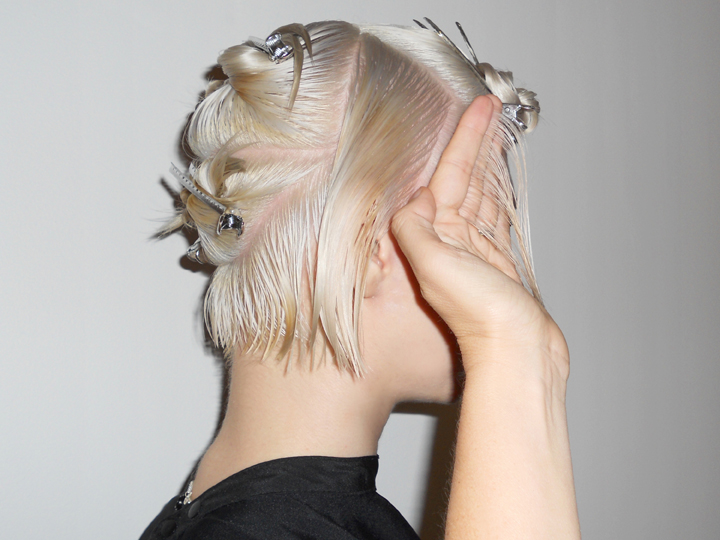
On the opposite side section from the temple area into a point at the top of the head higher than the previous side. Section down vertically from this point to the top of the ear and then continue with a diagonal back section to the nape area below the occipital bone the same as the other side.
- 5Step 5 of 9
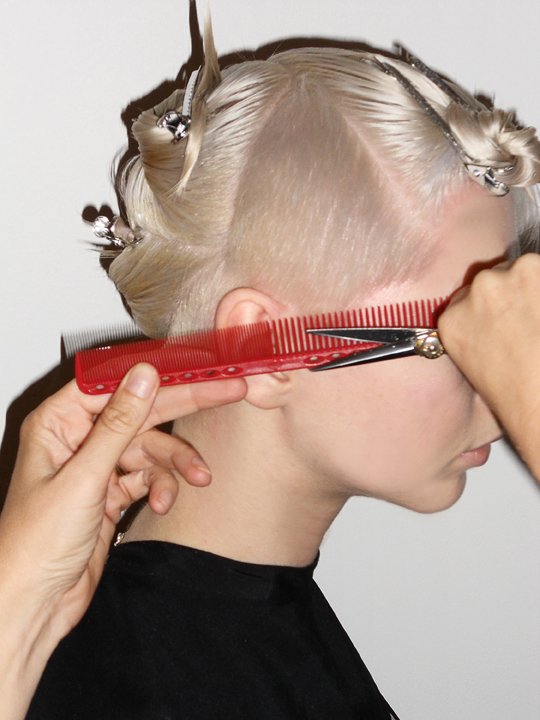
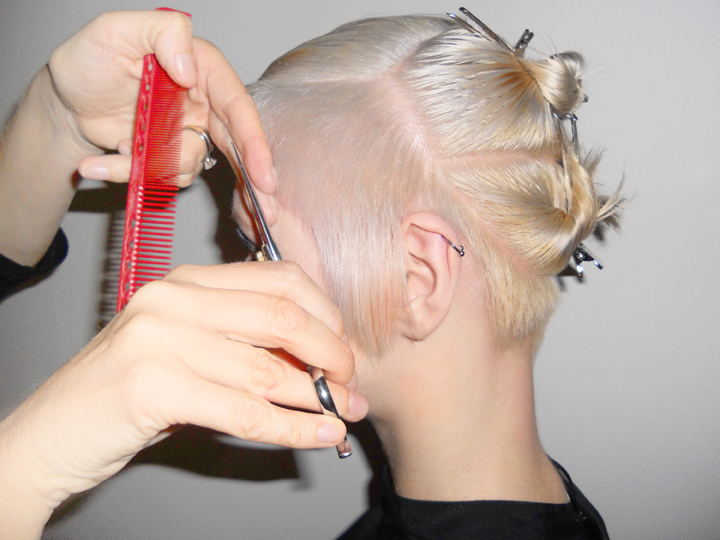
Use the same cutting method as the previous side using vertical partings projected to 90-degree elevation. Once completed, proceed to use a scissor-over-comb technique to take the hairline in tighter and shorter. Both sides hae a different result creating asymmetry.
- 6Step 6 of 9
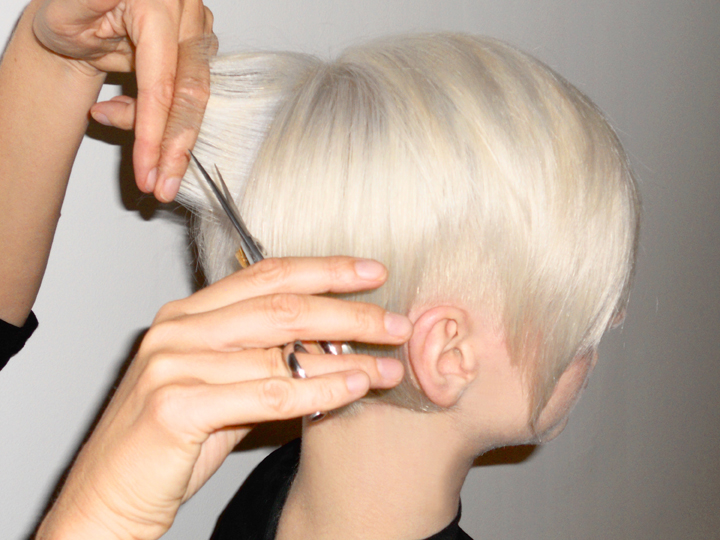
Progress to the back area and begin in the nape section. Use diagonal graduation to sit the nape in tight and gradually build up weight as you progress higher up the head. Start at the center back and take small, clean diagonal partings then project to 90-degree elevation. The finger position will be parallel to the parting with a 45-degree finger angle.
- 7Step 7 of 9
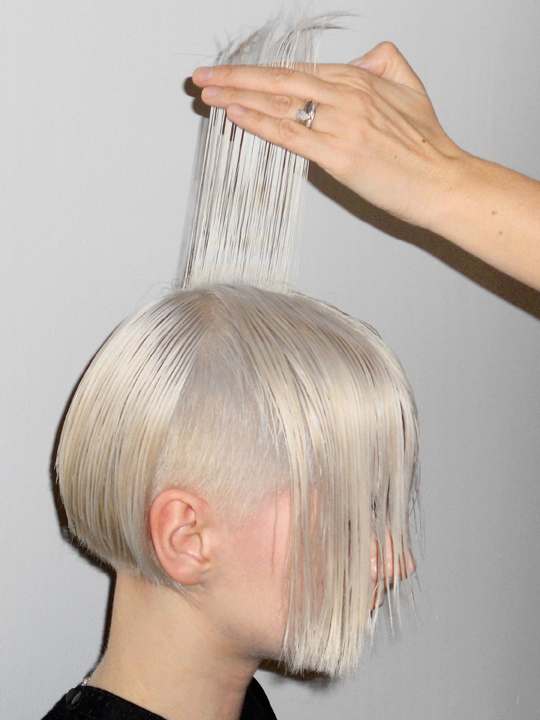
Once the back is complete use a guideline from the top and take a parting running through the center top of the head. Project the hair straight up from the head at 90-degree and cut a square line straight across. Take parallel partings and use overdirection to the first section, a
stationary guide at the centre top. The top will be disconnected from the sides underneath. - 8Step 8 of 9
Blow-dry the hair using a Denman brush and a heat protecting styling lotion. Dry the hair into its natural falling position to enable you to check the haircut. Once dry use a point-cutting technique to remove any unwanted weight to soften the haircut and create movement.
- 9Step 9 of 9
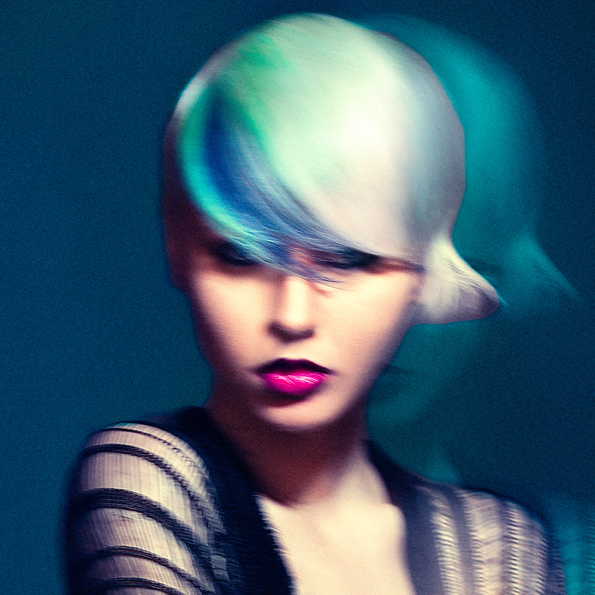
The finished haircut is complemented with beautiful color tones of pastel turquoise blue and pastel mint green with platinum blonde. Strategic color placement is sectioned into a small semi circle on one side only to enhance the shape of the design.
More How-Tos
Futuristic, Wispy Bob with Color by Tracey Hughes
Geometric Cut and Creative Color from Tracey Hughes
5 Unique Styling How-Tos from Guido
Bobs & Lobs
Short and Chic Asymmetrical Bob
May 6, 2013·1 min read
Meet the average bob’s edgier, more daring older sister. This cut has serious style, but maintains its wearability through simplistic lines and shape. Find out how Tracey Hughes achieved the look, including creative color placement at the fringe! See the rest of Tracey Hughes’ ECHO Collection SHOP Tracey Hughes Education HERE! Who did it: Hair: Tracey Hughes Salon: Mieka Hairdressing Photography: Nicole Corbett Makeup: Joshua Cyrus Pere Fashion Stylist: Melvin Royce Lane Clothing: et al Stores Subscribe to behindthechair.com On Paper Magazine! SUBSCRIBE NOW! (more…)
More to Read


