- 1Step 1 of 13
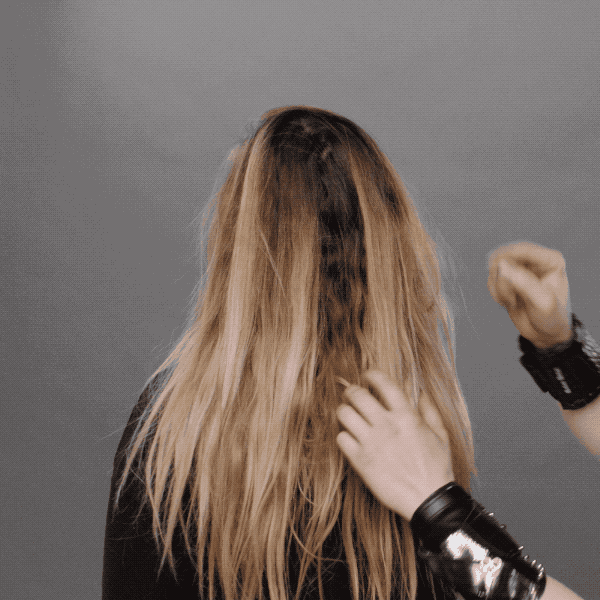
Before
- 2Step 2 of 13
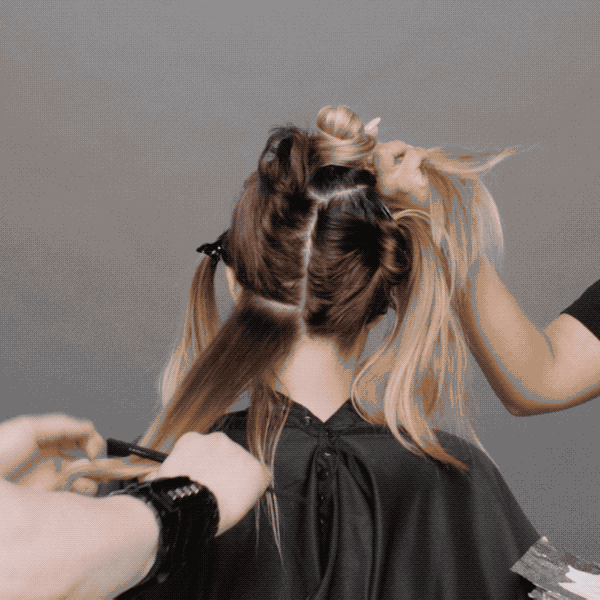
Create three large sections. Then take smaller curved, horizontal sections and backcomb them (only pushing twice!)
- 3Step 3 of 13
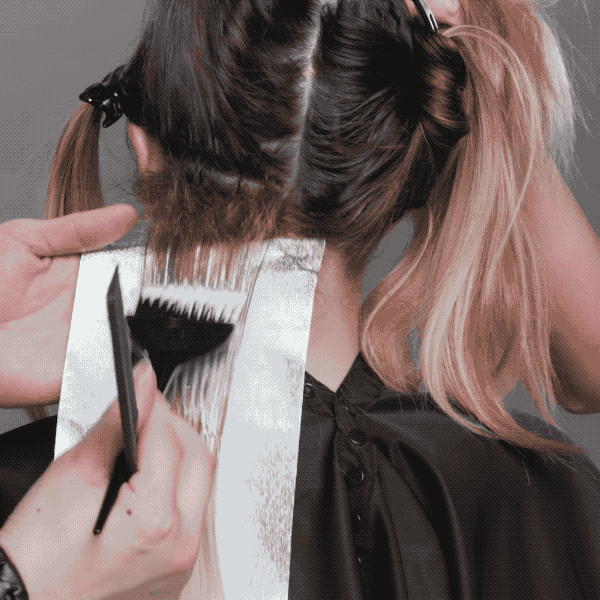
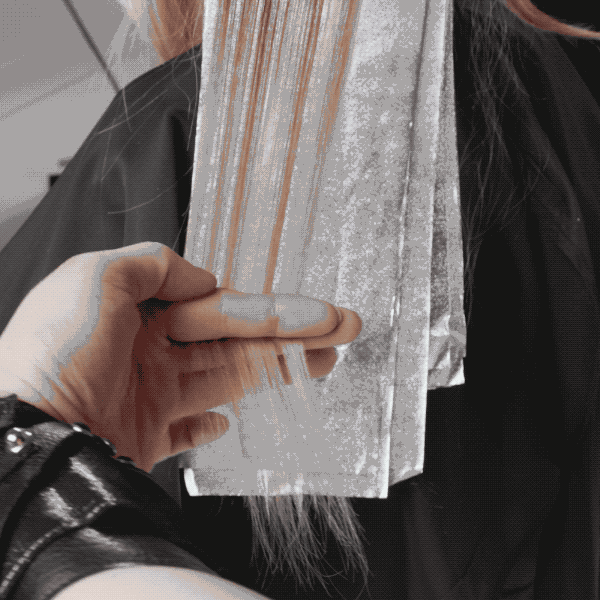
Apply Formula A using a feathering technique to create either a V-pattern or a W-pattern.
Tip: Lay the foils flat, so the hair closest to the scalp (the natural, virgin hair) gets an accelerated lift. Lay the panels flat, so the hair is evenly penetrated with lightener.
- 4Step 4 of 13
- 5Step 5 of 13
Continue to section the hair and apply Formula A, taking smaller panels of hair to stay close to the scalp.
Tip: Backcomb the whole panel (opposed to smaller highlights) to completely erase any brass by overlapping all of the hair in each foil. If you’re working with a layered cut, overdirect the hair before you backcomb to get as close to the scalp as possible.
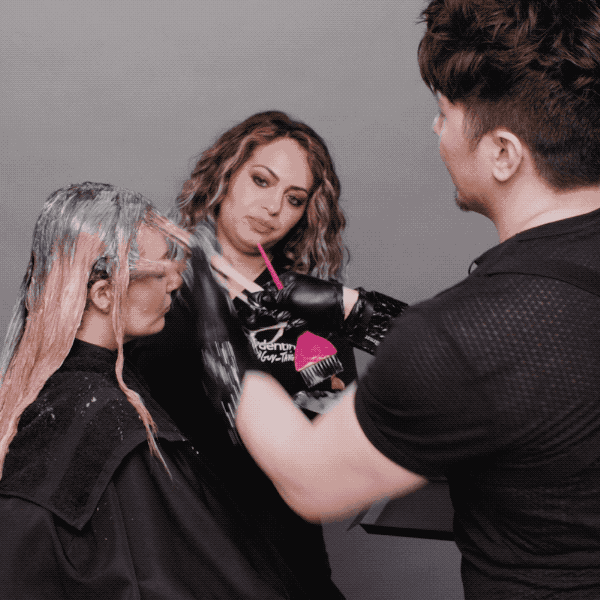
- 6Step 6 of 13
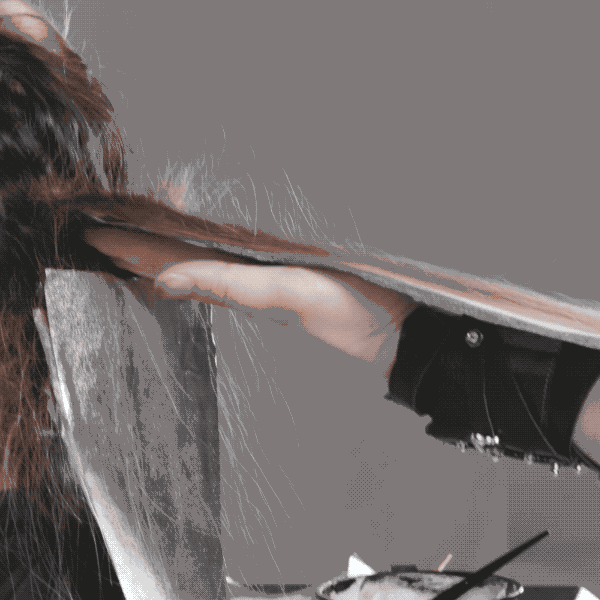
You are your best tool. As you continue to apply Formula A, use your arm as a platform for applying the lightener.
- 7Step 7 of 13
Post-bleach & pre-toner!
- 8Step 8 of 13
Start with damp hair at the shampoo bowl. Apply Formula B to the roots, dragging the color down to blend away any stitch marks.
- 9Step 9 of 13
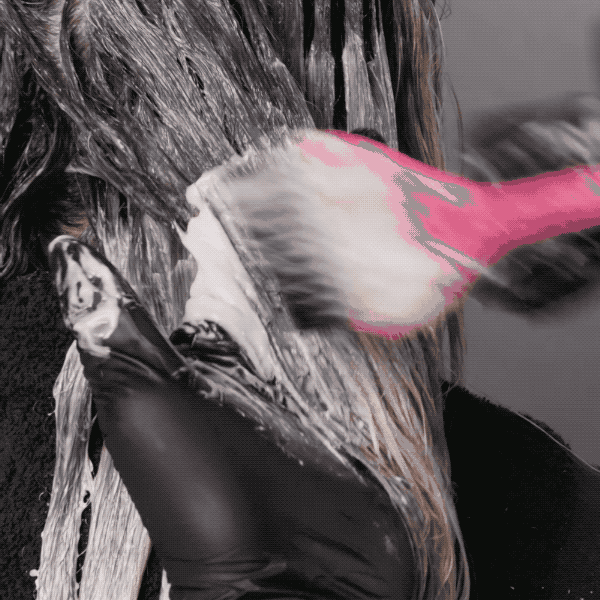
Apply Formula C and blend into Formula B above to create a seamless blend, leaving the ends out.
- 10Step 10 of 13
Toner with ends out.
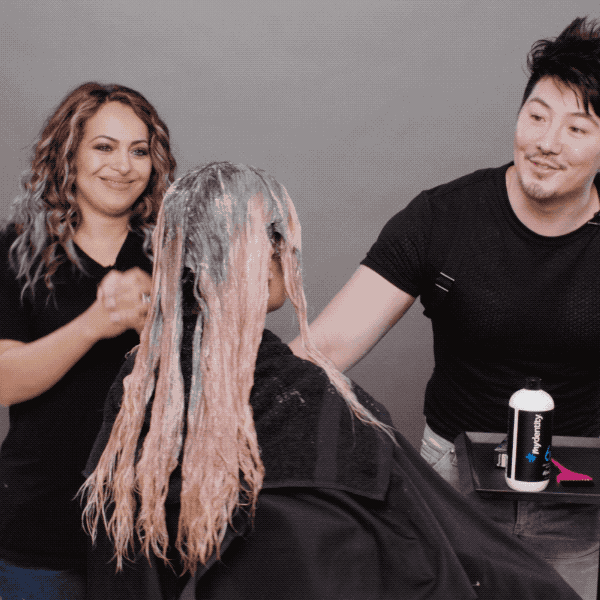
- 11Step 11 of 13
Apply Formula D to the ends and face-framing pieces, bringing the hair forward and blending. Process for 5 minutes.
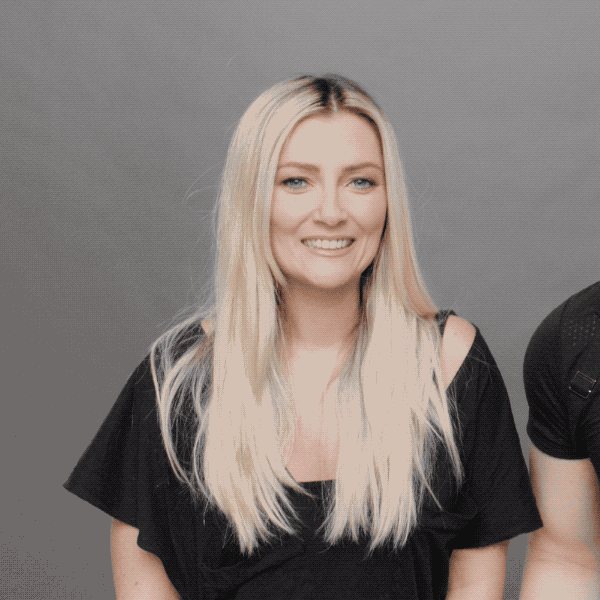
- 12Step 12 of 13
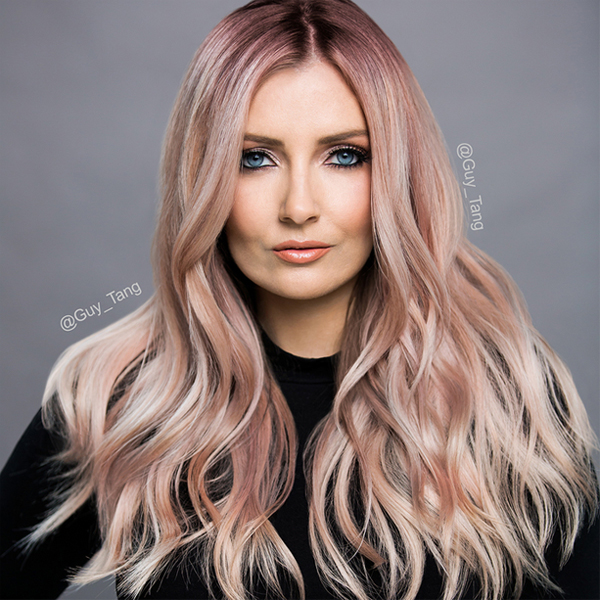
Finished Look
- 13Step 13 of 13Watch the video ↗
Blonde
Shadow Root + Rose Blush by Guy Tang
July 17, 2017·1 min read
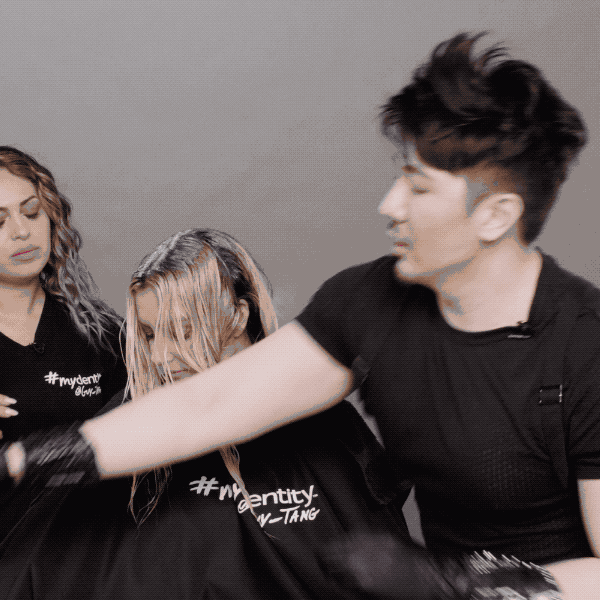
It’s no question that Guy Tang (@guy_tang) kills it both behind the chair and on social media (with 2 MILLION Insta followers!) So, when Guy creates a colorful bleach + tone makeover as good as this, we have to break it down for the BTC community. Click through for ALL the steps to recreate this rose blush dream and fill out this survey to win 1 of 50 #mydentity Dark Shadows shades HERE! (more…)
More to Read


