- 1Step 1 of 13

On dry hair, make a center part line. Starting 2 inches back from the front hairline, create a diagonal parting that extends to the back of each ear. Clip the hair behind each section out of the way.
- 2Step 2 of 13
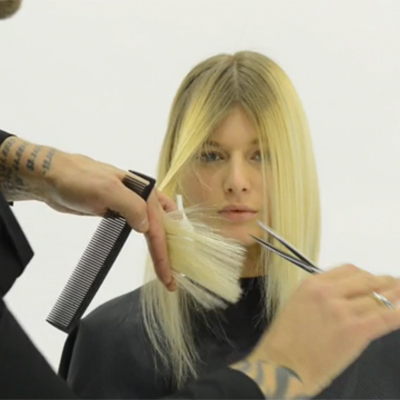
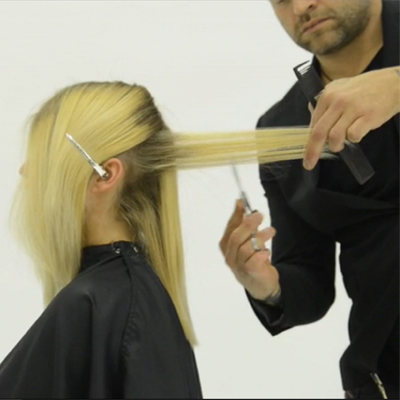
Working off a center part, comb the hair directing it forward to the center of the face, and point-cut into the ends. Remove length and weight so the shortest layer falls below the chin.
- 3Step 3 of 13
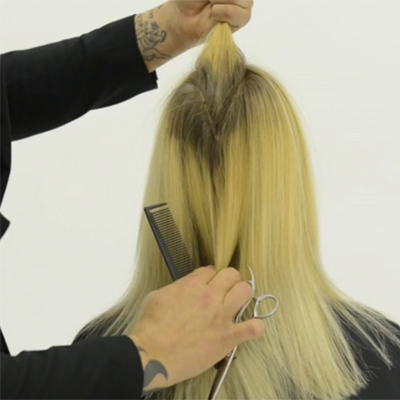
Repeat on the opposite side. Take a triangular section at the top center of the crown, with the point facing the back of the head.
- 4Step 4 of 13
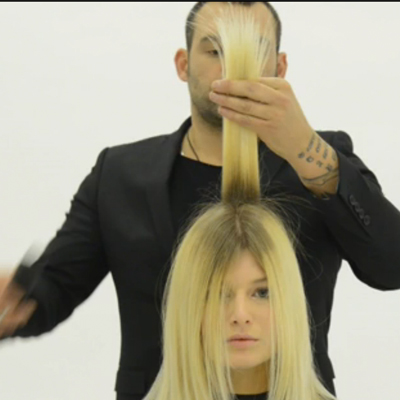
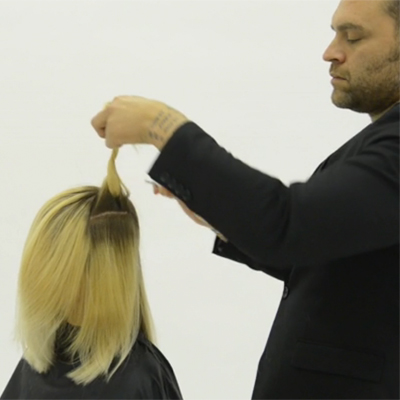
Hold the hair straight up and begin chipping into the last 3 inches of ends.
*The length of layers should be 8 inches from the crown.
- 5Step 5 of 13
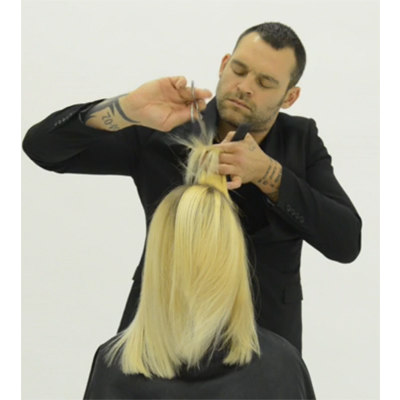
Take triangular sections throughout the crown and repeat chipping technique within each section while continuing to hold the hair straight up. Section the hair from the top of the ear across the occipital bone to the other side.
- 6Step 6 of 13
Working above the occipital bone, take 1-inch vertical subsections and elevate the hair parallel to the floor. Back-cut throughout the section by slightly opening and closing the scissors while sliding back and forth, creating graduated texture.
- 7Step 7 of 13
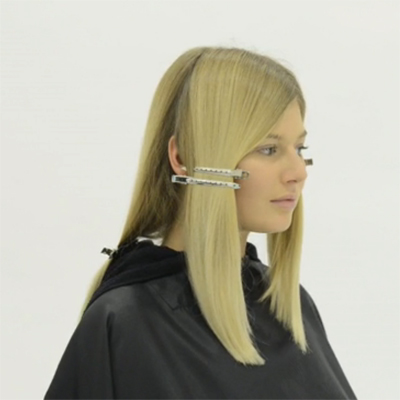
Release the hair, comb down at natural fall and point-cut to clean the perimeter line.
- 8Step 8 of 13
Take horizontal sections beginning at the crown. Hold fingers 2 inches out from the scalp and begin chipping into sections using quick movements with scissors to create additional texture and lift at the crown.
- 9Step 9 of 13
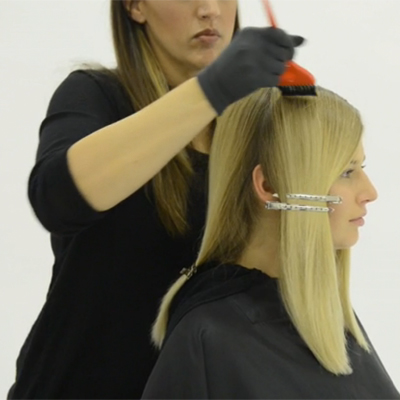
Model Starting Level: 7
Apply Formula A to the new growth area, slightly dragging the color into the midlengths.
- 10Step 10 of 13
- 11Step 11 of 13
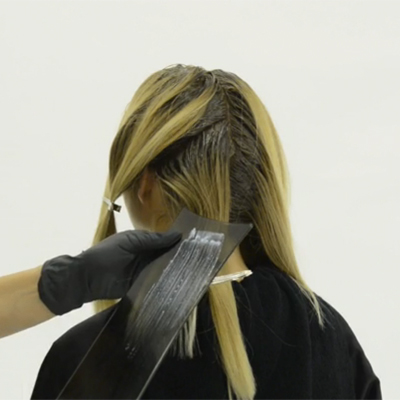
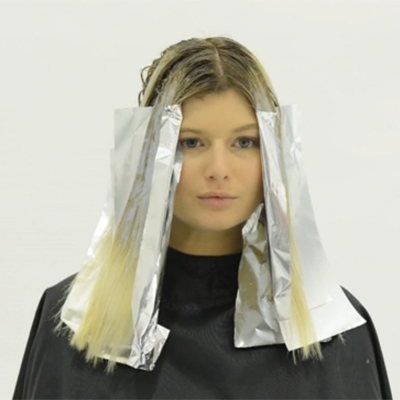
Apply Formula B and using a foil and balayage board, begin application above the occipital bone, taking 1/8-inch diagonal slices. Place under the section and apply Formula B to midlengths using a sidebrush technique, leaving the ends out. Lift up the board and place foil under the first section, continuing throughout both back sections. Work in horizontal sections throughout the sides and front. Process, shampoo and condition using Healing ColorCare Shampoo and Conditioner.
- 12Step 12 of 13
Apply Formula C to the entire head. Process and rinse thoroughly. Finish with Keratin Healing Oil Shampoo and Conditioner.
- 13Step 13 of 13
More How-Tos
Hip Neo-Glam Crop
Platinum Blonde
Long Layered Cut
Blonde
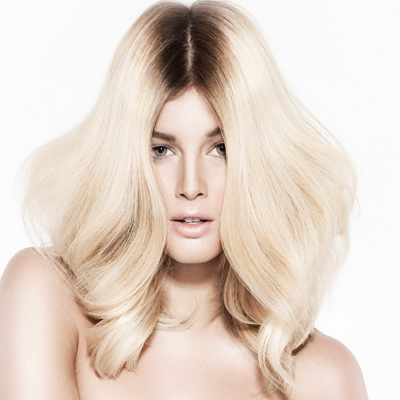
Rooty Blonde Lob From L'ANZA
November 3, 2015·1 min read
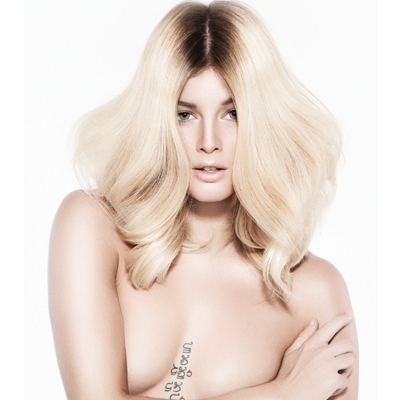
Not all blondes want dimensional babylights or the perfect all over shade. Some like their color a little rooty and this blonde lob from L’ANZA is the perfect blend. The cut is then texturized and blown dry to add volume, body and movement. Here’s how it’s done! Get Three More Color How-Tos From L’ANZA! (more…)
More to Read


