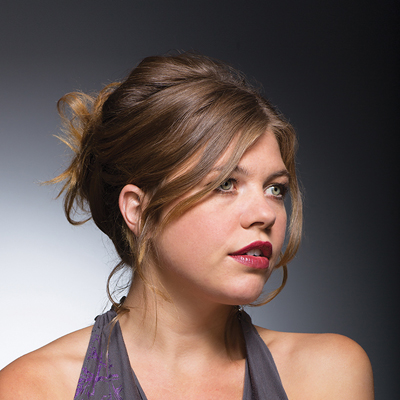
Brides no longer want intricately elaborate updos for their big day. Now, effortlessly striking styles that show off their natural beauty are all the rage. Here the pros at Olivia Garden share their technique for creating a loose, yet romantic upstyle any bride is sure to love.More How-TosThe Sophisticated Bob Silky Smooth Blowout Elegant Faux Bob (more…)
- 1Step 1 of 8
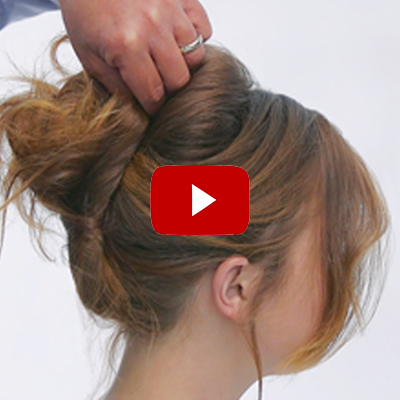
 Section the hair and tease all around the back of the crown with a CarboSilk Comb to create height and volume. This is the foundation for the bump at the back of the updo.
 - 2Step 2 of 8
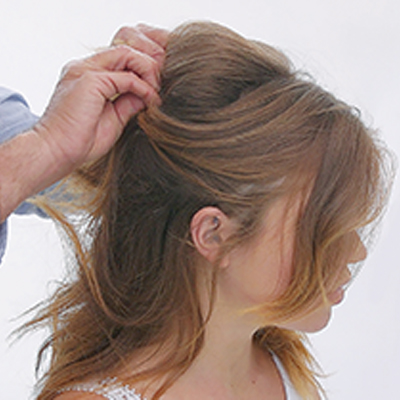
 Use the rat tail of the Style-Up Combo Teasing Brush to lift and gather the hair.
 - 3Step 3 of 8
 Take some hair sections in front, pull to the back and anchor the hair with two bobby pins. Always double anchor crossing the pins over, one pin in one direction and the other in the opposite direction. Repeat on the other side.
 - 4Step 4 of 8
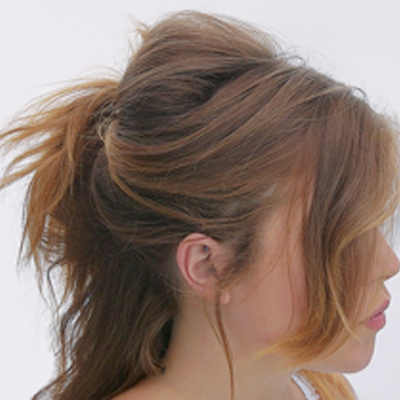 Working down toward the nape, continue to gather sections on each side and secure at the back with bobby pins. Lock these into pins already in the hair. Use two pins for each section to hold the hair firmly in place.
 - 5Step 5 of 8
 Take the remaining hair at the nape, then twist and tuck in the ends. Pin it at the back with the rest of the hair. Lock the new pins into pins already in the hair. Use enough pins to firmly secure the updo in place.
 - 6Step 6 of 8
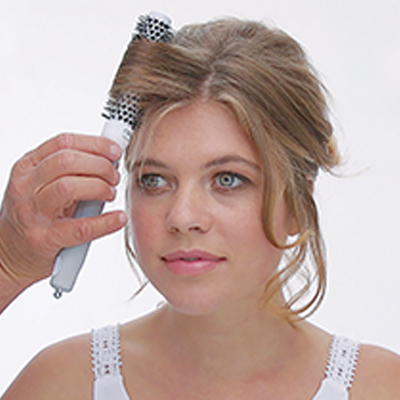 Create soft curls to frame the face by rolling loose hair in front with a small Ceramic+Ion Thermal Brush and blow dryer with a nozzle attachment. Use hairspray to lock in the shape.
 - 7Step 7 of 8
- 8Step 8 of 8