- 1Step 1 of 10
Spray the roots with Goldwell StyleSign Hot Form and crimp the roots 5cm deep.
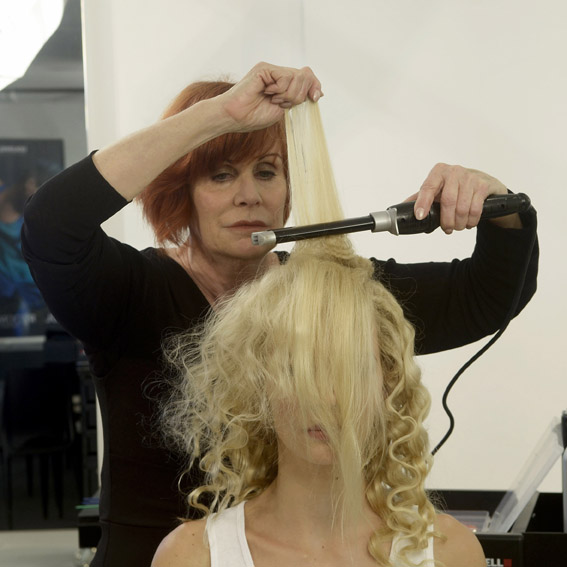
- 2Step 2 of 10
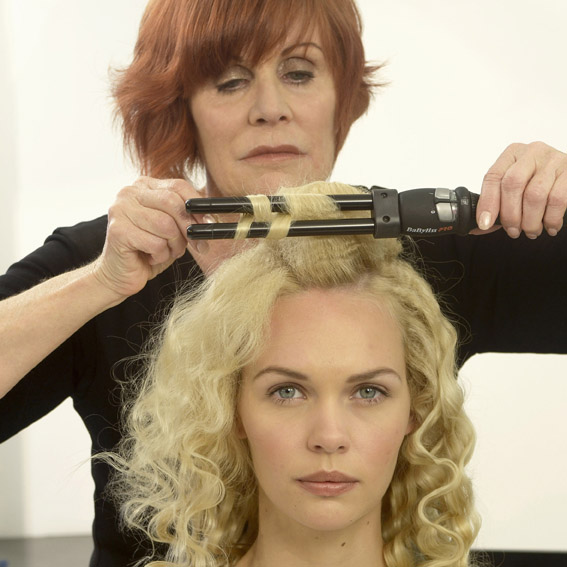
Lightly spray the ends with Goldwell StyleSign Hot Form. Use a double barrel wave tong and wave the ends of the hair.
- 3Step 3 of 10
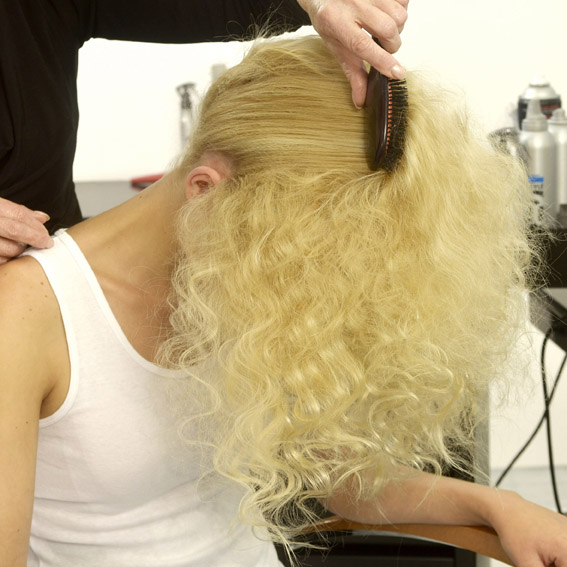
Brush the hair from the nape to the crown for body and lift.
- 4Step 4 of 10
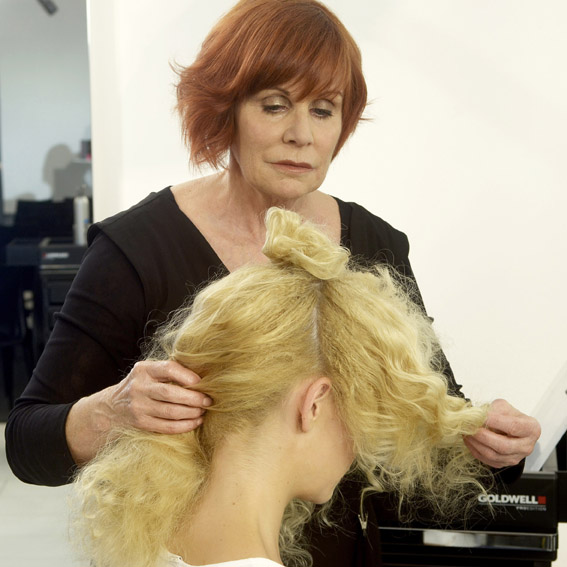
Make a 3cm square section on the crown in line with the top of the ears. Gently back comb this section and place a band at the root and loop the hair into a top knot. This will act as a base to sew the hair.
- 5Step 5 of 10
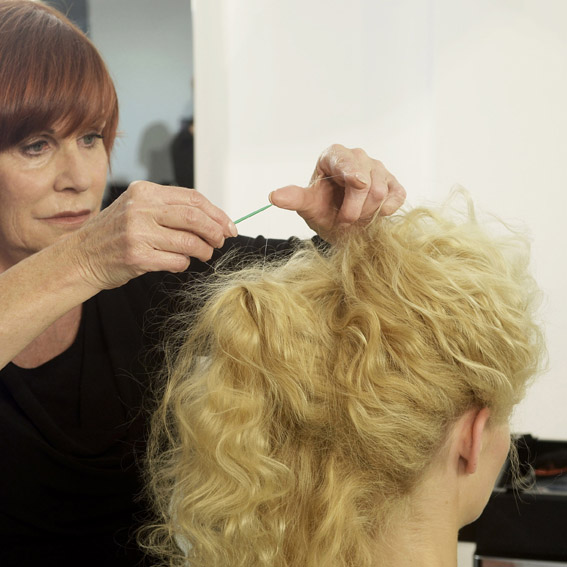
Use a plastic needle with clear nylon thread that is doubled and knotted at the end. Start at the sides and direct the hair back and up to the crown using your fingers. Sew the sections of hair through the top, knotting the hair to secure.
- 6Step 6 of 10
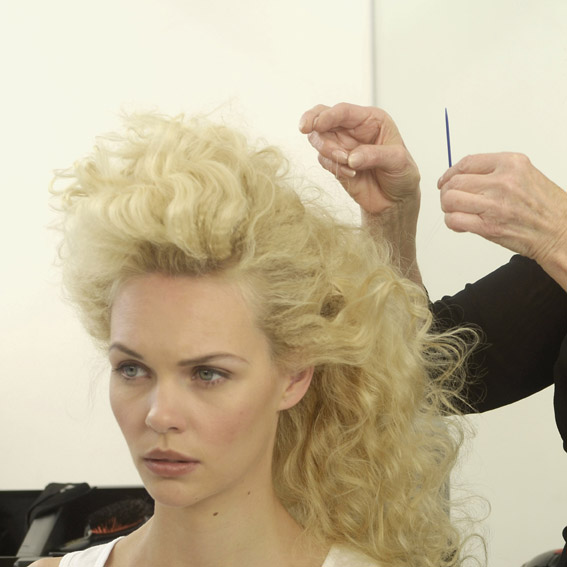
Direct the remaining ends to the right side of the nape and continue to sew the frizz to hold together.
- 7Step 7 of 10
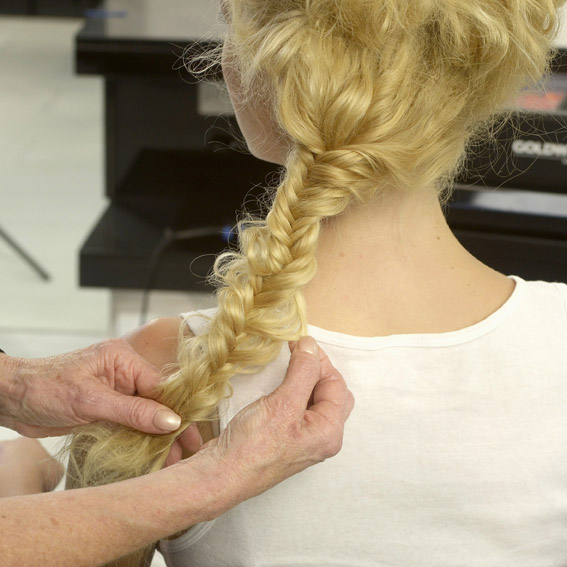
Work a fishtail into the remaining ends and gently pull out edges to loosen and soften the fishtail.
- 8Step 8 of 10

Back comb the ends to hold the braid together.
- 9Step 9 of 10

Finish off the design by pulling out and working the hair into shape. Spray with Goldwell StyleSign Big Finish to complete.
- 10Step 10 of 10
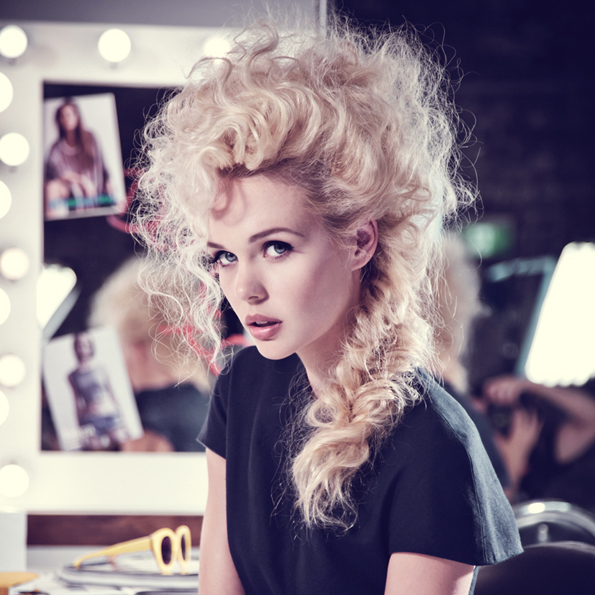
Finished look.
Braids
Rock and Romance Braid by Sharon Blain
March 3, 2013·1 min read
Braids have stood the test of time but have come a long way from their school-girl roots. Sharon Blain presents this look from her On The Set collection—dishevelled texture worked into a rock star quiff makes for an undeniably hip take on the classic fishtail braid. (more…)
More to Read


