- 1Step 1 of 12
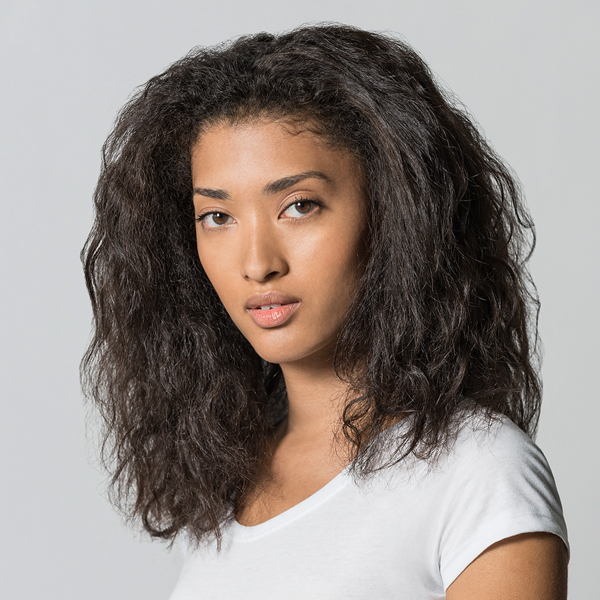
Before
- 2Step 2 of 12
Create a star-shaped section on the top of the head and clip away. This will help determine alternating triangular sections around the star from the back to the front.
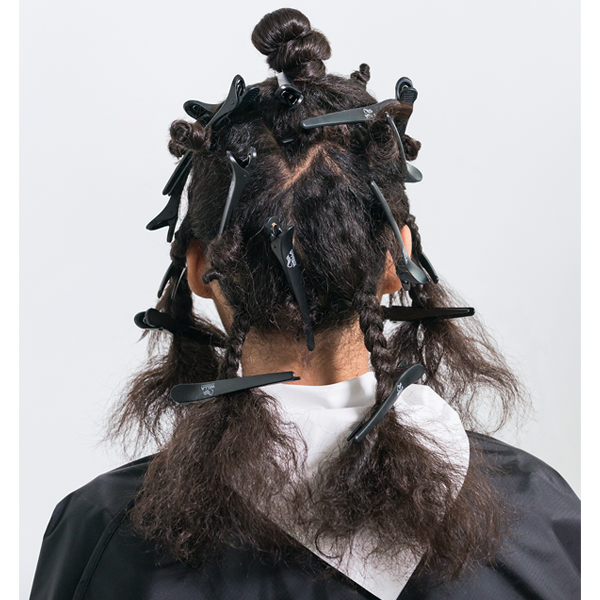
- 3Step 3 of 12
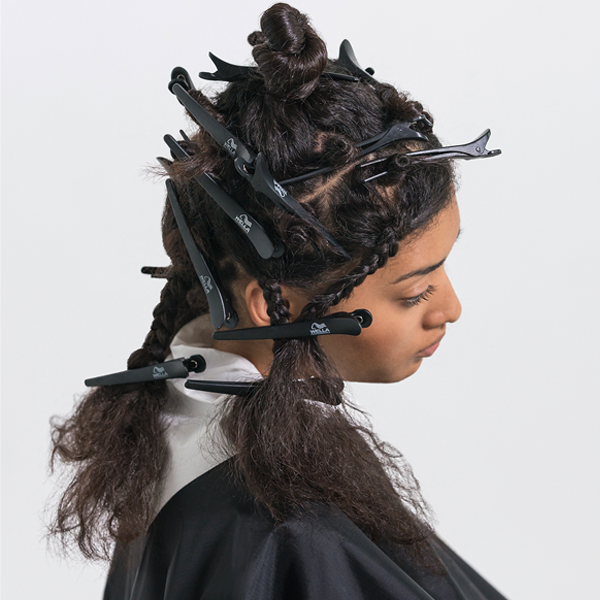
Sectioning pattern.
- 4Step 4 of 12
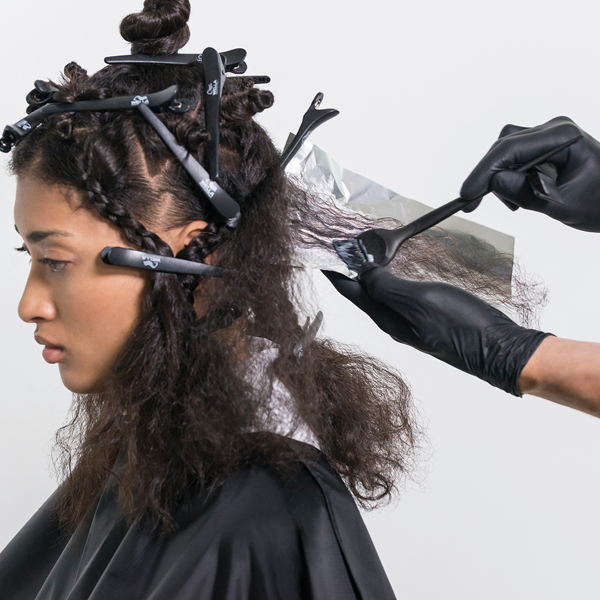
Starting in the back in the first triangular section, take back-to-back slices and apply Formula A.
- 5Step 5 of 12
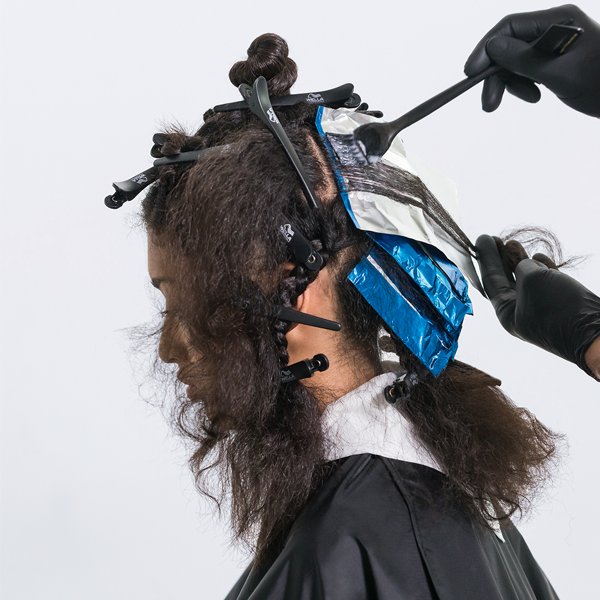
Working toward the front, repeat the same technique in the second triangle and apply Formula B.
- 6Step 6 of 12

Continue with the same technique, alternating Formulas A and B. Repeat on the opposite side of the head.
- 7Step 7 of 12
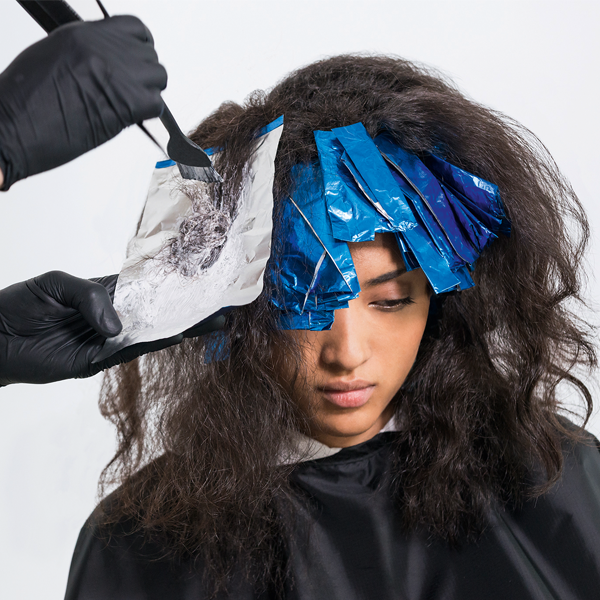
Then release the star-shaped top section and apply Formula B to all of the star’s points.
- 8Step 8 of 12
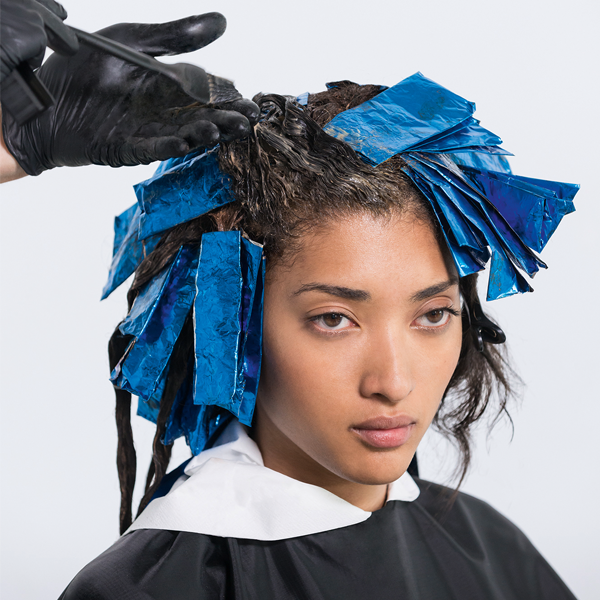
Apply Formula C to the remaining hair. Process. Shampoo, neutralize and towel-dry. Then, apply Formula D all over. Process for 5 minutes, then rinse.
Pro Tip: Wella Professionals Service Color Post Treatment protects and enhances semi-, demi- and permanent color results.
- 9Step 9 of 12
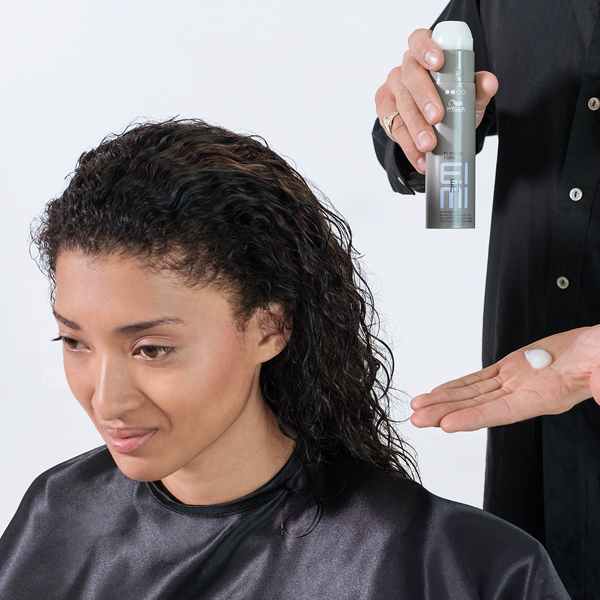
Apply Wella Professionals EIMI Flowing Form from roots to ends on damp hair. Not only will this smoothing balm protect against dehydration when using hot tools, but it also provides flexible hold and natural curl movement.
- 10Step 10 of 12
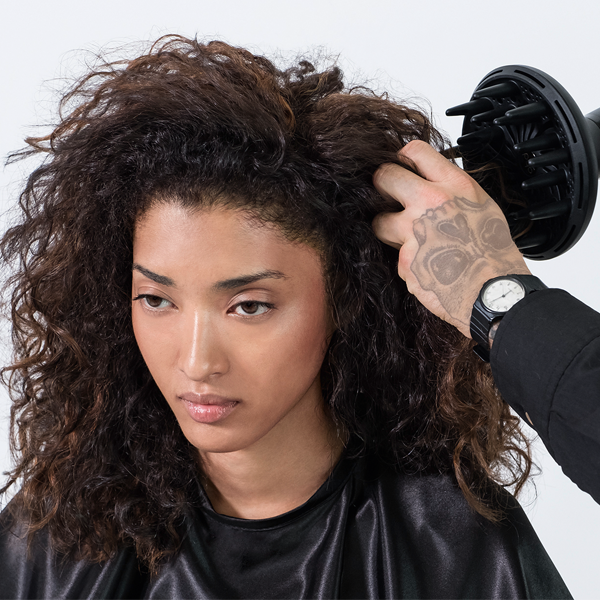
Then, blow-dry the hair gently with a diffuser to enhance the natural texture.
- 11Step 11 of 12
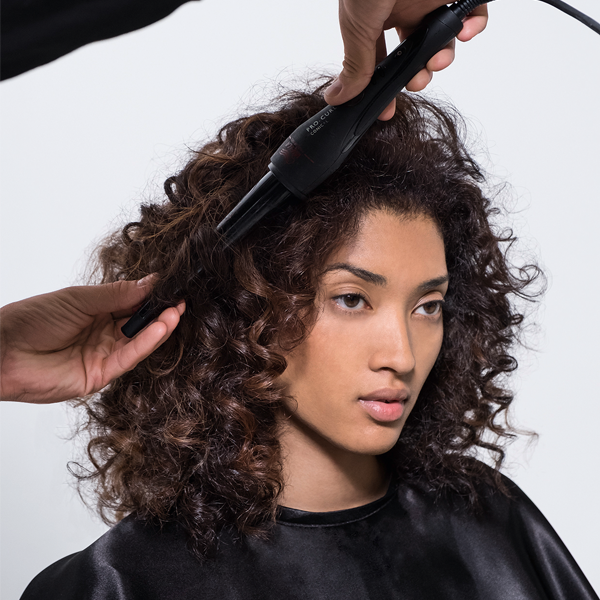
Soften the curl pattern with using a wand to create a loose curl texture.
- 12Step 12 of 12
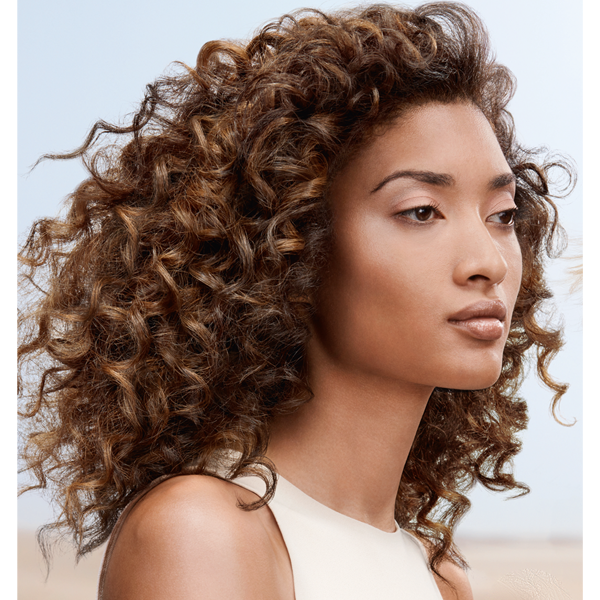
Finished Look
Balayage
Rich Brunette & Amber Curls
February 21, 2019·1 min read
The easiest way to add definition and shine to naturally curly hair? Painting soft dimension to enhance each individual curl and seamlessly blend—like these ribbons of amber falling off a rich warm brunette base. We’re breaking down the sectioning pattern, formulas and application techniques you need to rereate this ultimate glow up transformation on your curly-haired clients. Get all the steps below! (more…)
More to Read


