- 1Step 1 of 9
Start by sectioning the hair with a diagonal back parting approximately 3 inches from the front hairline to the back of the ear on each side.
- 2Step 2 of 9
On the top, take 1-inch horizontal sections and gently backcomb to create a cushion. Then, smooth the front side of the section and repeat until you reach the crown.
- 3Step 3 of 9

Gather the hair in a low ponytail and smooth the surface with a cushion brush.
- 4Step 4 of 9
Push the ponytail upward to create volume and height. Detail as needed and then secure with an elastic.
- 5Step 5 of 9
Smooth back the hair left out on the right side and wrap it around the ponytail. Secure with bobby pins, then repeat on the other side.
Pro Tip: Leave out some pieces of hair around the hairline for a more lived-in or romantic feel.
- 6Step 6 of 9
Continue to wrap the sides around the ponytail until the elastic is concealed. Secure the ends with a bobby pin and finish with Matrix Biolage Complete Control Fast Dry Hairspray.
- 7Step 7 of 9
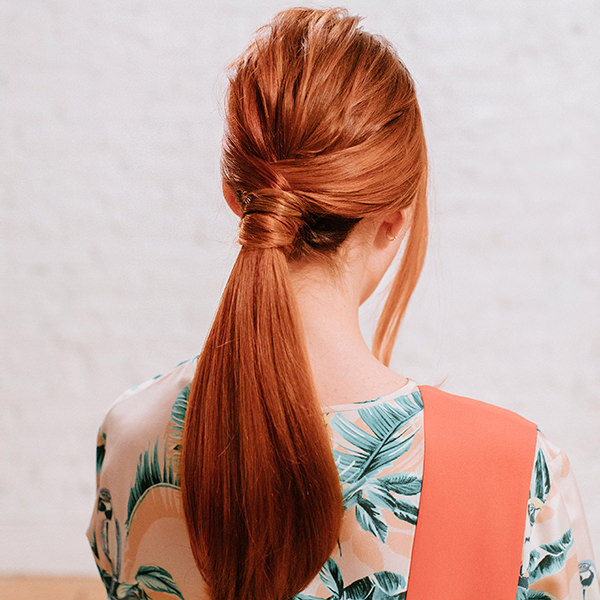
Finished look.
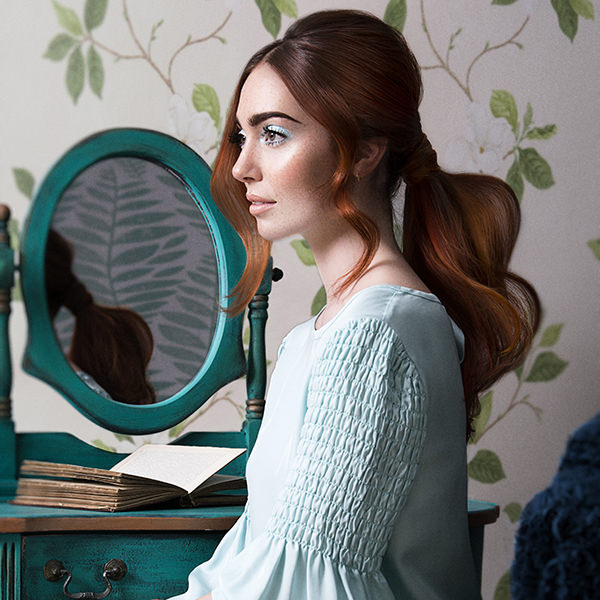
- 8Step 8 of 9

Finished look—alternate view.
- 9Step 9 of 9Watch the video ↗
Styling
Retro Pony
June 19, 2018·1 min read
Ponytails are one of the most versatile styles, which is why clients love them so much. From the cool-girl high pony to a super sleek style, there’s a variation for each of the clients in your chair. For those who want more of a lived-in, vintage vibe, check out the steps below to learn how Ulta Beauty Pro Team Member Danielle Keasling created this retro pony! (more…)
More to Read


