- 1Step 1 of 11
Bio Ionic® ReTeXpress Uses Breakthrough Ion Technology & Advanced Application Techniques to Deliver Better Results, Faster
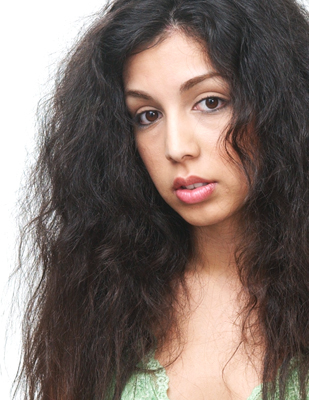
As profitable as permanent retexturizing is, the fact is that the time it takes to achieve straightened perfection can not only wear on a stylist physically and emotionally, but also consume a huge chunk of time that could be used to attend to other clients. Additionally, first-time retex clients are often time one-time retex clients because they have a hard time stomaching the idea of sitting in a salon for what seems like an eternity again to keep their tresses’ silky-straight condition.
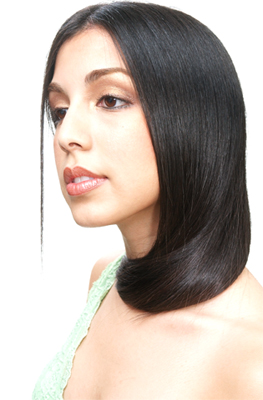
Now, Bio Ionic®, the first to harness the power of natural negative ion technology into a permanent retexturizing process, is again revolutionizing this salon process by introducing ReTeXpress™, a breakthrough permanent retexturizing process that delivers silky-straight, ultra-shiny, healthier hair, 50 percent faster than any other professional system currently available.
- 2Step 2 of 11
 Clarify hair using the Bio Ionic IonClarify Clarifying Shampoo to remove any product build-up. (3 min)
 - 3Step 3 of 11
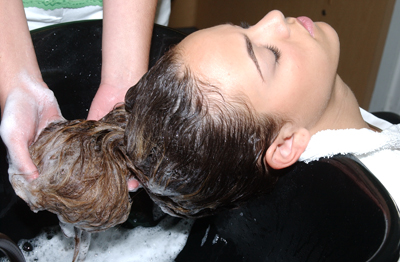
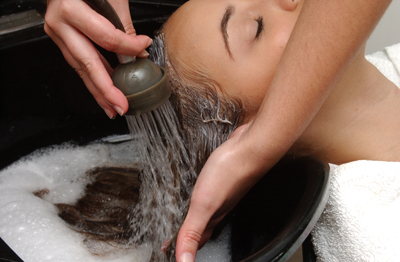
Protect hair at shampoo bowl. Make sure to comb the hair thoroughly and section it at the same time, evenly distributing the protective products. Do not rinse protective products from the hair. (3 min)
Virgin hair
We recommend no protective products at all
Single process hair
Bio Ionic IonFixx Hydrating Strengthener–spray liberally all over hair
Bio Ionic IonProtect Protein Protector–if needed at the ends only
Multi-chemical processed hair
Bio Ionic IonFixx Hydrating Strengthener–spray liberally all over hair
Bio Ionic IonTherapy Smoothing Treatment–use a quarter coin size on palms of hands,
apply all over hair
Bio Ionic IonProtect Protein Protector–highlighted and porous areas - 4Step 4 of 11
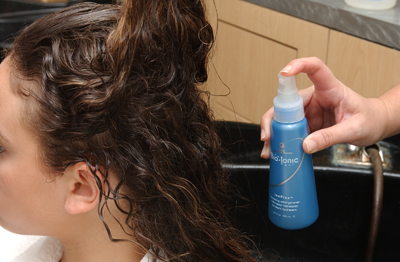
Apply Bio Ionic Retexturizing Cream #1 to hair for processing. Make sure your sections are not bigger than ¼ inch thick. The application should take you no longer than 10 minutes from start to finish (aim to do it in 6 minutes).
Virgin hair
From crown to nape, ¼ inch from scalp to ends. Process for 45 minutes at the most for extremely resistant hair. The average processing time is 25 minutes. To speed up the process, you might use a plastic cap. For very resistant hair, place client under the dryer with a plastic cap, checking every 5 minutes until process is completed. (20-45 min)
Single process
From crown to nape, ¼ inch from scalp to mid shaft, apply to the ends 10 minutes after finishing your application, let it process for 5 more minutes. (15-30 min)
Multi-chemical process hair
At the back of head, section hair from ear to ear, pin up and start your application ¼ inch away from scalp to mid shaft, proceed to crown with the same application, apply product to the ends at shampoo bowl, process for 1 minute maximum. (3-15 min)Touch-up
Follow the above techniques, from ¼ inch away from scalp to line of demarcation. - 5Step 5 of 11
 Rinse hair with warm water until it runs completely clear. Make sure there is no product left on the hair. Towel-dry hair patting moisture carefully, then detangle hair gently using the comb side of the Bio Ionic Applicator Comb/Brush. (10 min)
 - 6Step 6 of 11

Blow-dry hair using the Bio Ionic Super-Hydrator™ Professional Dryer. Begin drying the hair using your fingers in downward movements; try to not tangle the hair. Once hair is about 30% dry, use a round brush to finish your blow dry. Note that if you are dealing with extremely resistant hair, you might want to use the round brush after drying hair 50%. Use sections and start from the nape of the head up. (15 – 20 min)
Click here to purchase the Bio Ionic Super-Hydrator™ Professional Dryer now!
- 7Step 7 of 11
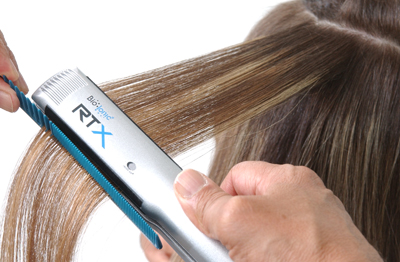
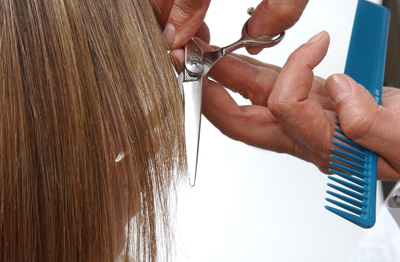
Flat iron hair using the Bio Ionic iSmooth™ Ionic Conditioning Iron on the highest temperature, taking sections as usual. Make sure to run your comb in front of the iron and not at the back of it. Do not cut time by running the iron too fast. Try to iron hair in less than 30 minutes. (20 – 30 min)
Virgin hair–4 slides
Single process–3 slides
Multi-chemical process–2 slides
Touch-ups–Follow the above technique only on the re-growth area, sliding the iron all the way to the ends only on your last slide.Click here to purchase the Bio Ionic iSmooth™ Ionic Conditioning Iron now!
- 8Step 8 of 11
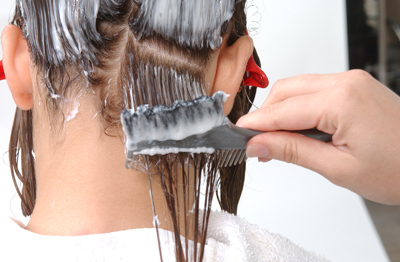
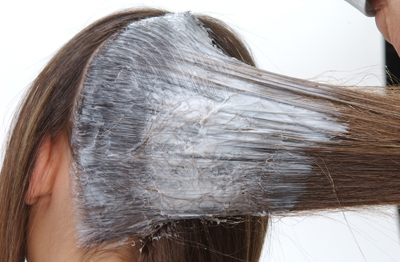 Apply Bio Ionic Retexturizing Cream #2 to hair for neutralizing. Part hair in quadrants. Apply #2 from scalp to ends, or scalp to line of demarcation. This application should be more liberal, making sure that your application time is no longer than 6 to 7 minutes . Process for 5 to 7 minutes, depending on what kind of hair you are dealing with. For fine or processed hair, process for 5 minutes. For resistant hair, process for 7 minutes. (10 – 12 min)
 - 9Step 9 of 11
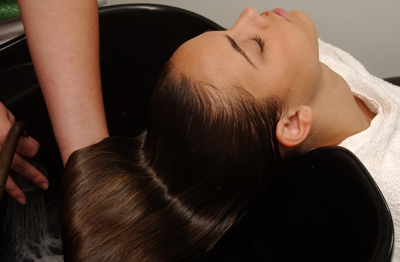 Rinse hair with warm water until it runs completely clear. Make sure there is no product left on the hair, then condition with IonCondition and rinse again. Towel dry hair, patting carefully. (10 min)
 - 10Step 10 of 11
 Dry and style hair as desired. (15 min)
 - 11Step 11 of 11
Click here to get your own iSmooth RTX Iron or here for your Super-Hydrator Pro Dryer!
For more information, please log on to www.bioionic.com.
Styling
ReTeXpress by Bio Ionic
December 21, 2005·1 min read
Straight, Smooth & Shiny Hair in Half the Time of Other Salons Retexturizing Processes!Bio Ionic ReTeXpress – See how it’s done!Click here to get your own iSmooth RTX Iron or here for your Super-Hydrator Pro Dryer!For more information, please log on to www.bioionic.com. (more…)
More to Read


