- 1Step 1 of 12
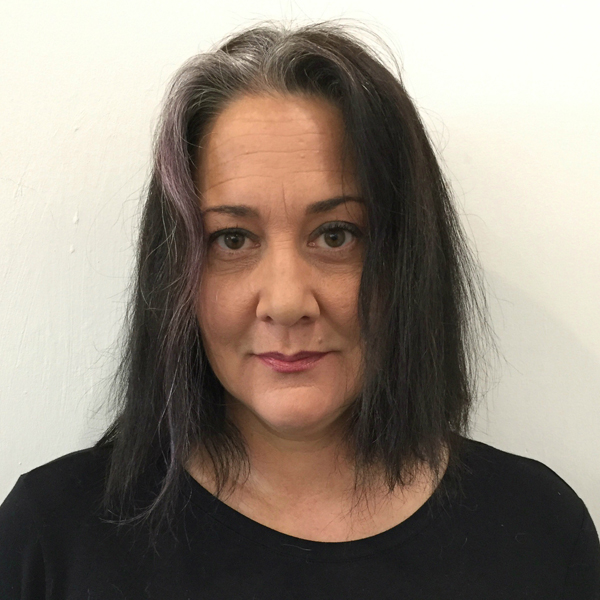
Before
- 2Step 2 of 12
Apply Formula A 1 inch from the scalp and pull through to the ends. Process until a yellow Level 8 is achieved. Rinse, shampoo and condition with b3 Color Care Shampoo and Conditioner. Blow-dry.
- 3Step 3 of 12
Mix a new bowl of Formula A, and apply to the scalp. Pull through to the midlengths if needed to create a clean, even canvas.
- 4Step 4 of 12
Process in a cap for 20 to 25 minutes, until roots are a yellow Level 8. Shampoo twice with b3 Color Care Shampoo. Blow-dry.
- 5Step 5 of 12

- 6Step 6 of 12
Apply Formula B to the scalp and pull through to the midlengths. Add a little more Pulp Riot Fireball to the mixture to brighten the color, and apply to the ends. Process for 25 minutes, then rinse with high pressure, cool water.
Note: “In this case, no toning was necessary,” says Jamie. “Keeping the hair at a Level 8 was important in helping to keep the red rich and vibrant.” - 7Step 7 of 12
For the cut, Jamie started in the nape, cutting the perimeter using Utsumi Shears. She then used a straight razor to cut the graduation and remove weight—giving her the textured look she was trying to achieve in one step.
- 8Step 8 of 12
Moving up the head toward the sides, she overdirected everything back to ensure length was kept in the front. “Throwing in a longer, pin-up fringe gave this cut a slight edge over the average bob,” she says.
- 9Step 9 of 12
Apply Oribe Volumista Mist for Volume on the roots and Oribe Crème for Style on the midlengths. Blow-dry the fringe first with a flat brush, using a leafing technique, then continue to the nape. Use a boar bristle round brush above the occipital to create extra volume.
- 10Step 10 of 12
Once fully dry, texturize the ends in the crown to create a little more movement. Apply Oribe Dry Texturizing Spray to the roots and Oribe Rough Luxury Molding Wax to tip out a few ends.
- 11Step 11 of 12
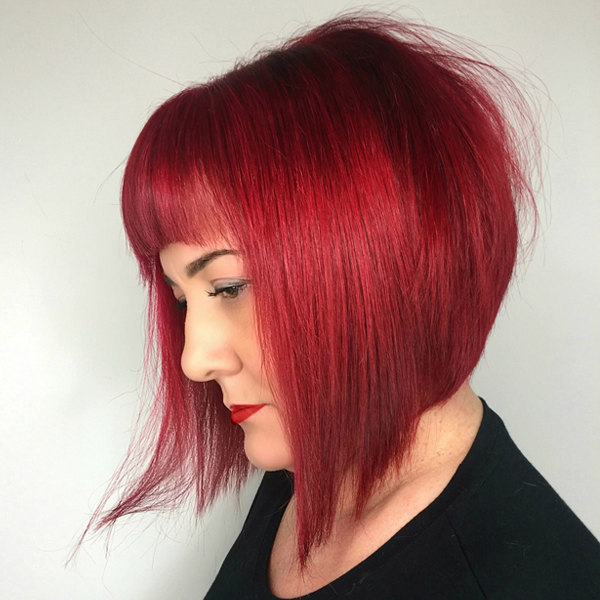
Finished look.
- 12Step 12 of 12

Creative Color
RAD Red Makeover: Cut, Color & Style
August 17, 2017·1 min read
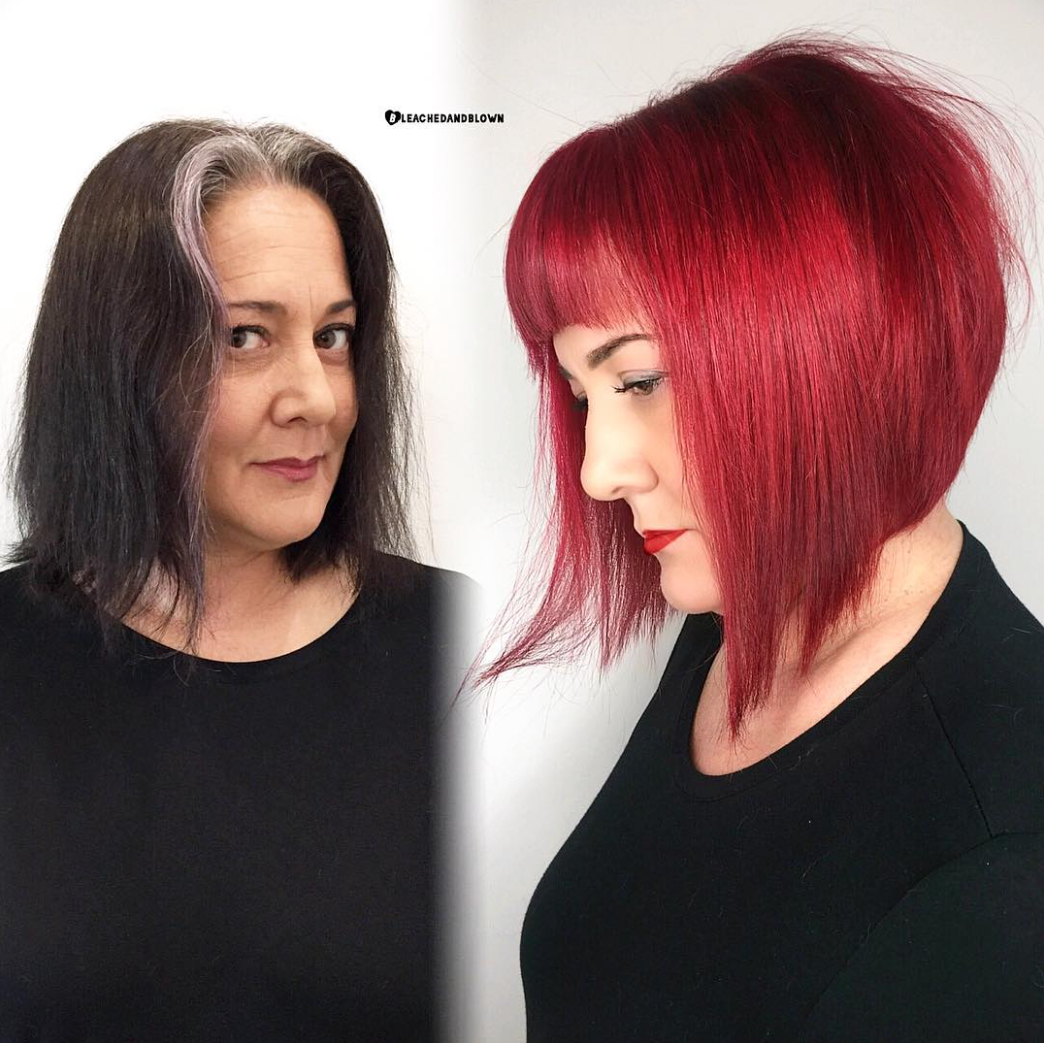
If you’re familiar with Jamie Gomez (@bleachedandblown), owner of Parlour Eleven in Huntington, Calif., you know she’s known for creating some pretty kick-ass transformations. So it’s no surprise she earned a #ONESHOT nomination for Transformation Shot of the Year with this bombshell red A-line bob. But even more amazing is the story behind it. “She came to me saying, ‘Make me over, because I’ll have to shave my head in a few weeks,’” Jamie shares. “This beautiful soul had two breakthrough brain surgeries in two weeks.” Here’s the process behind Jamie’s incredible makeover. Total chair time: 4½ hours (more…)
More to Read


