- 1Step 1 of 21
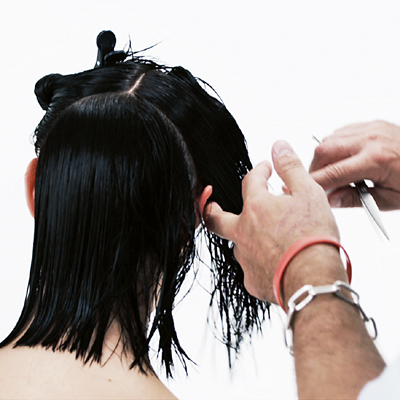
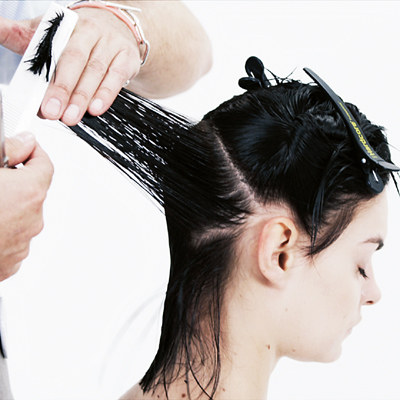
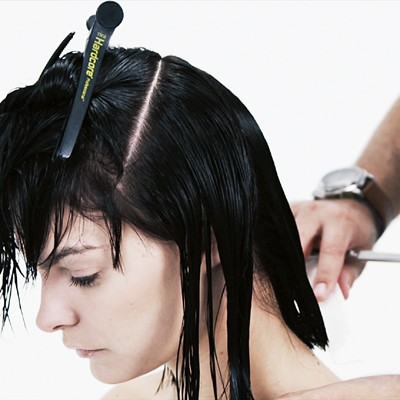
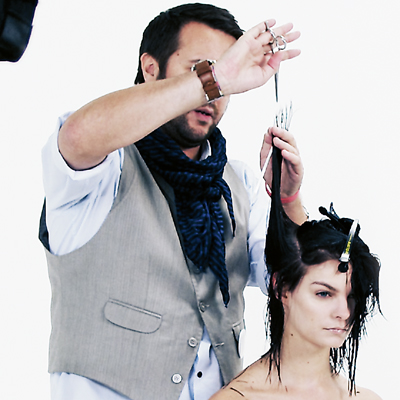
Before the cut apply Superstar leave-in conditioner as the cutting agent. Take a profile parting and then create two diagonal sections from below the crown to the top of the ear.
- 2Step 2 of 21
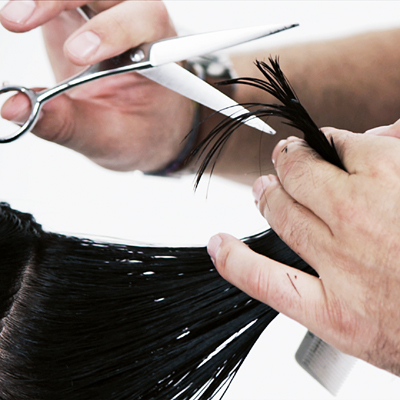
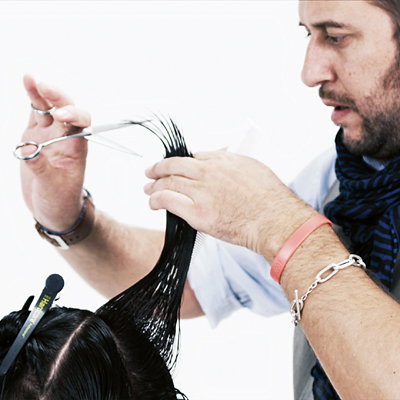
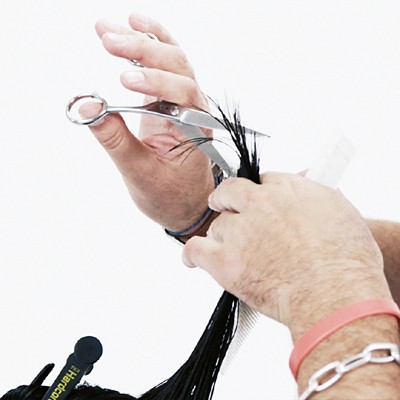
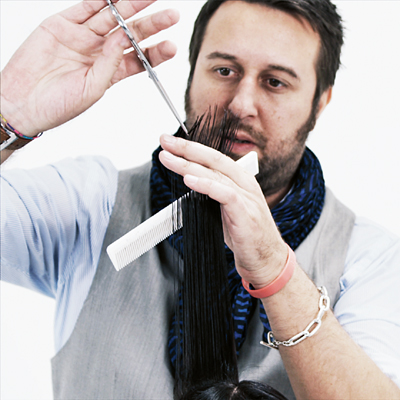
To start the cut, take a central profile section at the back. Comb and elevate the hair to 90degrees to the round of the head and eliminate the corner of weight using point cutting.
- 3Step 3 of 21
Continue taking vertical sections towards the ears. Over direct each section slightly back to maintain length throughout the perimeter.
- 4Step 4 of 21
Note the change of body and hand position. Repeat the same technique on the opposite side. to the hair use deep slicing.
- 5Step 5 of 21
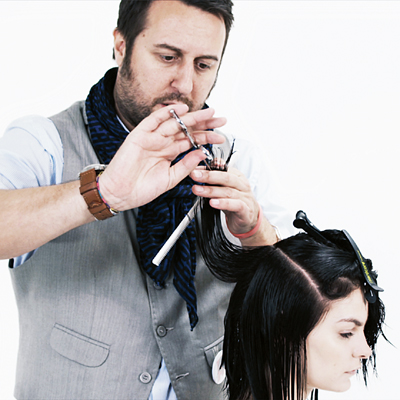
Now take two diagonal sections from the crown to each recession.
- 6Step 6 of 21
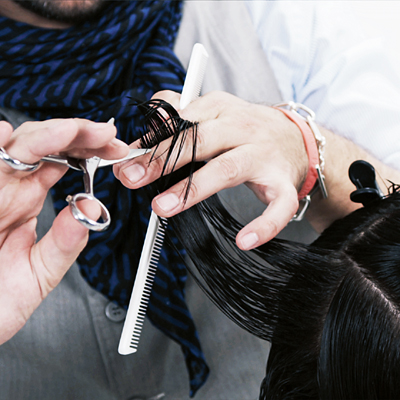
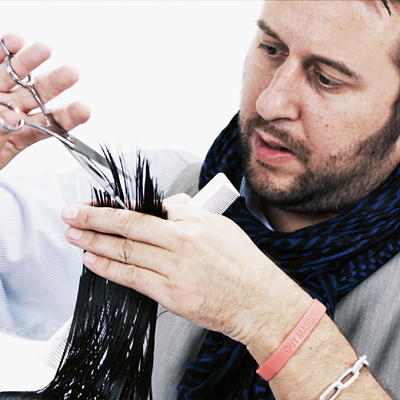
Behind the ears, work with pivoting sections. Create a disconnected layering pattern by point cutting squarely to the head shape.
- 7Step 7 of 21

The remaining hair in front of the ear is over-directed back to a stationary guide to maintain length to the front corner.
- 8Step 8 of 21
- 9Step 9 of 21
Repeat the same technique on the opposite side.
- 10Step 10 of 21
- 11Step 11 of 21
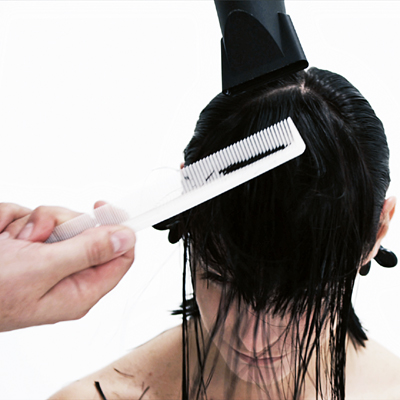
To separate the fringe take a centre parting and two diagonal sections from the top of the head. Before cutting blow the fringe dry to find its natural fall.
- 12Step 12 of 21
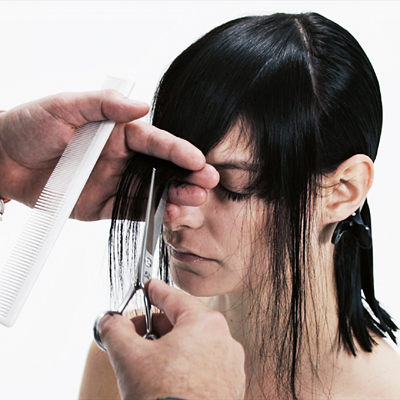
Comb the deep fringe forward and reshape using point cutting at a low elevation.
- 13Step 13 of 21
Over-direct and work slightly rounded towards the sides.
- 14Step 14 of 21
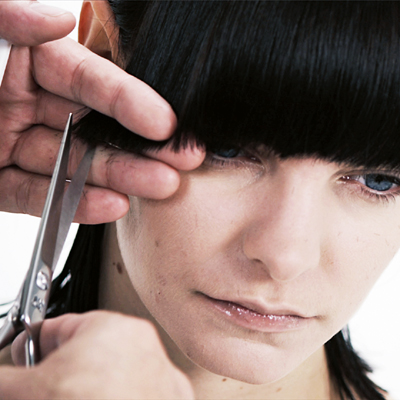
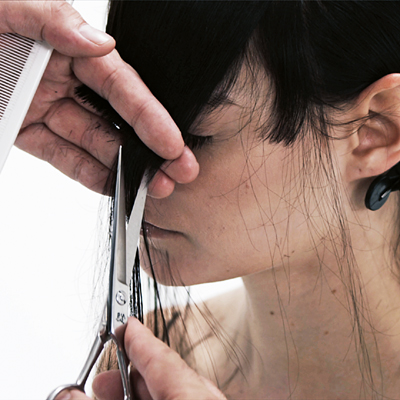
Point-cutting is used to clean up the fringe and soften where needed.
- 15Step 15 of 21
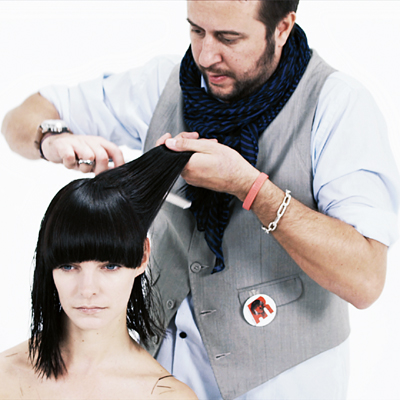
Use a TIGI Pro Large Round Brush and turn the ends slightly under in preparation of fine detailing. Release the top and starting at the crown take a horizontal section. Over-direct to a high elevation and create yet another disconnection to the under area. The remaining hair at the top is over-directed back to the crown.
- 16Step 16 of 21
Repeat the same technique on the opposite side to complete the layering pattern.
- 17Step 17 of 21
- 18Step 18 of 21
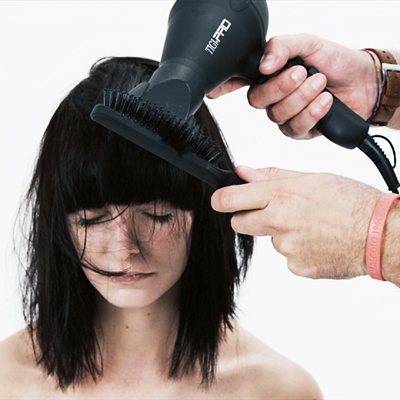
After power drying use a TIGI Professional Sculpting brush to smooth out the cuticle.
- 19Step 19 of 21
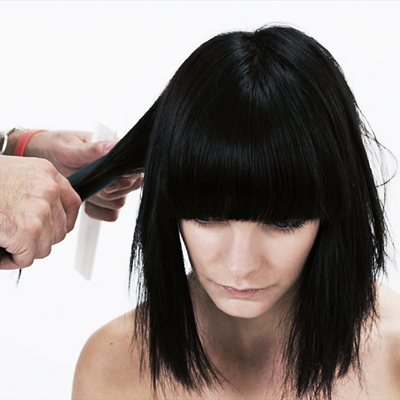
Use small amount of Hard Head hairspray then straighten the hair with a TIGI Pro Flat Iron. To remove weight and give direction to the hair use a deep slicing technique.
- 20Step 20 of 21
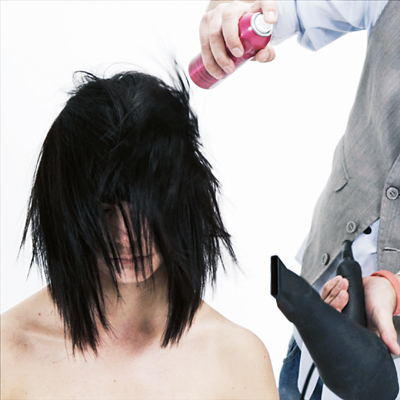
Blast the hair with the drier applying HeadRush to give shine and natural separation.
- 21Step 21 of 21
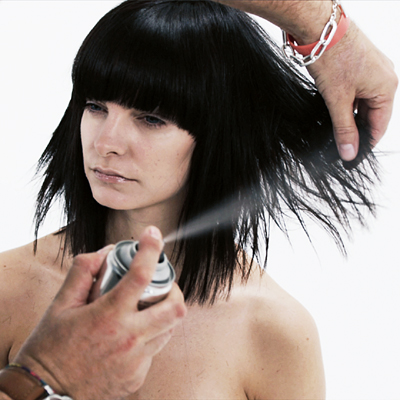
To finish the cut apply Hard Head hairspray to emphasize the shape and give long lasting hold.
Editorial
Rachel From the TIGI Anthems Collection
May 11, 2010·1 min read
Rachel from the TIGI Anthems Collection is inspired by Bed Head’s insanely popular Headrush products. The disconnected layering pattern, cut squarely to the head, gives this mid-length hairstyle a geometric form, heightened by the strong fringe shape. Colour gives the cut additional depth and shine. This look is so cool it will make your head spin! Here’s the how-to from TIGI International Creative Team Member Nick Irwin. Check out the new products from TIGI Bed Head! Buy the Anthems DVD/Book now! To learn more, go to www.tigihaircare.com Keyword: artanthems Create these looks on your clients with TIGI PRO Tools: TIGI (more…)
More to Read


