- 1Step 1 of 8
Guy started on a base that he prelightened with #Big9 Crème Lightener + 30-volume developer, then colored with Demi-Permanent Silver Smoke (6SS at the rootage, 8SS in the mids and 10SS on the ends).
- 2Step 2 of 8
Using Guy’s Diamonds in the Sky sectioning, start at a triangular section at the nape. Use Formulas A, B, C and D in a balayage technique. “I leave the ends out so they appear lighter,” Guy says. “It creates more movement and doesn’t appear too dipped.”
- 3Step 3 of 8
Take another triangle section, directing the hair straight down instead of at a diagonal. You can alternate which way you direct the hair based on your desired final look. Use Formula C where you want depth. “I like to put dark colors down first,” Guy says.
- 4Step 4 of 8
Continue to work up the head, then repeat on the other side. You can blur Formulas A or B into Formula C to create a more natural effect. Guy uses Formula D sparingly because blue tones can overpower the end effect. Process for 20 minutes, using heat if you desire a more vibrant result.
- 5Step 5 of 8
Finished look.
- 6Step 6 of 8
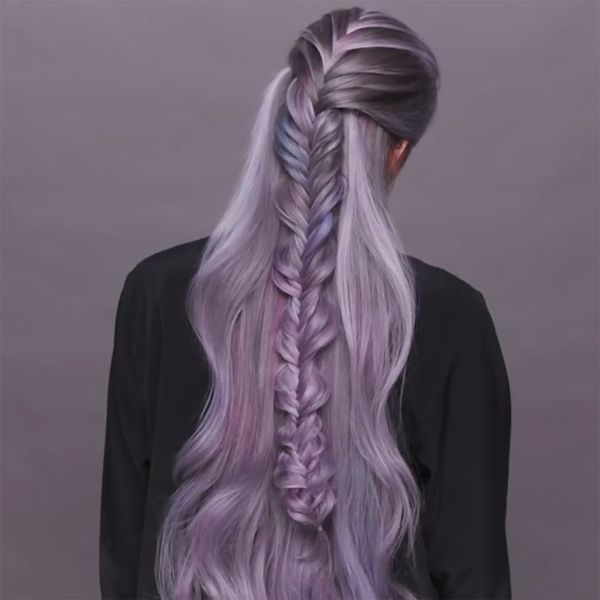
Finished look.
- 7Step 7 of 8
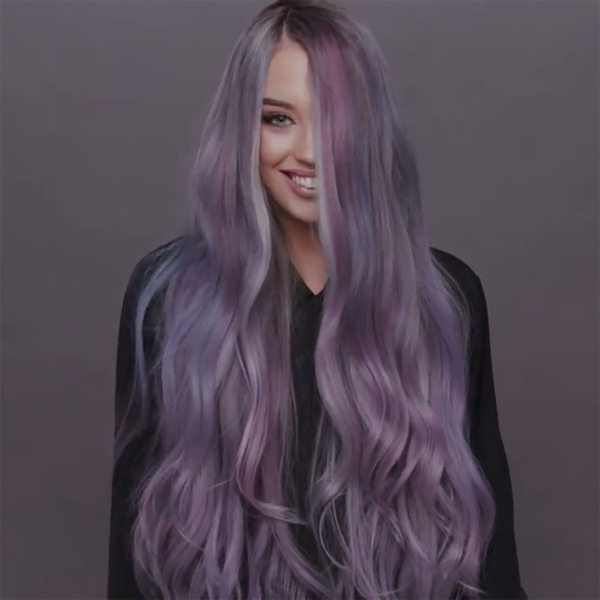
Finished look.
- 8Step 8 of 8Watch the video ↗
Balayage
Prismatic Balayage
September 26, 2017·1 min read
Check out how #hairbestie Guy Tang creates this dimensional metallic balayage! Starting on a silver metallic base is the first step, and then he hand-paints #mydentity @guy_tang Vibrant Pastel Direct Dyes to create movement. Laying the color on top of each section creates a gorgeous, prismatic effect. Check it out! (more…)
More to Read


