- 1Step 1 of 12
- 2Step 2 of 12

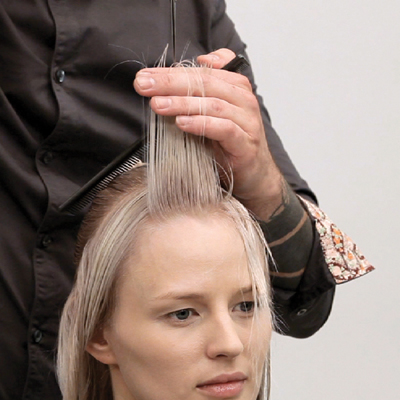
Take a diagonal back parting 2" in from the front hairline to the top of each ear.
Take a horizontal parting at the top of the occipital and isolate the hair underneath it. - 3Step 3 of 12
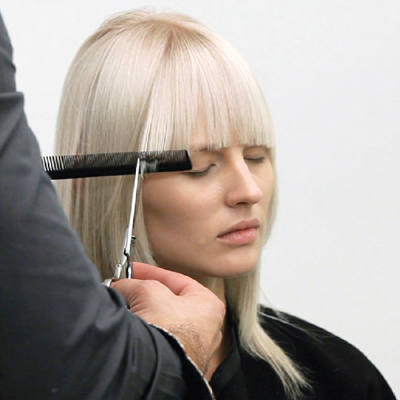
Separate the fringe with a triangular section at the recession area, comb to 90° and point cut square.
- 4Step 4 of 12
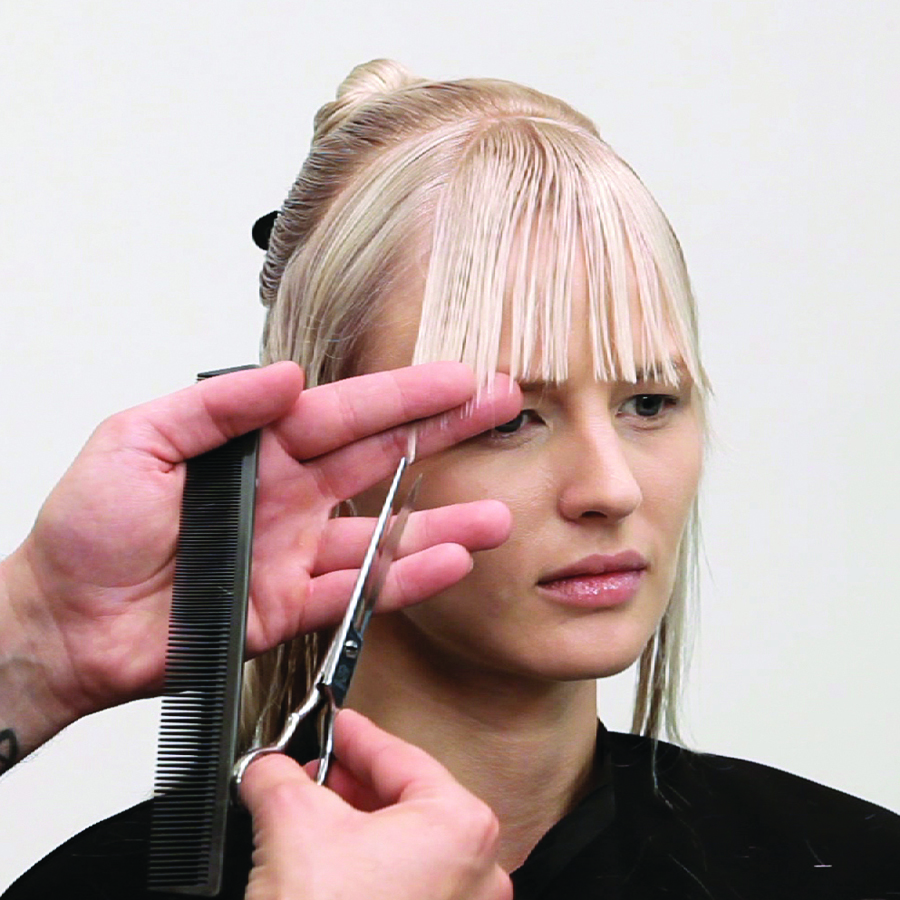
Cross check at natural fall, creating a rounded line.
- 5Step 5 of 12
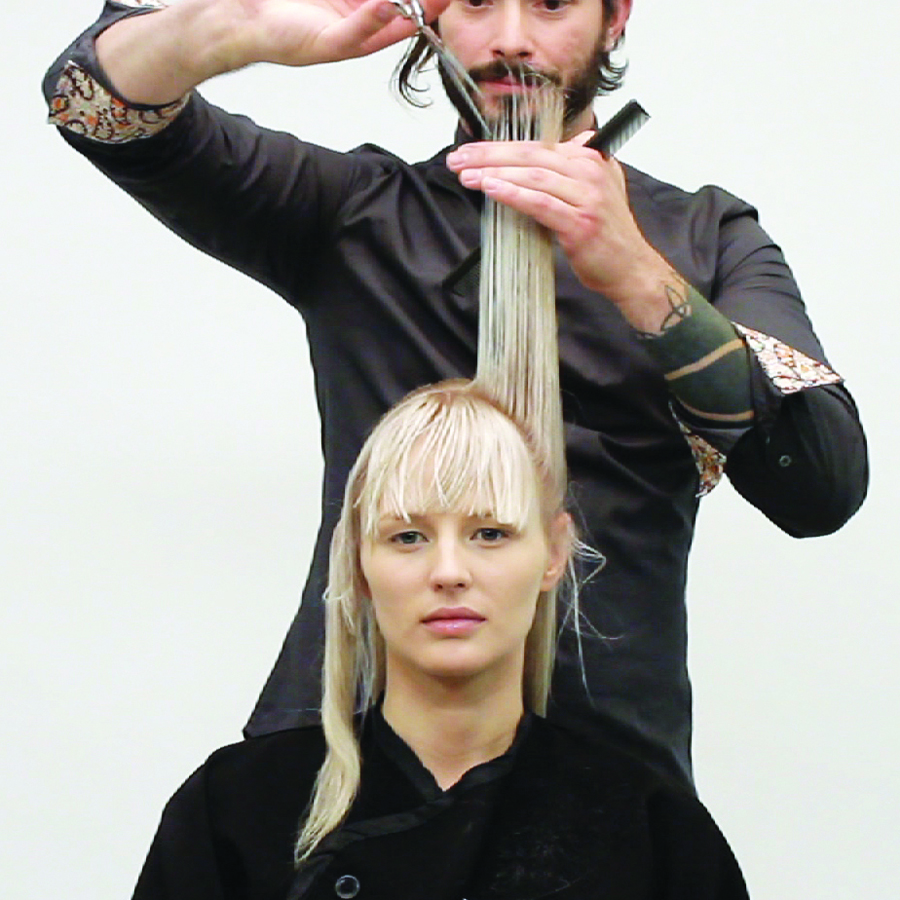
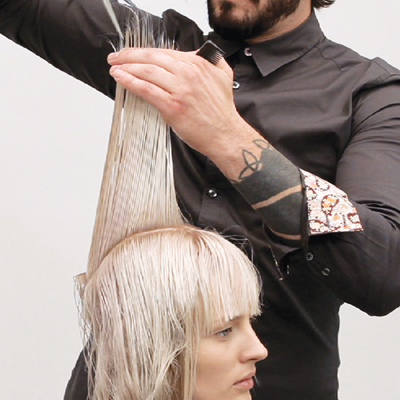
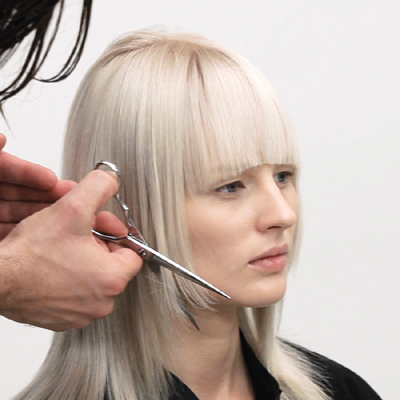
With the remaining hair in the section, use the cheekbone to measure a
guide to length, elevate to 90° and cut square. - 6Step 6 of 12
Continue with a pivoting diagonal back section, comb to 90° and cut square following the guide. Work pivoting diagonal back sections and repeat the technique until reaching to the profile parting. Repeat this technique on the opposite side.
- 7Step 7 of 12
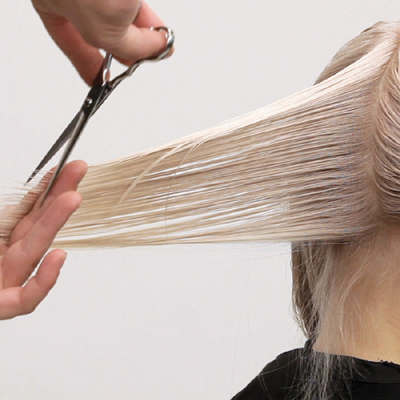
To blend the underneath, take a center vertical section, comb to 90° and slide cut out to blend with the existing perimeter. Continue with a pivoting section, comb to 90°, over direct to the previous section and slide cut to blend. Repeat this technique until all the remaining lengths have been blended.
- 8Step 8 of 12
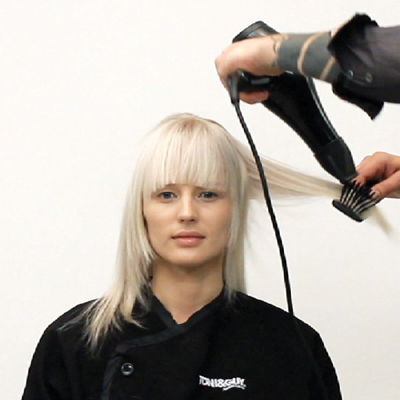
Blow dry with a flat brush, then detail with a large round brush.
- 9Step 9 of 12
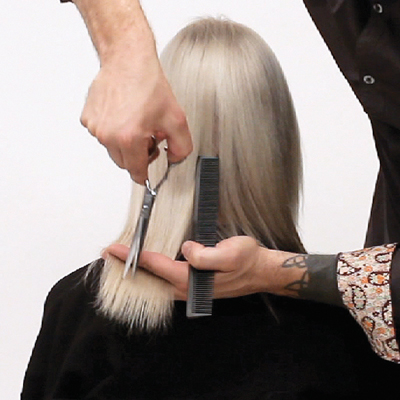
To detail the perimeter, comb to natural fall and slice into the length to emphasize a soft textured line
- 10Step 10 of 12
The fringe is personalized with point cutting.
- 11Step 11 of 12
The sides are detailed with channel cutting. The interior is reworked with deep parallel point cutting to create more texture.
- 12Step 12 of 12

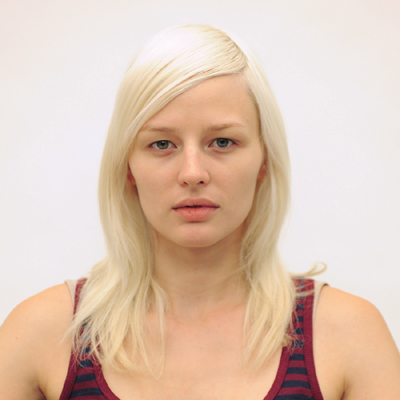
Blonde
Platinum Fringe From TONI&GUY
March 18, 2012·1 min read
TONI&GUY takes the blunt, rocker fringe in a dazzling, ethereal new direction. As part of the Freedom Collection, this look, entitled “Frankie” shows the softer side of “rocker chic”. (more…)
More to Read


