- 1Step 1 of 17
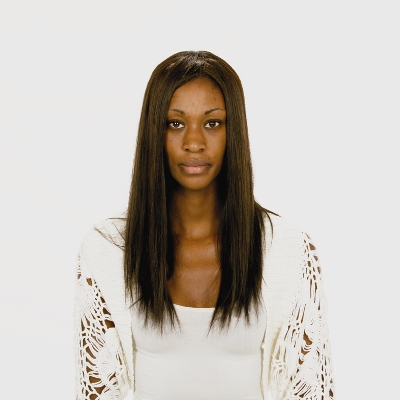
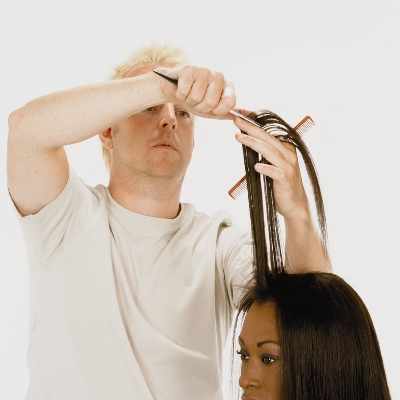
Rosita currently has long hair extensions, but the solid form is unflattering for her elongated face shape. Although she wants to keep her hair long, she needs a style with more texture and movement.
- 2Step 2 of 17
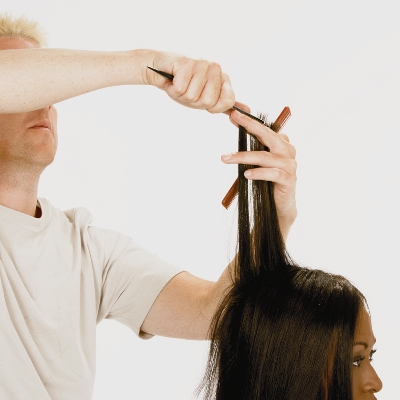
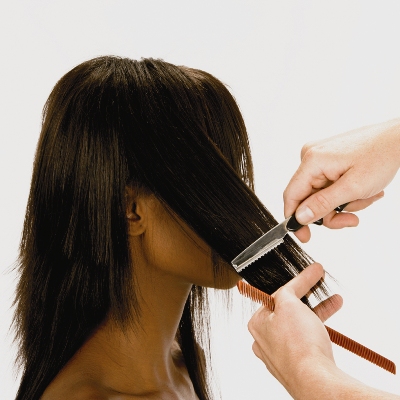
The interior of this style shows increase layers created with directional distribution. The exterior lengths feature a faster rate of length increase as a result of razor etching.
- 3Step 3 of 17
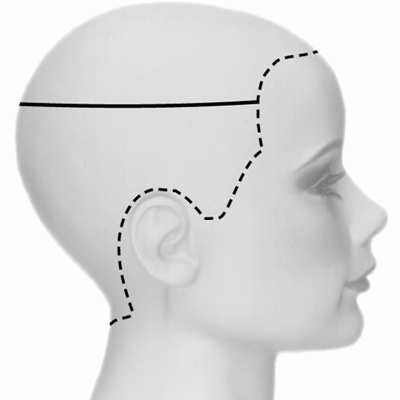
Scetion the interior from the exterior at the upper crest.
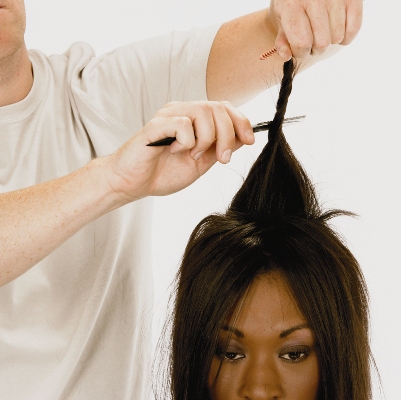
- 4Step 4 of 17
Isolate the exterior and release the interior. Take a pivotal parting in the center of the crown and distribute straight up. With a nonparallel finger position, sculpt using the razor-peeling technique. Work toward the ear and repeat on the other side. Use the apex as a point of origin for the pivotal partings.
- 5Step 5 of 17
In front of the ear, work with pivotal partings and the same sculpting techniques. Sculpt to the front on one side and then repeat on the opposite side.
- 6Step 6 of 17

In the fringe area, take small triangular sections along the hairline. Distribute straight forward, twist and sculpt with the razor-etching technique, creating highly irregular lengths.
- 7Step 7 of 17
Release the exterior. Begin in the front on the right side. Use shifted distribution and medium projection to surface each, visually blending the lengths with the interior layers. Repeat on the opposite side.
- 8Step 8 of 17
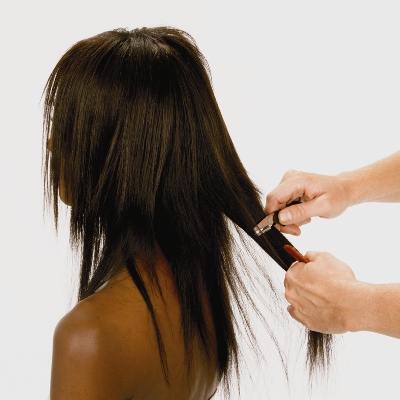
Razor etch the lengths in the back exterior in the same manner. Be sure to project the hair at a medium angle while maintaining the perimeter lengths.
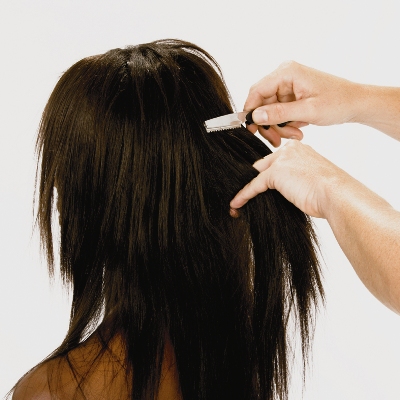
- 9Step 9 of 17
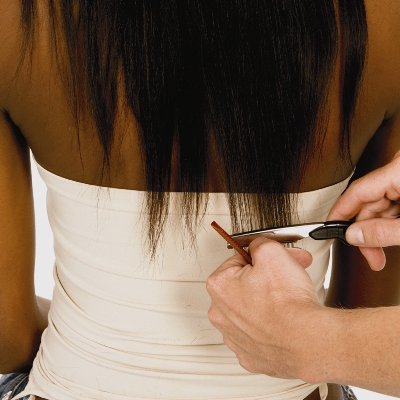
Refine the perimeter. Distribute naturally and etch with the razor, creating a highly irregular convex perimeter line.
- 10Step 10 of 17
Create a small circular section in the crown. Twist this section while projecting the center of the section at 90 degrees, then razor ecth from the midstrands to the ends.
- 11Step 11 of 17
Use your fingers to distribute and slightly project the interior lengths and surface etch for additional blending.
- 12Step 12 of 17
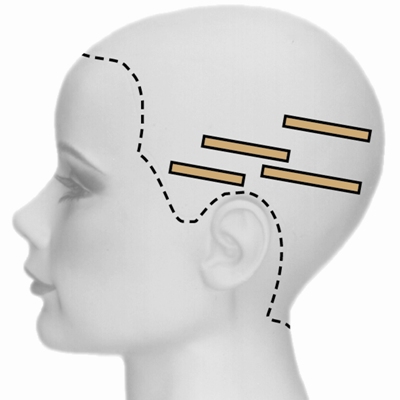
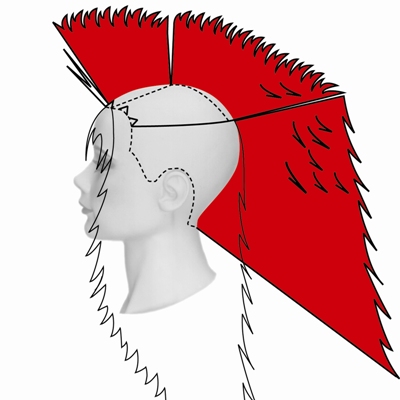
These color graphics show the placement of diagonal-back slices on both sides of the head.
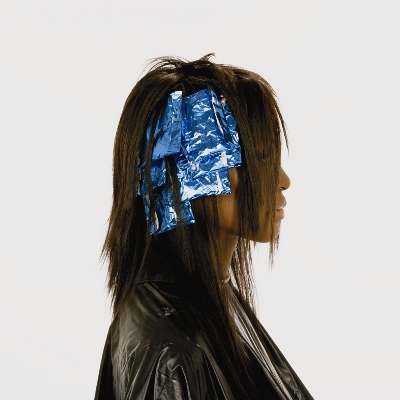
- 13Step 13 of 17
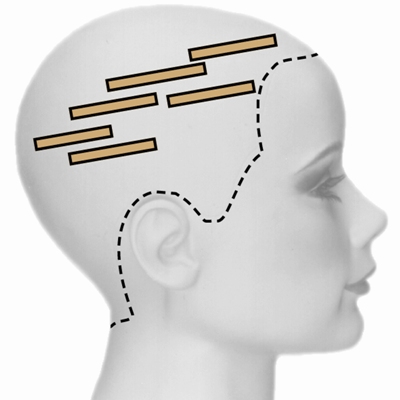
Note that these slices are placed above the crest on the right side and below the crest on the left side of the head.
- 14Step 14 of 17
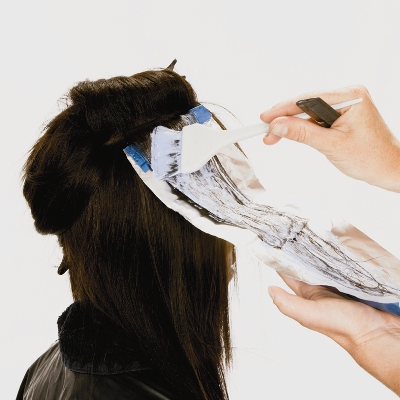
Take a diagonal-back slice in the interior of the right side and apply lightener with 20-volume (6%) developer form base to ends. Hold the brush at an angle to create a soft, gorwn-out effect. Position subsequent slices as shown in the color graphic using the same application method. Then repeat in the exterior on the opposite side.
- 15Step 15 of 17
Process, rinse and towel dry. Tone with a level-8, gold-beige demi-permanent color. Process, rinse, shampoo and condition prior to styling.
- 16Step 16 of 17
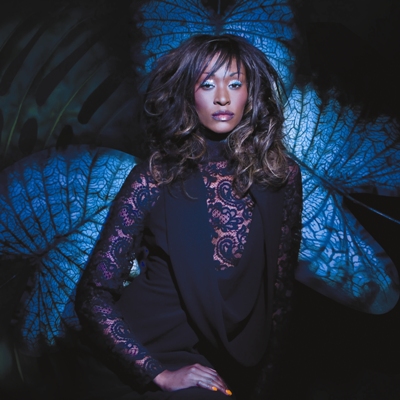
Rosita's new look makes her so much more lively. With some layers and highlighting, she has a striking new style.
- 17Step 17 of 17
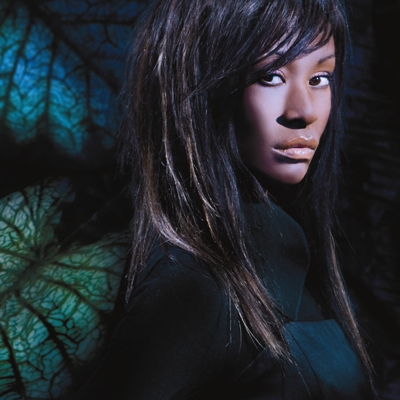
This versatile look can be styled straight or wavy for very different effects.
Styling
Pivot Point "Rosita" Mini-Tech
June 19, 2007·1 min read
Give this step-by-step from Pivot Point a try. Take a long, shapeless cut and add in flattering layers and a hint of color for a sexy, modern look. Rosita’s striking new look makes her much more lively. For more inspiration from Pivot Point, Get the New Legacy Style & Tech Set. To learn more, go to www.pivot-point.com (more…)
More to Read


