For your clients looking to spice up their style, try this cut and color technical from the Pivot Point International Kinetics collection. This layered cut has plenty of volume and texture and features a subtle color progression–darker at the base to lighter on the ends–that enhances the sculpted texture of the cut. Purchase the DVD/Book: Pivot Point Kinetics [8 looks, 80min DVD, 84pg book–only $99.95] To learn more, go to www.pivot-point.com Subscribe to behindthechair.com “On Paper” Magazine–4 Issues Only $29.95! Next Issue: COLOR with Beth Minardi! (more…)
- 1Step 1 of 14
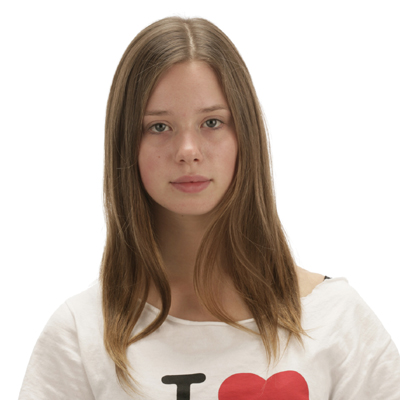 Roos’ long lengths lack volume and she also wants a natural-looking, yet more interesting color.
 - 2Step 2 of 14
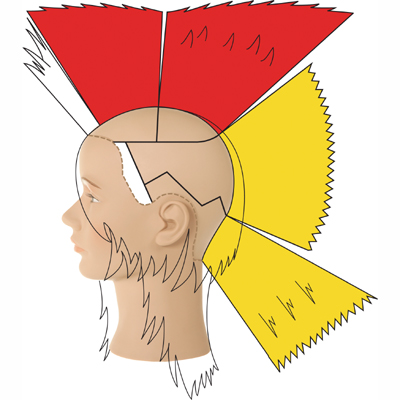 Increase layers comprise the interior and the right exterior. Graduated lengths are sculpted throughout the left side and back exterior.
 - 3Step 3 of 14
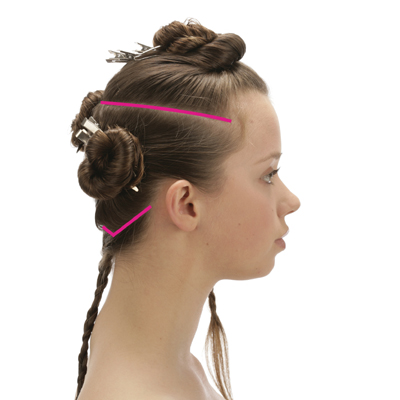
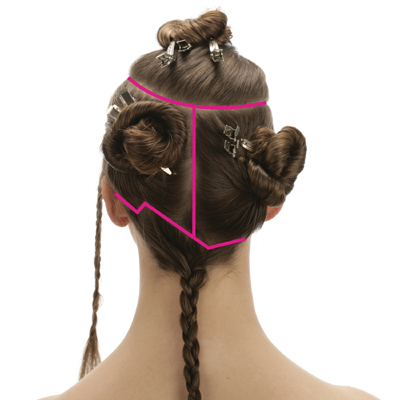 Section the top with a sectioning line that starts at the upper recession corner on the left side and ends slightly below the recession area on the right side.
 - 4Step 4 of 14
 Isolate lengths along the left hairline and the nape with a zigzag parting. Subdivide the back with a vertical parting in the center.
 - 5Step 5 of 14
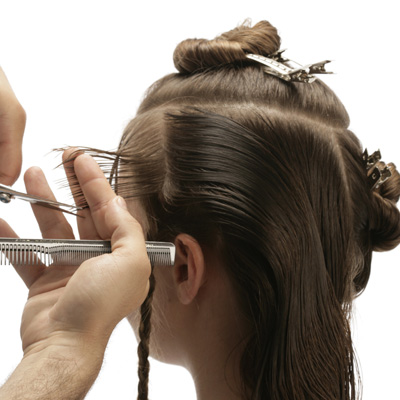 Begin behind the isolated section at the front left hairline. Take a steep diagonal-back parting, distribute perpendicular, project the hair at 90° and position your fingers parallel for a subtle length increase toward the top of the parting. Continue with the same techniques as you work to the center back.
 - 6Step 6 of 14
 As you move to the bottom of the parting, change the finger position to nonparallel for a greater length increase toward the front right side, creating increase layers. Repeat these techniques as you complete the right exterior section.
 - 7Step 7 of 14
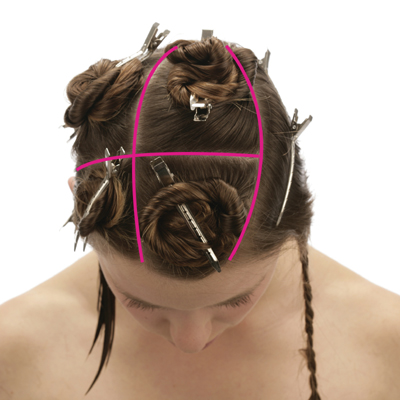 Section the top with a side part over the middle of the right eyebrow. Then section horizontally across the apex to separate the front from the back, resulting in four subsections.
 - 8Step 8 of 14
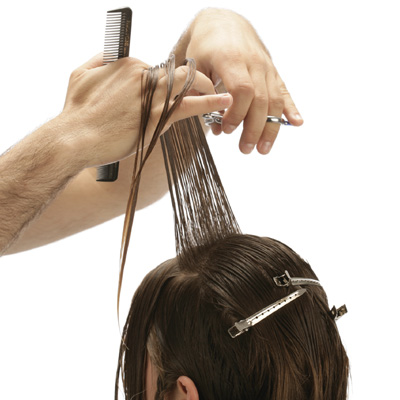
 With the head upright, distribute perpendicular, project at 90° down the curve of the head and slide cut from the midstrand to the ends. Release the next pivotal parting, project at 90° and slide cut with a mobile design line. Repeat throughout this subsection. Then, move to the right crown section and repeat these techniques.
 - 9Step 9 of 14
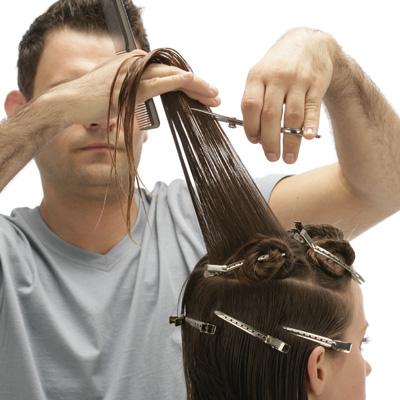
 Move to the heavier, front section on the left side. Take a length guide and use it as a stationary design line. Release a vertical parting, distribute perpendicular and converge the lengths back to the stationary design line. Project at 90° and slide cut.
 - 10Step 10 of 14
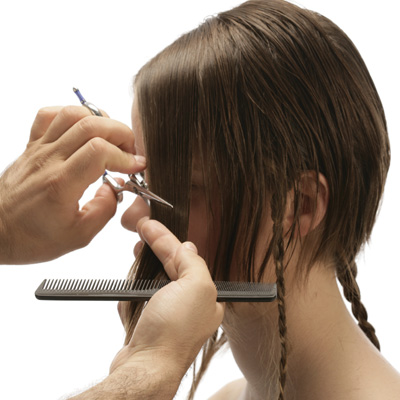 Distribute the hair in the fringe. On the left side, use medium projection and slide cut. Lower the projection as you sculpt toward the ends.
 - 11Step 11 of 14
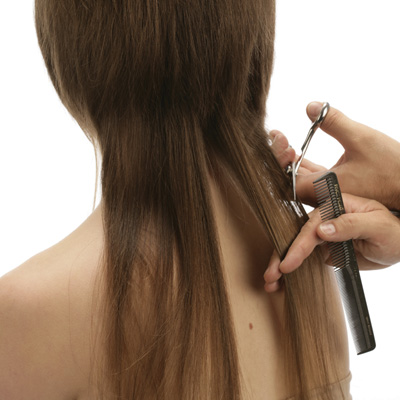 Release the zigzag parting in the nape and air form the hair. With the head upright, distribute naturally, use low projection and a length guide from the lengths on the right side. Slide cut along a diagonal-left line for a length increase toward the left. Then, slide cut around the front left side.
 - 12Step 12 of 14
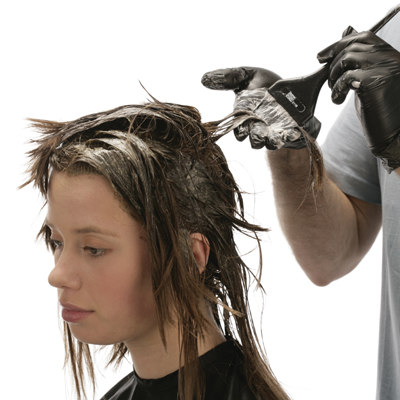 Apply level-5, neutral brown demi-permanent color with developer to the base up to the midstrand throughout the entire head. Next, apply a level-6, dark blond demi-permanent color with developer to the midstrand and ends. Leave the ends on the longer lengths uncolored. Finally, apply lightener with 10 volume (3%) developer to the remaining ends. Process, rinse, shampoo and condition prior to styling.
 - 13Step 13 of 14
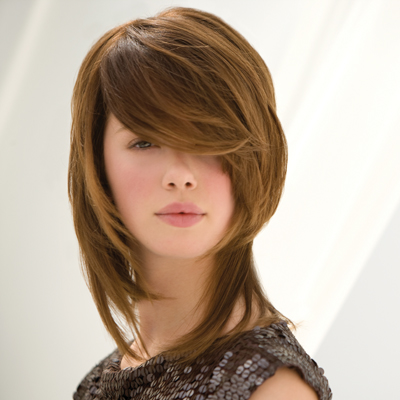 The subtle color progression from darker at the base to lighter on the ends enhances the movement created by the sculpted texture throughout the design.
 - 14Step 14 of 14
 The subtle color progression from darker at the base to lighter on the ends enhances the movement created by the sculpted texture throughout the design.


