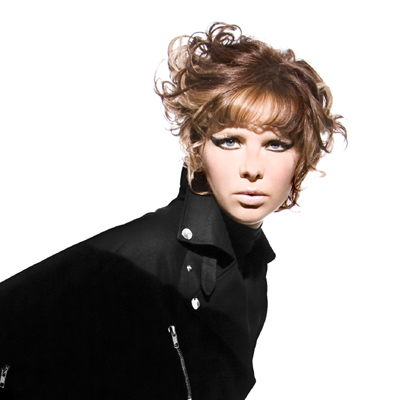
Try the “Lauren” technique from Pivot Point International! It’s the perfect mix of doll and diva. The unique placement of color gives Lauren’s hair the illusion of movement, and the graduated lengths help highlight the variation of colors even more. Offer this cut and color combo to a client who’s in the mood for a fresh new look! Purchase Pivot-Point’s New DVD: Pivot Point International Long Hair Collection To learn more, go to www.pivot-point.com Subscribe to behindthechair.com “On Paper” Magazine–4 Issues Only $29.95! Next Issue: COLOR with Beth Minardi! (more…)
- 1Step 1 of 17
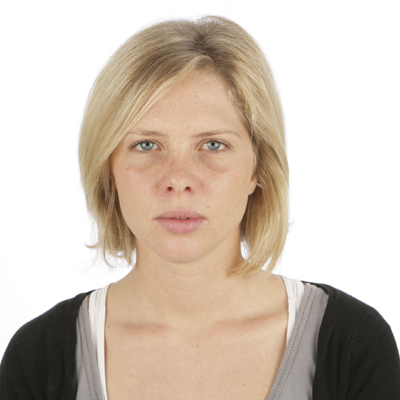 Her light hair color is drab and Lauren is in need of a new look that adds volume and direction to her fine hair.
 - 2Step 2 of 17
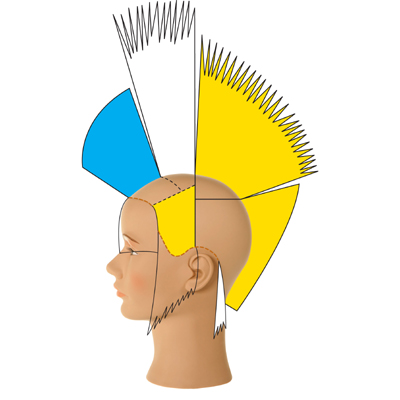
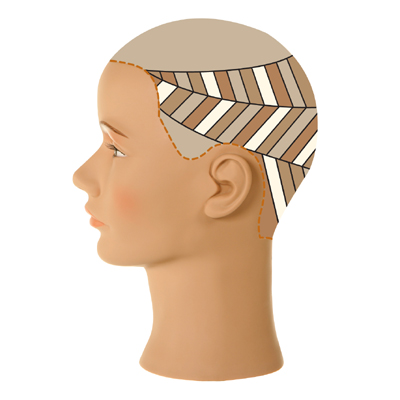 Section the nape, crest and crown area as shown. An alternation of four colors is applied to diagonal-back, back-to-back slices.
 - 3Step 3 of 17
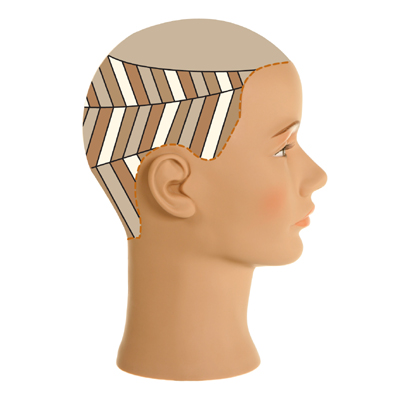 Section the nape, crest and crown area as shown. An alternation of four colors is applied to diagonal-back, back-to-back slices.
 - 4Step 4 of 17
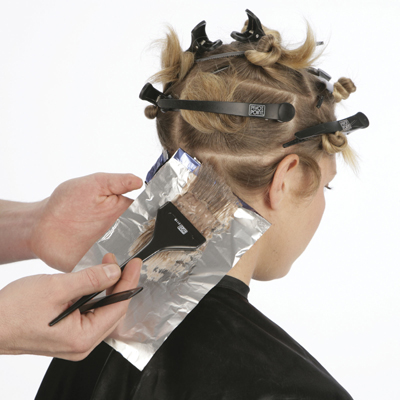
Use diagonal-right partings throughout the nape.
1. Apply permanent colors to back-to-back foils alternating level-5, chocolate with 10 volume (3%) developer; level-10 ash blonde with 40 volume (12%) developer level-6 cinnamon; and level-7, warm gold brown both with 10-volume (3%) developer from base to ends. Repeat throughout the section.
- 5Step 5 of 17
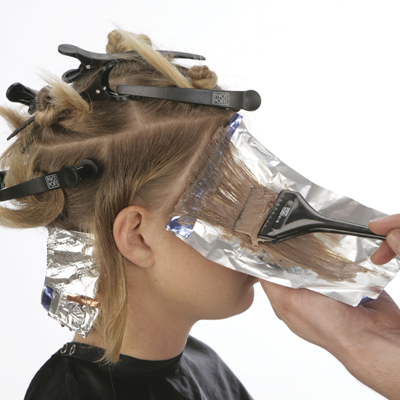
Move to the right side.
2. Take diagonal-left partings and apply back-to-back slices using the same alternation of colors.
- 6Step 6 of 17
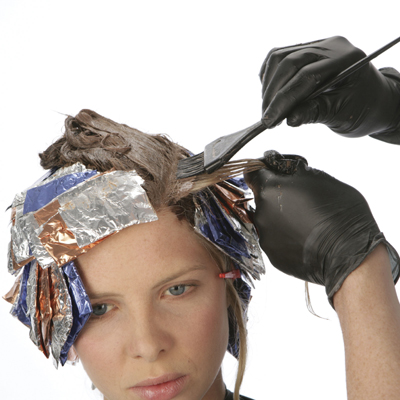 Once all the foils are in place apply the level-5, chocolate color to the top section (4) from base to ends. Then apply the color to the remaining slice at the sideburn area. Process, rinse, shampoo and condition prior to sculpting.
 - 7Step 7 of 17
 Graduation is sculpted in the exterior and the sides. The fringe features solid lengths. Near the apex, low projection is used to texturize existing lengths.
 - 8Step 8 of 17
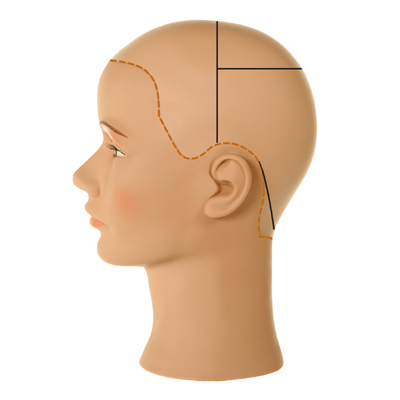 Section vertically from the apex to the ears. Section the crown area along the upper crest and isolate small triangular pieces behind the ears.
 - 9Step 9 of 17
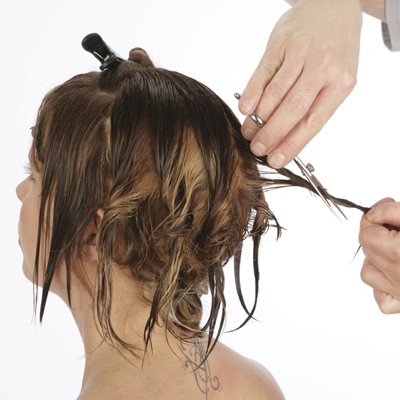
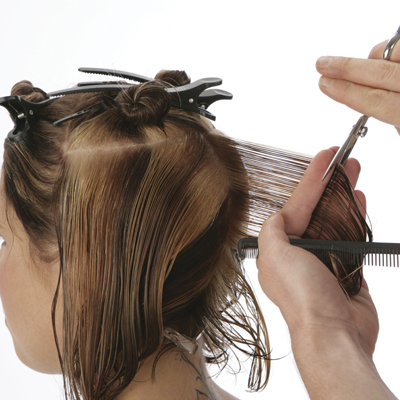 Position the head upright. Begin in the center back and release a vertical parting. Distribute perpendicular and position your fingers for a medium-high line of inclination. Project at a medium-high angle and sculpt parallel to your fingers. Sculpt toward the left using a mobile design line, then move to the center back and sculpt toward the right side.
 - 10Step 10 of 17
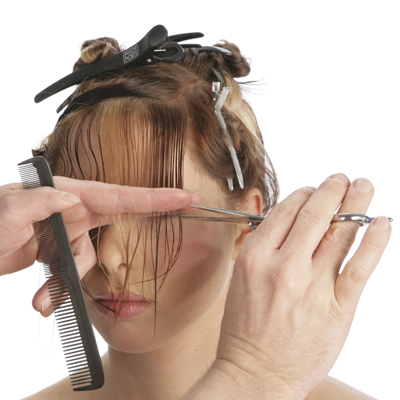 With the head upright, release a horizontal parting at the front hairline. Distribute the hair naturally with no projection and sculpt a solid horizontal line.
 - 11Step 11 of 17
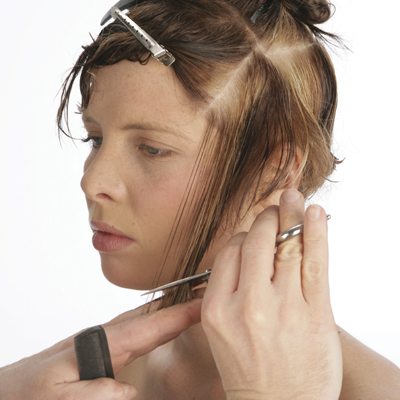
 Take a second parting and sculpt with the same techniques using a stationary design line. This creates a solid fringe with slightly more weight on the left side.
 - 12Step 12 of 17
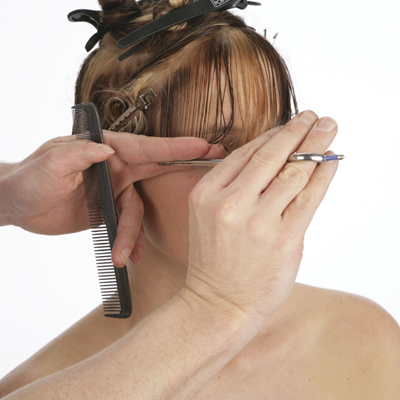
 Release a diagonal-forward parting on the left side. Distribute perpendicular and position your fingers nonparallel. Use the longest length of the graduated form in the back as a length guide. Slide cut projecting at 45° and decrease the angle along the parting. Slide cut subsequent partings using a stationary design line. Repeat on the right side.
 - 13Step 13 of 17
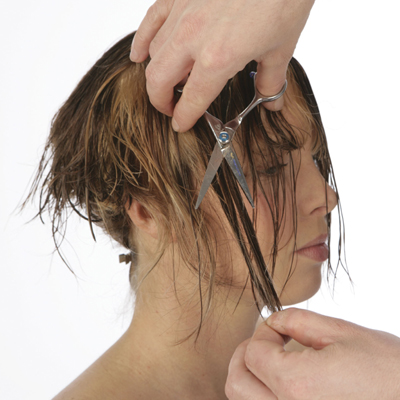
 Subdivide the crown with pivotal partings. Begin in the center, twist the parting and project a medium-high angle. Slide cut from the midstrand to the ends using a visual length guide to achieve graduated lengths that overlap the previously sculpt section. Repeat with subsequent pivotal partings.
 - 14Step 14 of 17
 Shift the remaining hair behind the fringe toward the face and project at a low angle. Freehand slide cut individual strands from midstrand to end to maintain weight and length in the front interior.
 - 15Step 15 of 17
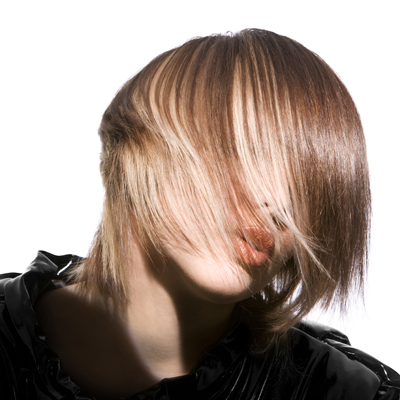
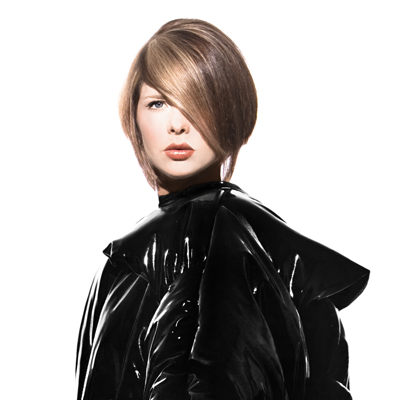 The unique placement of color gives Lauren’s hair the illusion of movement. Graduated lengths help highlight the variation of colors even more.
 - 16Step 16 of 17
- 17Step 17 of 17