- 1Step 1 of 20
 Jens wants to keep some length with more styling versatility.
 - 2Step 2 of 20
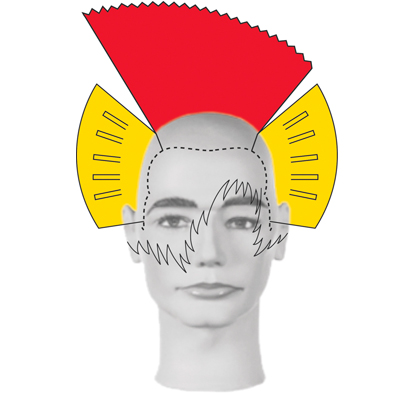
 Planar sculpting results in the combination of graduation, uniform and increase layering in the back.
 - 3Step 3 of 20
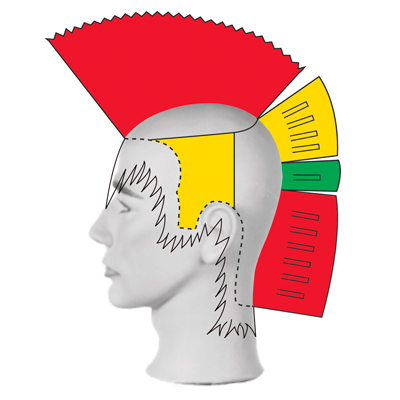
 Diagonal-back graduation is positioned at the sides, while the interior is sculpted with increase layers.
 - 4Step 4 of 20
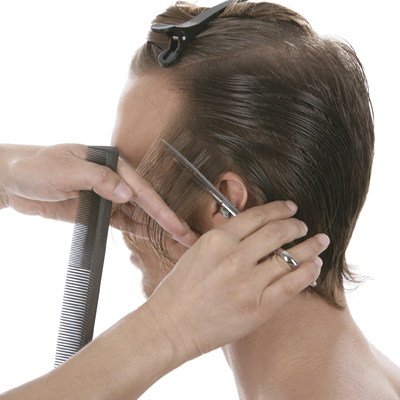
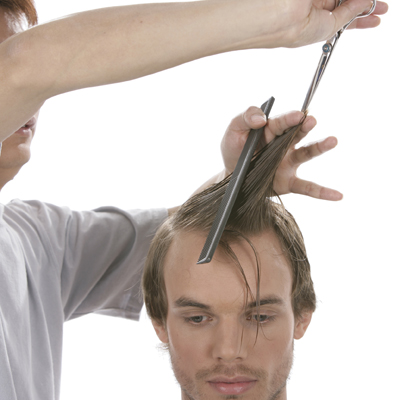
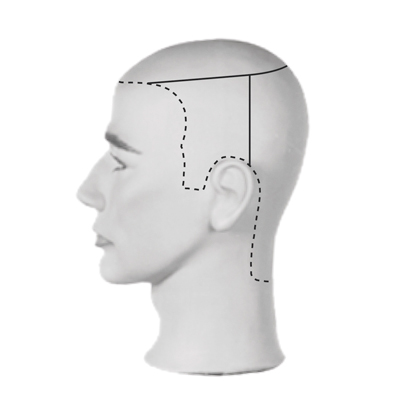 Section the interior from the exterior above the crest. Subsection the sides vertically at the back of each ear.
 - 5Step 5 of 20
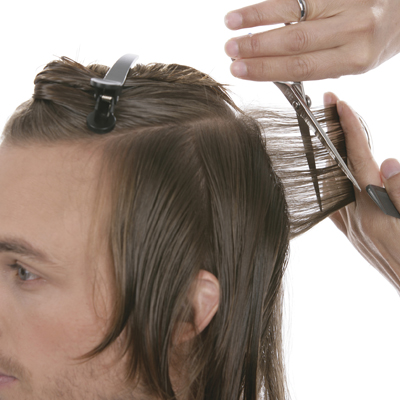
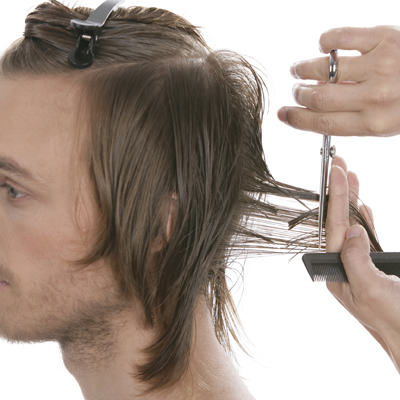
A. Begin in the center back with a vertical parting. Distribute straight out and weave one blade of the open shears through the midstrand of the parting. Close the shears, then sculpt the ends at the desired length. This creates a highly texturized planar form.
- 6Step 6 of 20
B. Take subsequent vertical partings and continue with the same sculpting techniques, working towards the left side. Sculpt each parting individually and visually connect the overall length.
C. Make sure to distribute each parting straight out until you reach the left ear.
D. Move to the center back and use the same sculpting techniques as you sculpt toward the right ear.
- 7Step 7 of 20
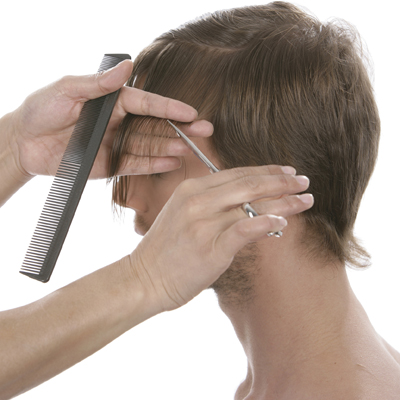
A. On the left side release a diagonal-back parting. Use perpendicular distribution, a parallel finger position and low projection. Weave through the parting and sculpt midstrand and then sculpt the ends to the desired length.
B. Continue with diagonal-back partings. Sculpt each individually using the same weaving and sculpting techniques.
C. Repeat the same techniques on the right side.
- 8Step 8 of 20
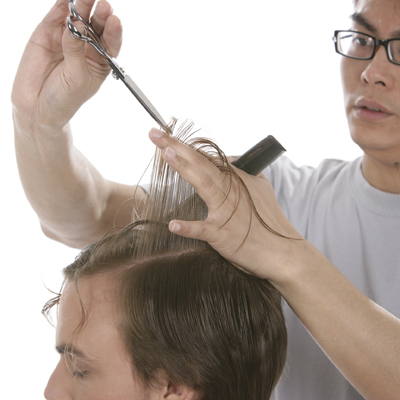
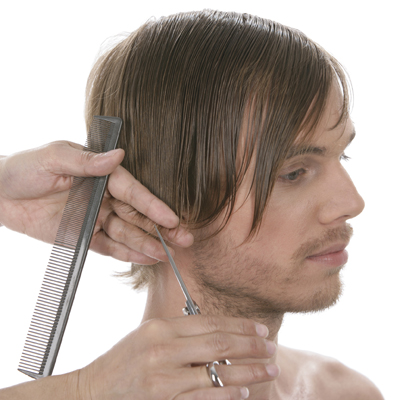
A. In the interior on the left side, take a vertical parting. Distribute straight up and position your fingers for a length increase toward the face. Notch using a guide from the back section. Note that only the shortest part of the interior connects with the exterior lengths.
B. Finish sculpting the first parting using the same technique. This parting will be used as a stationary design line for the remainder of the interior.
- 9Step 9 of 20
 C. Take vertical partings and converge to the pre-established stationary design line. Distribute the hair straight up from the stationary design line and sculpt with the notching technique.
 - 10Step 10 of 20
D. Continue to use this technique throughout the interior. Note that the interior lengths are disconnected from the exterior.
- 11Step 11 of 20
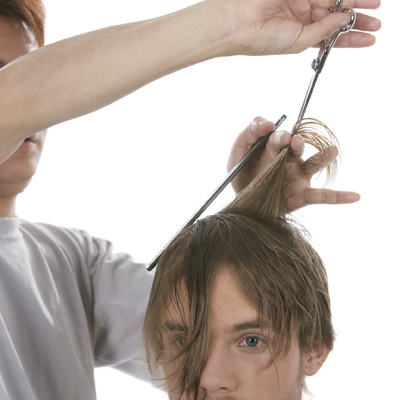
A. Release a diagonal-left parting that spans across the entire fringe area. Distribute the right portion of the parting perpendicular and position your fingers parallel. Notch while blending with the left side.
- 12Step 12 of 20
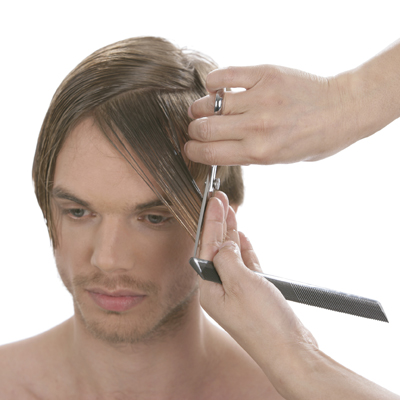
B. Distribute the left portion of the parting perpendicular, use a nonparallel finger position and slide cut to create a length increase toward the face.
C. Take another diagonal parting and repeat the same two techniques.
- 13Step 13 of 20
 D. Distribute the interior naturally and notch to refine the perimeter line.
 - 14Step 14 of 20
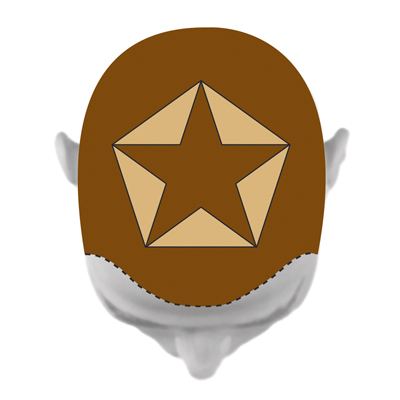 A. The art shows a five-pointed star section in the interior and five triangular sections in between the points of the star. These triangles will be colored a neutral blonde while the star and remaining hair will be colored a medium brown.
 - 15Step 15 of 20
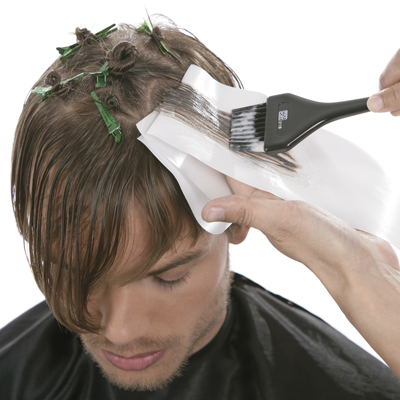 B. Begin in one of the triangles, release a slice and apply a level-8, neutral blonde permanent color with 30-volume (9%) developer. Repeat on the remaining hair within the triangle. Continue the same back-to-back slicing technique on all the triangles.
 - 16Step 16 of 20
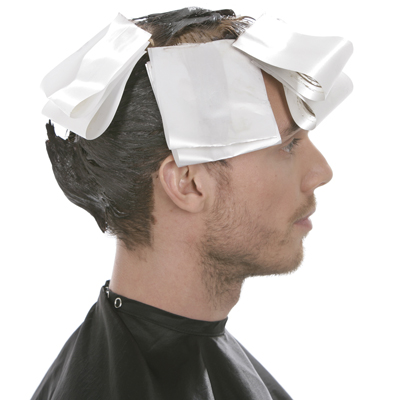 C. Apply a level-4, natural brown semi-permanent color from scalp to ends to the remaining hair including the star. Process, rinse, shampoo and condition prior ro styling.
 - 17Step 17 of 20

- 18Step 18 of 20

- 19Step 19 of 20

- 20Step 20 of 20
Styling
Pivot Point International "Jens" Mini-Tech
September 30, 2007·1 min read
Pivot-Point International stylist Feng Yongzhong Alan gives Jens a bold new statement with many styling options. Try it out for yourself. See the Collection: DF Visual Rendition Get the DF Collection/Step-by-Step Book and DVD set in the BTC Bookstore! To learn more, go to www.pivot-point.com Subscribe to behindthechair.com “On Paper” Magazine–4 Issues Only $29.95! Next Issue: COLOR with Beth Minardi! (more…)
More to Read


