- 1Step 1 of 14
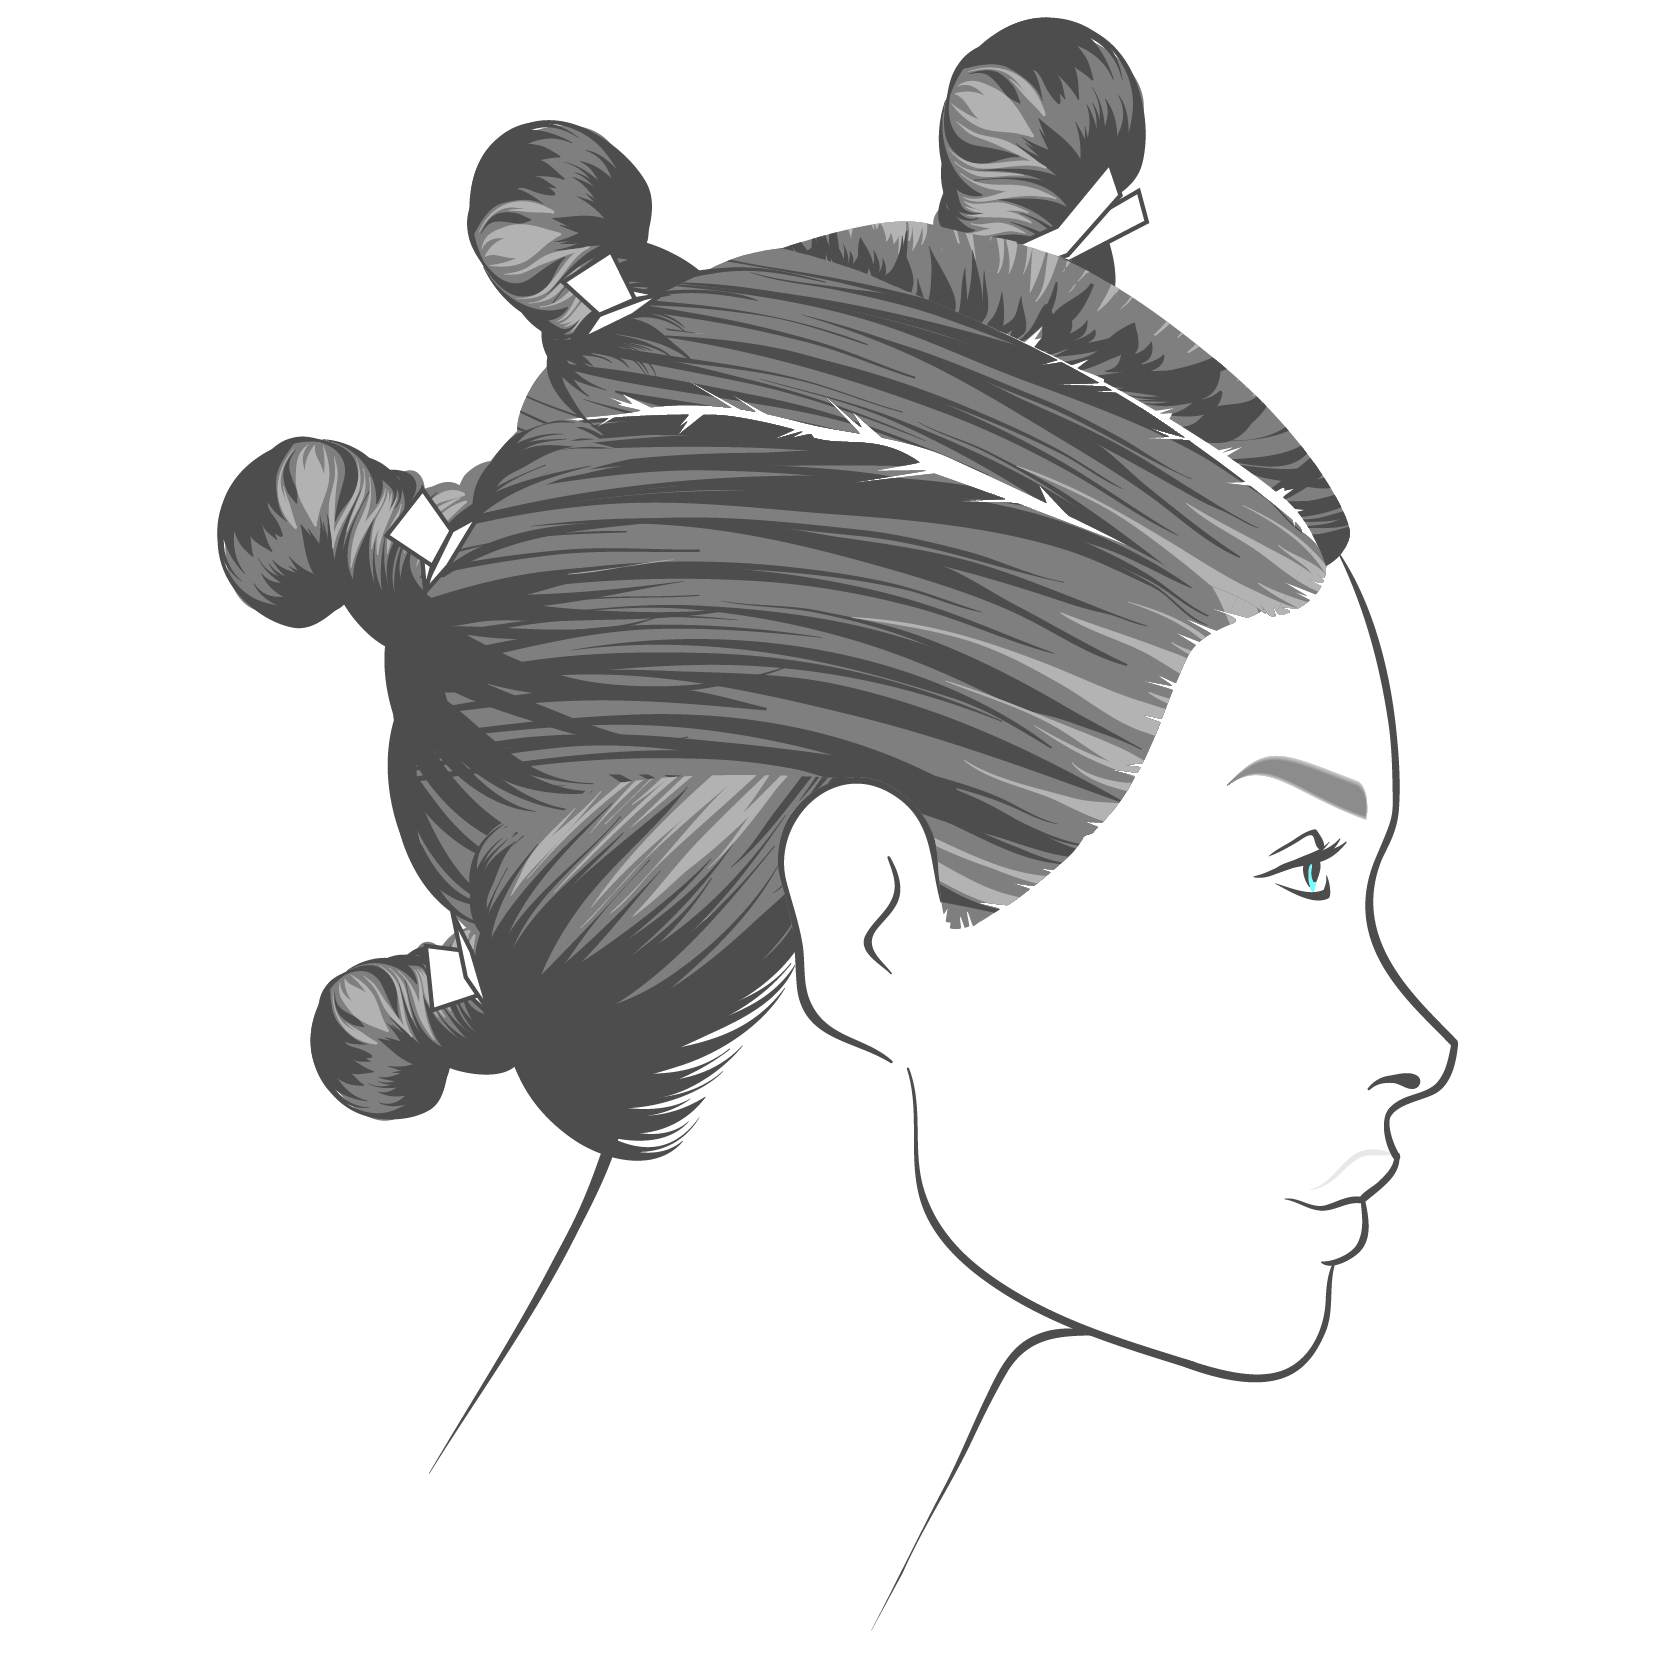
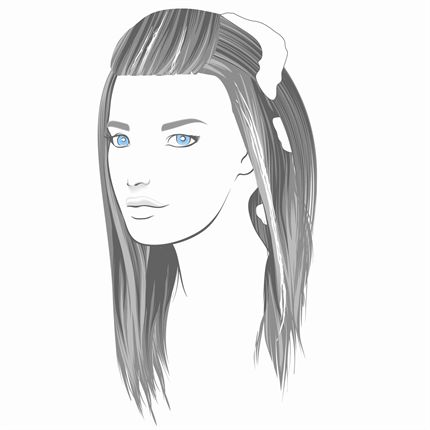
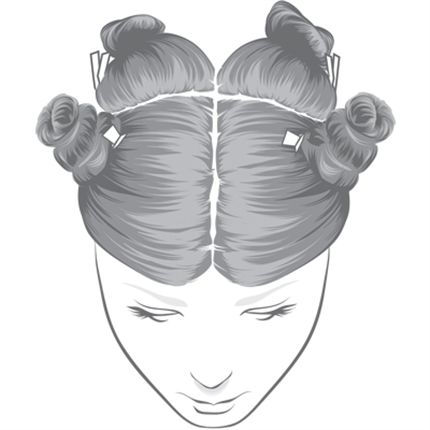
Place four subsections throughout the head. The sections should be two inches apart and on a diagonal placement.
- 2Step 2 of 14
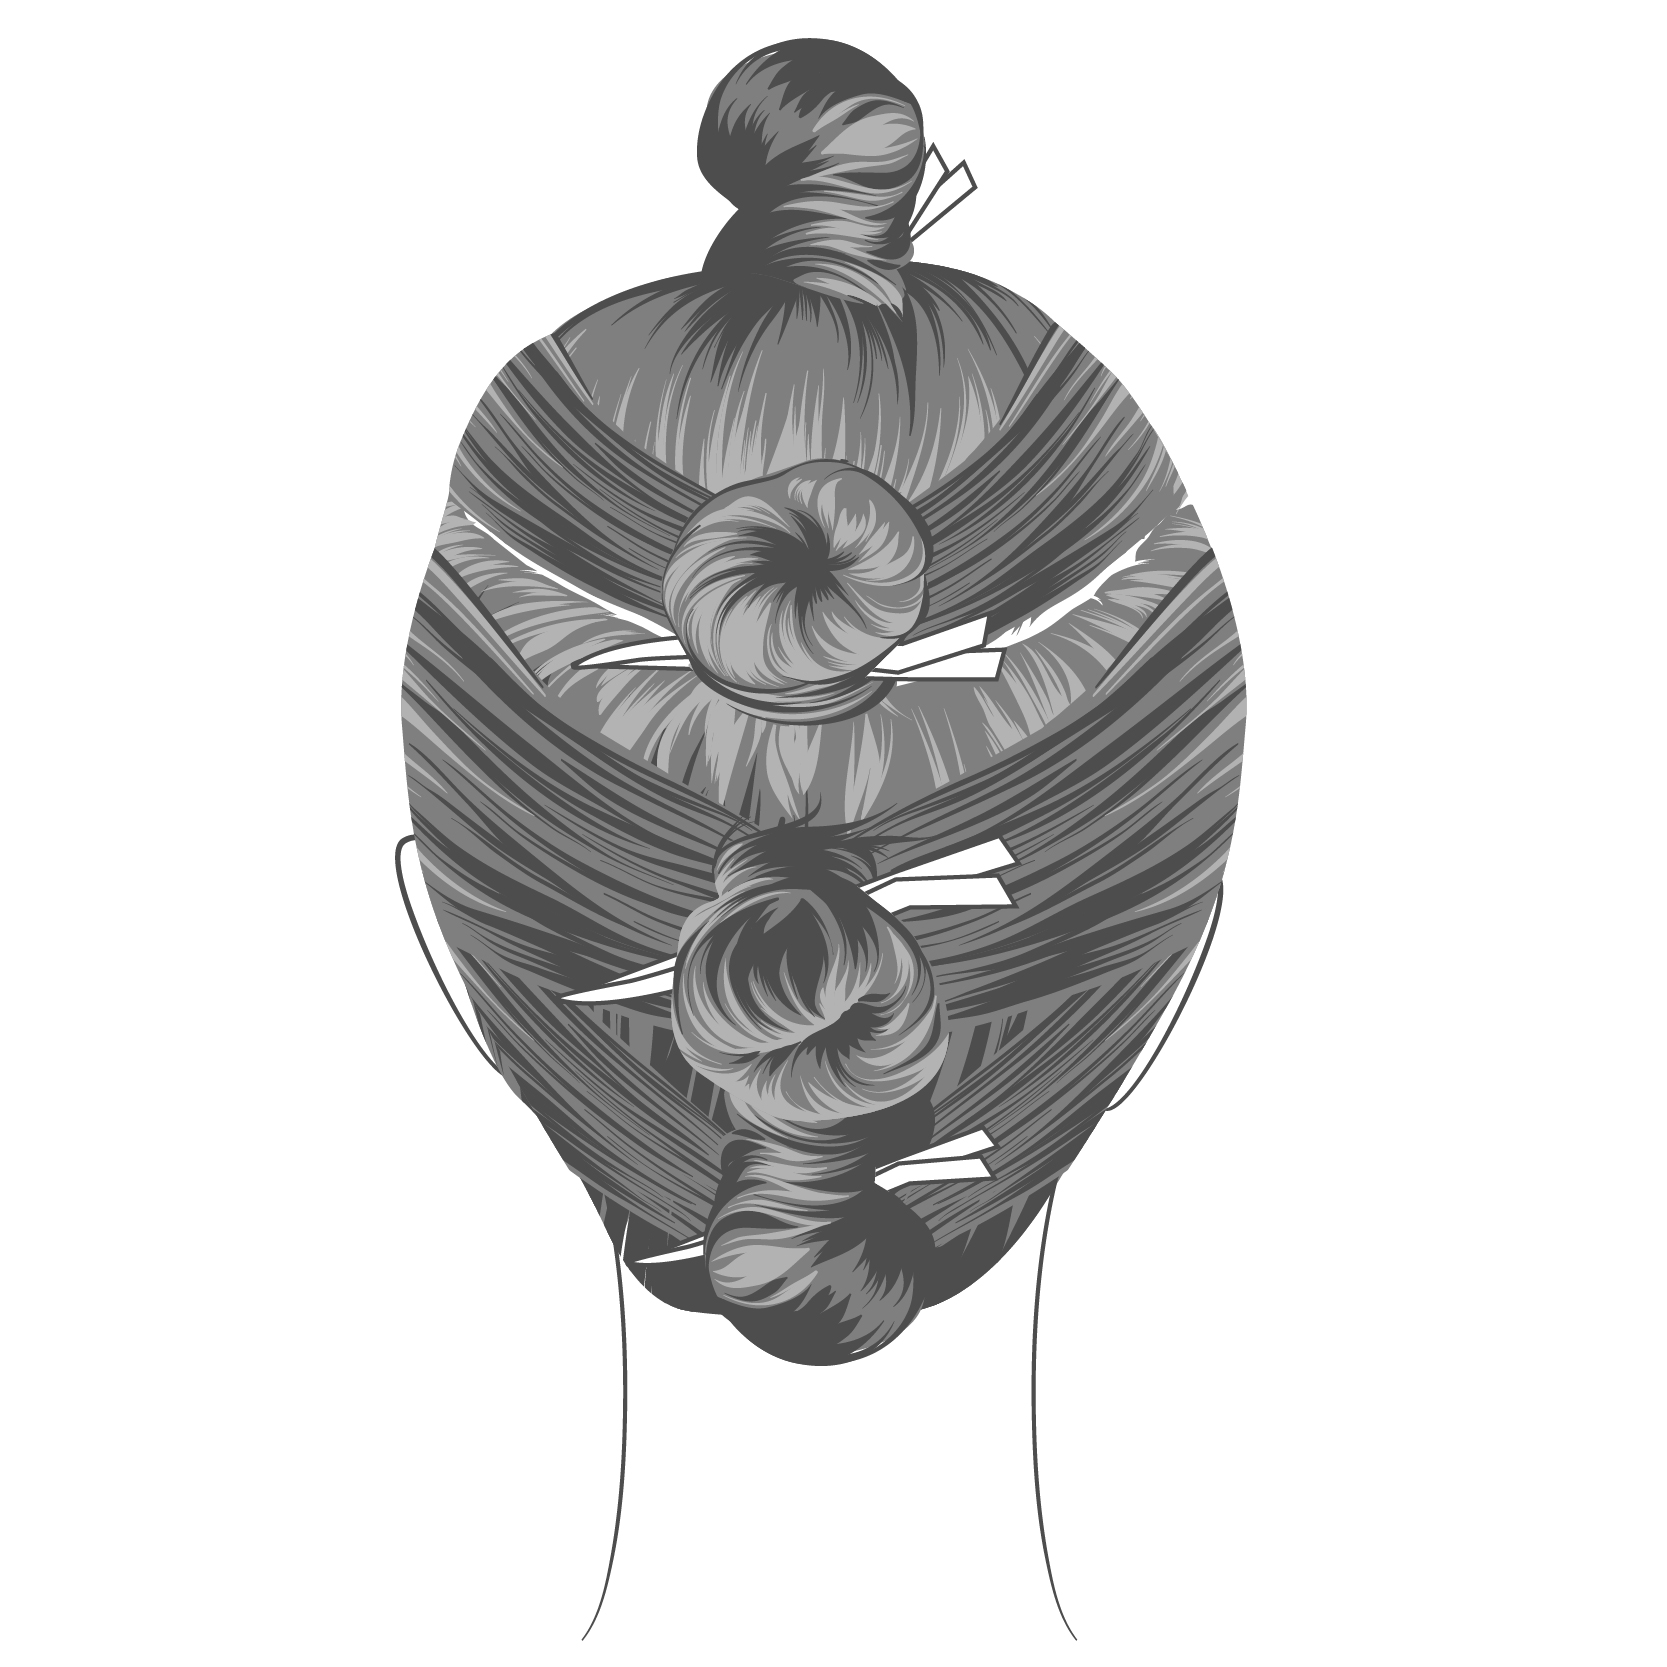
Secure the four sections with a J-knot down the center of the head.
- 3Step 3 of 14
Start at the bottom of the nape. Drop out the entire section and begin color placement. Take small sections from the hairline and gently paint on the color. To prevent lines of demarcation, side-brush while working your way up the area closest to the new growth.
- 4Step 4 of 14
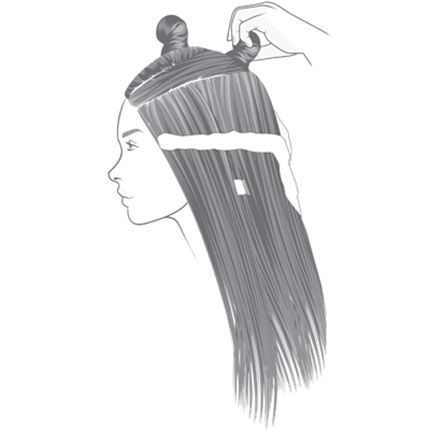
Before moving to the next section, place cotton on the hair in a V-shaped pattern. The cotton protects the next section from laying on the color and causing bleed marks or spottiness.
- 5Step 5 of 14
Move to the next section and repeat the same process from the section above.
- 6Step 6 of 14
Once all sections have been completed, gently side-brush the hairline for brightness around the hairline.
- 7Step 7 of 14
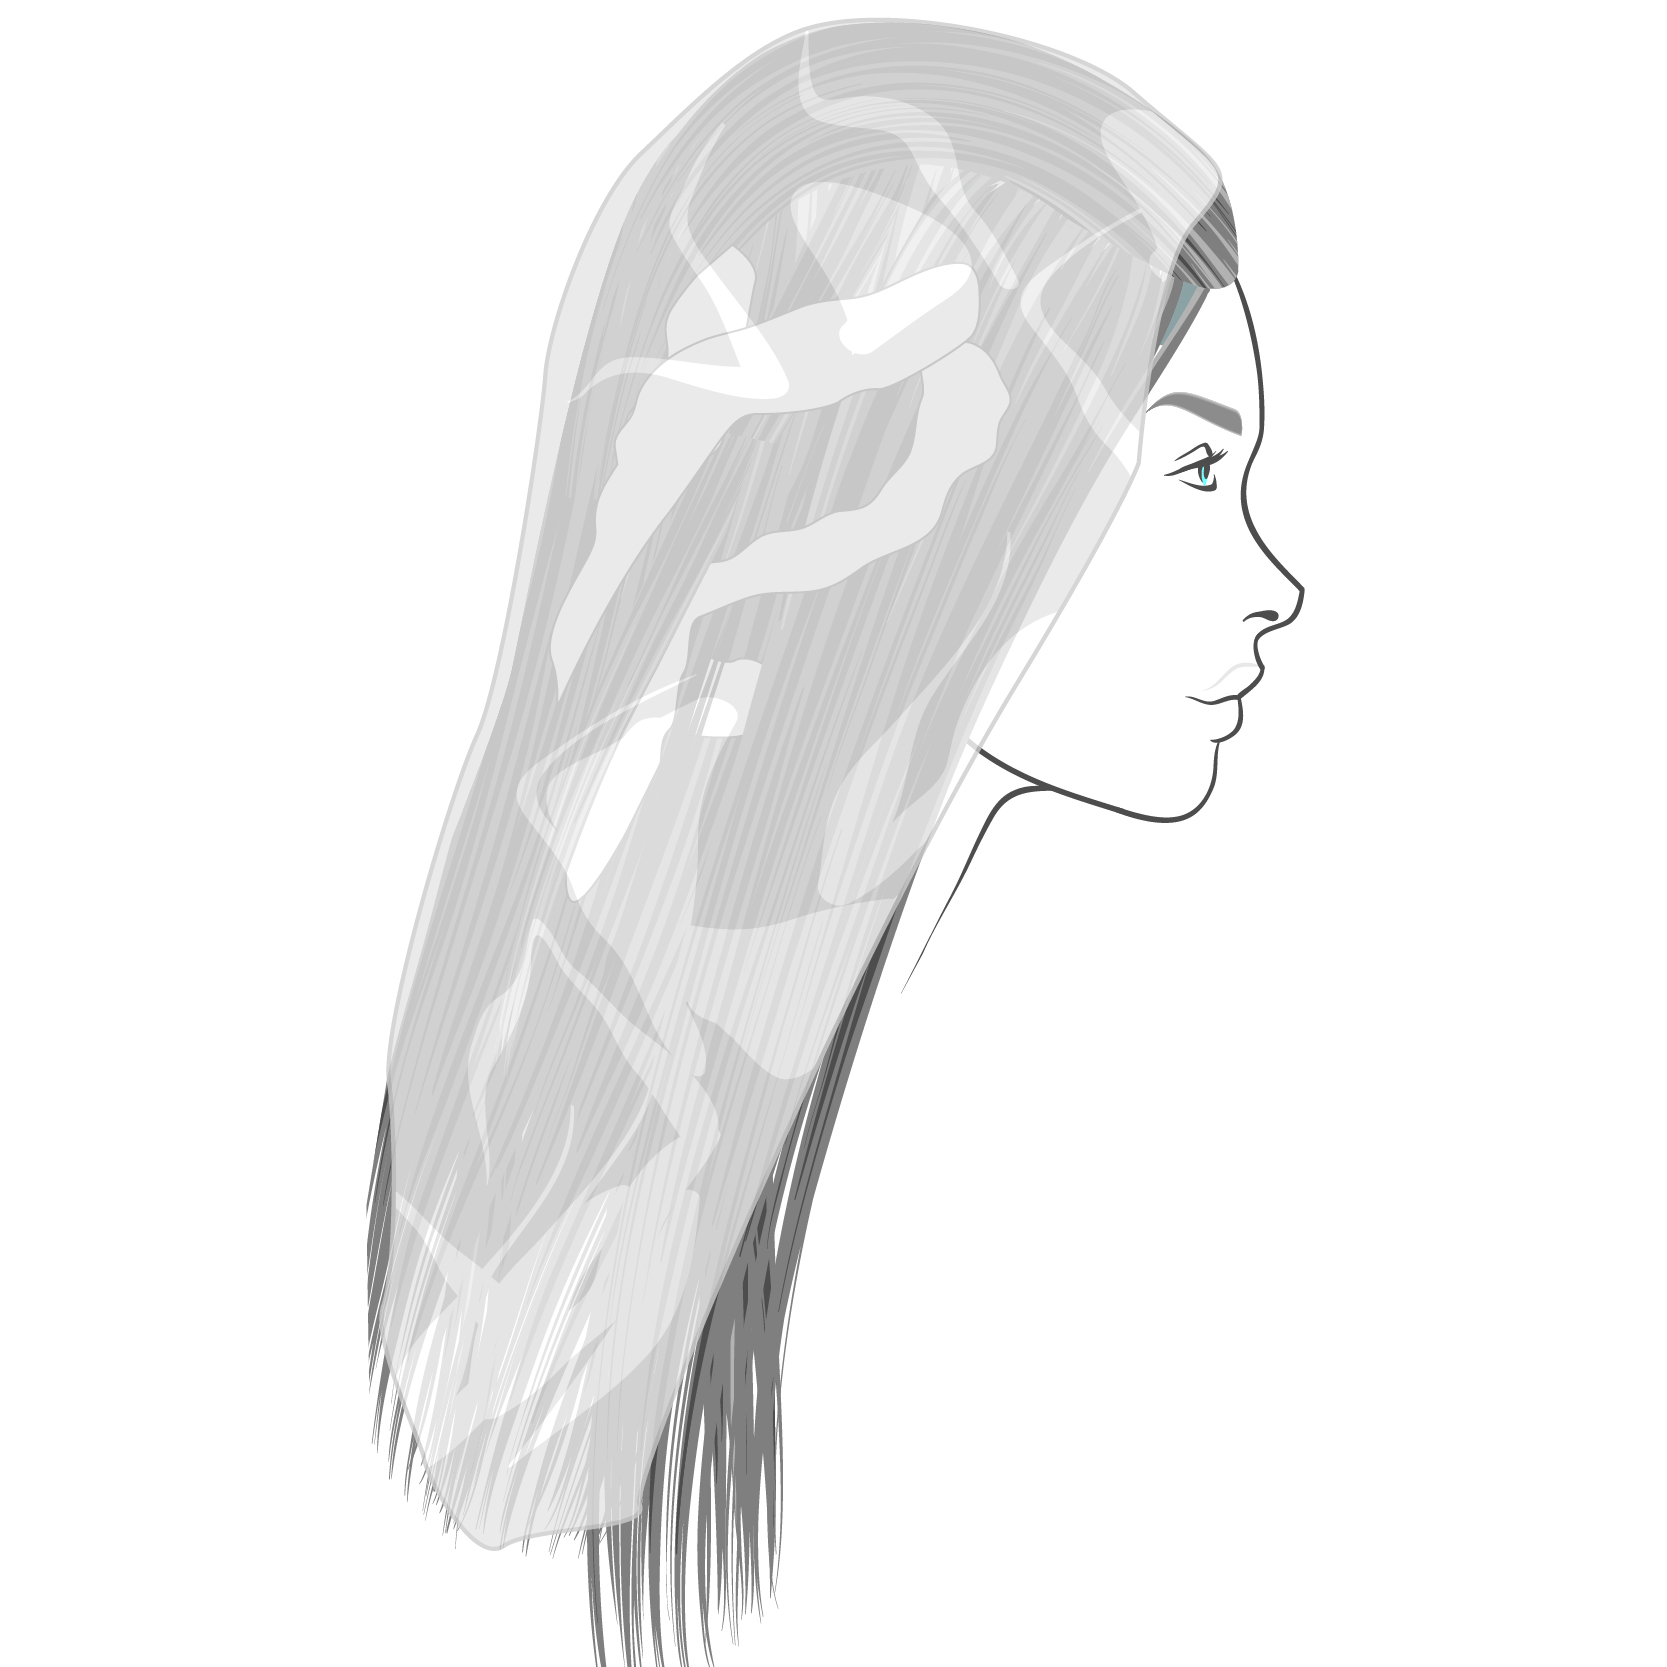
Gently wrap the hair with plastic to keep it from drying out. Place your client in a draft-free area and allow hair to process to the desired level. Then, shampoo and tone to the perfect color.
- 8Step 8 of 14
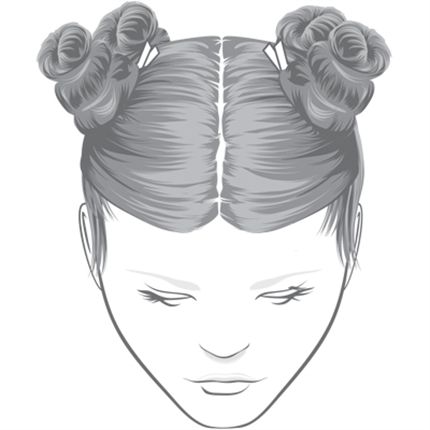
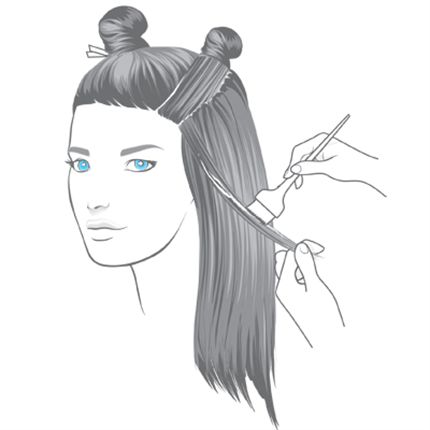
Create four clean sub-sections and secure each sub-section into a J-knot.
- 9Step 9 of 14
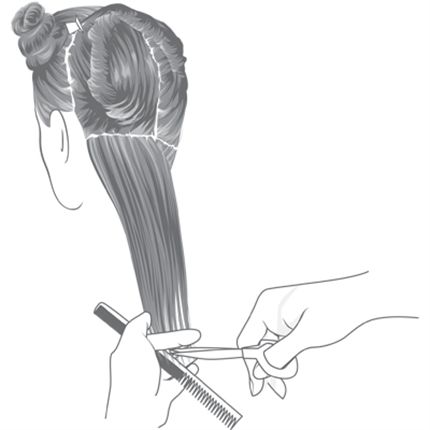
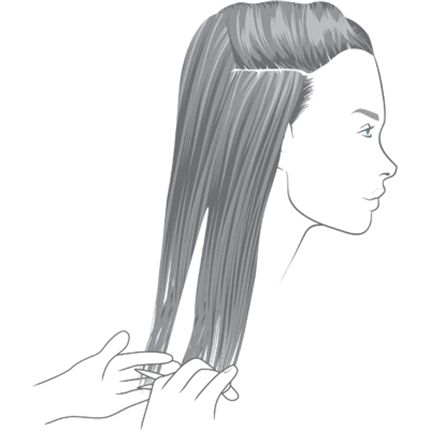
Drop down back two sections, and sub section 1-inch sections to maximize control. Adjust to the desired length using zero elevation. Continue through the back sections.
- 10Step 10 of 14
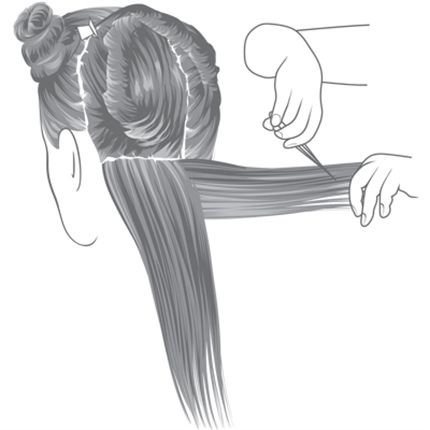
Sub-section the back two sections once the perimeter line is complete. For more movement and less bulk, take 1-inch vertical sections and slide-cut from the center. Use a traveling guide from the center of the cut to behind the ear. Repeat on the opposite side.
- 11Step 11 of 14
To create interior layering, repeat the sub-sections in the back, but this time take vertical sections, and slide cut from under using a C-shape formation. Continue throughout using a traveling guide.
- 12Step 12 of 14
With the back complete, move to the side sections and repeat the same steps. If you are working with fine hair, slide cutting on the top and bottom of the hair may not be needed. Make sure the hair around the face is not too sparse due to over-cutting.
- 13Step 13 of 14
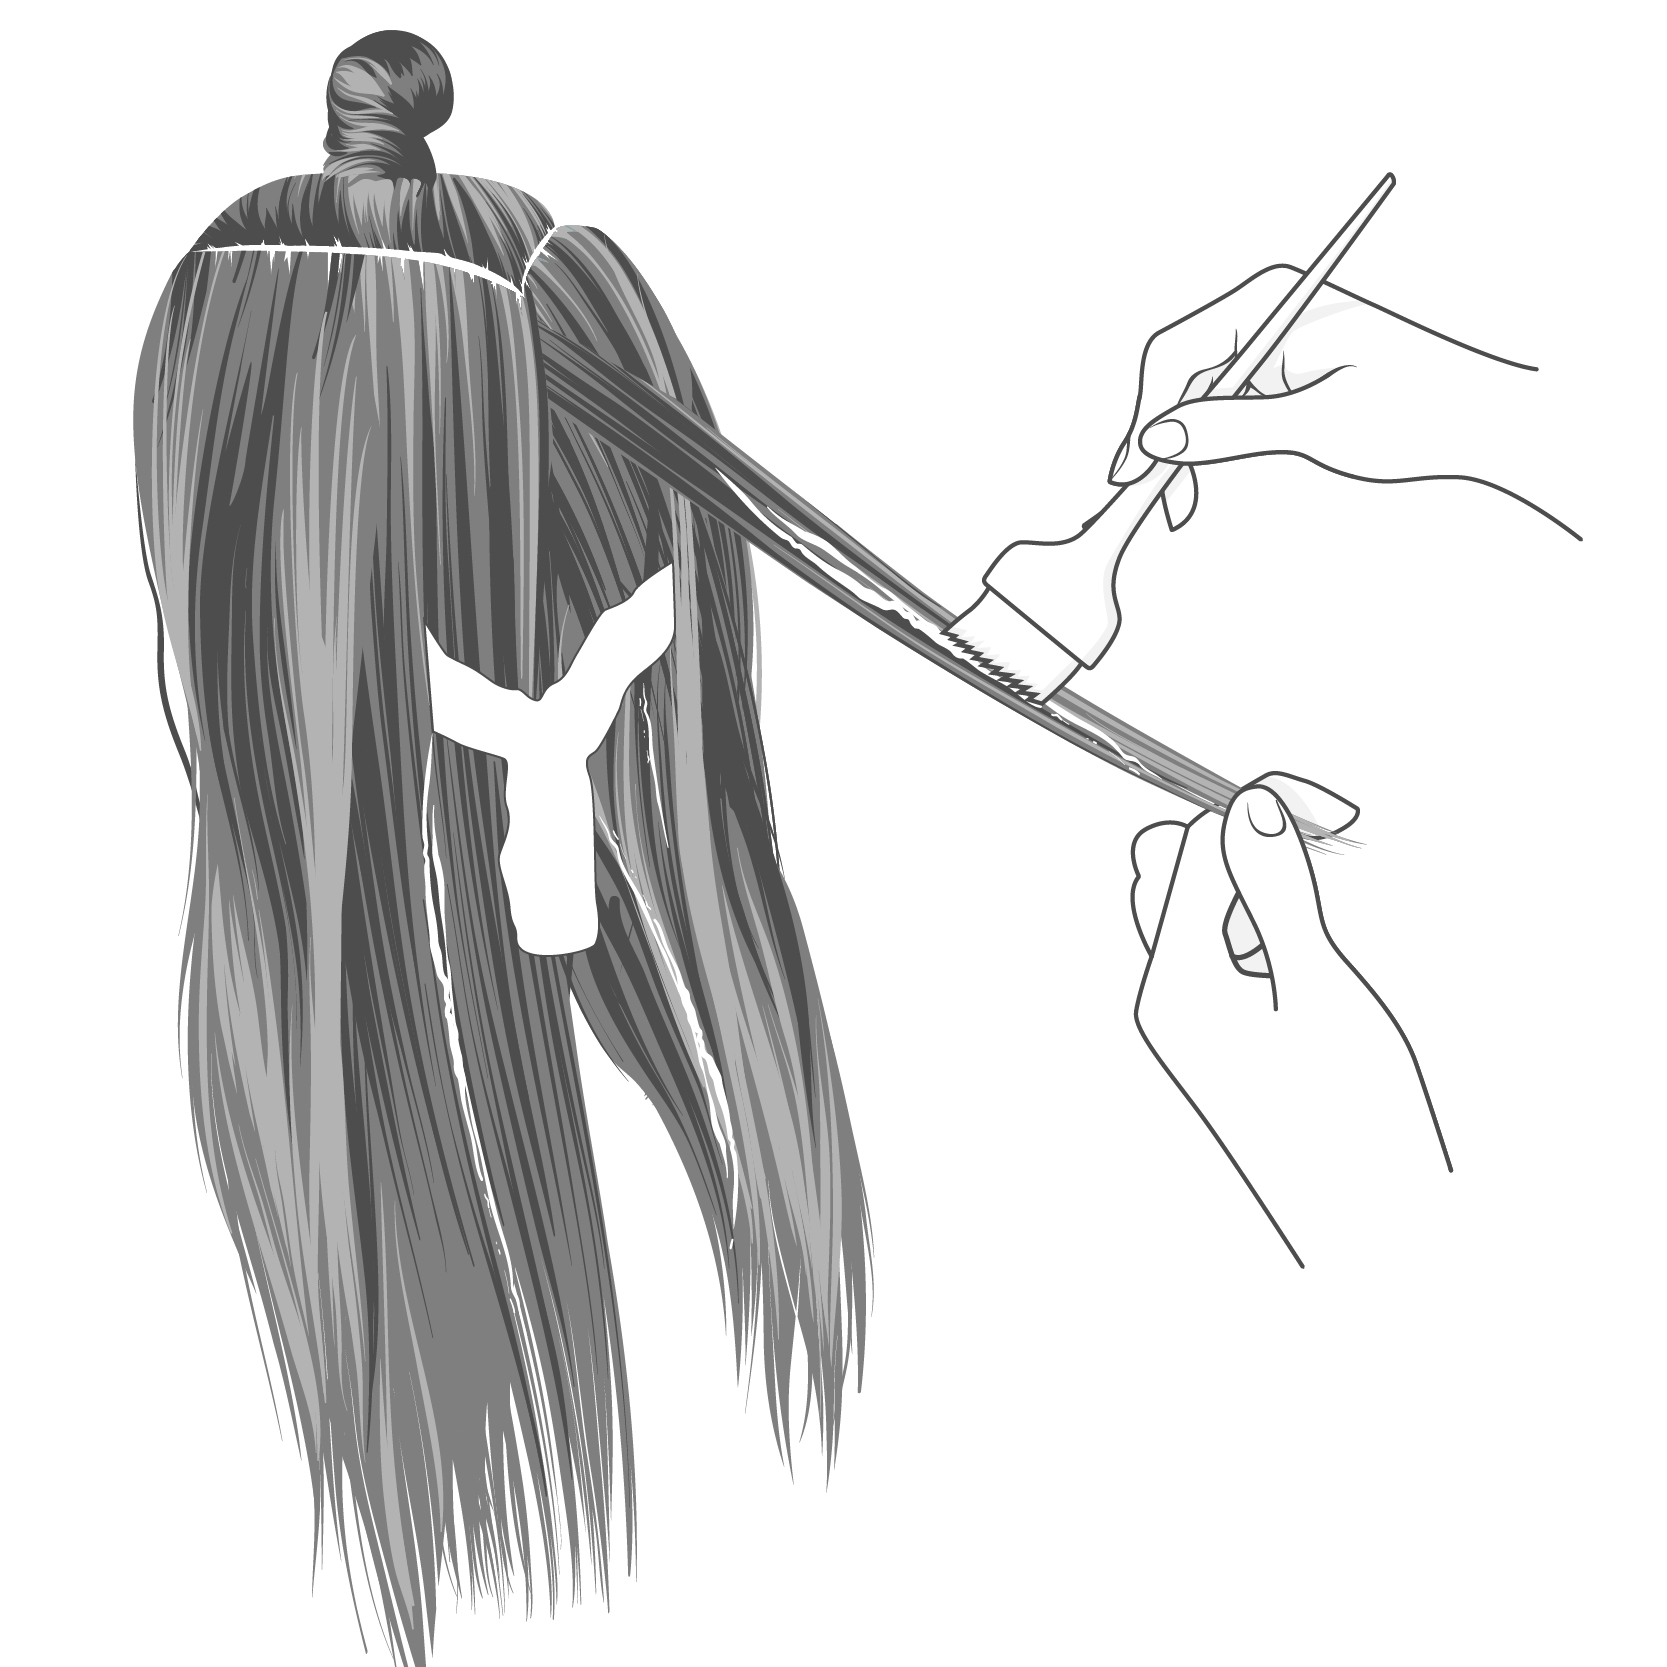
Add texture as needed by gently working a feather razor through the hair. Start two inches from the perimeter line, and surface plain vertically to remove unwanted weight. Use a razor only to enhance the cut based on hair type. Keep a safe razoring distance from new growth to minimize width and unflattering flyaways.
- 14Step 14 of 14
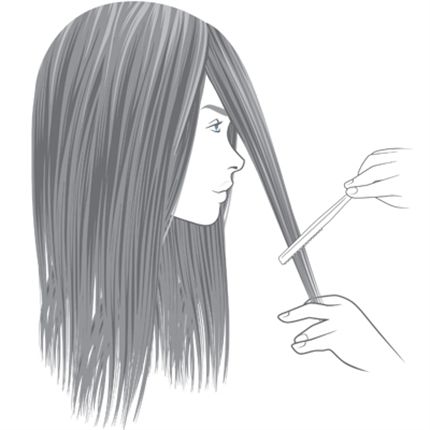
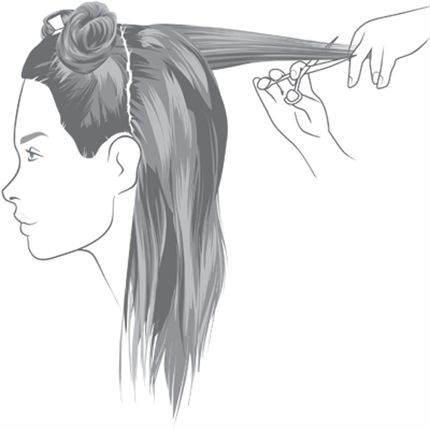
To create softness around the face, over direct the hair to the right and gently slide your razor from midlengths to ends. Repeat on the other side for versatility.
Balayage
How-To: Pinup Glam Blonde and Long Layer Cutting
April 5, 2016·1 min read
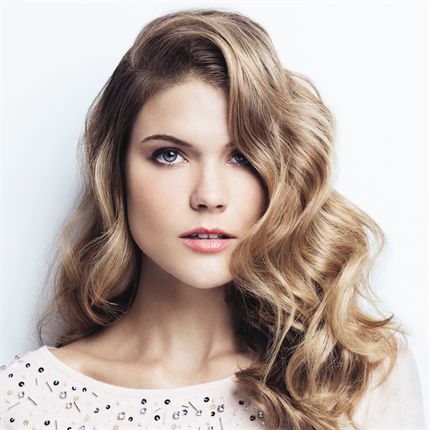
Glam goes on! For a color and cut refresher that is versatile enough for many of your clients, The Salon by InStyle inside JCPenney gives us the 411 on what looks are sought-after in the salon and are on-trend for the spring season! Since you are a professional, you KNOW the importance of keeping up with what’s trending and keeping your techniques up to date. The Salon by InStyle supports their stylists by offering mega-crazy amounts of *paid* education and training. (Pssssst, they also offer a storewide associate discount, medical, dental, paid time off and a 401K!) The Pinup Glam Blonde is one of hundreds of looks you’ll learn while building your career (more…)
More to Read


