- 1Step 1 of 11
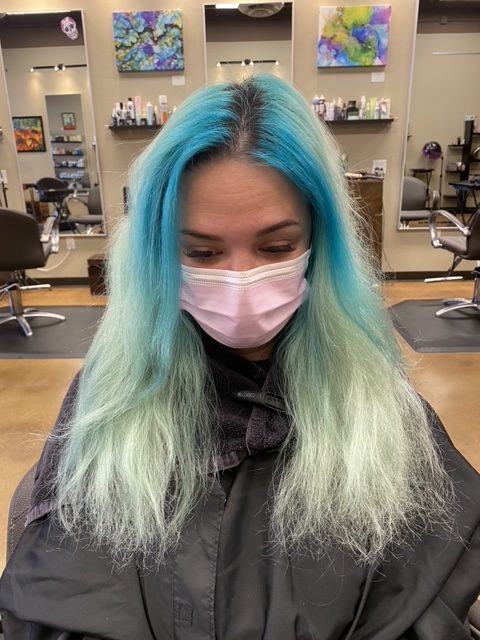
Before
- 2Step 2 of 11
Lighten the new growth with an on-scalp lightener of your choice and lift to a Level 9/10.
- 3Step 3 of 11
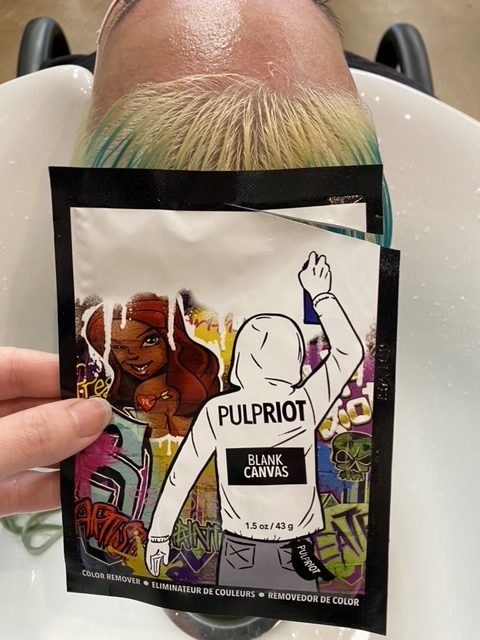
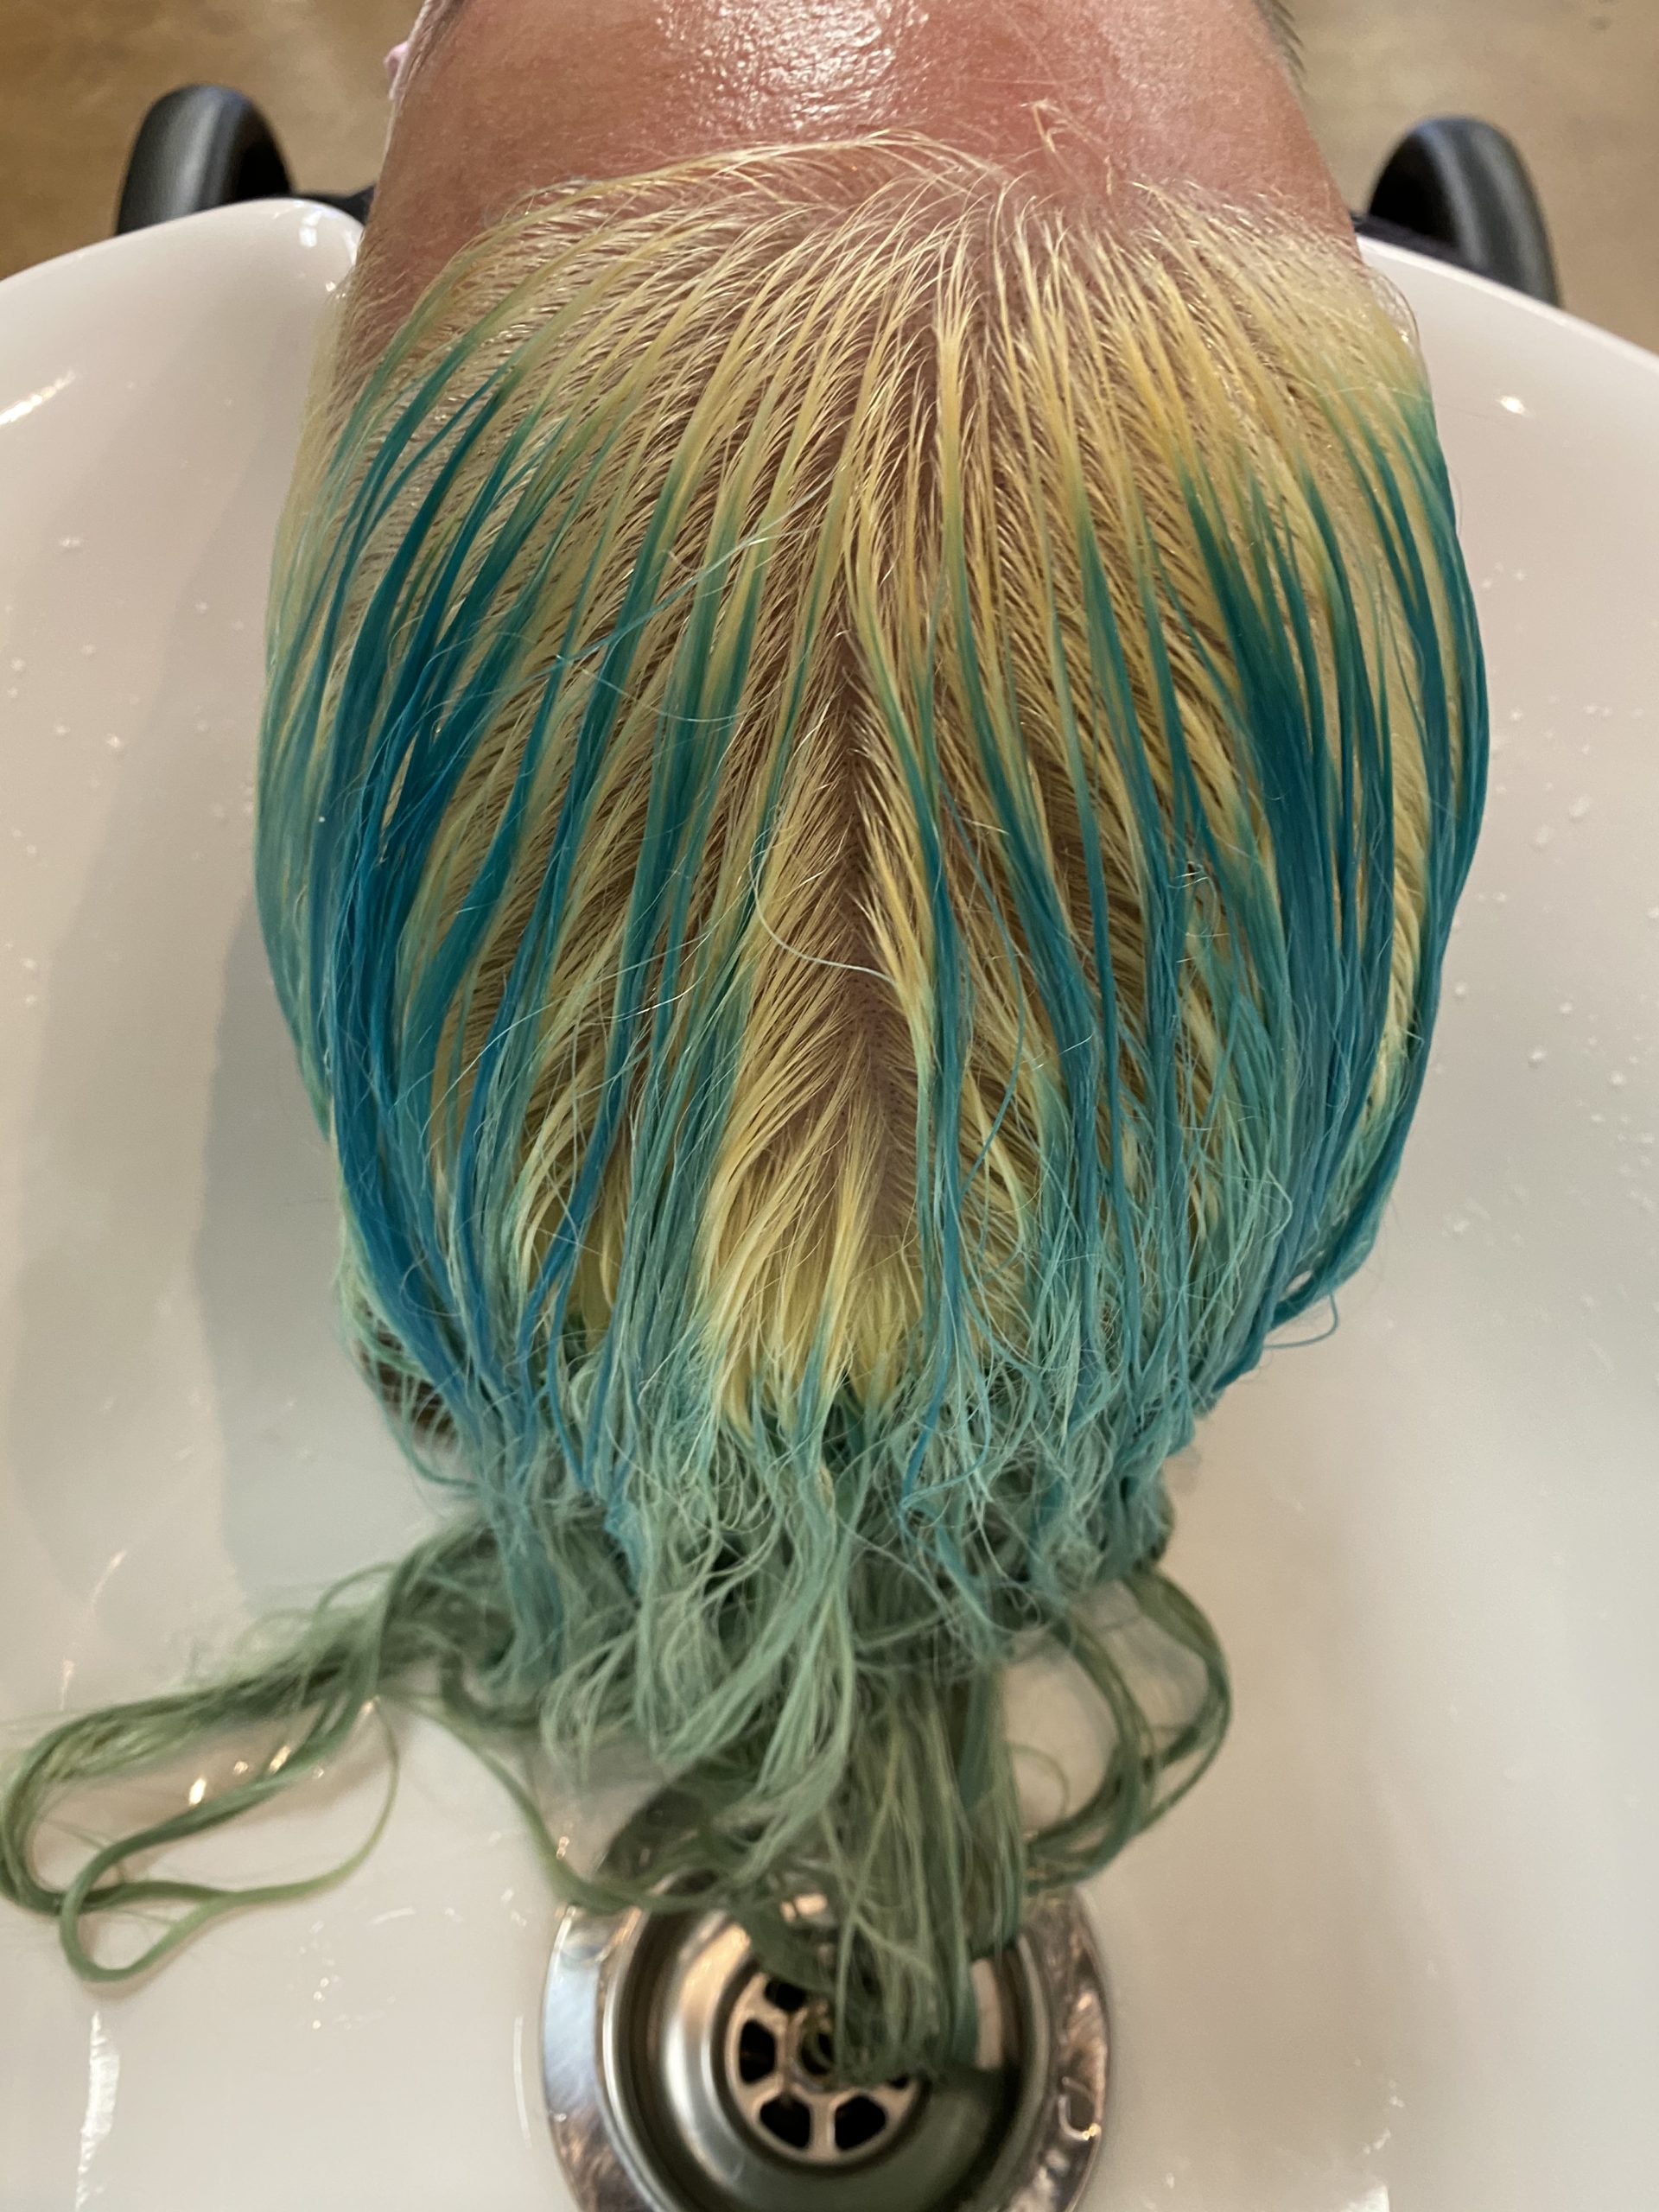
Apply Formula A on wet hair to remove as much of the existing semi-permanent color as possible.
- 4Step 4 of 11
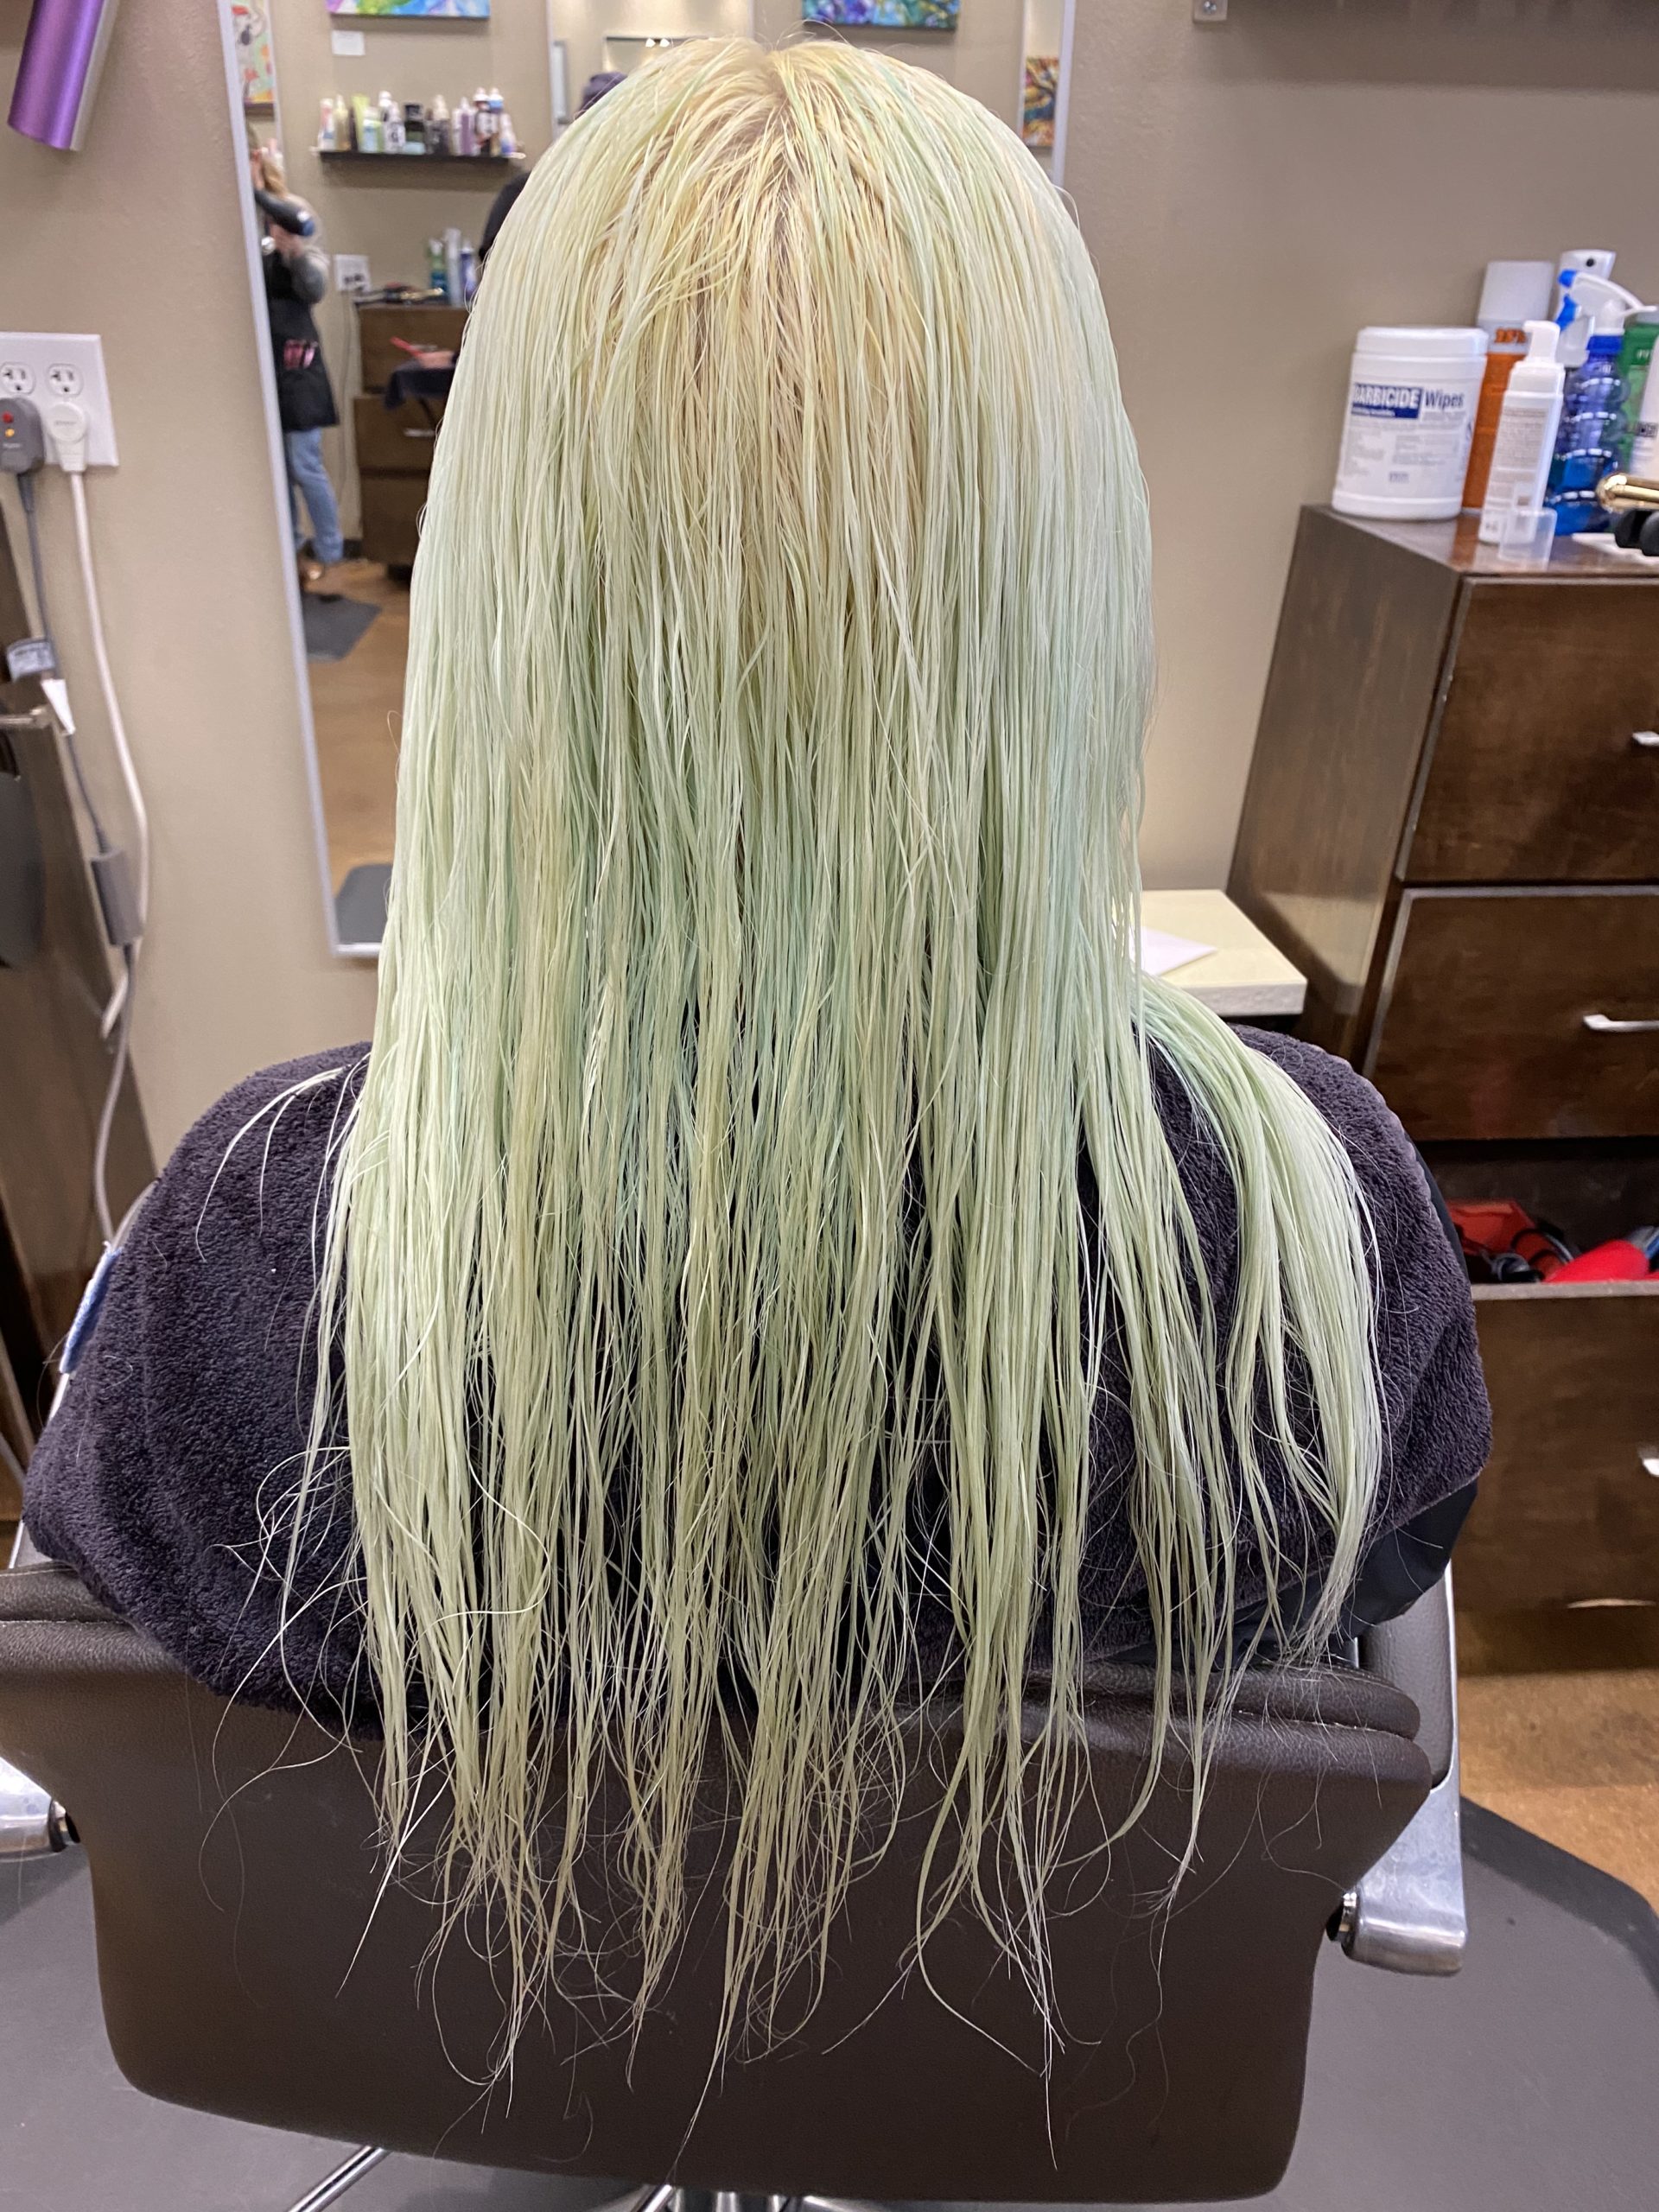
If there is slight residual green leftover from removing a blue, to maintain the integrity of the hair either color shift or use a brighter semi-permanent color to cover the canvas. "When in doubt do a strand test to see if you’ll get enough coverage with the color you are planning on using," says Shellie.
- 5Step 5 of 11
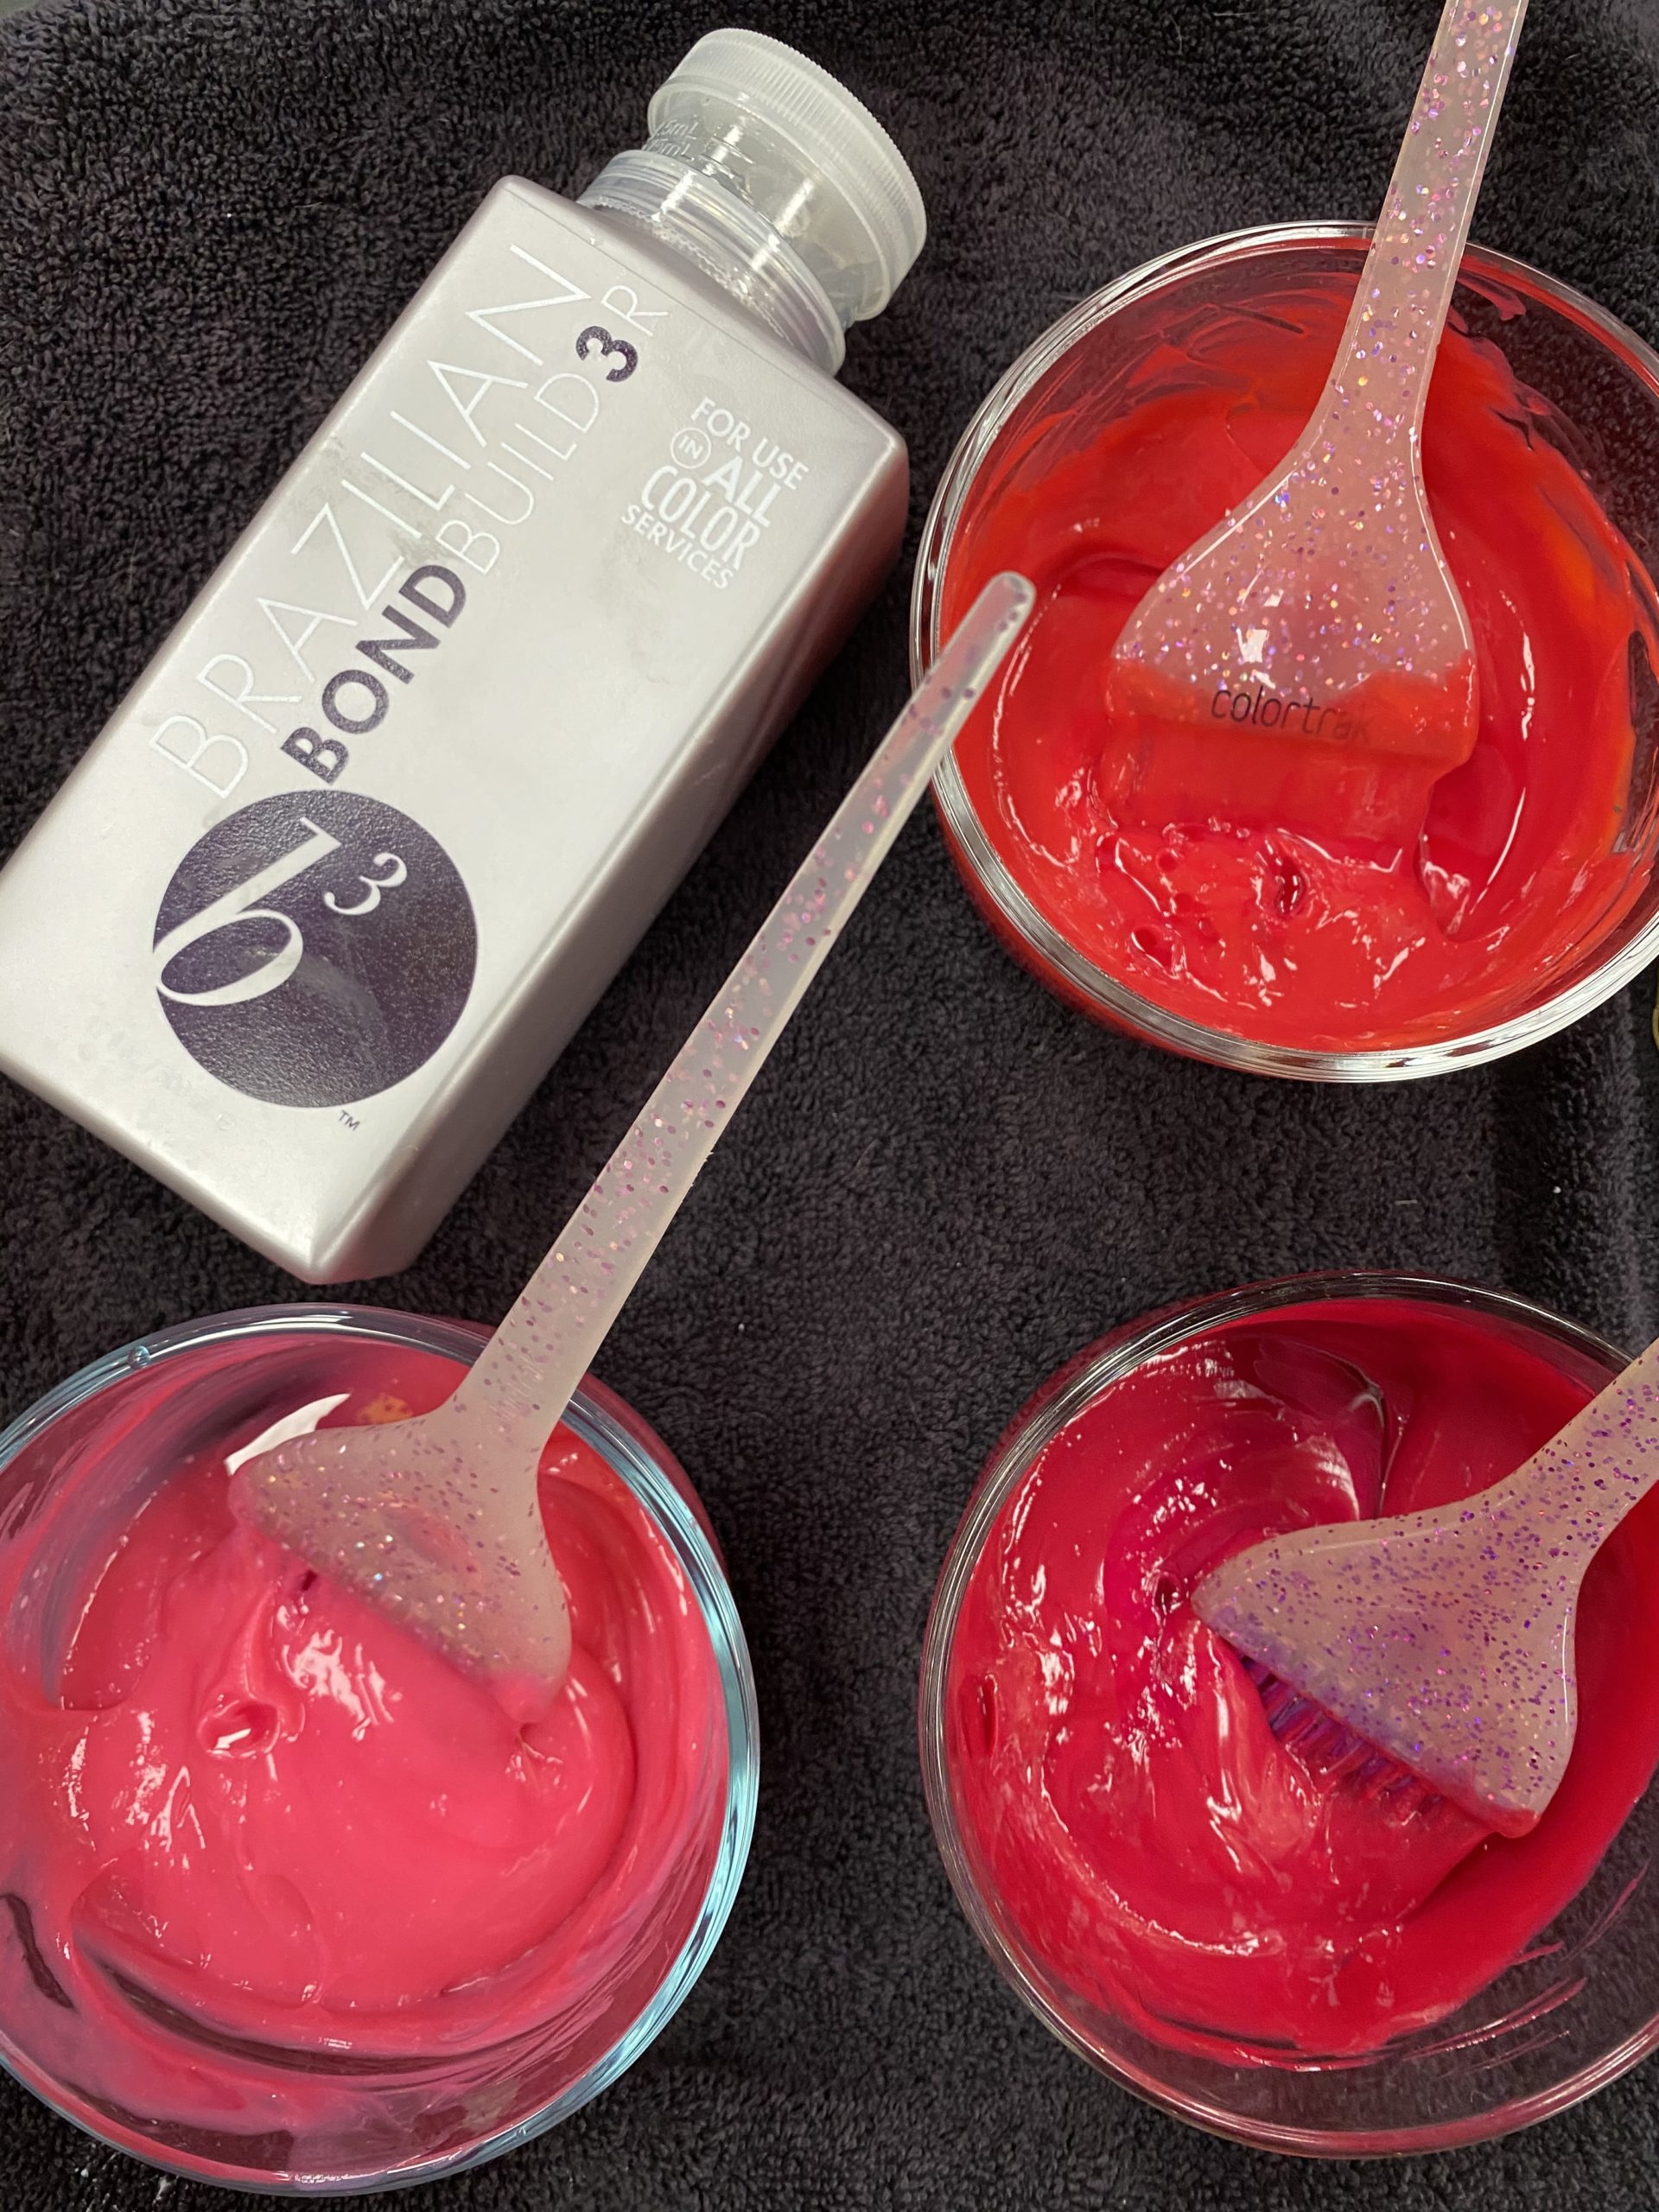
Add b3 Brazilian Bond Builder to all pink formulas to add strength and shine while processing.
- 6Step 6 of 11
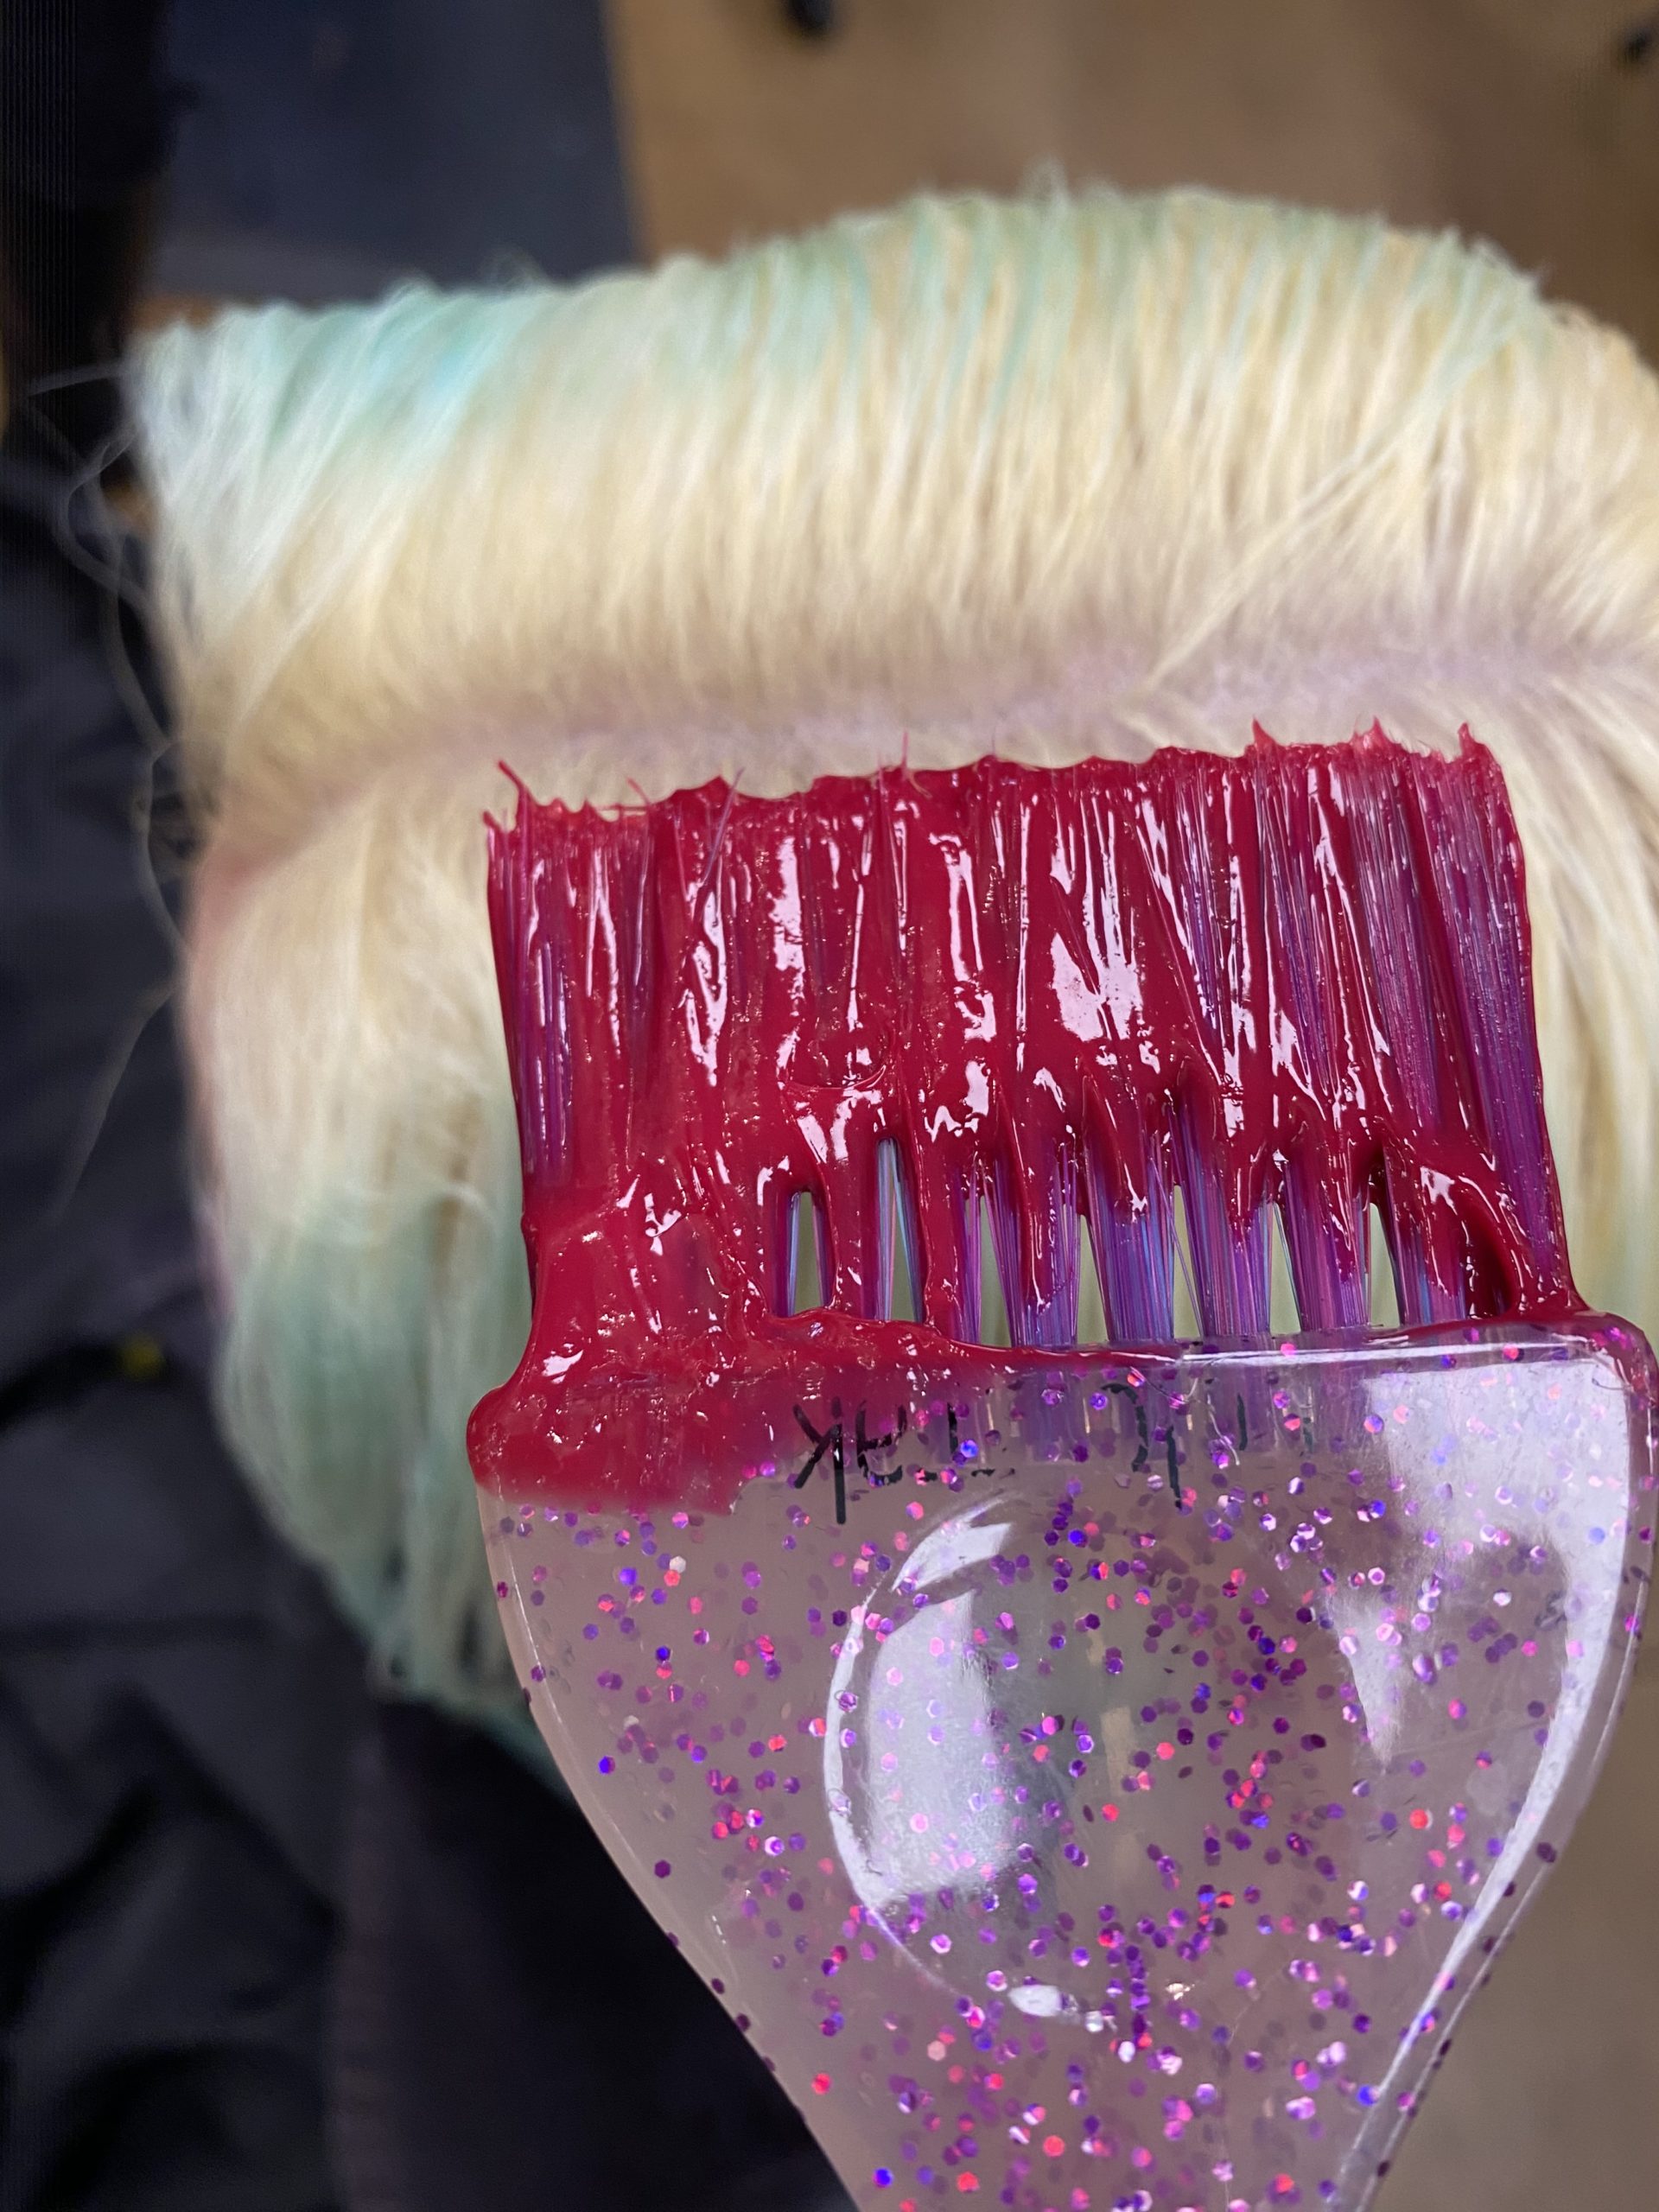
Starting in the front center, apply Formula B from the top working down toward the ear.
- 7Step 7 of 11
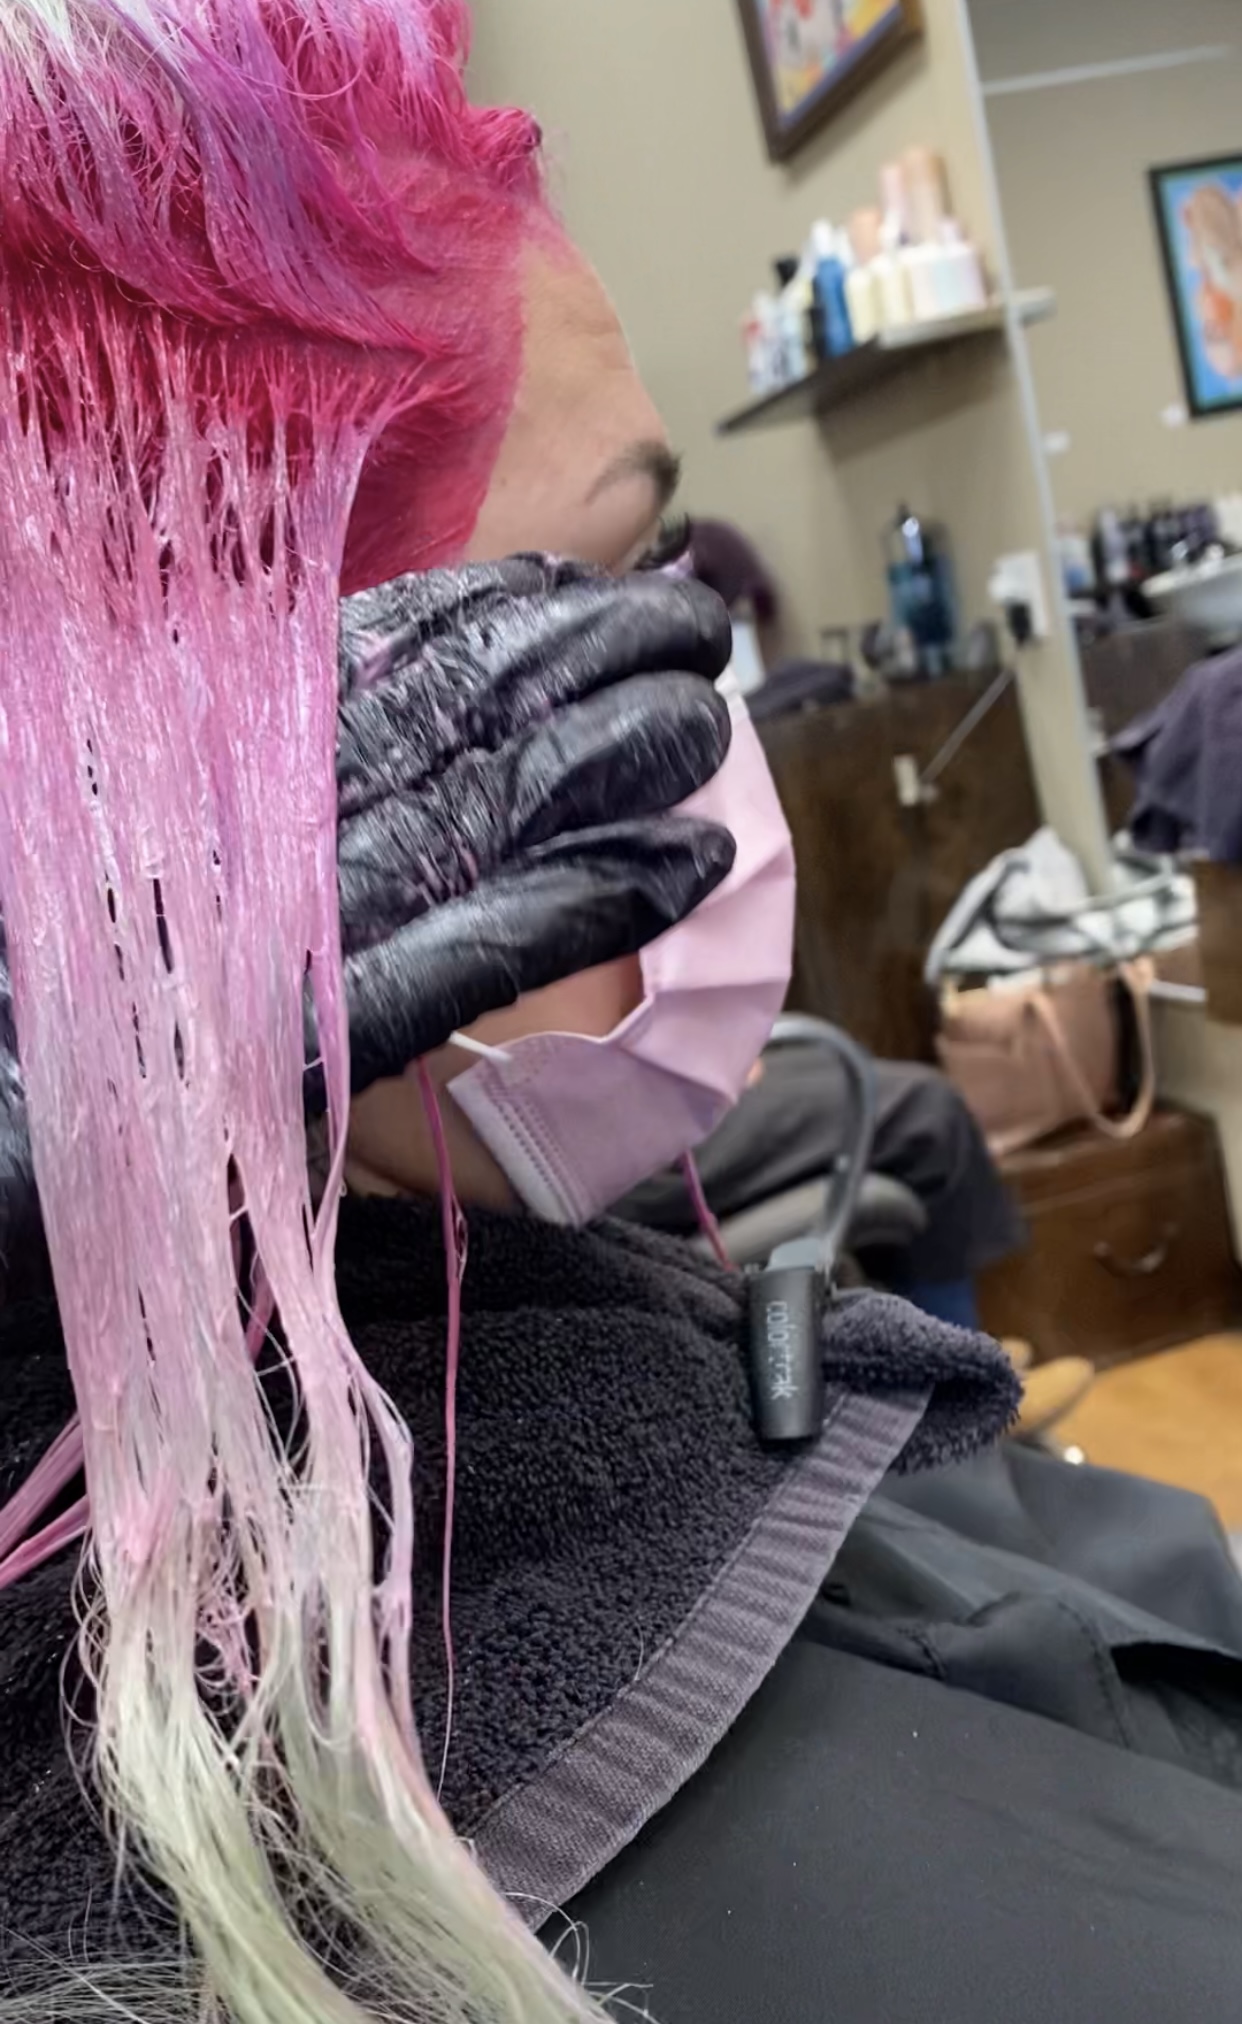
Apply Formula C through the midlengths while blending with Formula B. Work the brush side to side to ensure complete saturation.
- 8Step 8 of 11
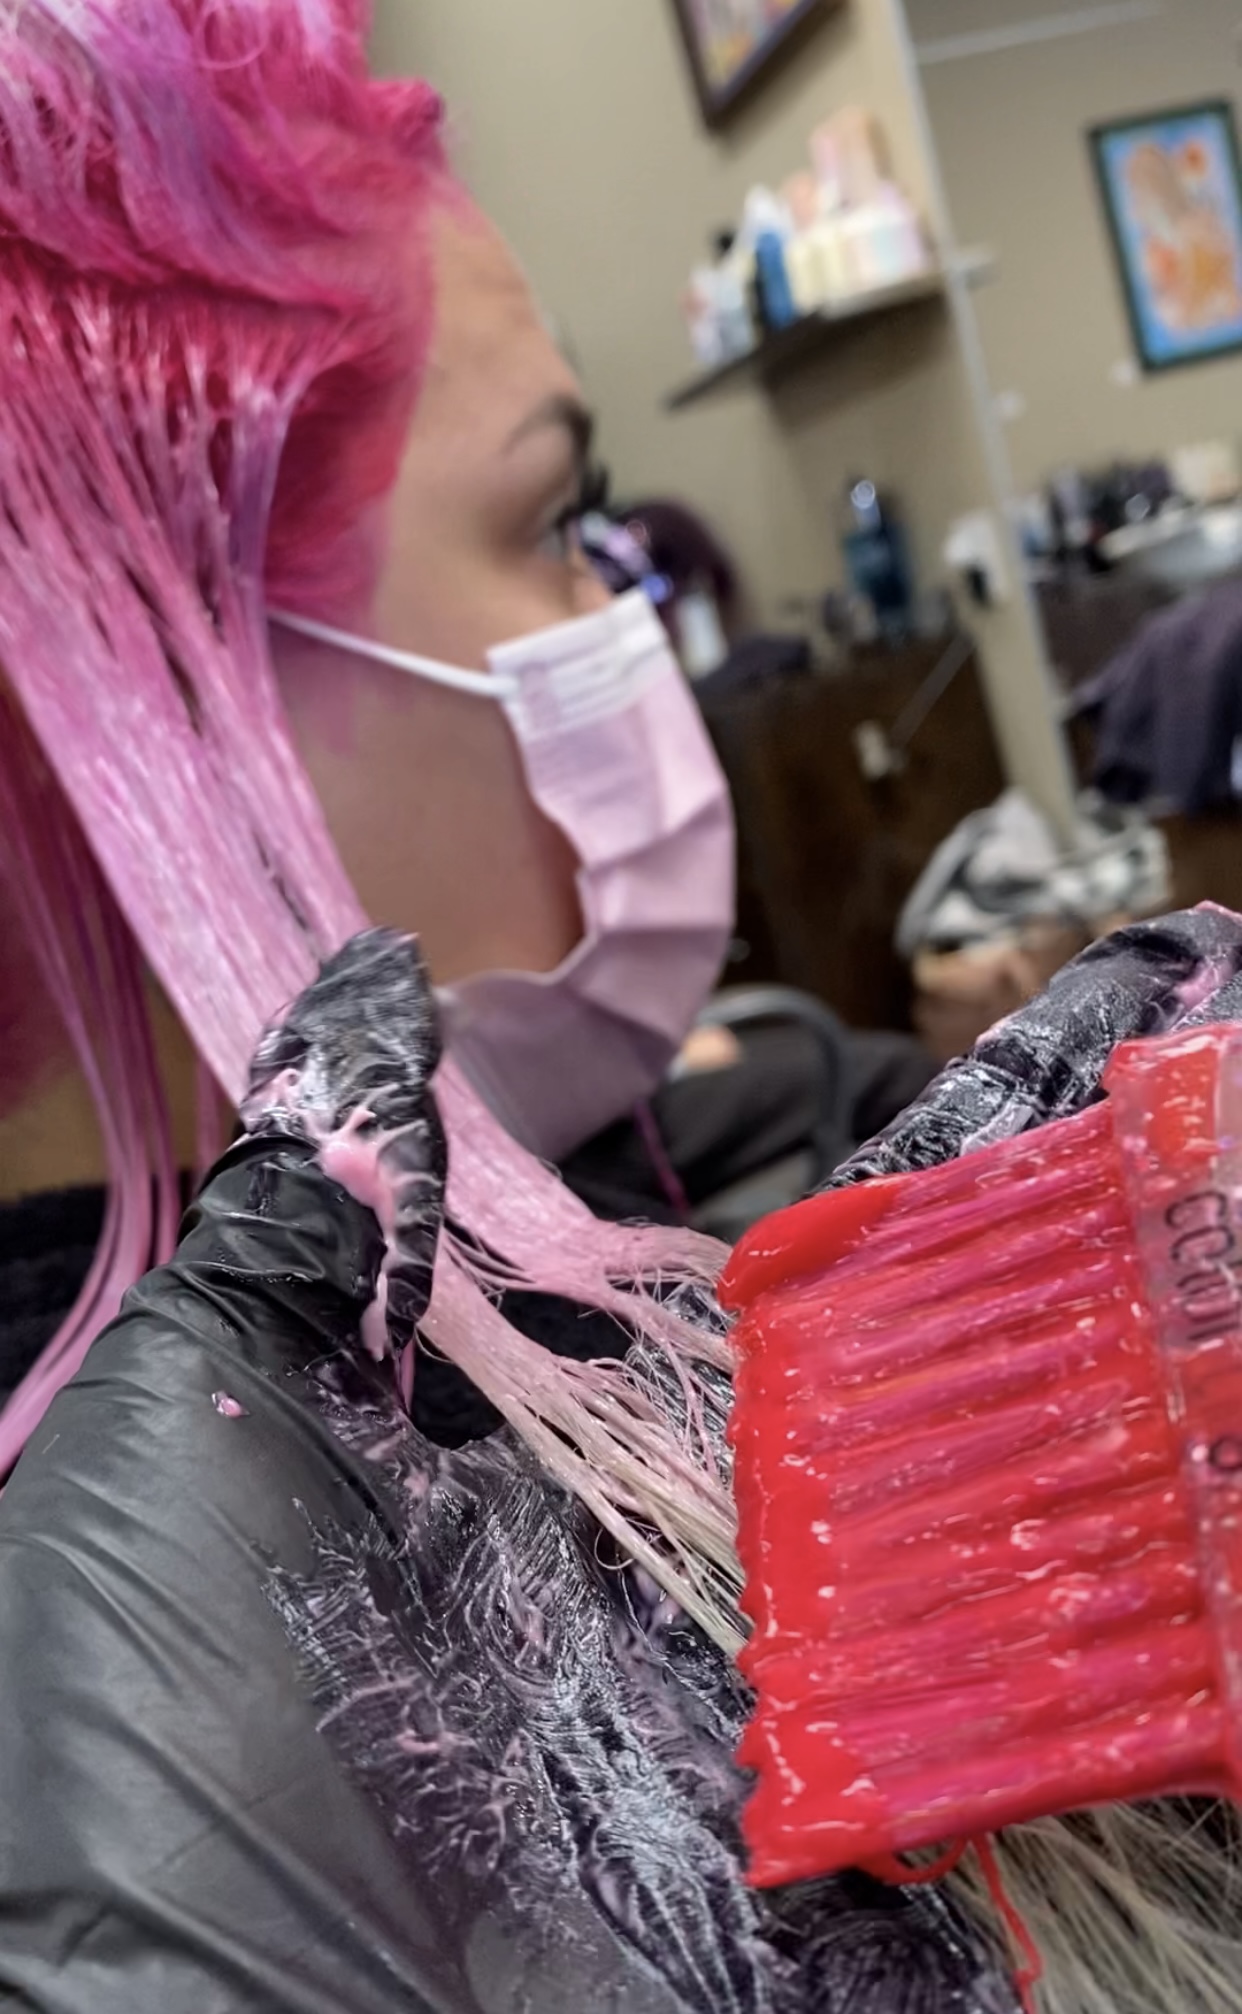
Apply Formula D to the ends and work it up to merge and blend with Formula C.
- 9Step 9 of 11
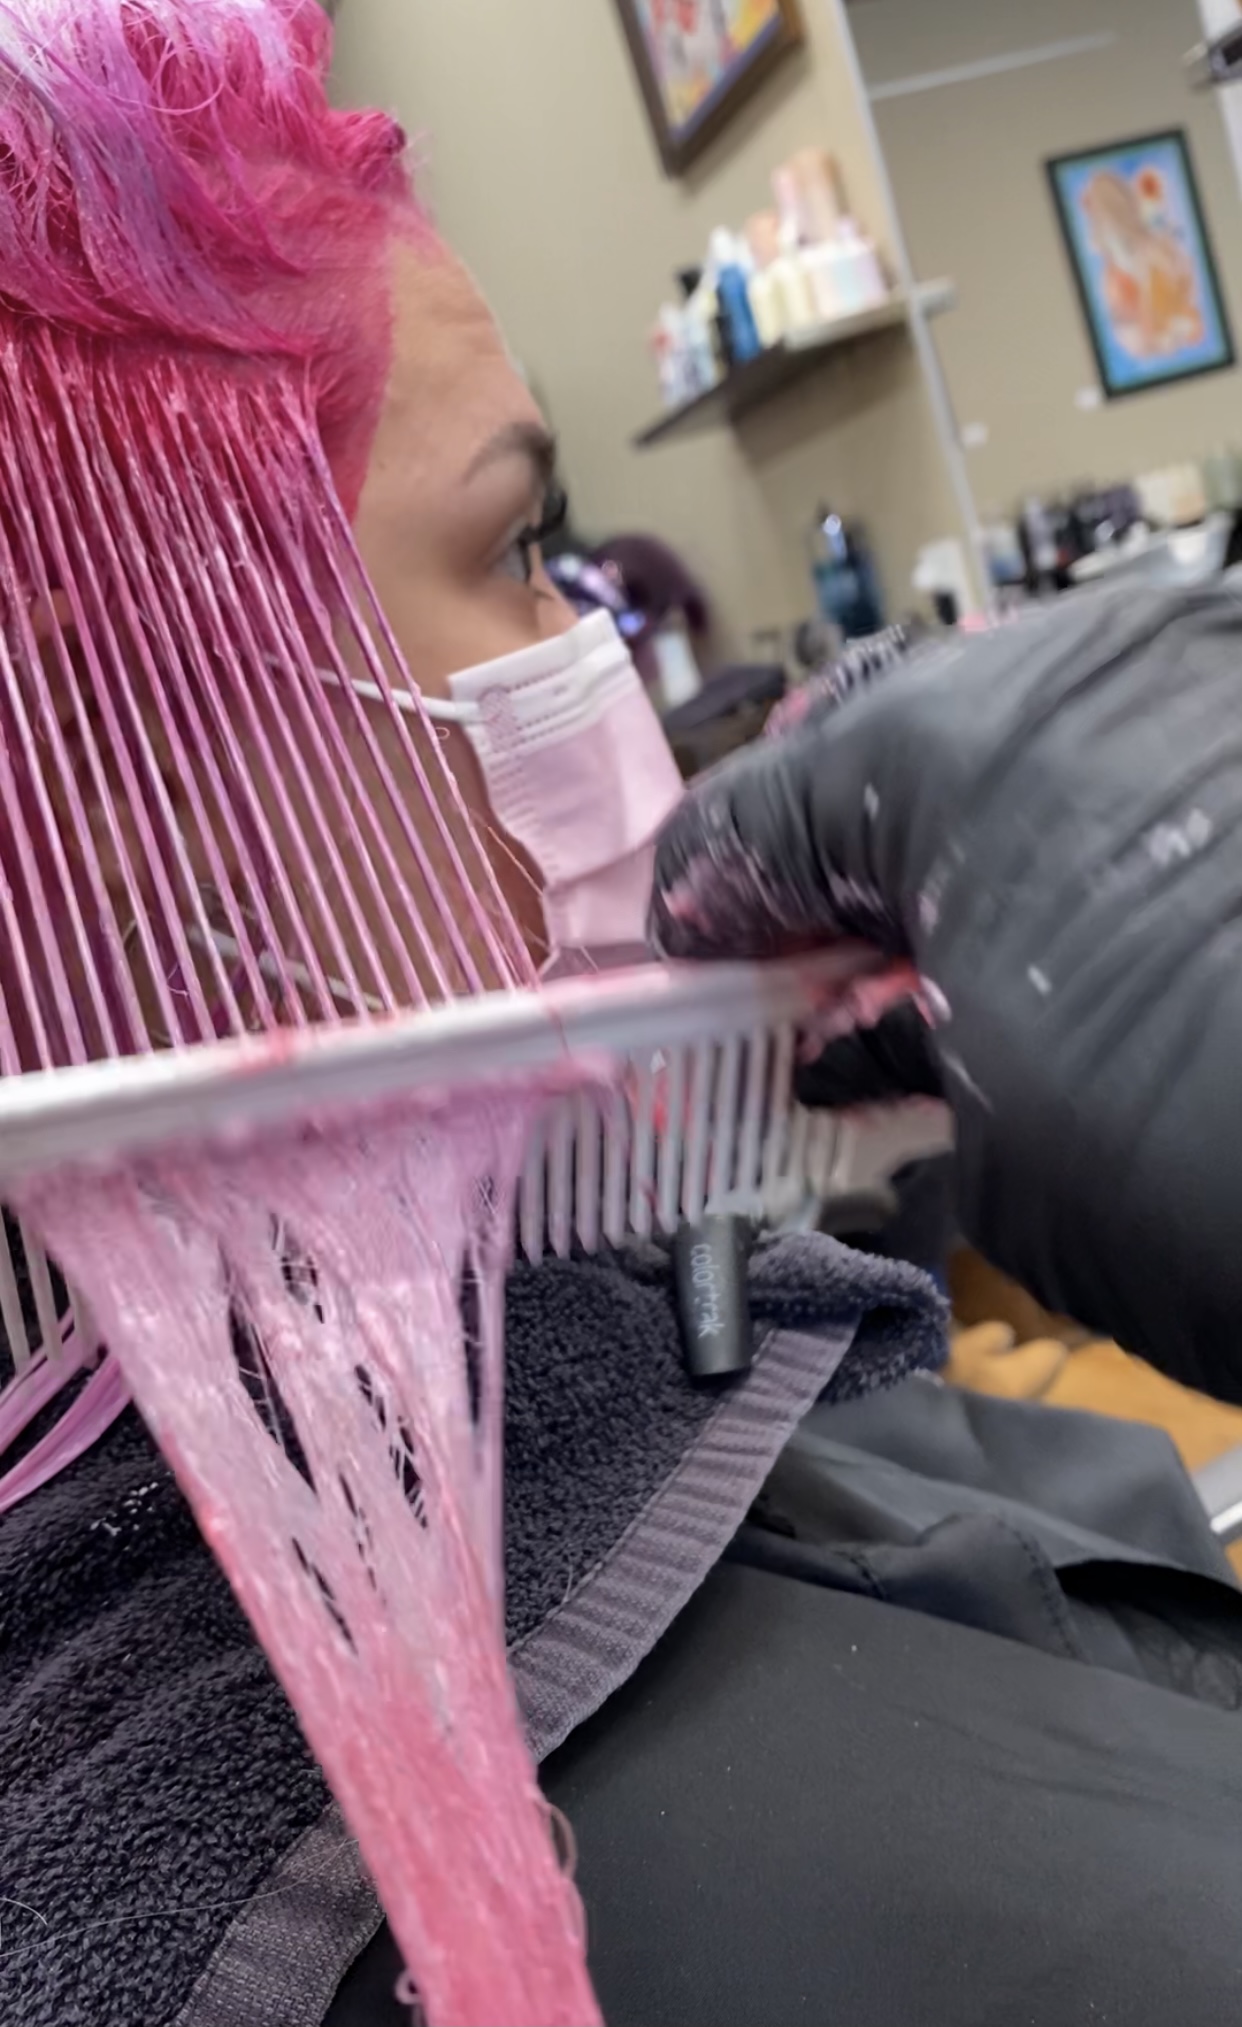
Using a wide-tooth comb, brush from root to ends to blend, checking that each section is completely saturated.
- 10Step 10 of 11
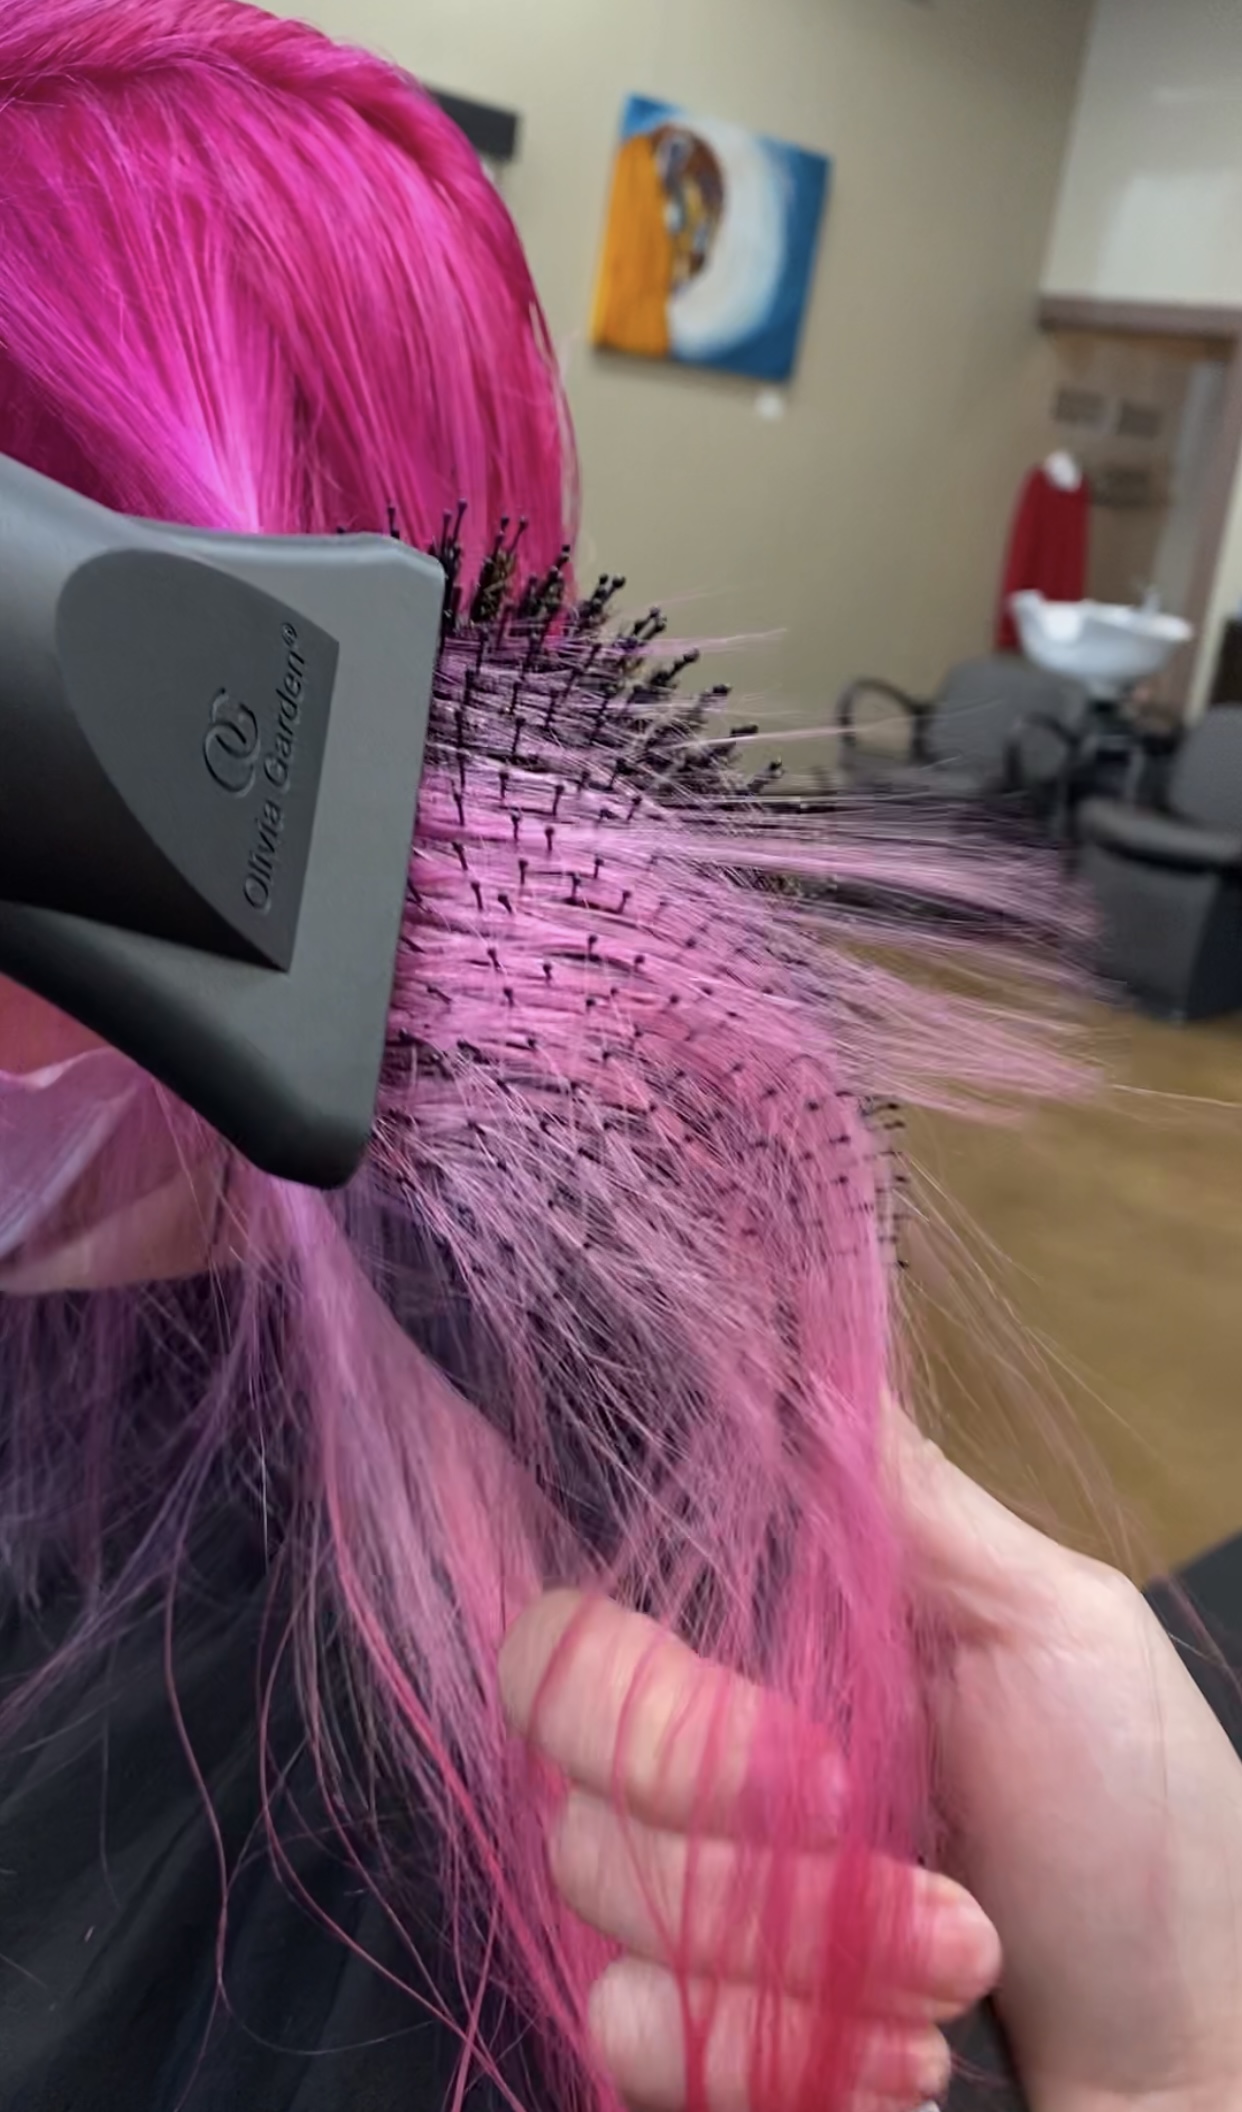
Rinse with cold water and high pressure, then cut, dry and style as desired. For this look, Shellie used the Olivia Garden Create Change Supreme Combo Brush and the Ceramic + ion High Performance Professional Hair Dryer to rough-dry and smooth. Then, she went in with the Ceramic + ion Speed XL Round Brush to add volume. To finish the look with waves, she used the Ceramic + ion Flat High Performance Professional Flat Iron.
- 11Step 11 of 11
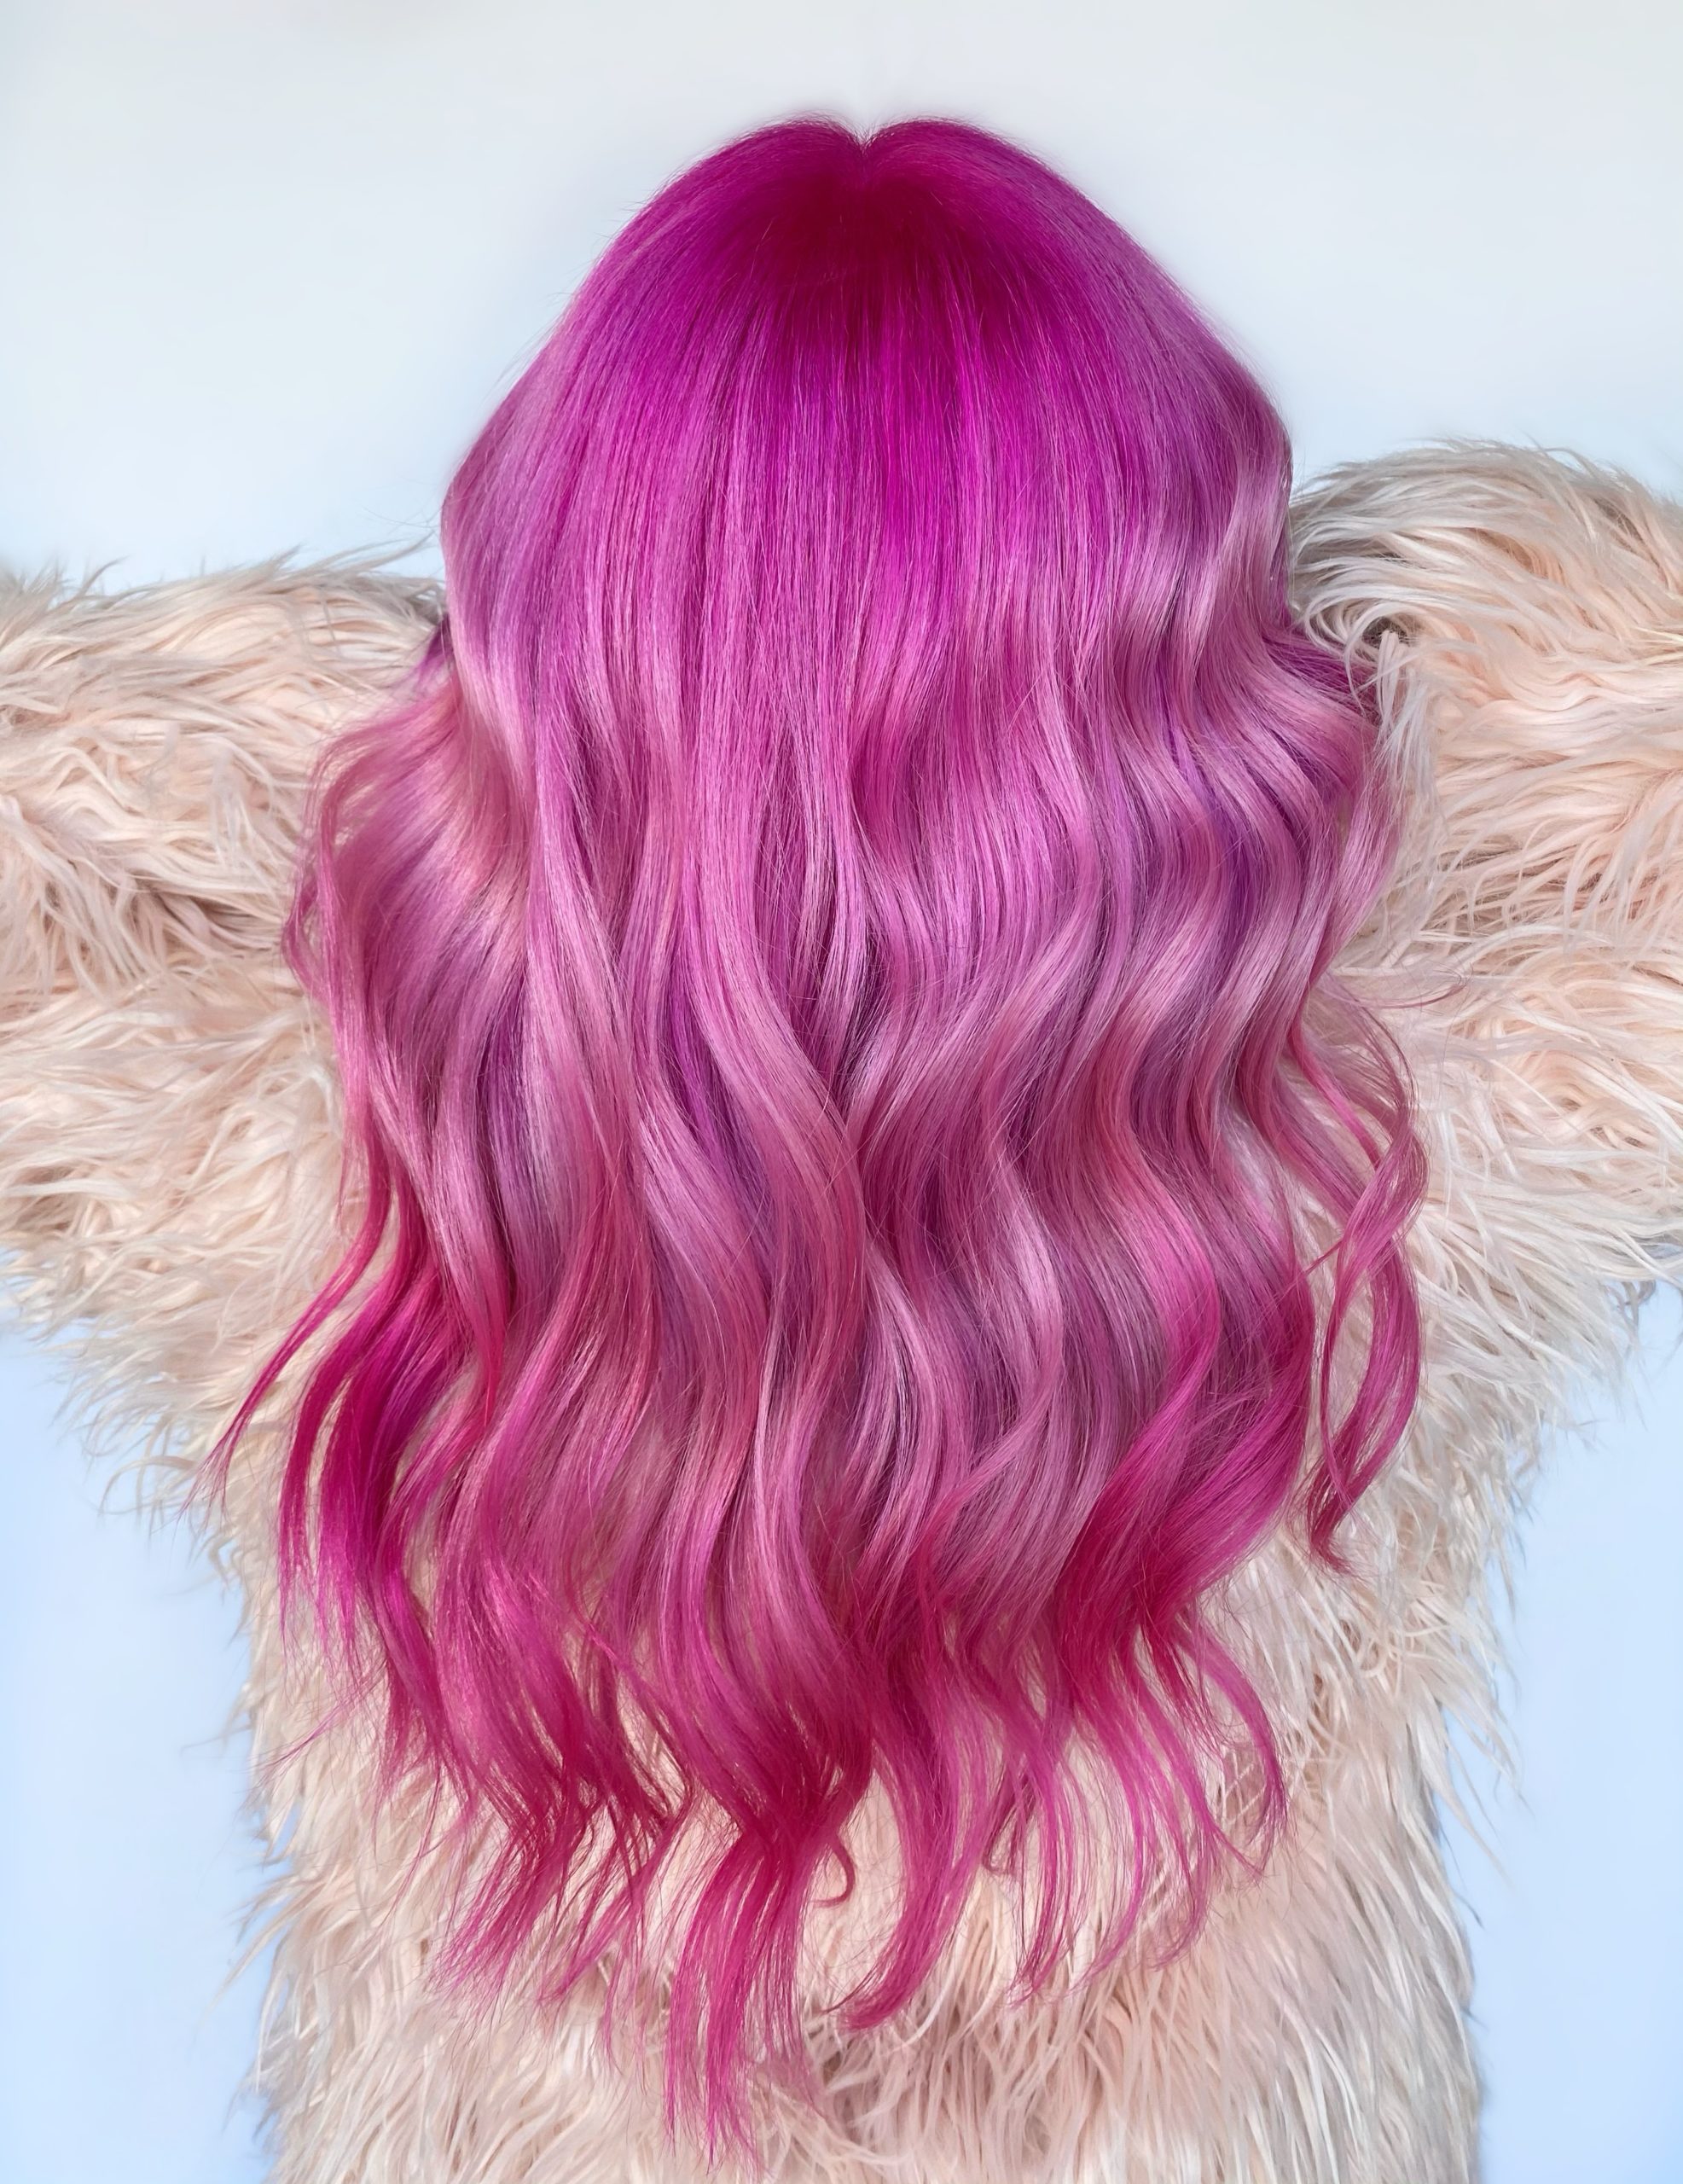
Finished look
Creative Color
Pink Tri-Melt Technique
December 30, 2020·1 min read
Pink is one of the most universally flattering colors, so it’s no surprise that our clients are always requesting rosy hues. When Shellie Vega (@shell.vega) shared this faded blue to bright pink transformation, we got the deets on her tri-color melt technique. Scroll through to get the step-by-step breakdown! (more…)
More to Read


