- 1Step 1 of 27
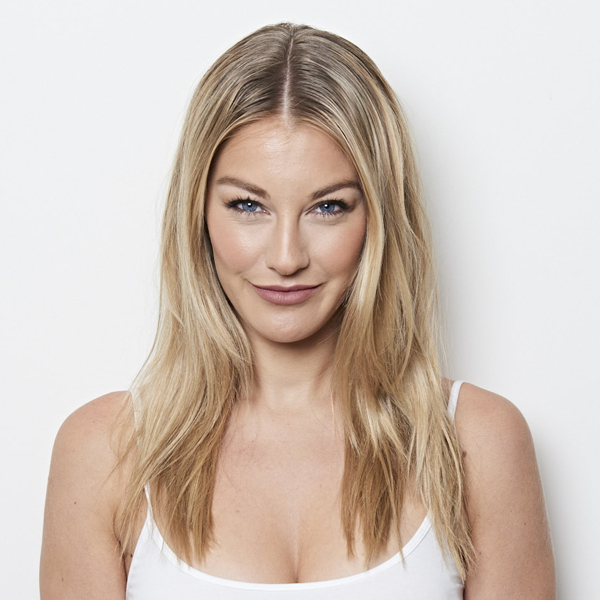
Before
- 2Step 2 of 27

To begin, section the hair. Create a horseshoe section at the top of the head from top of eyebrow to top of eyebrow and back to the crown of the head.
- 3Step 3 of 27
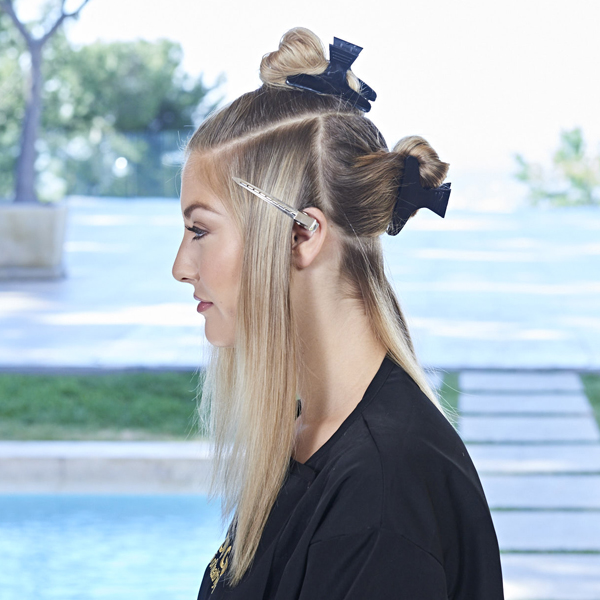
Section each side from the horseshoe down just behind the ear.
- 4Step 4 of 27

- 5Step 5 of 27
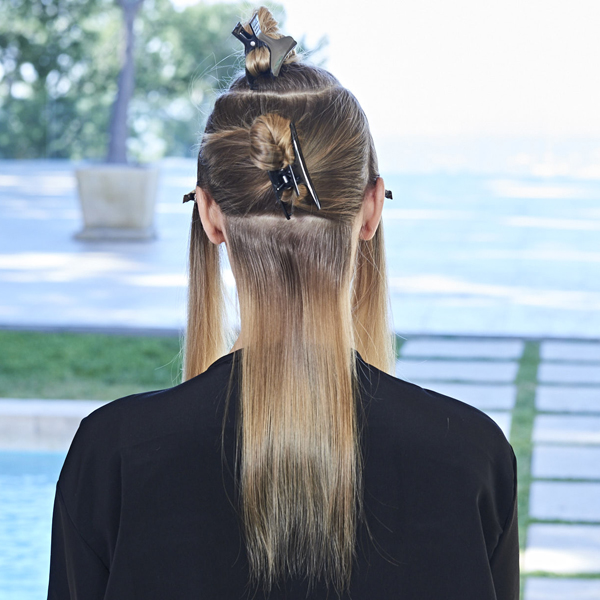
Finished back sectioning. Start the application in the nape.
- 6Step 6 of 27
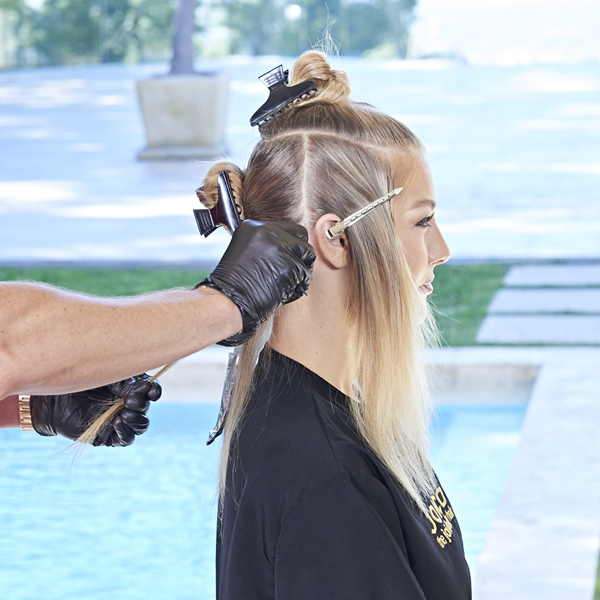
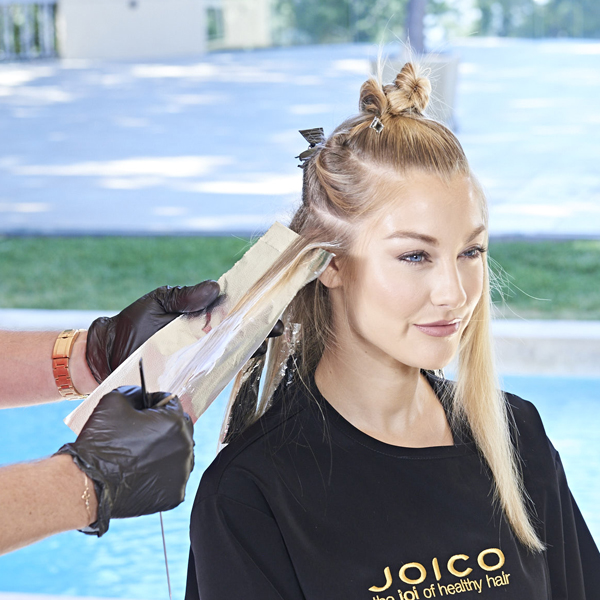
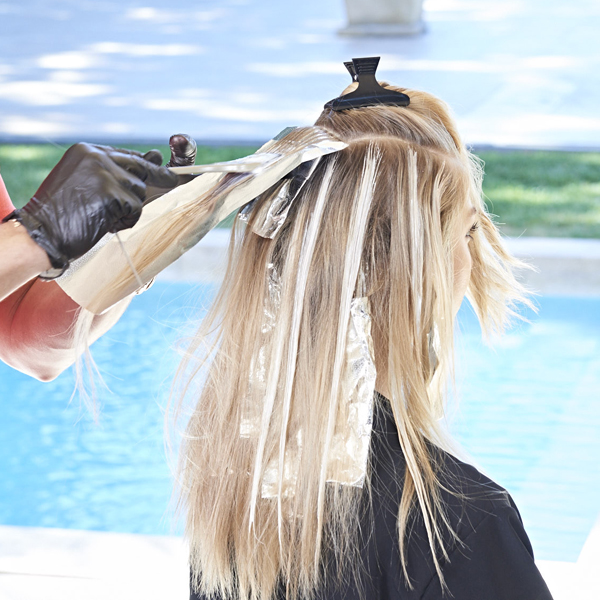
Starting in the back section, take a horizontal subsection at the nape of the neck. Take a triangle section from just behind the ear, gently backcomb and apply Formula A.
- 7Step 7 of 27
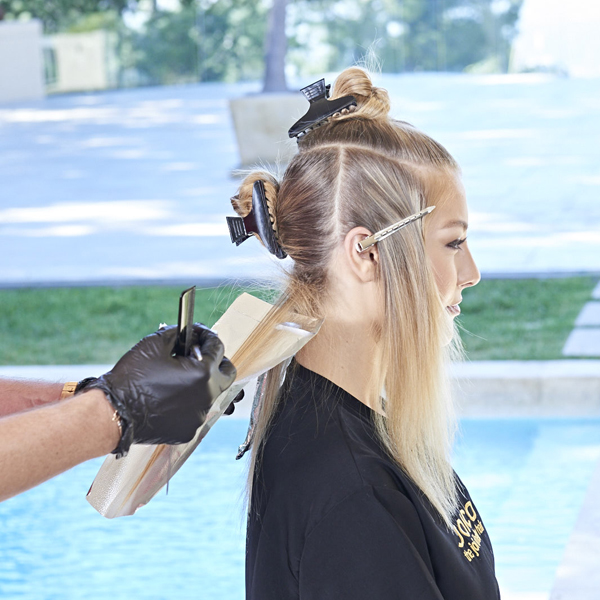
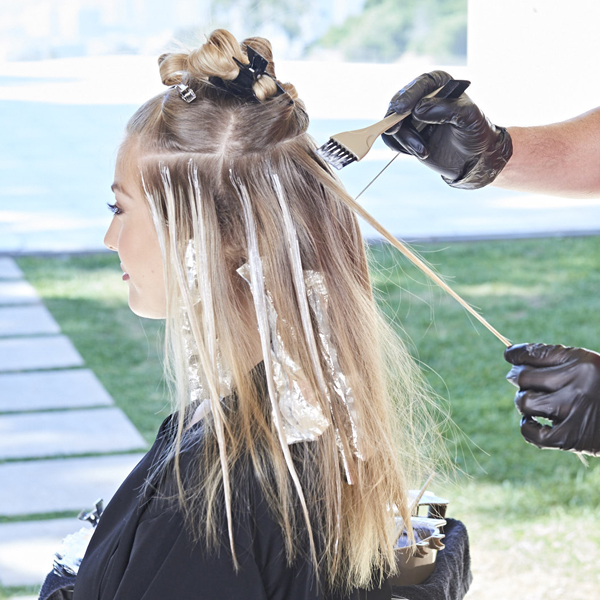
Feather the formula onto the hair 2 to 3 inches from the roots in a V-shape and fully saturate the hair from midlengths to ends.
- 8Step 8 of 27
Repeat on other side.
- 9Step 9 of 27
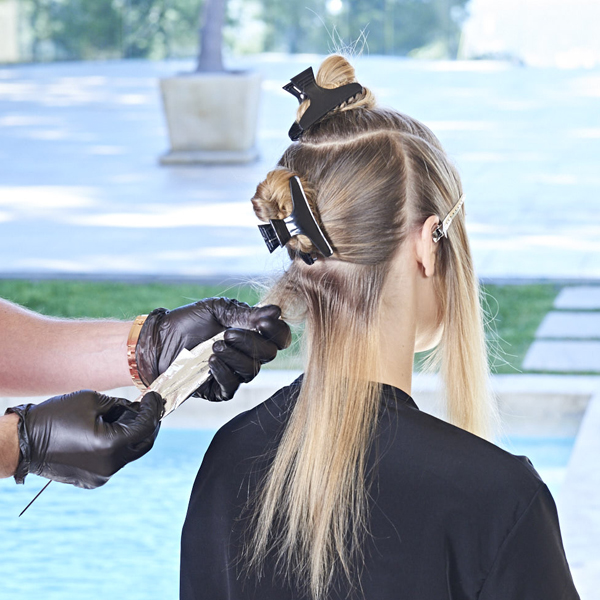
Take a horizontal section in the center about 2 inches wide and gently backcomb. Repeat the same V-shape application using Formula A.
- 10Step 10 of 27
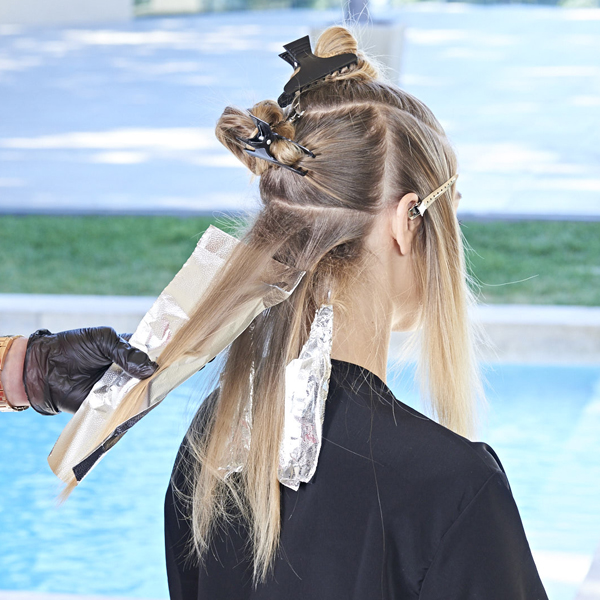
Continue this process for two more horizontal sections in a bricklay pattern moving up the head to just top of the ear. Apply Formula A to these foils.
Pro tip: Adjust the number of foils depending on the density of the client’s hair.
- 11Step 11 of 27
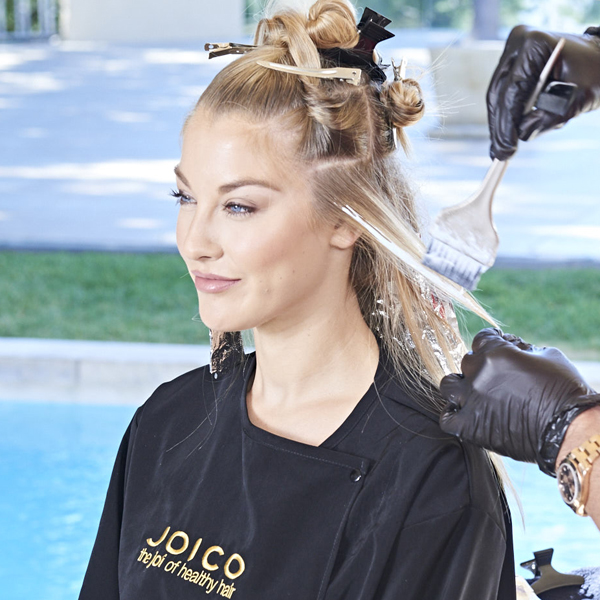
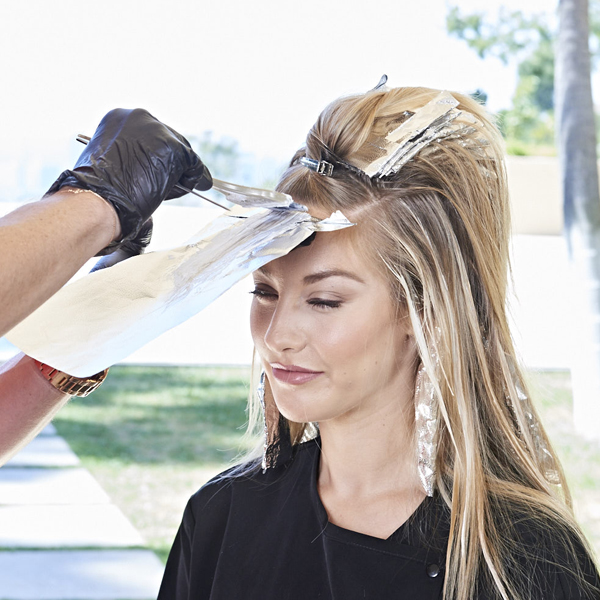
Next, move on to the side sections. Take a diagonal section along the hairline, weave babylights, and apply Formula B from scalp to ends. Take a section above that and repeat a few more times.
- 12Step 12 of 27
Next, take a slice from the top of the remaining hair on the side section, gently backcomb and apply Formula A with the feathering technique.
- 13Step 13 of 27
Take the hair that was left out of the foils, gently backcomb, and apply Formula C from mids to ends. Repeat on the other side.
Pro tip: When working with Free Play Clay Lightener, make sure to saturate the sections to achieve even lift.
- 14Step 14 of 27
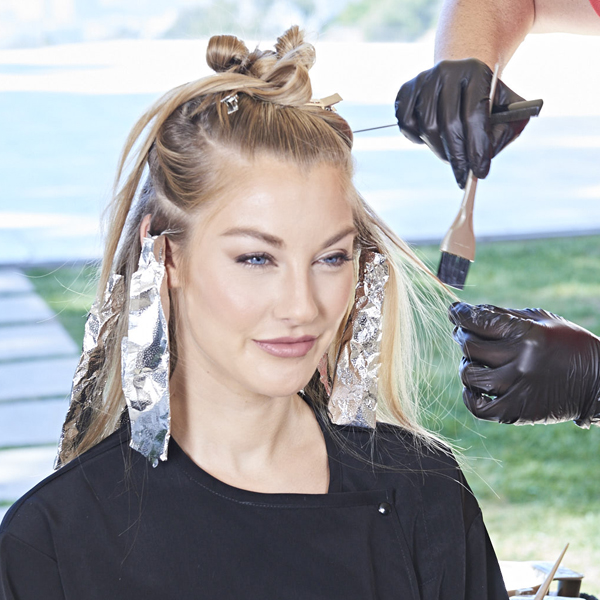
Make sure to get the “money pieces” around the front hairline.
- 15Step 15 of 27
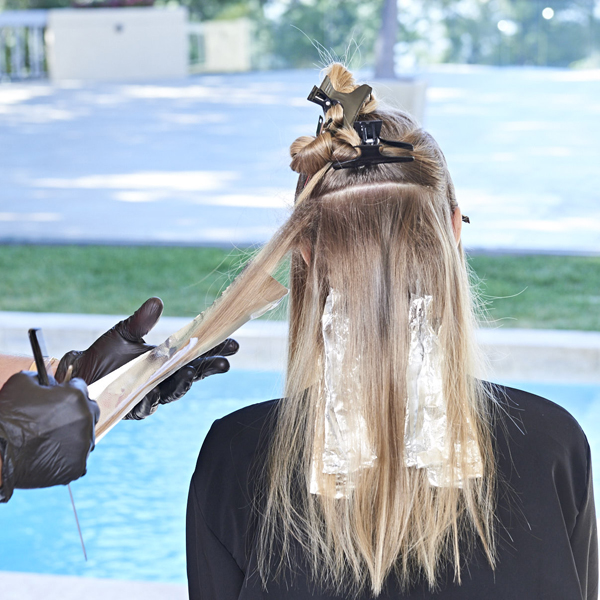
Continue this process, working throughout the top back of the head.
- 16Step 16 of 27
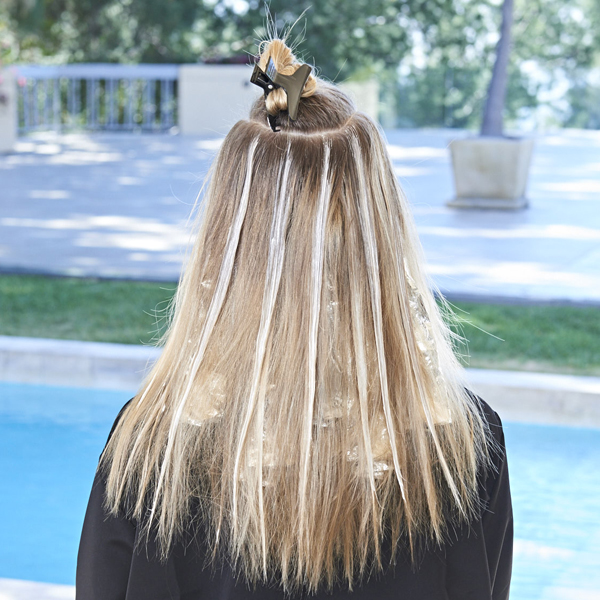
Completed back section.
- 17Step 17 of 27
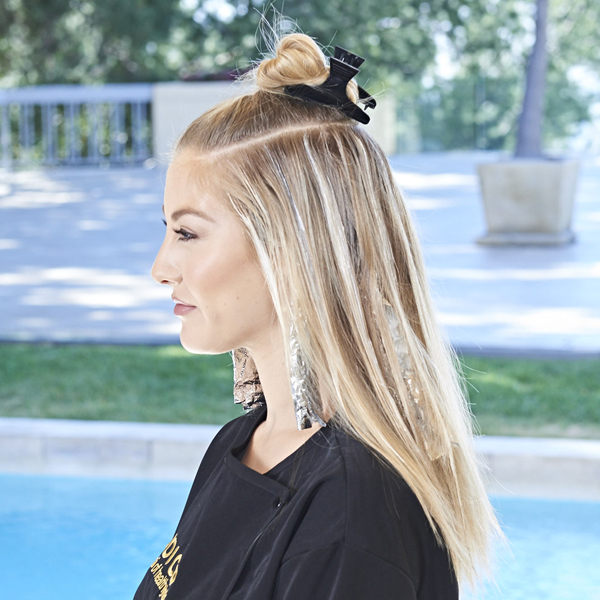
Completed side section.
- 18Step 18 of 27
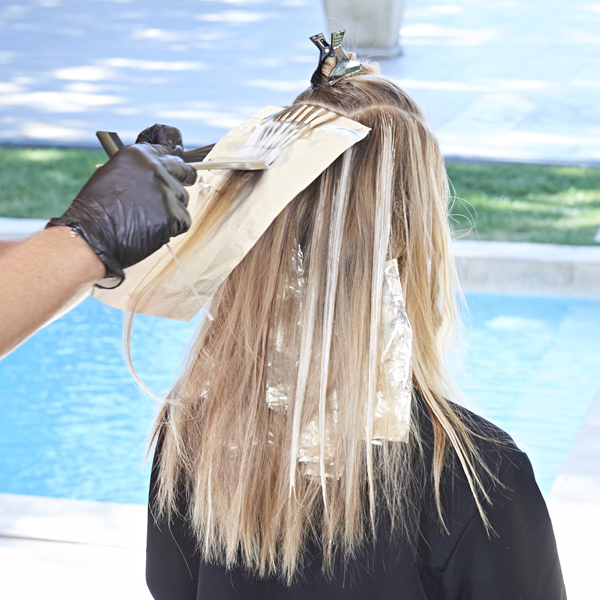
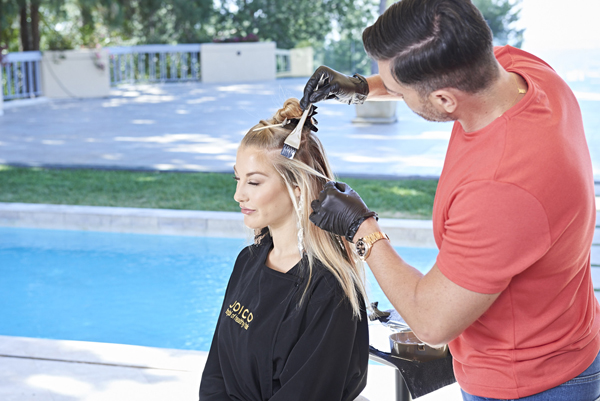
Move to the top section. Working in the back towards the front, take a horizontal, ¼-inch weaved section and apply Formula B. Make sure to fully saturate the hair from mids to ends and feather the formula up toward the scalp.
- 19Step 19 of 27
Take an 1/8-inch slice and apply Formula A. Saturate the entire section and feather the root area. Continue this process until you get to the center of the top section.
- 20Step 20 of 27
Now move to the front hairline. Take a 1/8-inch microweave and apply Formula B. Fully saturate the mids and ends and feather toward the scalp.
- 21Step 21 of 27
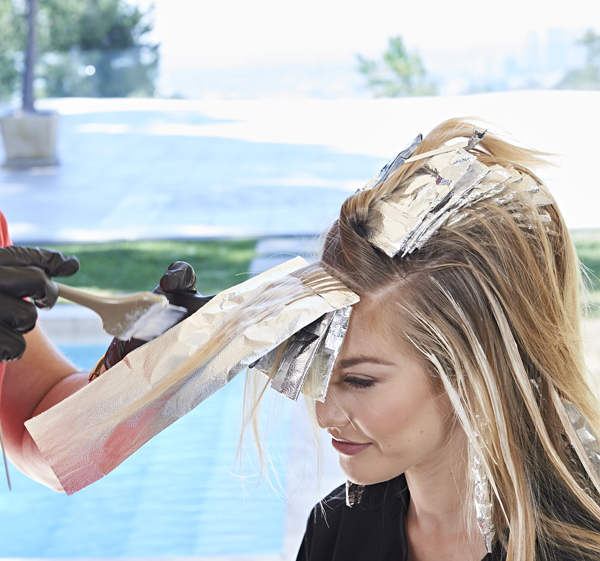
Take a horizontal slice and apply Formula A from mids to ends, feathering the root area.
- 22Step 22 of 27
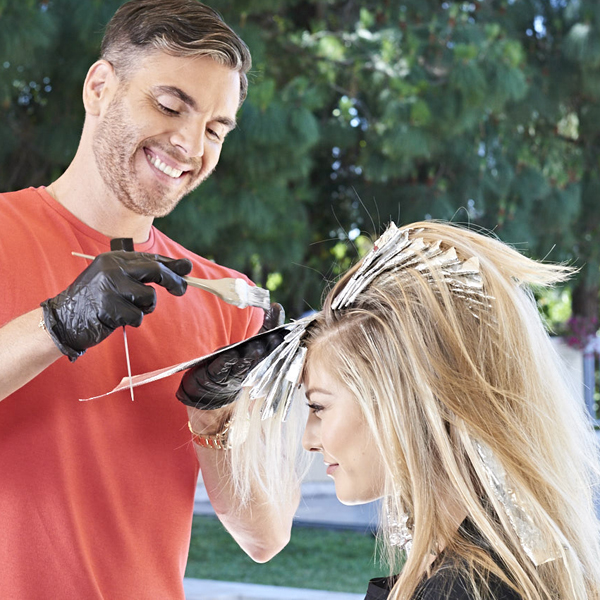
Continue foiling with Formulas A and B, working through the rest of the front top section.
- 23Step 23 of 27
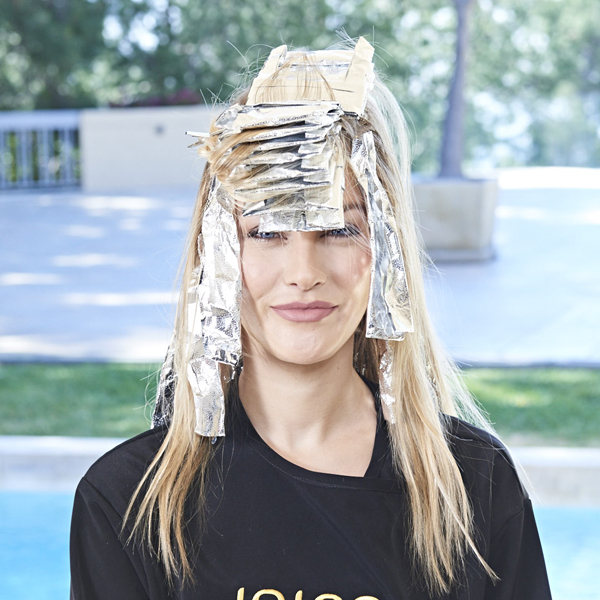
Completed application. Process for 35 minutes. Shampoo with Joico Blonde Life Brightening Shampoo.
- 24Step 24 of 27
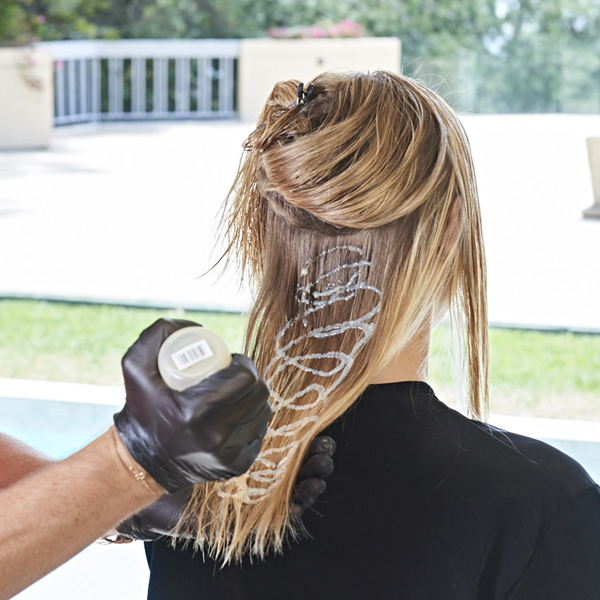
Create a 3-inch shadow root using Formula D. Apply Formula E to the rest of the hair. Process for 10 to 20 minutes. Rinse, then shampoo with Joico Blonde Life Brightening Shampoo and follow with Blonde Life Conditioner.
- 25Step 25 of 27
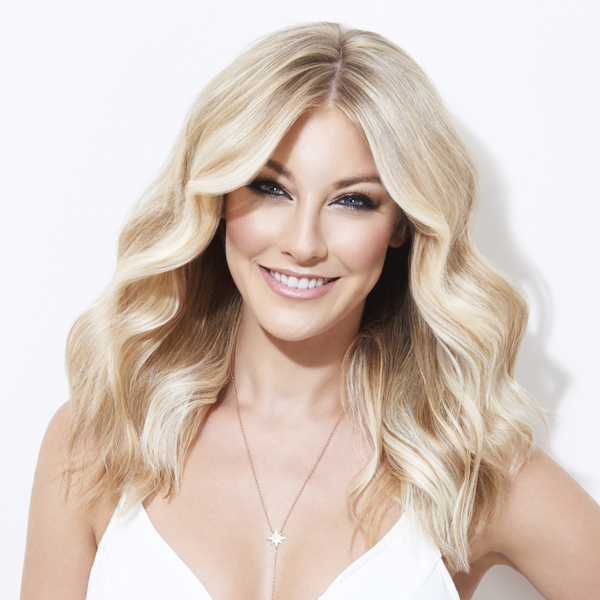
Finished look.
- 26Step 26 of 27

Finished look.
- 27Step 27 of 27Watch the video ↗
Blonde
Pearl Blonde With 3 Techniques
July 28, 2017·1 min read
Using three different techniques—foilayage, hand-painted babylights and traditional highlights—keeps this pearl blonde dimensional and natural, and two toning formulas add a shadow root to keep it a little more low-maintenance. See how Joico celebrity colorist Denis de Souza creates this look! (more…)
More to Read


