- 1Step 1 of 15
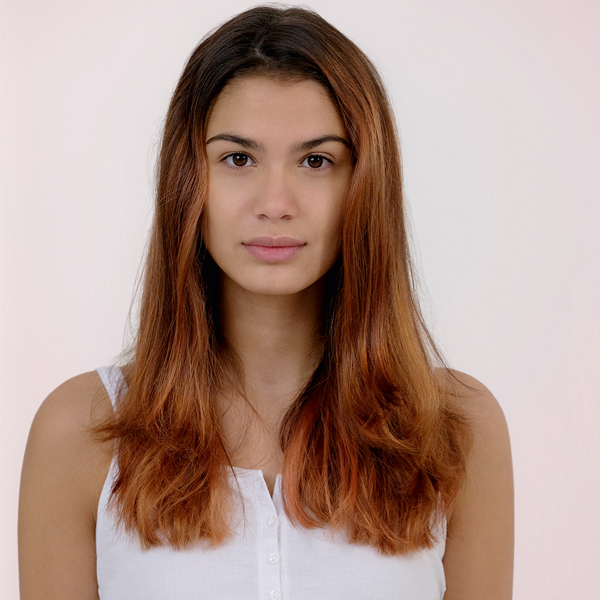
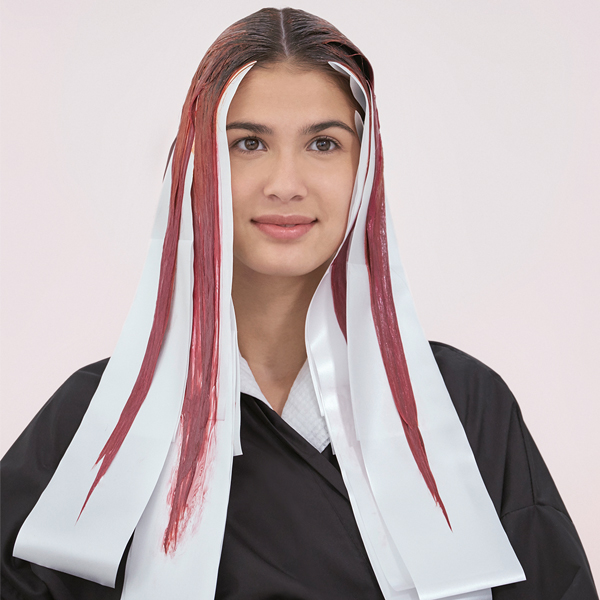
Before
- 2Step 2 of 15
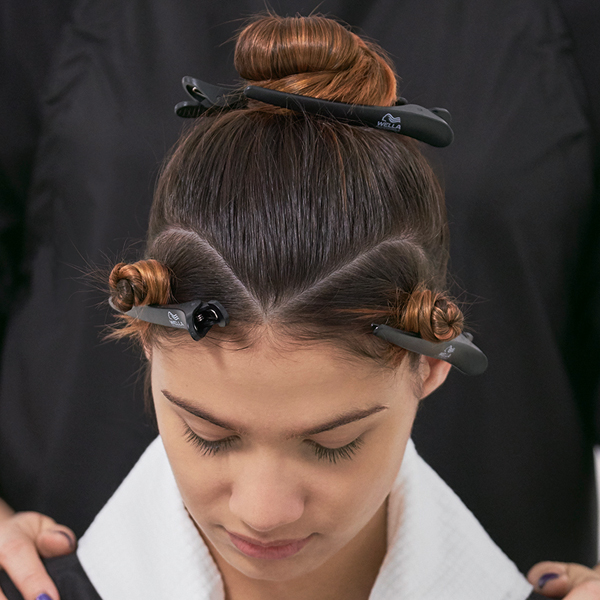
Start by creating two half-moon sections at the front-center hairline. Then, clip the rest of the hair away at the crown.
- 3Step 3 of 15
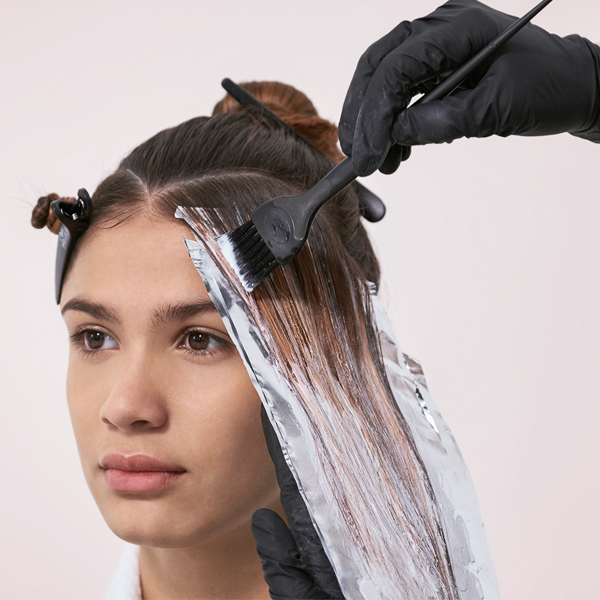
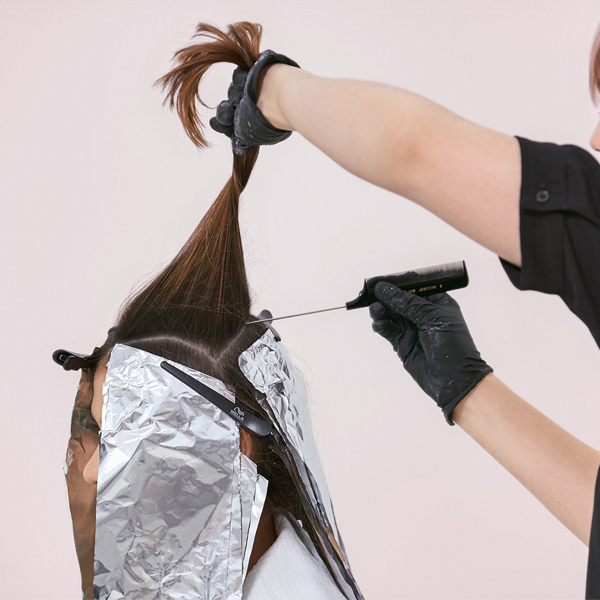
Apply Formula A from mids to ends and secure in foils.
- 4Step 4 of 15
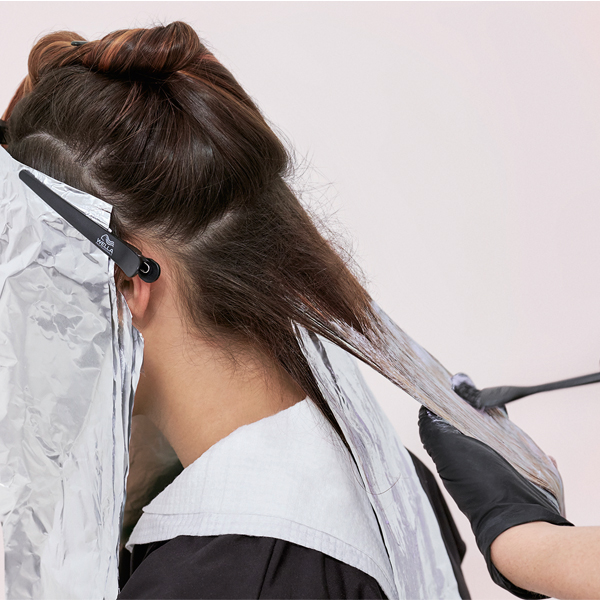
Backcomb each section at the base for a diffused root effect, then continue applying Formula A from mids to ends.
- 5Step 5 of 15
Continue this pattern throughout the hair.
- 6Step 6 of 15
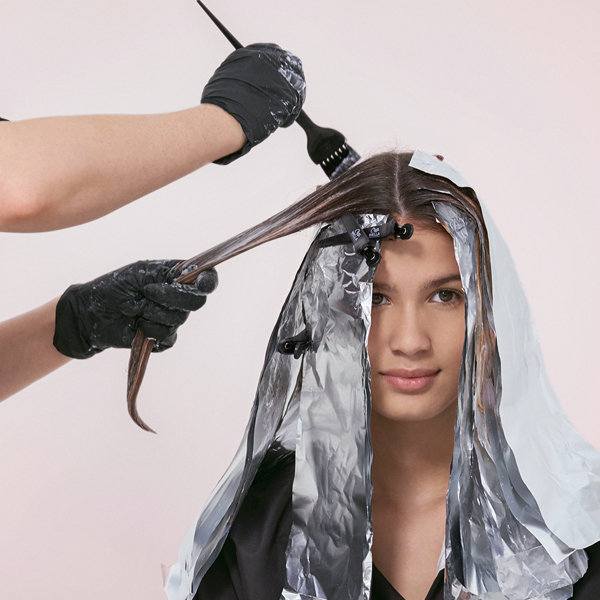
Process until you’ve reached the desired result, then rinse.
- 7Step 7 of 15
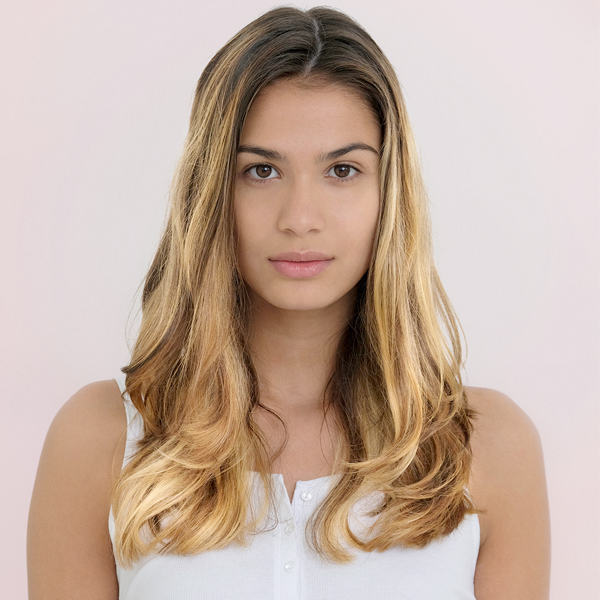
Prelightened Hair
- 8Step 8 of 15
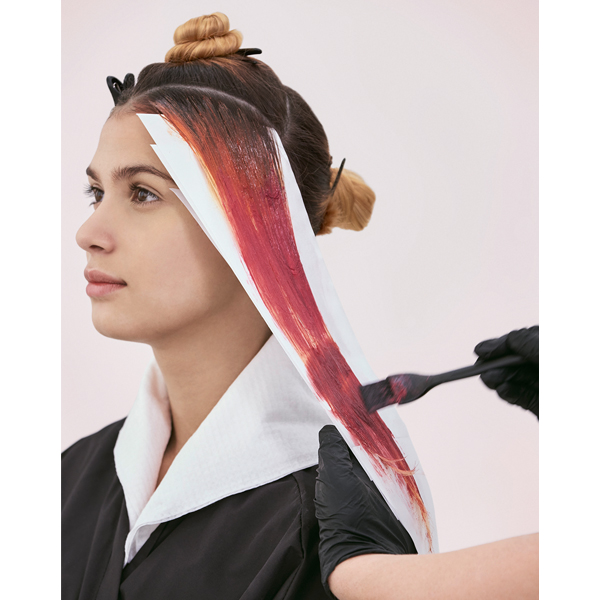
Recreate the same prelightening sections to apply the color. Starting at the hairline, take a half-inch diagonal slice. Apply Formula B to the natural hair, then alternate melting Formula C and Formula D from mids to ends. Blend the melt by alternating between a brush and fingers.
- 9Step 9 of 15

Repeat this pattern throughout the hair.
- 10Step 10 of 15
Process for 20 minutes, then rinse.
- 11Step 11 of 15
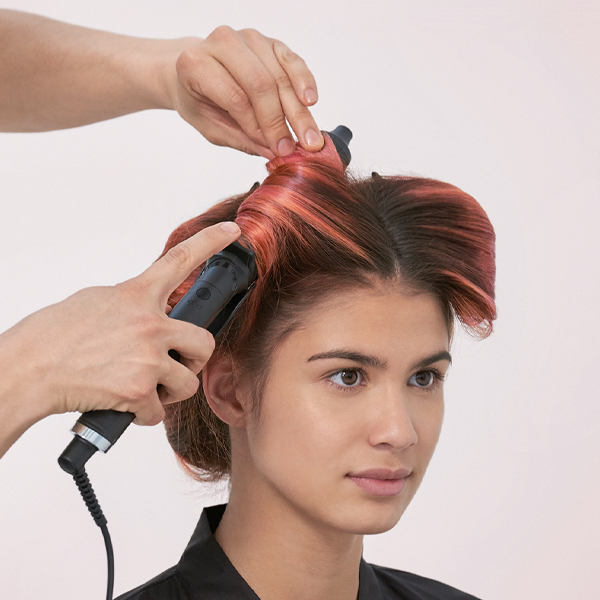
Apply Wella Professionals EIMI Thermal Image and comb through the hair, then blow-dry. Curl throughout, pinning each curl at the base.
- 12Step 12 of 15
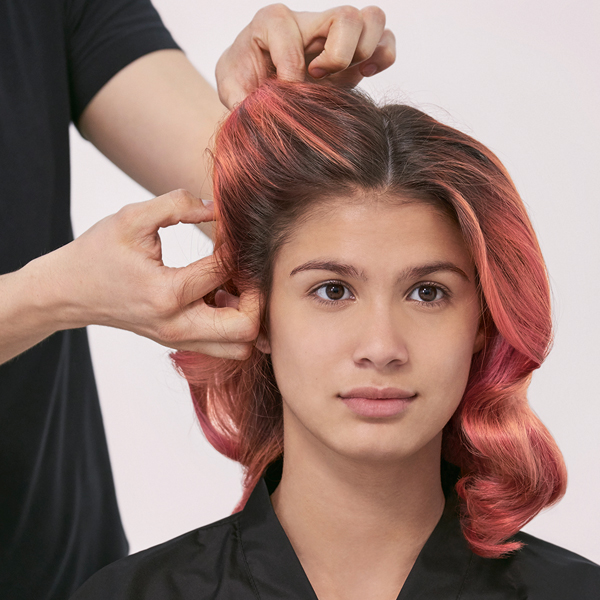
Allow to cool, then release the curls.
- 13Step 13 of 15
Finish by using your hands to pinch and pull pieces, creating movement and texture throughout.
- 14Step 14 of 15
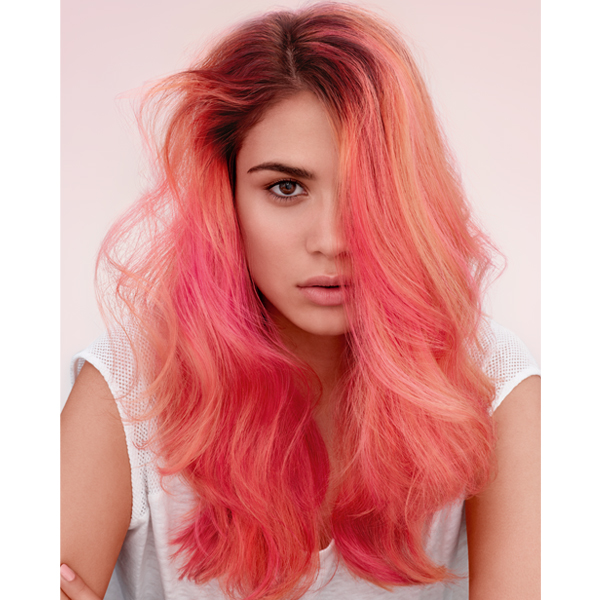
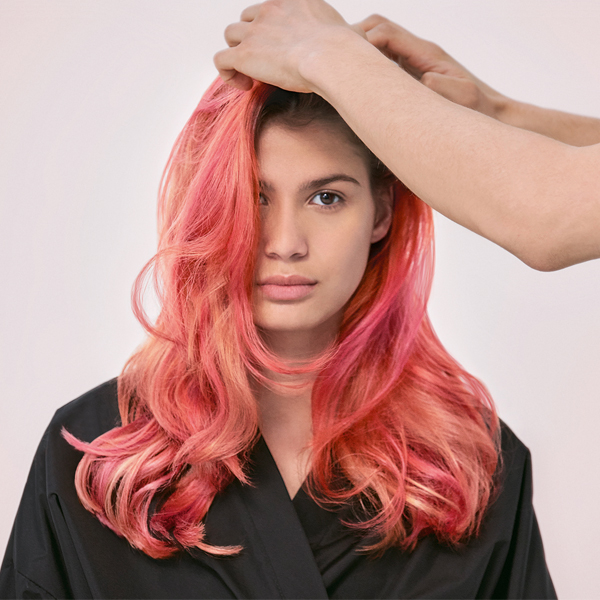
Finished Look
- 15Step 15 of 15Watch the video ↗
Creative Color
Painted Peach Balayage
January 18, 2018·1 min read
Pink haircolor has always been a cool-girl staple, but we love how this totally wearable pastel has become an everyday request in the salon. Our favorite fashion colors are filled with dimension, painted with ribbons of light and shadows—like this peachy perfection by Wella Professionals Global Color Specialist Abby Smith! Check out the formulas, steps and watch the video below to recreate this multi-tonal haircolor. (more…)
More to Read


