- 1Step 1 of 13

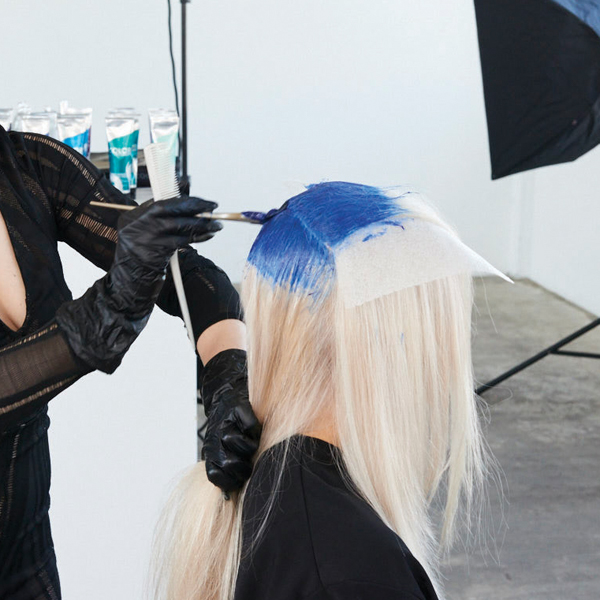
Prelighten the hair using Formulas A, B and C depending on where you are working on the head. Pre-tone with Formula D, processing for 5 to 20 minutes until desired outcome is achieved.
- 2Step 2 of 13
Begin by parting the hair into three sections: two on either side of the center part from the back of the ear forward, and one section in the back. Apply Formula E at the root in a teardrop shape.
- 3Step 3 of 13
Continue to apply the shadow root in the back section, bringing the color down about 3 to 4 inches.
- 4Step 4 of 13
After the shadow root is applied in the back section, take the entire back section and part it with a large zigzag parting from ear to ear. Then, take a fine weave from the zigzag and clip it out of the way.
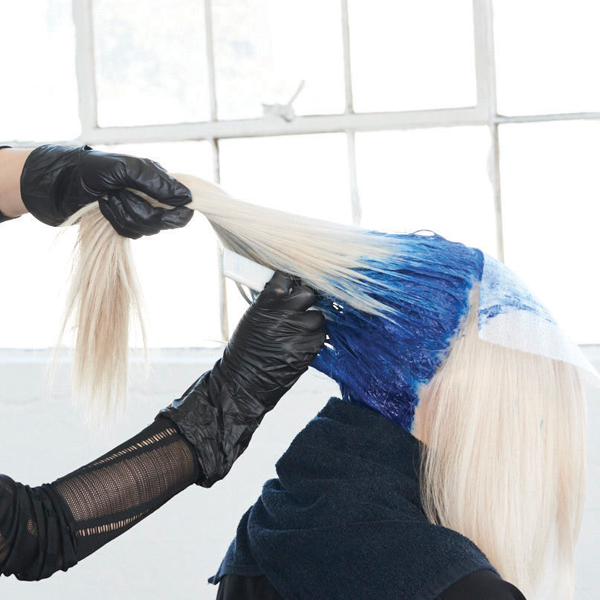
- 5Step 5 of 13
On the bottom section, melt in Formula F, using your fingers in a scissor motion to blend the colors together.
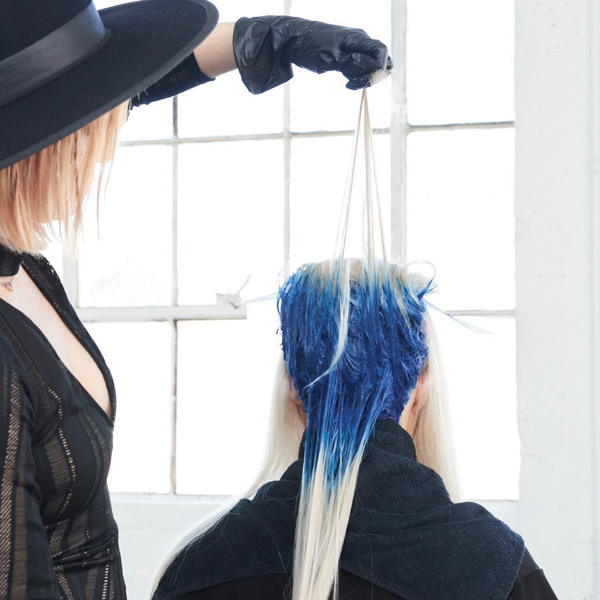
- 6Step 6 of 13
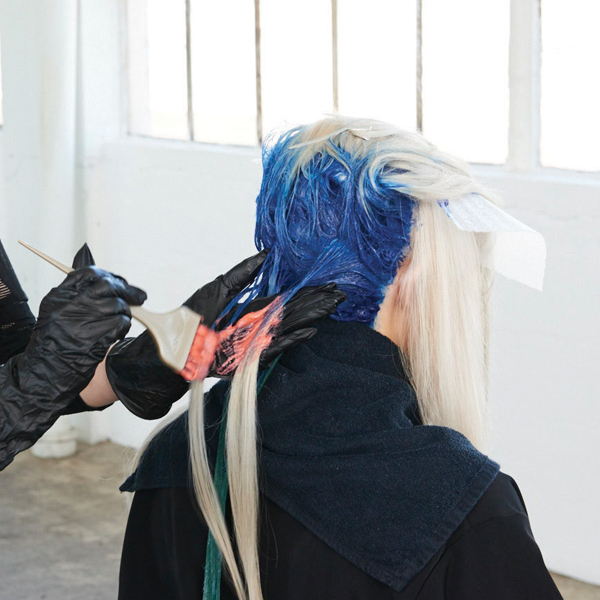
Take the weaved-out section and melt Formula G in through the Formula E. This is the accent section. Apply meche between colors so they don’t bleed.
Pro Tip: Combing is important to make sure color is saturated.
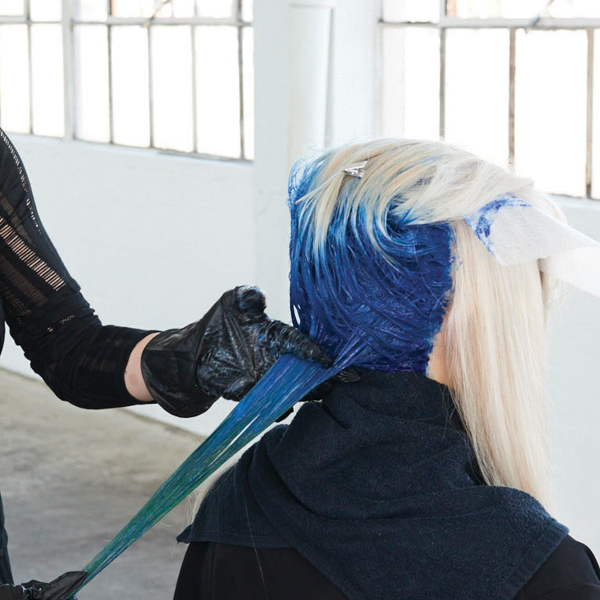
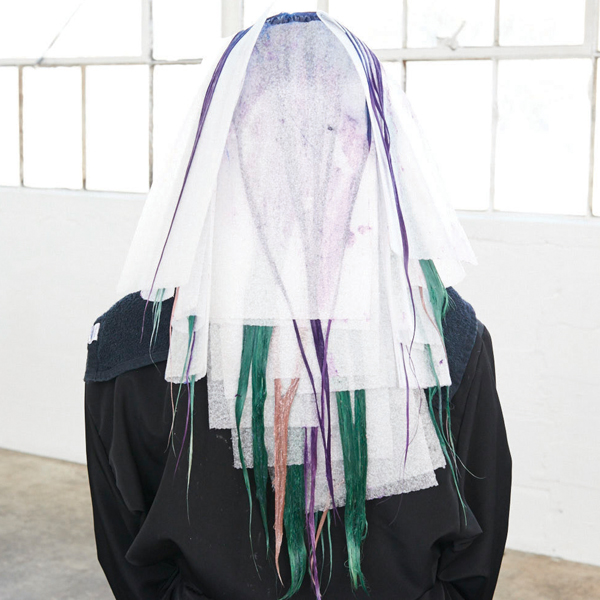
- 7Step 7 of 13
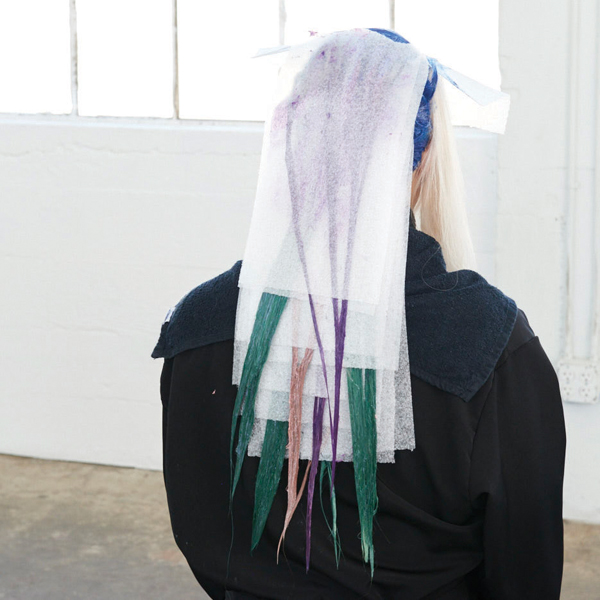
Repeat the process, using Formula H instead of Formula G as the accent color. Continue up the back, alternating Formulas G and F as the accent color on the small weaved-out sections.
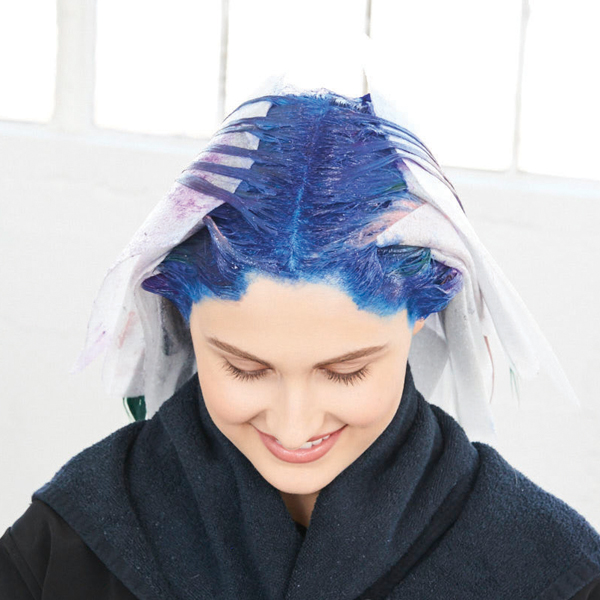
- 8Step 8 of 13

Move to the right front section. Apply the shadow root with Formula E, keeping the teardrop shape in mind and bringing color about 1 ½-2 inches from scalp. Take a diagonal-forward slice from the temple to the top of the crown. Weave a section from the slice, with the weave thicker in the front and thinner toward the back. Clip the weave section of the way.
Pro Tip: Keeping the weave thicker in front and thinner toward the back gives a money piece in the front for a pop and helps blend with the back section.
- 9Step 9 of 13

Melt Formula F into the shadow root on bottom section.
- 10Step 10 of 13

Use Formula H on the smaller weave section. Repeat up the head, alternating the accent section colors.
- 11Step 11 of 13
Repeat the entire process on the other side.
- 12Step 12 of 13
Process for 25 min, shampoo with Joico Co+Wash Color Whipped Cleansing Conditioner.
- 13Step 13 of 13
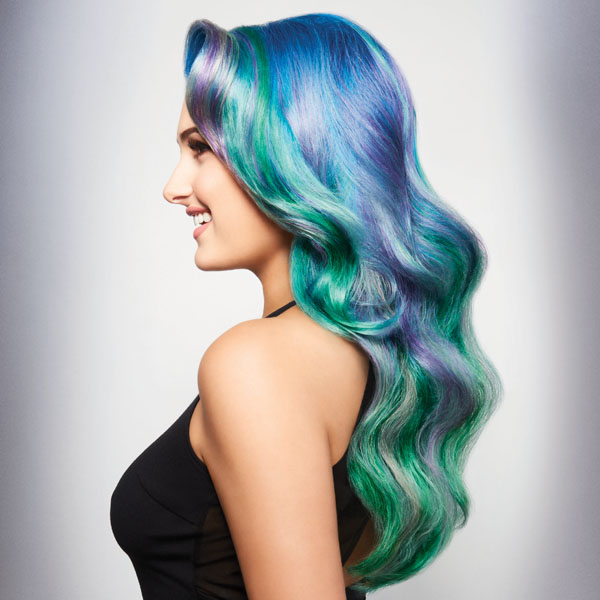
Finished look.
Color Melt
Opalescent Aurora Color Melt
September 6, 2017·1 min read
Taking cues from the Northern Lights, this color melt extravaganza by Larisa Love (aka @larisadoll) uses two new hues from the Joico Color Intensity line: True Blue and Kelly Green. Check out how she takes fine weaves as accent pieces to create a dimensional melt, and watch the entire video here! (more…)
More to Read


