- 1Step 1 of 21
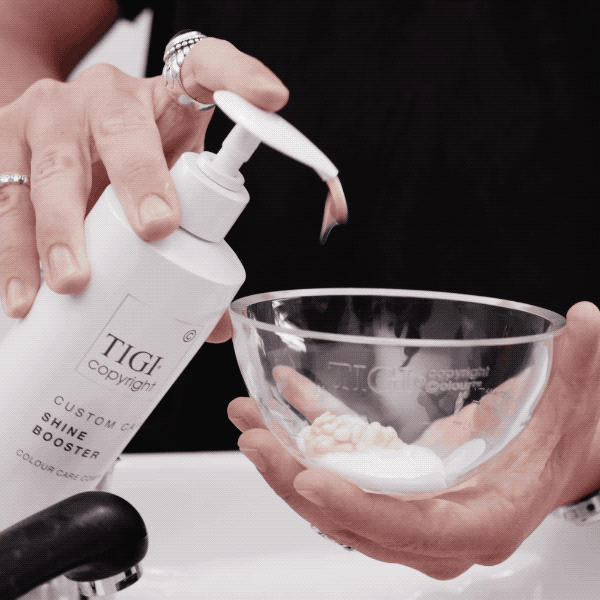
Start with an in-depth consultation, then apply a customized TIGI® Copyright Care treatment at the basin.
- 2Step 2 of 21

Apply TIGI® Copyright Split End Repair Cream from roots to ends, followed by TIGI® Copyright Texturizing Salt Spray as a cutting lotion.
- 3Step 3 of 21

Begin the cut by taking a profile parting from the forehead to the nape.
- 4Step 4 of 21

- 5Step 5 of 21
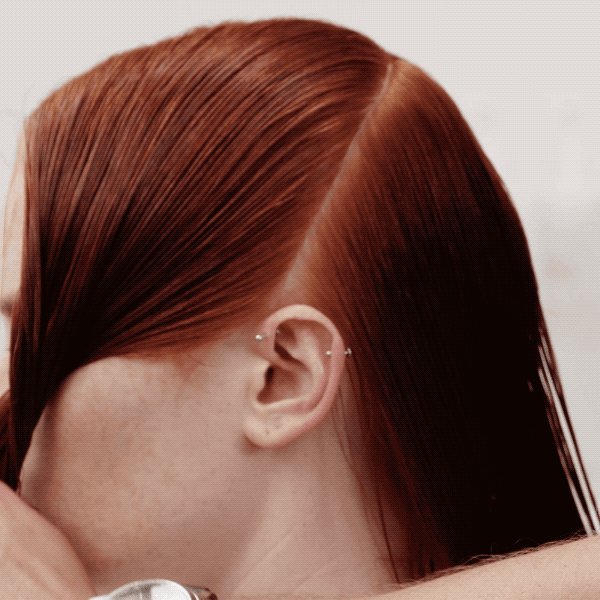
Next, take a radial part from ear to ear across the crown.
- 6Step 6 of 21

Separate the fringe by taking a crescent-shaped section.
- 7Step 7 of 21
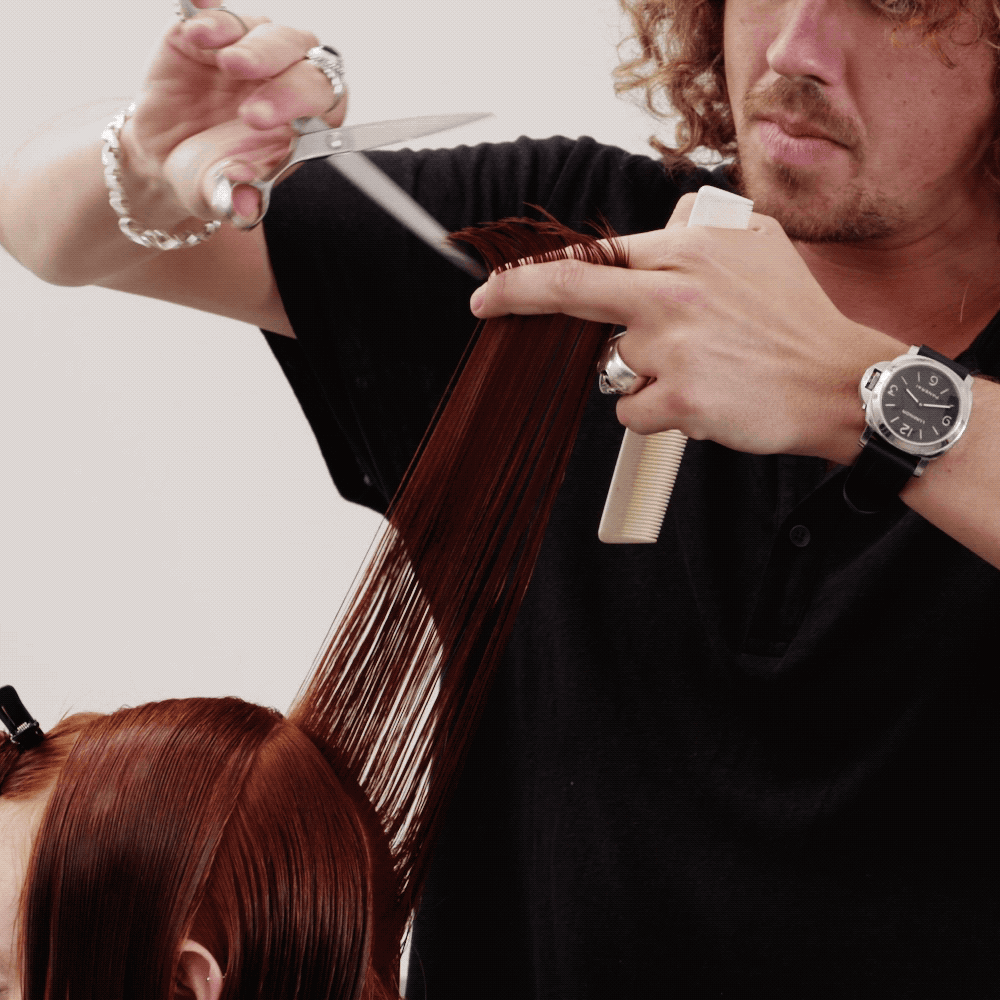
Take a vertical section from the crown to the occipital bone. Elevate the hair to 90 degrees to the crown and point cut from short to long to establish the layering guide. Continue with pivoting sections toward the sides and work consistently with the layers.
- 8Step 8 of 21

Repeat the same technique on the opposite side, noting the hand and body position.
- 9Step 9 of 21

At the sides, work with diagonal back sections. Continue the layering using the guide from the back.
- 10Step 10 of 21
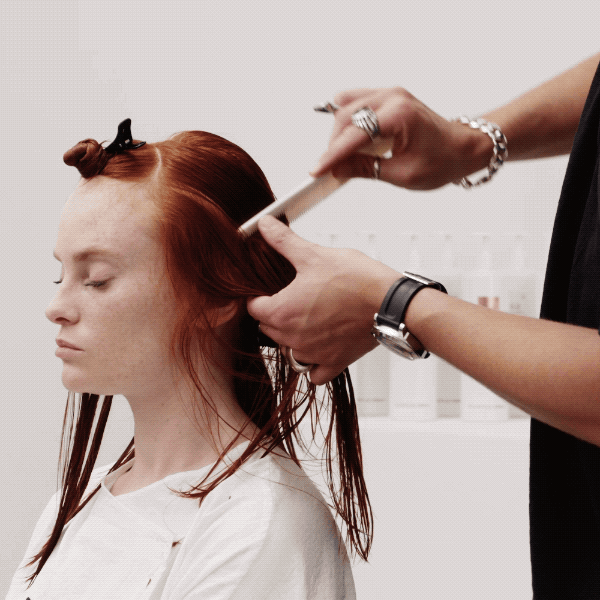
Isolate and disconnect the front hairline with a curved section to maintain the integrity of the shape. Using the same technique, complete the layering on both sides of the head.
- 11Step 11 of 21
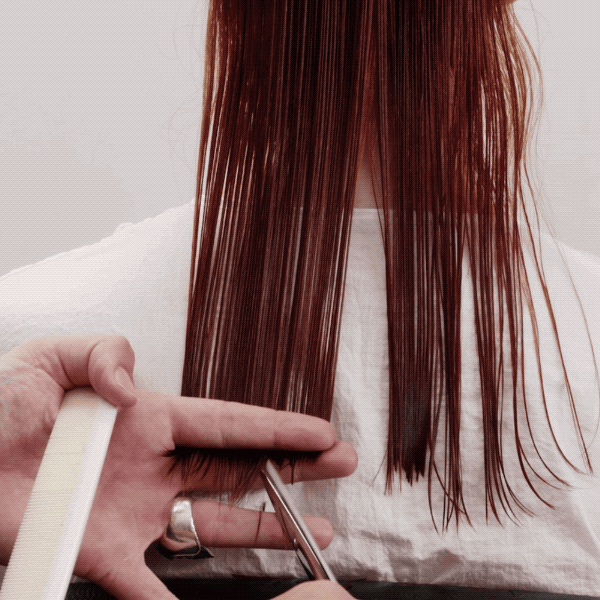
Reshape the baseline using the one-length technique.
- 12Step 12 of 21
Round out the perimeter towards both sides.
- 13Step 13 of 21
To blend the disconnected side panels, slice through the front hairline while overdirecting it back to the ear level.
- 14Step 14 of 21
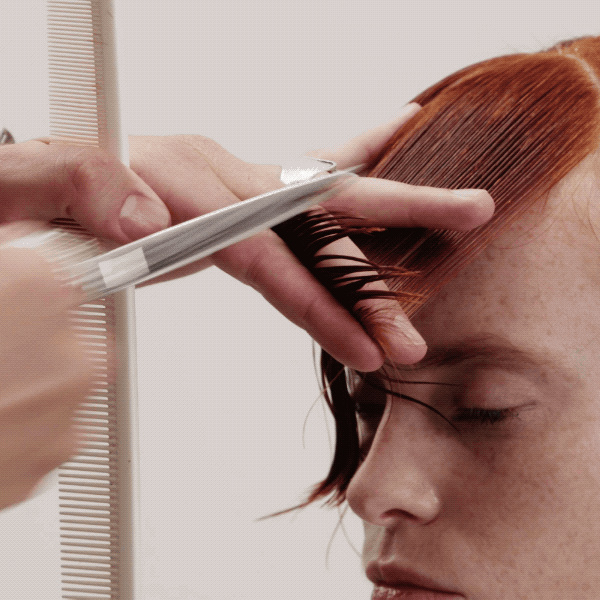
- 15Step 15 of 21
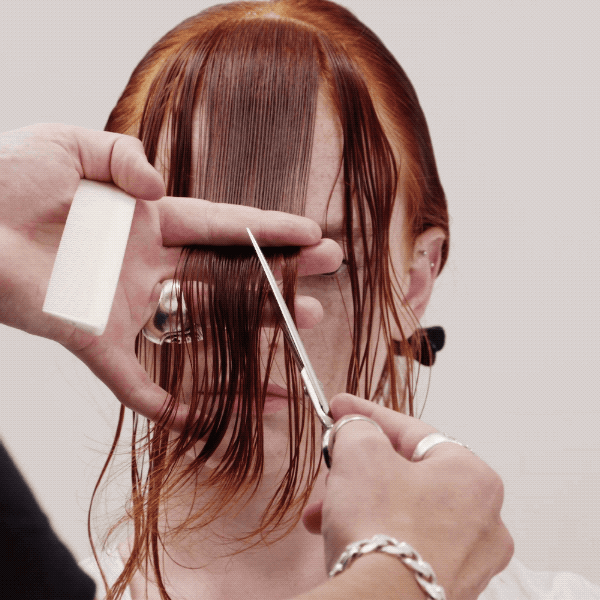
Create the fringe by deep point cutting at a low elevation squarely across the front.
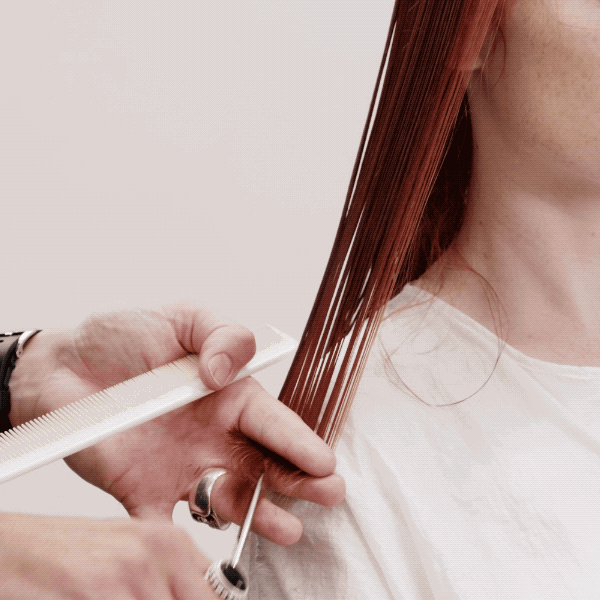
- 16Step 16 of 21
Slice through the ends from the bottom up to create softness and movement.
- 17Step 17 of 21

Power-dry the hair then blow-dry smooth using a TIGI® Pro Large Round Brush while creating volume and root lift.
- 18Step 18 of 21
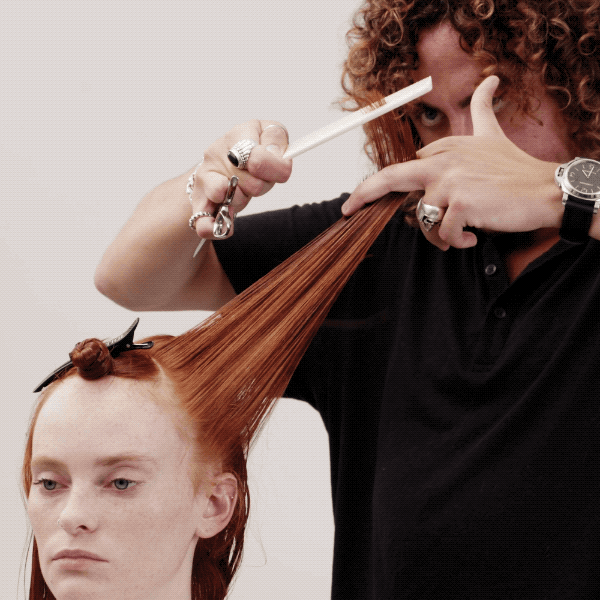
Personalize the shape using slicing and parallel point cutting.
- 19Step 19 of 21

Finish with TIGI® Copyright Volume Finishing Spray.
- 20Step 20 of 21

Finished look.
- 21Step 21 of 21Watch the video ↗
Fringe
Modern, Chic Shag
September 19, 2018·1 min read
The modern shag is a blend of rocker chic and French girl cool—and TIGI® UK Creative and Education Director Philip Downing nailed it with this cut. The trick to expensive-looking hair? Keeping it healthy withTIGI® Copyright. Watch the how-to video below and scroll for every step! (more…)
More to Read


