- 1Step 1 of 14
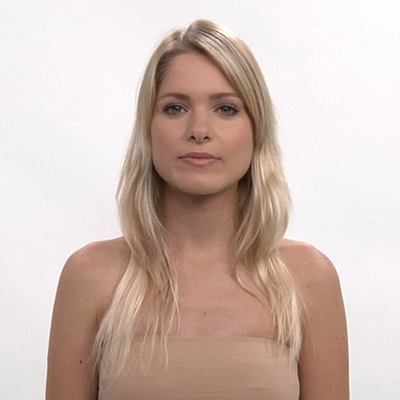
Today's client: Yvonne. She would like to keep a longer length but also have a more refined, fashionable style to enliven her stringy locks.
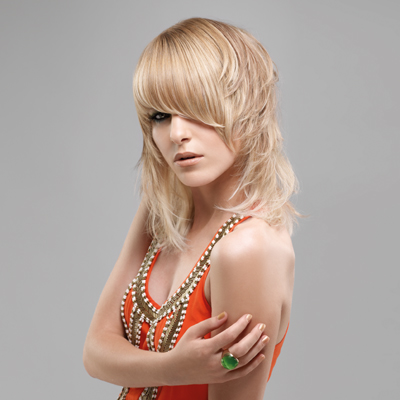
- 2Step 2 of 14
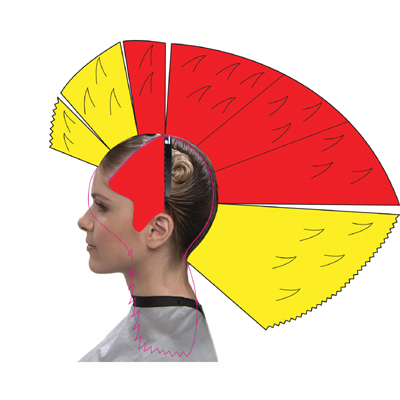
The structure graphic shows increase layers from multiple stationary design lines in the interior. The exterior and an asymmetrical fringe feature low graduation.
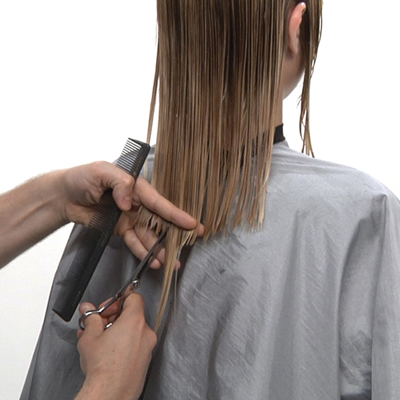
- 3Step 3 of 14
Take a small strand at the top of the center-back section. Determine a length guide and sculpt.
- 4Step 4 of 14
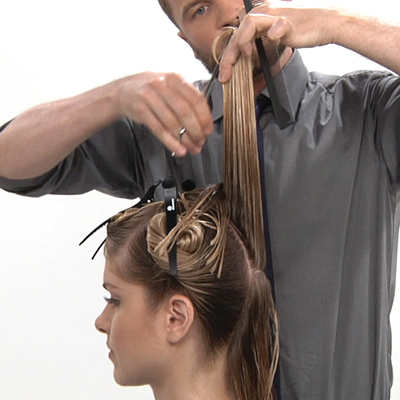
Distribute and project the hair straight up, converging lengths to the center of the parting. Position your fingers for a rapid length increase and sculpt.
- 5Step 5 of 14
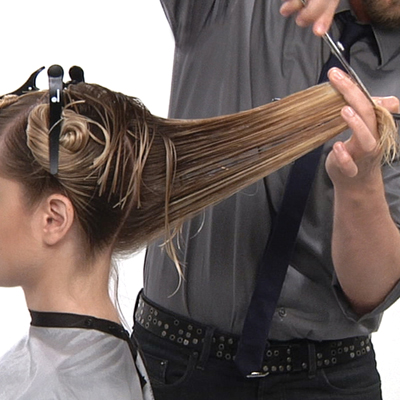
Converge the lengths back to the stationary design line at the center back. Continue to project straight up and sculpt parallel to the guide. Then lower the projection to sculpt the exterior lengths.
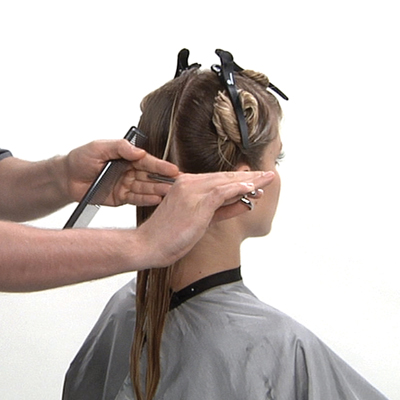
- 6Step 6 of 14
Return to the center back and take a wide pivotal parting to the opposite side. Subdivide the parting at the crest and converge the lengths to the stationary design line. Project the design line straight up in the interior.
- 7Step 7 of 14
Next, lower the projection while converging exterior lengths to the stationary design line and sculpt parallel to the guide.
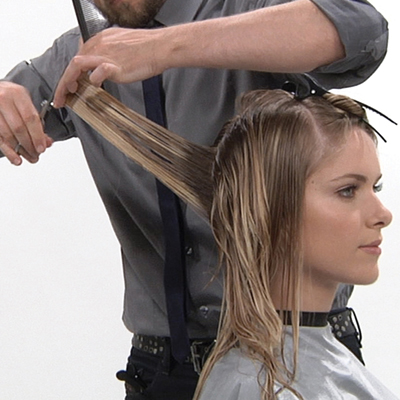
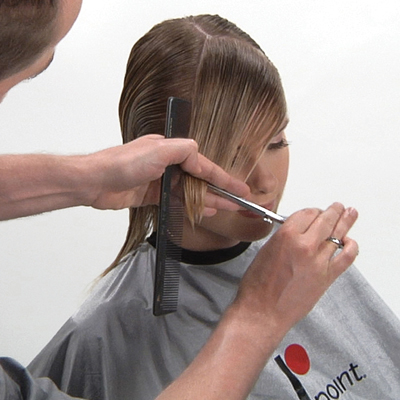
- 8Step 8 of 14
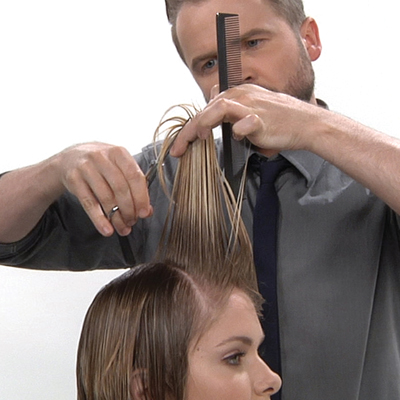
Release the fringe section. Use the same length guide from the apex, project it straight up and converge the fringe to the center. Position your fingers for a length increase toward the face and sculpt.
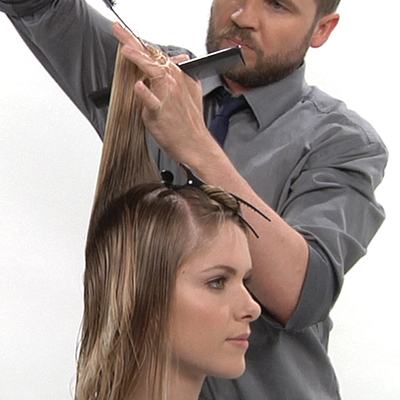
- 9Step 9 of 14
Create an off-center triangle from the apex to the center of the right eye and from the apex to the temple on the left side. Distribute and shift the lengths to one side. Use low projection, position your fingers diagonally and sculpt.
- 10Step 10 of 14
With the head upright, subdivide the back lengths vertically at the center. Start on one side and use natural distribution with low projection. Position your fingers to create a slightly convex line. Sculpt with the notching technique from the outside toward the center. Repeat on the opposite side.
- 11Step 11 of 14
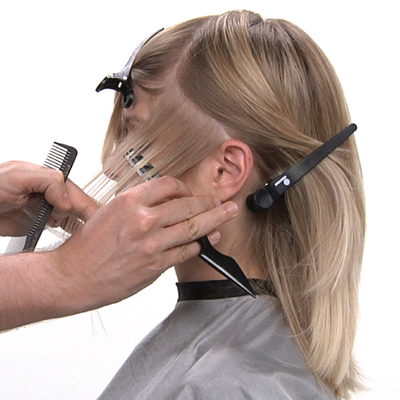
Take a steep diagonal-back parting on the left side. Use perpendicular distribution and low projection. Weave the razor through he hair, then texturize from midstrand to ends.
- 12Step 12 of 14
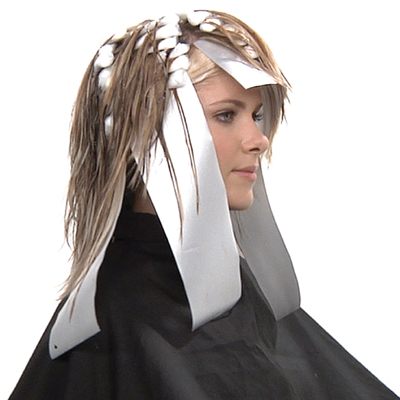
A high-lift blonde is applied to the entire hairline section from base to ends. An alternation of a Level 8 medium caramel-blonde and Level 6 light golden brown is applied with the freehand technique to the remaining lengths. Process, rinse, shampoo and condition prior to styling.
- 13Step 13 of 14
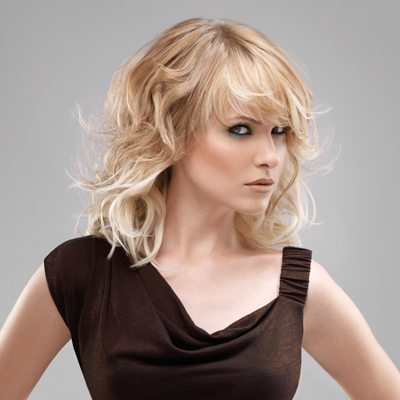
Finished Look
- 14Step 14 of 14
With the right blowout, these shaggy layers will stun passersby!
Haircuts
Midlength Layered Cut From Pivot Point
July 31, 2012·1 min read
It’s a pandemic you see almost every day: lifeless, long hair. Symptoms: stringy strands, dull color, no shape. Your patient—ahem, client—is fiercely attached to her long hair, but something must be done! Luckily, you’re here to save the day with this cut from Pivot Point International, Inc. In just a few steps, your client’s hair will once again bounce with body, stun with stylish shape and wow with multidimensional color. Click on to learn how you can create this cut and restore pulse to your client’s look! (more…)
More to Read


