- 1Step 1 of 9
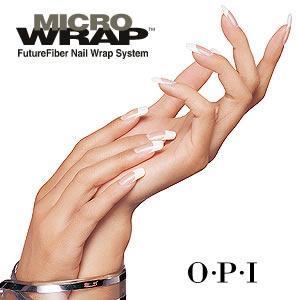
Experience OPI’s Microwrap FutureFiber Nail Wrap System. It’s different, better, stronger and clearer … a quantum leap in nail wrap technology!
For more information about OPI products, log on as a professional to https://www.opi.com, or ask your Authorized OPI Distributor.
- 2Step 2 of 9

Choose the correct size of PRE/CUTS Self-Adhesive Nail Wraps to fit each nail. If necessary, trim to fit with FUTUREFIBER Scissors. Or, use UN/CUTS Self-Adhesive Nail Wraps for custom wrap. Apply wrap to each nail, staying 1/16” away from cuticle and nail groove.
- 3Step 3 of 9
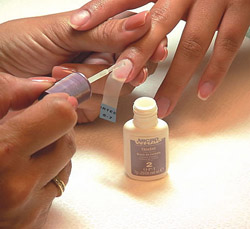
Brush on a layer of THINSET Thin Resin. Allow to dry approximately 1 minute.
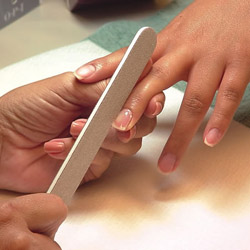
- 4Step 4 of 9

In a downward motion, file off excess wrap from around free edges using an OPI Silver Cushioned File (180-grit).
- 5Step 5 of 9

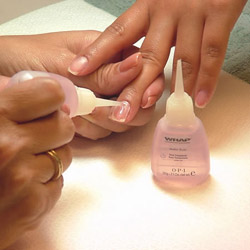
Apply a second layer of THINSET Thin Resin, to reinforce and seal wrap, capping free edges. Wait at least one minute after resin is applied to last nail before applying accelerator.
- 6Step 6 of 9

Apply Brush-On or Spray-On SPEEDCURE Resin Accelerator (Spray approximately 6 inches from nails.)
- 7Step 7 of 9
Working one nail at a time, apply THICKSET Builder Resin and, if desired, spread with SMOOTHSET Builder Resin Smoother.
- 8Step 8 of 9
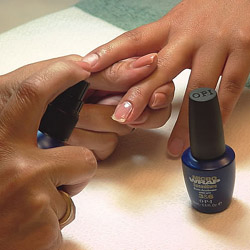
Apply Brush-On or Spray-On SPEEDCURE Resin Accelerator to all ten nails.
- 9Step 9 of 9
Shape free edges, sidewalls and smooth nail surfaces using an OPI Silver Cushioned File (180-Grit). Finish nails as desired.
Nails
Microwrap™ by Opi
January 24, 2004·1 min read
Experience OPI’s Microwrap FutureFiber Nail Wrap System. It’s different, better, stronger and clearer … a quantum leap in nail wrap technology! For more information about OPI products, log on as a professional to https://www.opi.com, or ask your Authorized OPI Distributor for more information. (more…)
More to Read


