- 1Step 1 of 21
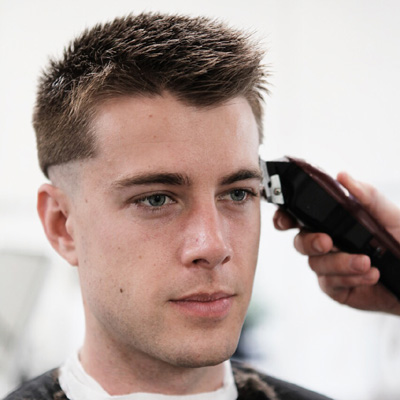
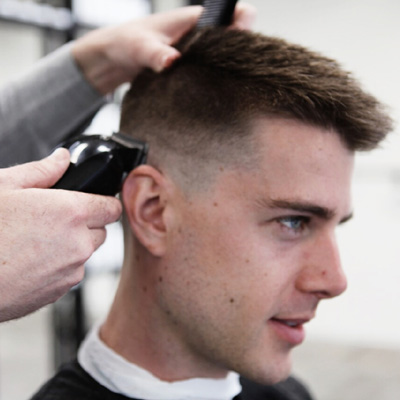
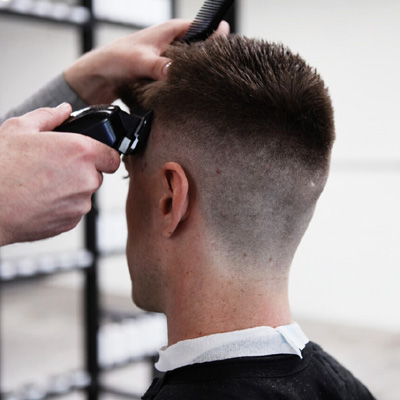
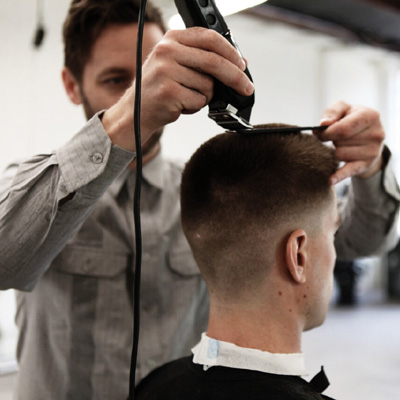
Because his model's hair is already roughly a No.2, Rob decided to go straight in with his guideline for the fade. If it had been much longer, he would have needed to reduce this area first. Starting at the temple area, begin tracing in a guideline with a balding clipper. How high or low you go should be based on the client's bone structure.
- 2Step 2 of 21
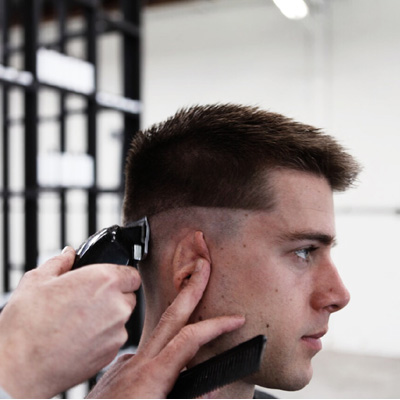
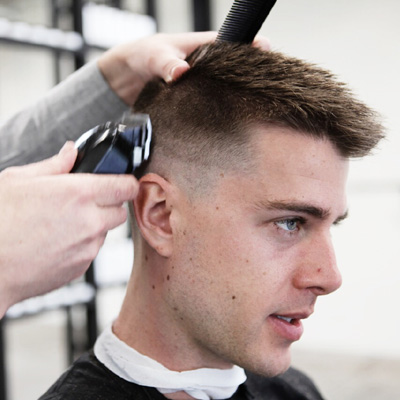
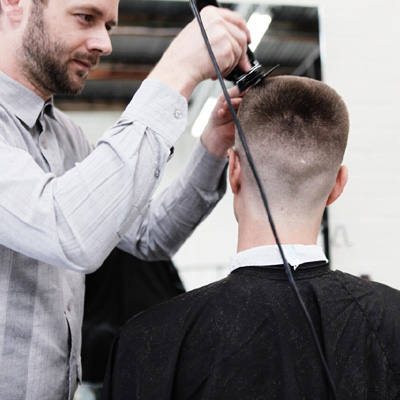
Rob recommends that the guideline go straight back and above the occipital bone, but in his instance, he needed to curve the guideline below the occipital bone, which allowed for a more fluid fade.
- 3Step 3 of 21
So why put a line in a haircut that you intends to fade out? While its true, you can freehand fade this cut the traditional way of pitch, wiggle and rocking it out, the steps made by the clippers are just the same idea as any other haircut, they are your guideline to keep the fade consistent and even. Doing it this way is a lot more structured and achieves balance in the fade.
- 4Step 4 of 21

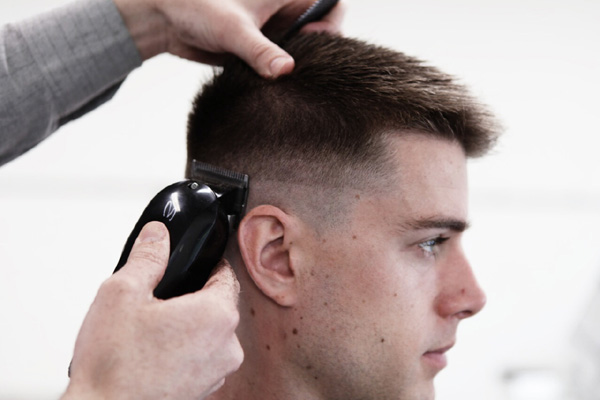
The next step is to create a new guideline. Using normal clippers this time, create another band of shading with the clippers set to zero and a half. Ignore the initial guideline, as you will come back to this afterwards. Try to create this as even as possible, as it is crucial to an immaculate blend.
- 5Step 5 of 21
This should be the result. Clear bands of shading, as even as possible.
- 6Step 6 of 21
- 7Step 7 of 21
Switching back to the zero now on the clippers, begin to “rub” the initial guideline out. You only want to flick just the line out. Short sharp movements flick the line out better than big scoops. It may take multiple angles and going against the grain to remove the line, but it will come out.
- 8Step 8 of 21
- 9Step 9 of 21
- 10Step 10 of 21
To erase the second guideline, switch to a No.1 guard and blend into the interior. You may need scissors as well to refine the shape. This element of the cut is vital, as you don’t want the crown shading to be too heavy, otherwise it can look like a bowl cut from a distance!
- 11Step 11 of 21
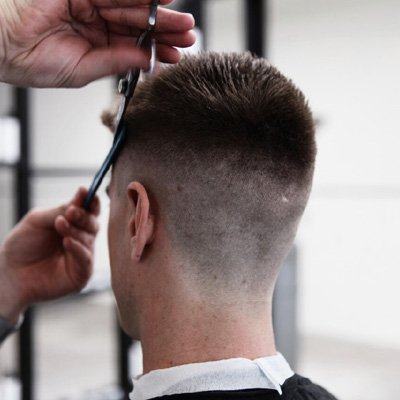
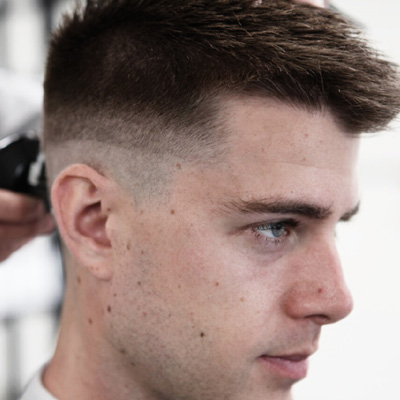
Once the guidelines have been faded out, the cut should be looking pretty good, but there’s still a lot of refining to do. You’ll notice in this image that the fade is good, but the extra length on top of the head distorts the silhouette.
- 12Step 12 of 21
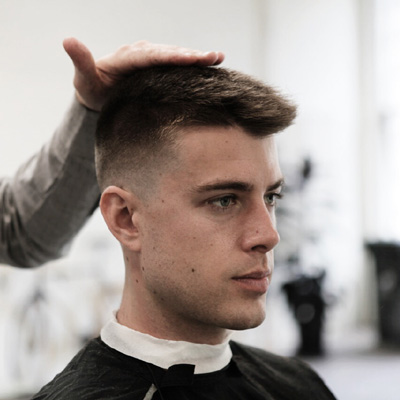
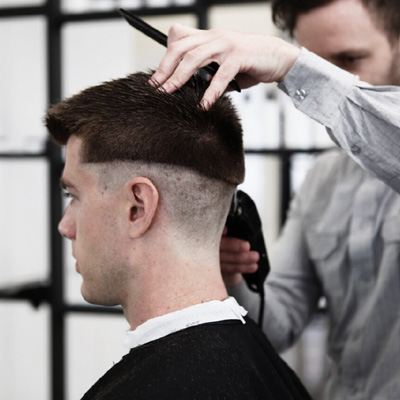
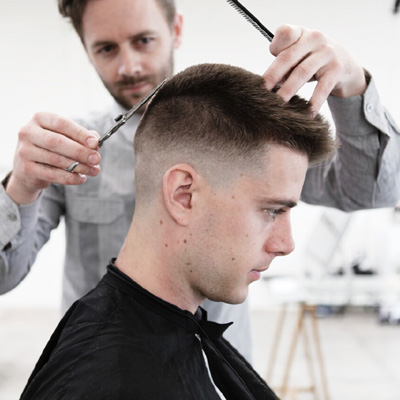
The next step is to begin flattening the shape. The reason Rob used a flat top technique was to thin the hair out in a technical way that can be re-created, rather than heavily texturizing the hair. You can see by his hand placement what he wanted to achieve. He would have liked the fringe to have been longer to angle the shape upwards, but client didn't have quite enough length.
- 13Step 13 of 21

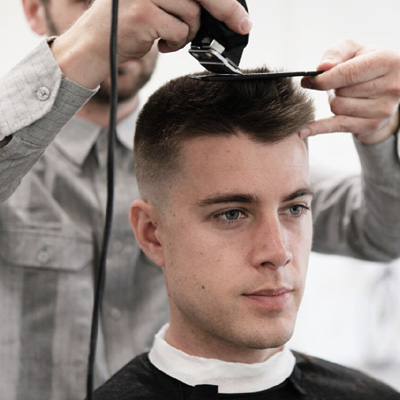
Working horizontally, begin flat topping the shape, from shorter at the crown to longer through the fringe. Direct the fringe area back to keep maximum length, as it's already short enough!
- 14Step 14 of 21
- 15Step 15 of 21
Redefine the shape by doing the same process vertically, just to pick up any hair you may have missed the first few passes with the clippers.
- 16Step 16 of 21

One of the most important tools when barbering is the mirror. At this stage you want to check the balance of the cut from multiple angles by maneuvering the head, and checking the shape from afar.
- 17Step 17 of 21
For his client, he decided to flatten in the corners to create a slimmer flat top, rather than keep it too square.
- 18Step 18 of 21
The last three percent of this cut is the hardest, and takes concentration and a good eye for detail. You want to analyze the silhouette and look for any areas that stop the shape from looking fluid.
- 19Step 19 of 21
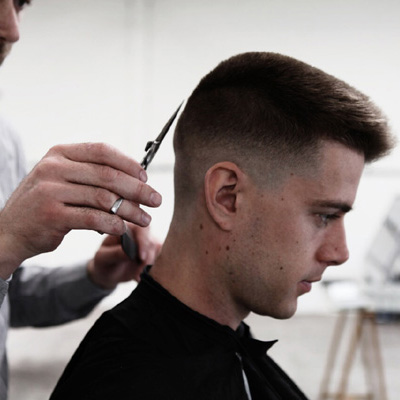
The edges and neckline are finished off with a foil shaver for a cleaner finish.
- 20Step 20 of 21

- 21Step 21 of 21
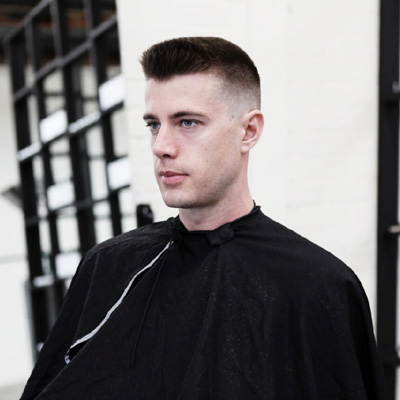
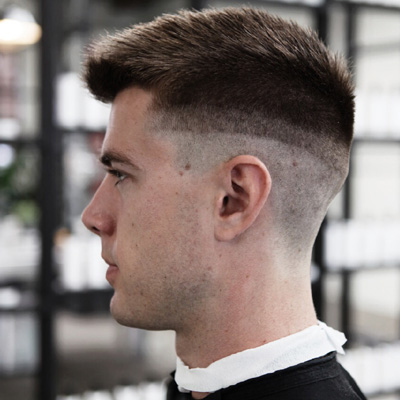
Here is the final result. A clean fade into a modern version of the flat top. Very easy to style and very masculine.
Haircuts
Men's Clipper/Skin Fade
October 10, 2014·1 min read
As men’s barbering continues to grow in popularity, it’s important to master the clippers as much as your shears. This classic, modern cut utilizes a flat top technique, as well as freehand scissor work to create the short, trim back and sides, and flattened top. The bald fade/modern flat top is a haircut that requires discipline and an understanding of facial anatomy. This cut can be very unforgiving if the bone structure isn’t taken into consideration. All of the hair needs to be clipped immaculately onto the head to create a fluid shape from the occipital bone through to the fringe (more…)
More to Read


