- 1Step 1 of 20

NATURAL LEVEL: 7, DARK BLONDE
Formula A: 1½ oz. SOCOLOR UL-N + 3 oz. 40 Volume SOLITE Cream Developer
Formula B: 1½ oz. SOCOLOR 8AV + 1½ oz. 10 Volume SOLITE Cream Developer
Formula C: 2 scoops V-Light De-Dusted Lightener + 2 oz. 10 Volume SOLITE Cream Developer
Formula D: 1 oz. Color Sync SPV + 1 oz. Color Sync 9 Volume Activator - 2Step 2 of 20
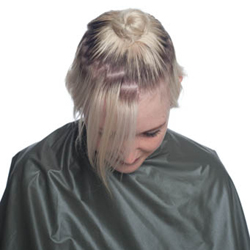
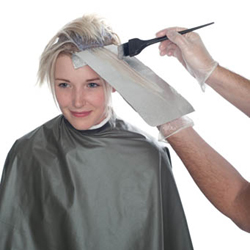
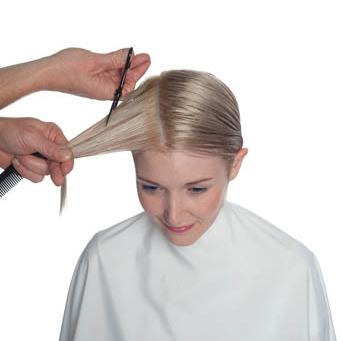
On dry hair, create an off center zigzag parting starting in front, continuing around parietal ridge. Clip top section for control. Use proper application technique – virgin or retouch. Our model is a retouch application.
- 3Step 3 of 20
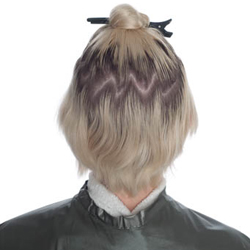
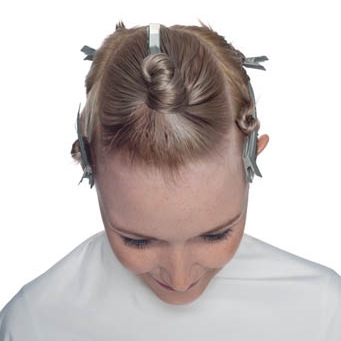
On dry hair, create an off center zigzag parting starting in front, continuing around parietal ridge. Clip top section for control. Use proper application technique – virgin or retouch. Our model is a retouch application.
- 4Step 4 of 20
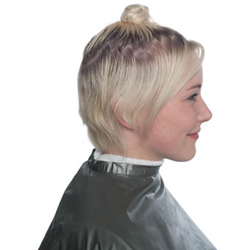
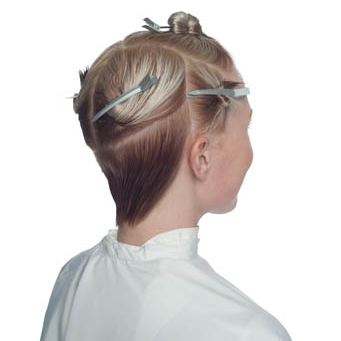
On dry hair, create an off center zigzag parting starting in front, continuing around parietal ridge. Clip top section for control. Use proper application technique – virgin or retouch. Our model is a retouch application.
- 5Step 5 of 20

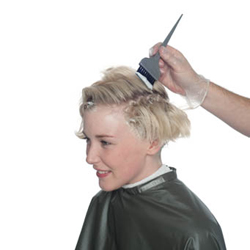
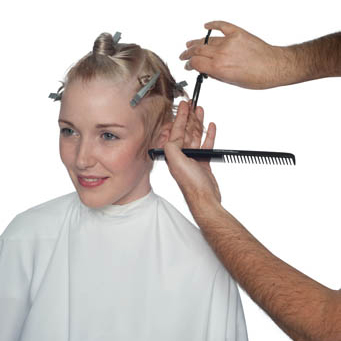
Working in section 1, apply Formula B to new growth.
- 6Step 6 of 20
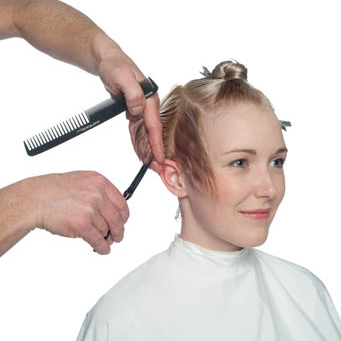
Release section 2, apply Formula A to new growth. Maintain zigzag sectioning.
- 7Step 7 of 20
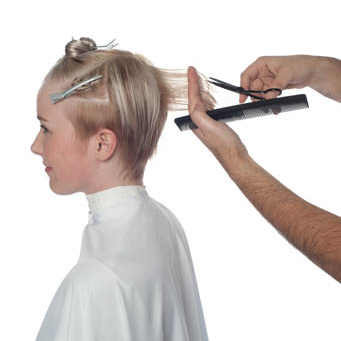
Separate out ¼ inch diagonal sub-section at hairline. Create ¼ inch slice behind and place foil. Using side of color brush and feathering motion, apply Formula C. Fold bottom edge of foil to just below Formula A. Take care not to overlap Formulas A and C. Fold foil creating a neat C.R.A.F.T. foil packet. Complete section.
Apply Formula D to mid-lengths and ends of all remaining hair. Process accordingly. Rinse, cleanse and condition.
- 8Step 8 of 20
Create V-shaped section at top of head, extending to crown.
Create side sections by forming vertical partings at each ear. - 9Step 9 of 20
Create curved section below occipital.
Divide center back from crown to occipital. Clip all sections to secure. - 10Step 10 of 20
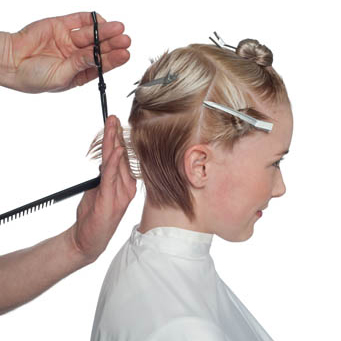
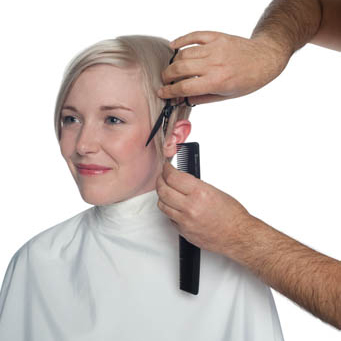
At nape, create ½ inch center vertical sub-section. Tilt head forward. Elevate straight out from head and cut to 1 inch length. Using a traveling guide, complete section.
- 11Step 11 of 20
Release section 2. Create ½ inch vertical sub-section at center back. Elevate straight out from head. Finger angle is vertical. Use C.R.A.F.T. Point Cutting technique, maintaining length at crown area. This is the traveling guide. Complete section 2 and repeat in section 3.
- 12Step 12 of 20
Release section 4 and divide section diagonally, as shown. Working at back of lower side section, create diagonal sub-section and match to back section. Using traveling guide, continue to front hairline.
- 13Step 13 of 20

Release top half of section 4. Lower elevation of section and establish length by measuring to top of ear. Angle fingers, to maintain length in front. Elevate section parallel to floor and point cut to soften.
- 14Step 14 of 20
Release section 5. Create vertical subsection at ear. Blend into back section. Point cut to soften. Direct all remaining hair to vertical section over ear and point cut.
- 15Step 15 of 20
Release section 6. Create off-center vertical parting. Determine length of fringe and cut from short to long using C.R.A.F.T. Cutting Backslicing technique. Work across top section and direct all hair to original guide. Continue to backslice.
- 16Step 16 of 20
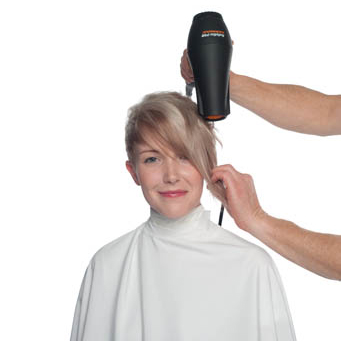
Blow-dry smooth.
- 17Step 17 of 20
Personalize to create balance and visual movement.
- 18Step 18 of 20

Use C.R.A.F.T. Deep Point Cutting technique to create texture throughout crown.
- 19Step 19 of 20
Cleanse with Biolage colorcarethérapie Delicate Care Shampoo
Condition with Biolage colorcarethérapie Delicate Care Conditioner
Towel dry and apply Design Pulse Loosely Defined Texture Crème from scalp to ends.
Blow dry using a 9 row brush, directing the heat toward the base of the hair to lift and smooth.
For piece-y, flexible styling, apply Design Pulse Messy Couture Molding Paste. - 20Step 20 of 20

Cleanse with Biolage colorcarethérapie Delicate Care Shampoo
Condition with Biolage colorcarethérapie Delicate Care Conditioner
Towel dry and apply Design Pulse Messy Couture Molding Paste from scalp to ends.
Blow dry using a round brush, directing the heat toward the base of the hair to lift and smooth.
Tousle with fingers to loosen style. For finished, flexible styling, apply Design Pulse Beach Clay Strong Destructing Mud.
Blonde
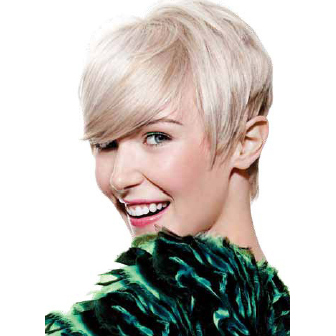
Matrix Presents Sugar Crop Pixie Cut and Multi Tonal How-To
March 21, 2011·1 min read
Sugar Crop is pure glam! It’s a sexy, modern pixie with feathery flourishes. The cropped shape can be pushed up or swept down. Arresting light sugar blonde tones over deeper mochas add multi impact. On Paper keyword: Matrixcolor (more…)
More to Read


