Greys can be a woman’s worst enemy. New Matrix SOCOLOR DREAM.AGE is a better way to banish those stubborn greys to leave hair shiny and help recapture your client’s youth and radiance. In Dream Dimension, Matrix gives a real woman a dream makeover and takes her from frumpy to fabulous! Subscribe to behindthechair.com “On Paper” Magazine–5 issues only $19.95! (more…)
- 1Step 1 of 19

- 2Step 2 of 19

- 3Step 3 of 19
Formula A
1 scoop Matrix V-light De-Dusted Lightener +
1 oz. 10-Volume SOLITE Cream DeveloperFormula B
1 1/2 oz. Matrix SOCOLOR DA-506M+
1 1/2 oz. 20-Volume SOLITE Cream DeveloperClick here for more information about NEW Matrix SOCOLOR DREAM.AGE
- 4Step 4 of 19
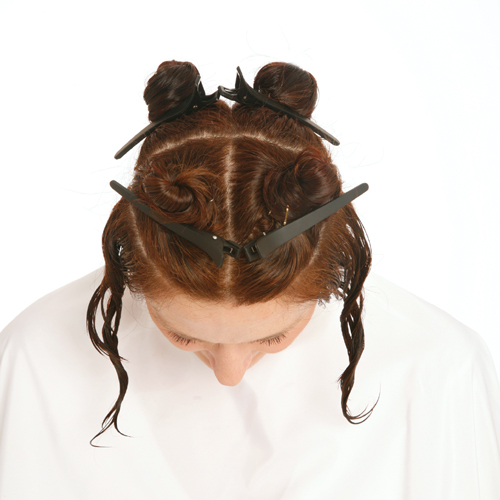 Create a parting from front hairline to nape, and from ear to ear across the top of the head. Create a semi-circular parting along the parietal, leaving section in front of the ear loose.
 - 5Step 5 of 19
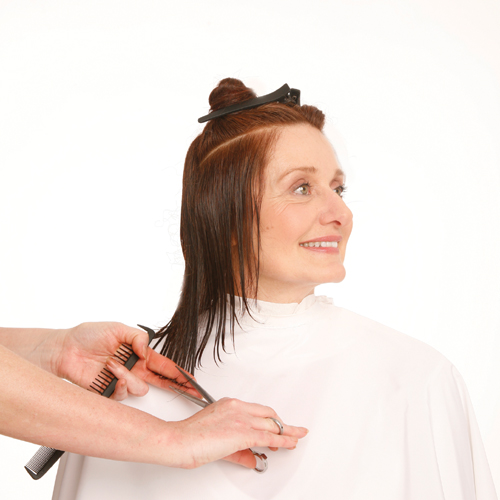
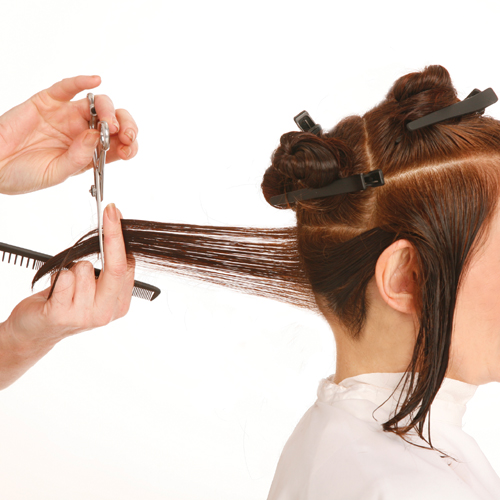 Create a ½ inch vertical subsection at center back. This will serve as the stationary guide for the section. Lift to 90 degrees and cut at 90 degree finger angle. Using vertical subsections, work to each side, over-directing to the stationary guide.
 - 6Step 6 of 19
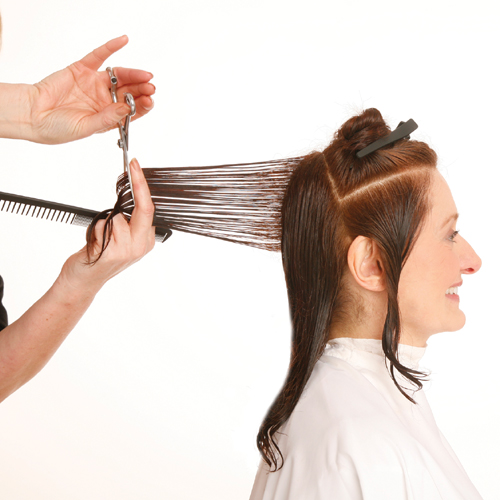 Continue working towards the top of the head, using the original nape section as the guide. Maintain the stationary guideline, elevation and cutting angle.
 - 7Step 7 of 19
 On each side, turn the head to the opposite direction and connect the back perimeter length to the side length.
 - 8Step 8 of 19
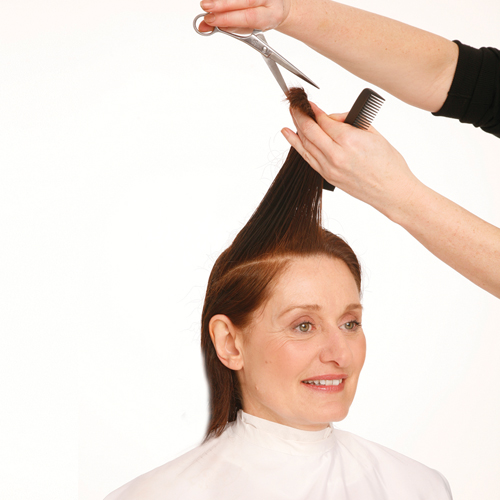 Use the crown length as the guide for the top section. Over-direct to the stationary guide and cut on an angle as shown.
 - 9Step 9 of 19
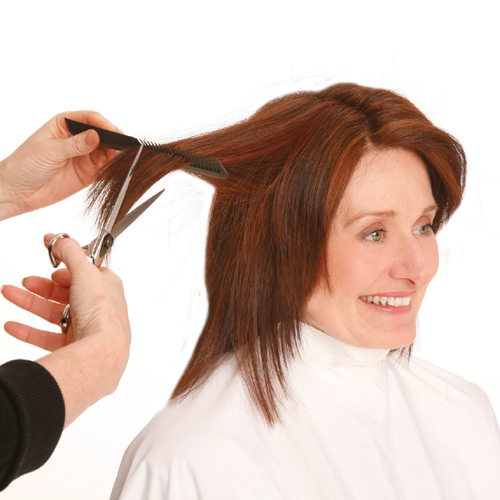 Dry hair and texturize by cutting approximately 2-4 inches into the ends of the hair with 6-7 inch shears.
 - 10Step 10 of 19
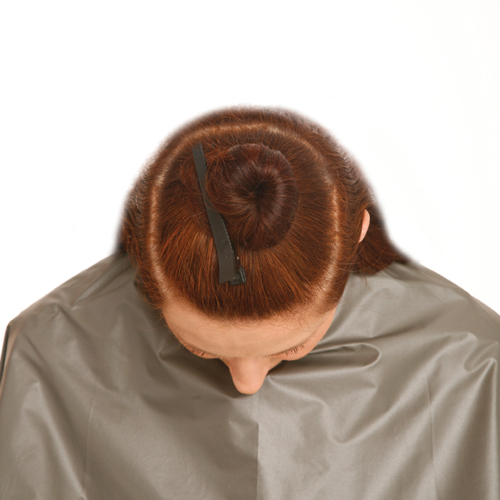 Create a horseshoe parting along the parietal on clean dry hair and clip to secure.
 - 11Step 11 of 19
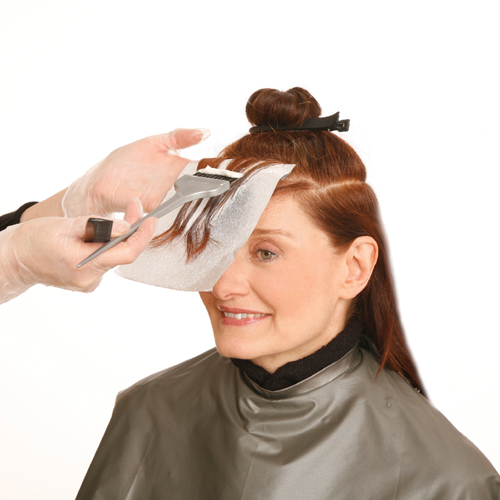 Create a horizontal subsection 1 inch back from the front hairline. At the parting, create a ¼ inch weave and apply Formula A.
 - 12Step 12 of 19
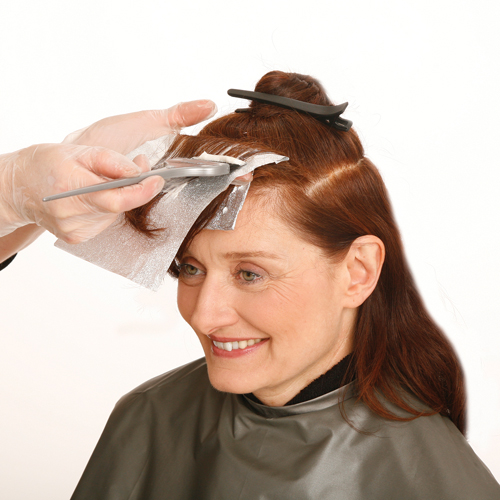 Working towards the crown, continue weaving in the same manner.
 - 13Step 13 of 19
 The final weave placement will be at the crown.
 - 14Step 14 of 19
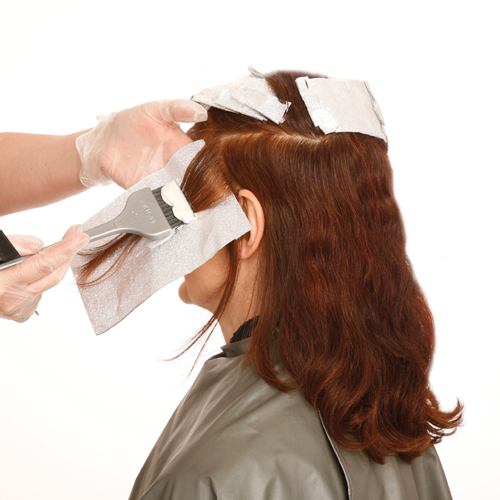 At the sides, begin 1 inch back from the hairline and create a diagonal slice. Apply Formula A. Place two foils per side in this manner and process to desired level.
 - 15Step 15 of 19
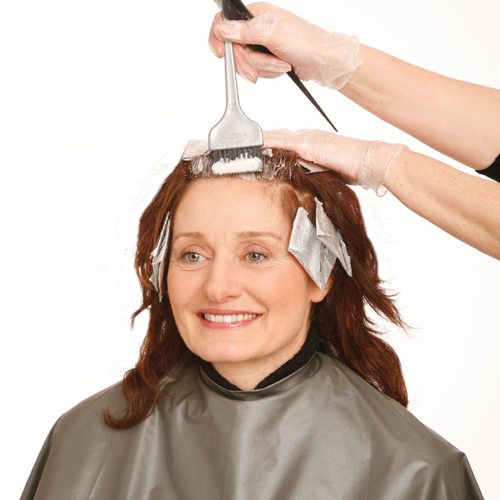 Apply Formula B to the scalp areas. After scalp application is complete, apply to midlengths and ends. Process and remove.
 - 16Step 16 of 19
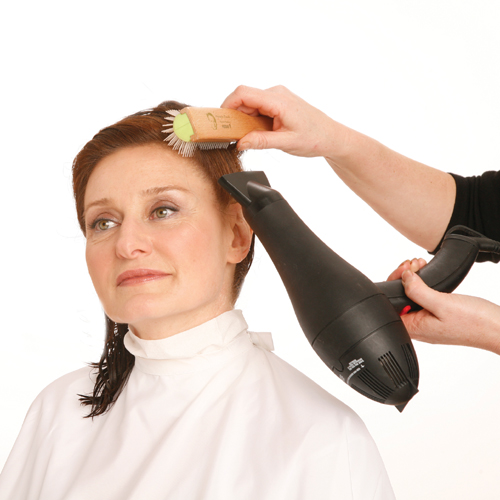 Distribute Biolage Molding Souffle from scalp to ends on damp hair. Starting on the sides, use
a 9-row brush and dry hair from underneath, directing strands upward for volume. - 17Step 17 of 19
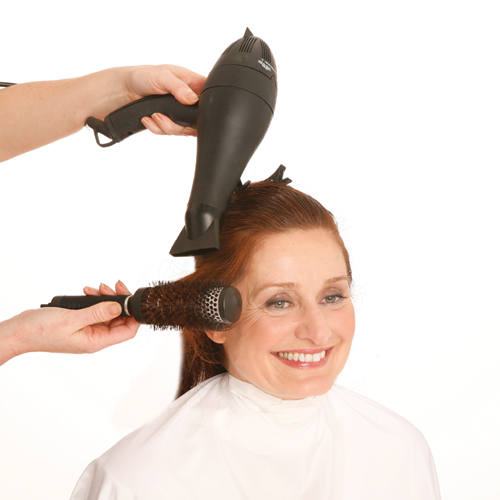 Switch to a medium round brush to dry the sides and bottom, creating soft bend and smooth
volume below the parietal. - 18Step 18 of 19
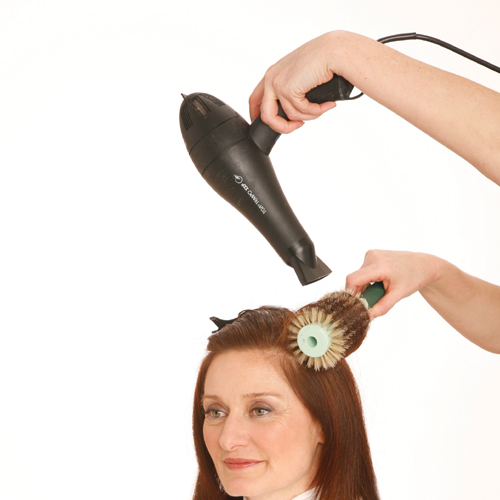 Switch to a large round brush to dry the top, creating soft volume in the crown area.
 - 19Step 19 of 19
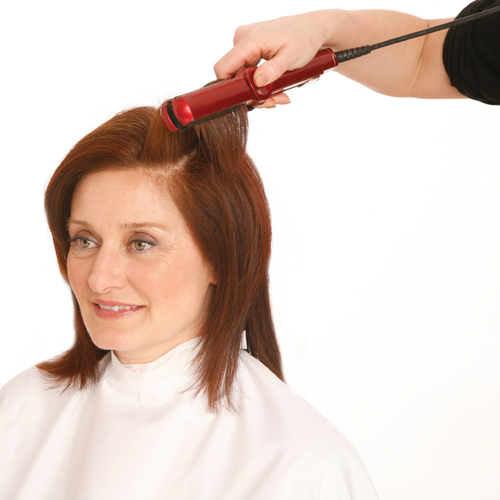 When complete, use a flat iron to refine the surface while retaining volume. Lightly mist with
Biolage Shine Endure Spritz.


