- 1Step 1 of 13
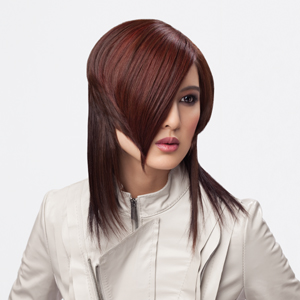
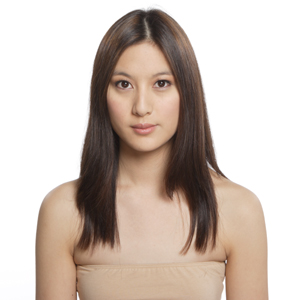 Naomi, pictured, wants to keep the length on the sides but add interest on the top with shorter lengths and brighten her overall color.
 - 2Step 2 of 13
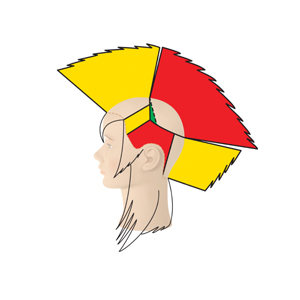 Increase layers are sculpted over graduated lengths in the back. Graduated lengths in the interior fall on top of longer increase layers on the side perimeters.
 - 3Step 3 of 13
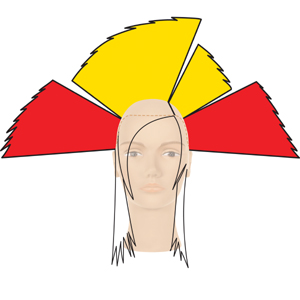 Increase layers are sculpted over graduated lengths in the back. Graduated lengths in the interior fall on top of longer increase layers on the side perimeters.
 - 4Step 4 of 13
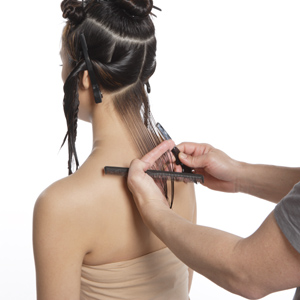
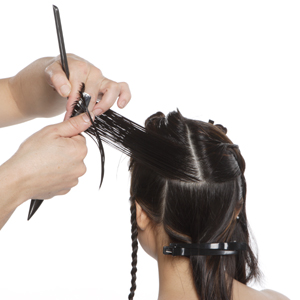
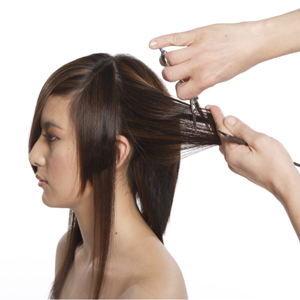
Take a diagonal-forward parting on either side of a center part in the nape. Use perpendicular distribution, low projection and a parallel finger position. Razor etch from the center toward the left side. Repeat on the right side using a length guide from the center.
- 5Step 5 of 13

When texture is added, the outcome is a piece-y, romantic look with swing.
Credits
Artist: Vic Piccolotto, Pivot Point International
Make-Up: Sharon Casey
Fashion Stylists: Patric Chauvez, Sam Sok
Fashion Photography: Lisa Sciascia
Senior Photographer/Videographer: David Placek - 6Step 6 of 13
Yet when flat-ironed, the outcome is sleek and edgy, placing emphasis on the upper level of the bi-level cut.
Want more step-by-steps? Check out the Sculpted Bob Cut and Color How-To from Pivot Point!
Credits
Artist: Vic Piccolotto, Pivot Point International
Make-Up: Sharon Casey
Fashion Stylists: Patric Chauvez, Sam Sok
Fashion Photography: Lisa Sciascia
Senior Photographer/Videographer: David Placek - 7Step 7 of 13
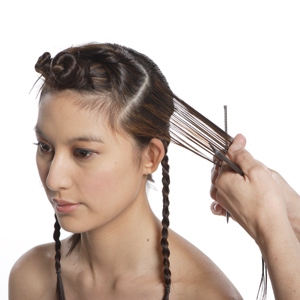
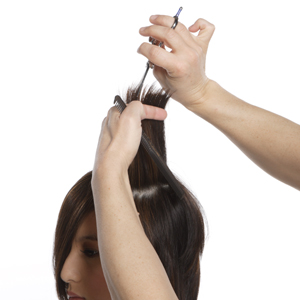
 Take a pivotal parting on the left side of the crown section. Project at 90 degrees, use a parallel finger position and razor peel to sculpt a uniform stationary design line. Work to the center back directing pivotal partings to the stationary design line. Repeat on the other side.
 - 8Step 8 of 13
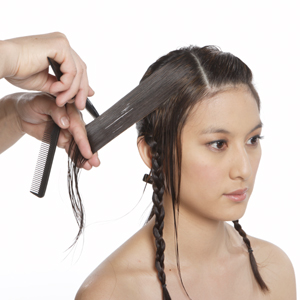
 Release a parting parallel to the bottom sectioning line in the upper left side. Use perpendicular distribution, medium projection and a parallel finger position to razor etch a stationary design line.
 - 9Step 9 of 13
 Take diagonal-forward partings on the right side in the top section. Use perpendicular distribution, a parallel finger position and razor etch directing lengths to a stationary design line.
 - 10Step 10 of 13
 Air form the hair. In the unsculpted lengths behind each ear, use vertical partings, high projection and a length guide from the interior. Slide cut while retaining length. Project slightly higher at the ear.
 - 11Step 11 of 13
 Direct interior lengths straight up and use a deep notching technique to blend the sides, crown and top lengths. Shift the right side back to retain length.
 - 12Step 12 of 13
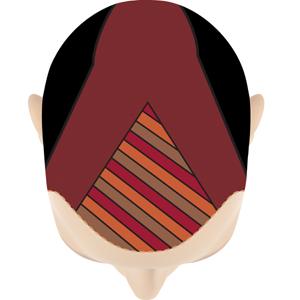 Use back-to-back, diagonal slices in a triangular fringe section. Alternate level 6, warm brown, level 6, copper and level 5, red permanent colors with 20 volume (6%) developer.
 - 13Step 13 of 13
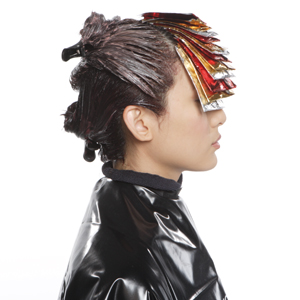 Apply demi-permanent level 4, red-violet in the exterior and demi-permanent level 5, chestnut brown in the interior. Process, rinse, shampoo and condition prior to styling.
Hair Color
Mahogany Bi-Level Cut and Color How-To From Pivot Point
January 31, 2012·1 min read
Bi-level cuts are perfect for your clients who seek cuts with versatility. In this step-by-step from Pivot Point International, you’ll learn how to create this cut and color and see two ways to style it: as a piece-y, romantic look or sleek with edge factor. (more…)
More to Read


