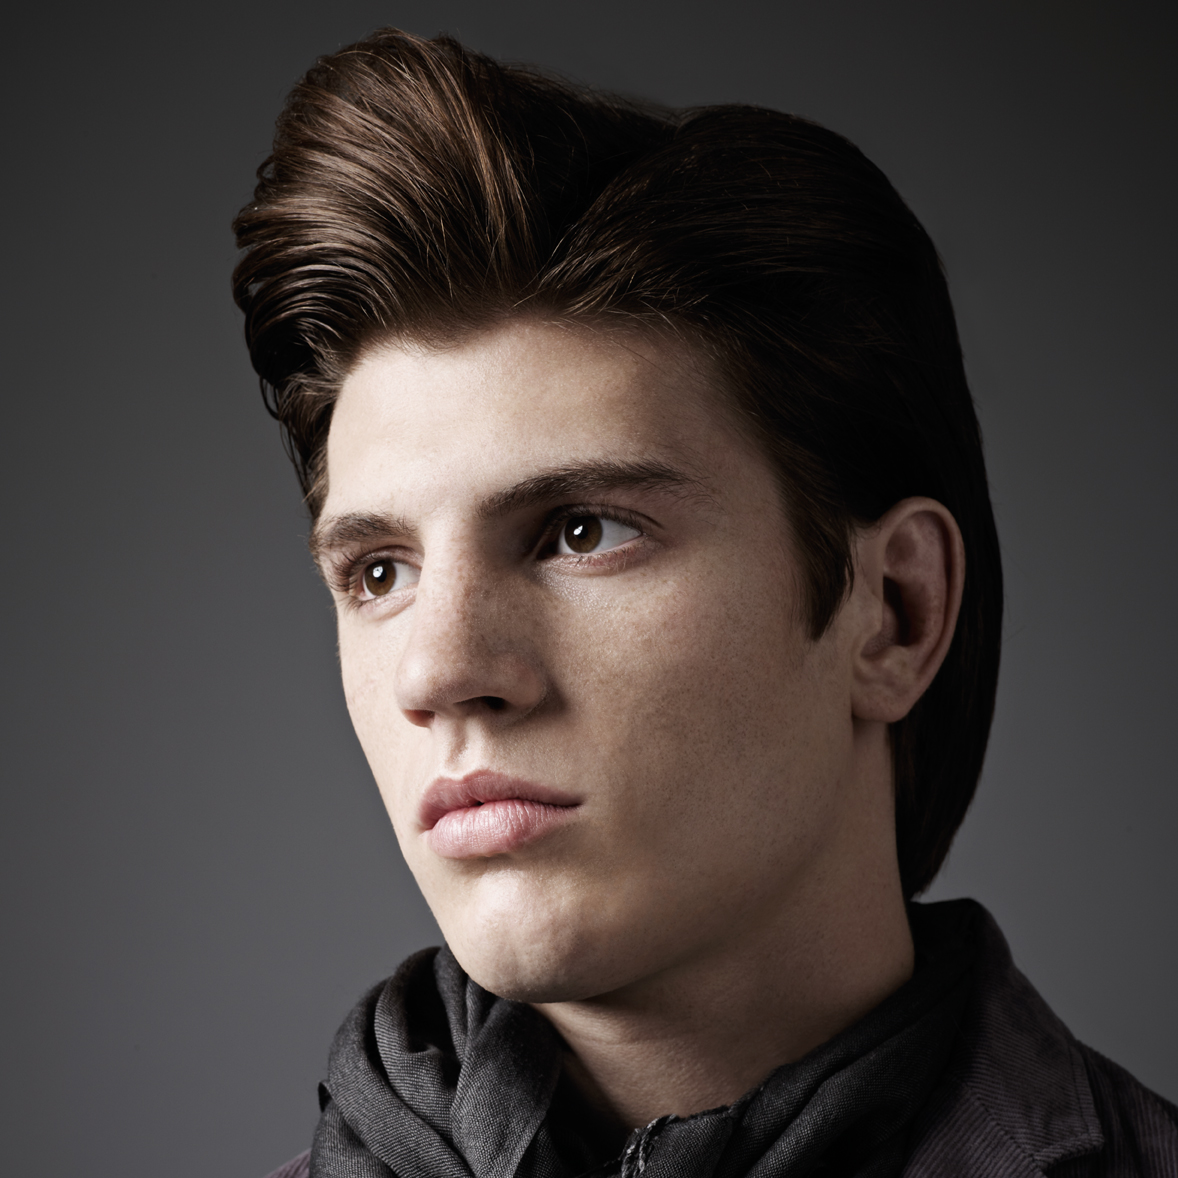
Shaggy or suave? With this cut from Pivot Point International’s Meta Men Collection, you can have it both ways! Follow these steps and layer your way to a contemporary, stylish look.Who did itCourtesy of Meta MenCreated by the Pivot Point International TeamView the entire Meta Men Collection!SHOP More How-Tos in the BTC BookstoreSubscribe to behindthechair.com On Paper Magazine! SUBSCRIBE NOW! (more…)
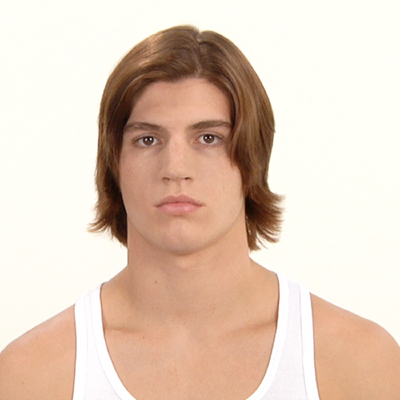
- 1Step 1 of 17
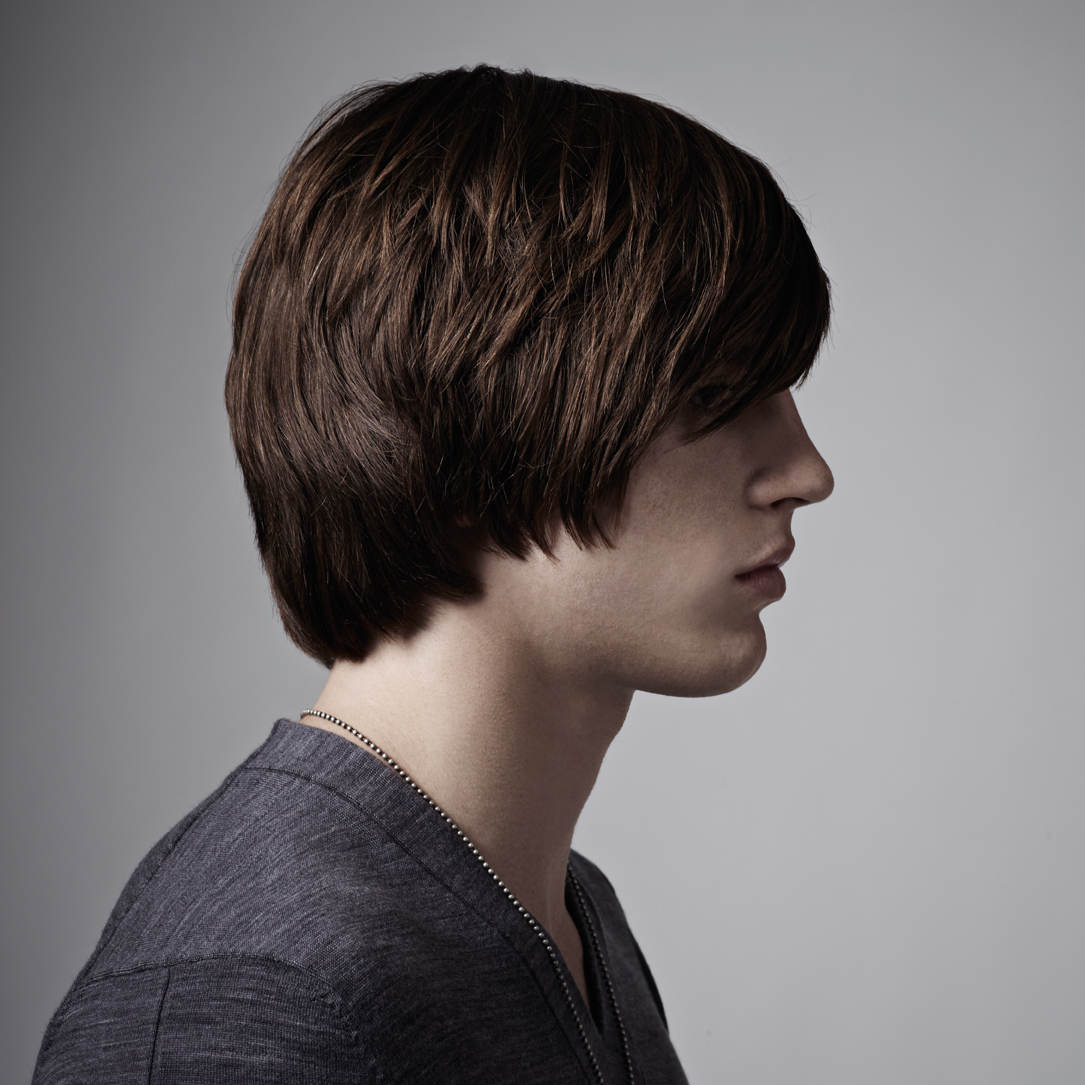
 This cut is perfect for the client who prefers a longer, trendy haircut but still wants a refined style with a masculine edge.
 - 2Step 2 of 17
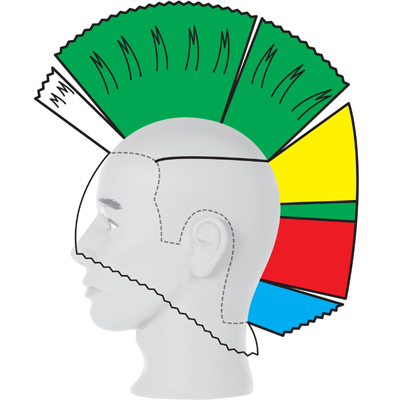 The structure graphic shows uniformly layered interior lengths with a combination of graduated, uniform and increase-layered lengths in the exterior. Solid perimeter lengths create weight.
 - 3Step 3 of 17
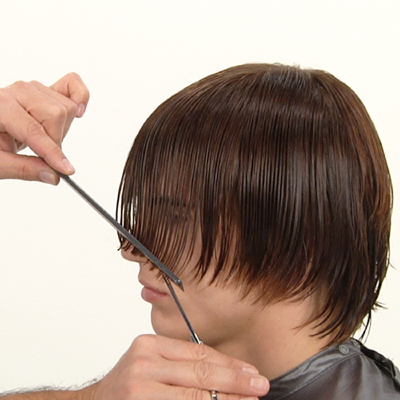
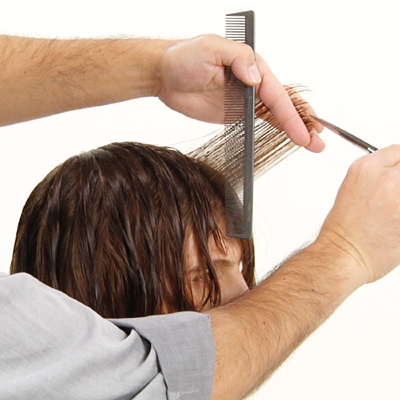
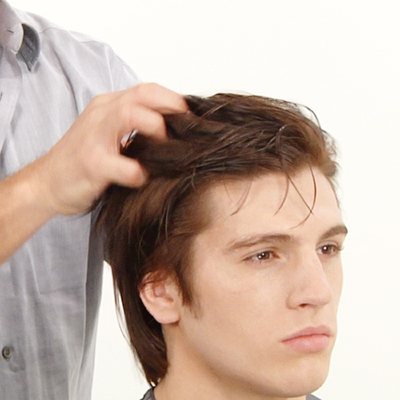
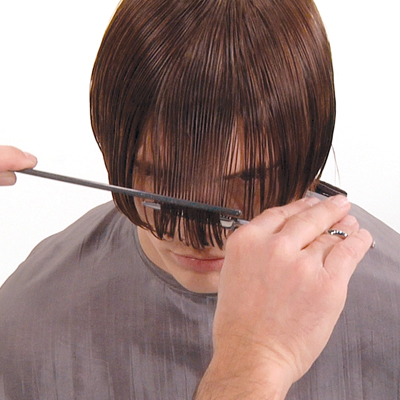 Use the shears and the comb to distribute the hair naturally with minimal tension. Position the comb horizontally and notch just above the tip of the nose.
 - 4Step 4 of 17
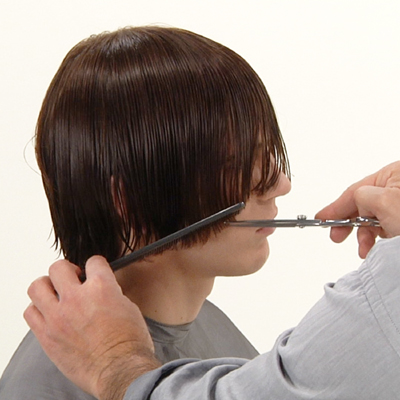
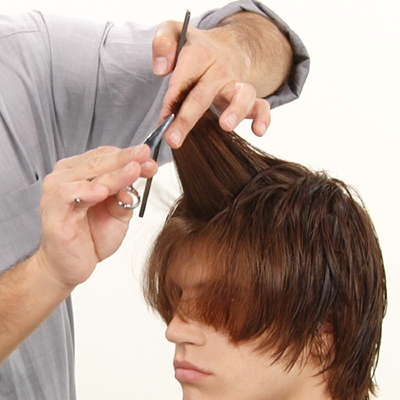
 Work from the center toward one side. Position the comb along a diagonal-back line, use comb control and notch. Then work toward the other side to create a slightly concave line in the fringe.
 - 5Step 5 of 17
 Extend the diagonal-back line on the right side. Use natural distribution with no projection and a diagonal-back comb position. Then return to the front and extend the diagonal-back line on the left side.
 - 6Step 6 of 17
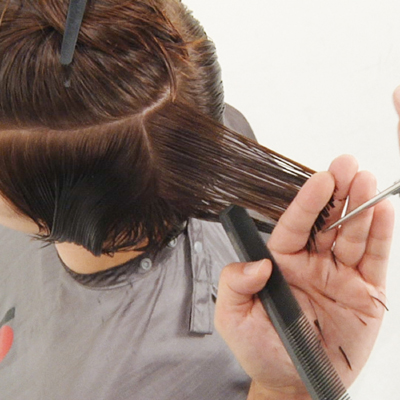
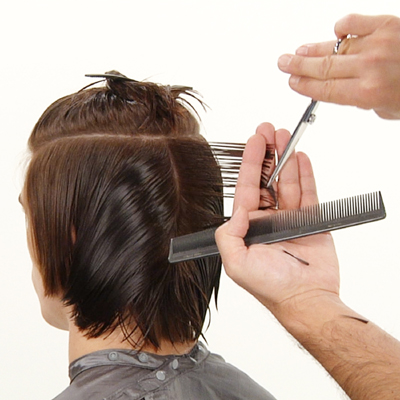 Section the head with a horse-shaped parting along the upper crest. In the center back exterior, distribute straight out, position your fingers vertically and notch. Keep the lengths below the occipital to maintain weight along the perimeter.
 - 7Step 7 of 17
 Work to the right using a mobile design line and vertical partings. Work to the front hairline using a nonparallel finger position.
 - 8Step 8 of 17
 Return to the center back and use the same techniques to work to the opposite side.
 - 9Step 9 of 17
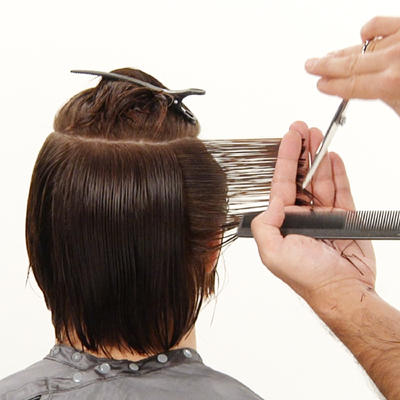
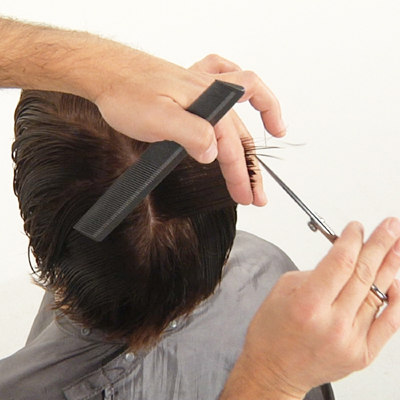
 Take a pivotal parting at the center front hairline. Use perpendicular distribution, 90-degree projection, a parallel finger position and notch to create uniform lengths working to the point of origin.
 - 10Step 10 of 17
 Work toward the left side. Sculpt parallel to the head as you work around the crown toward the right side.
 - 11Step 11 of 17
 Use the same techniques as you work to complete the interior. Continue working past the center front to ensure all lengths blend.
 - 12Step 12 of 17
 First, apply styling cream throughout the lengths and then air form the hair using a paddle brush to direct the lengths.
 - 13Step 13 of 17

- 14Step 14 of 17

- 15Step 15 of 17
- 16Step 16 of 17

- 17Step 17 of 17